PART1 PART2 PART3 PART4 PART5 PART6 PART7 PART8 PART9
Part 2: Uploading and Executing the DPC Deployment Blueprints
With DAPO deployed, licensed, and connected to the required infrastructure assets, the next phase is to leverage the platform’s automation capabilities. In this part of the series, we’ll upload the Dell Private Cloud (DPC) blueprints and walk through the VCF on DPC Deployment Blueprint workflow. This blueprint orchestrates the deployment process, combining the environment configuration, infrastructure inventory, and validated software bundles to automate the creation of the VMware Cloud Foundation management domain. By the end of this section, the deployment workflow will be configured and ready to begin provisioning the VCF environment leveraging VCF Installer.
Installing the DPC Blueprints
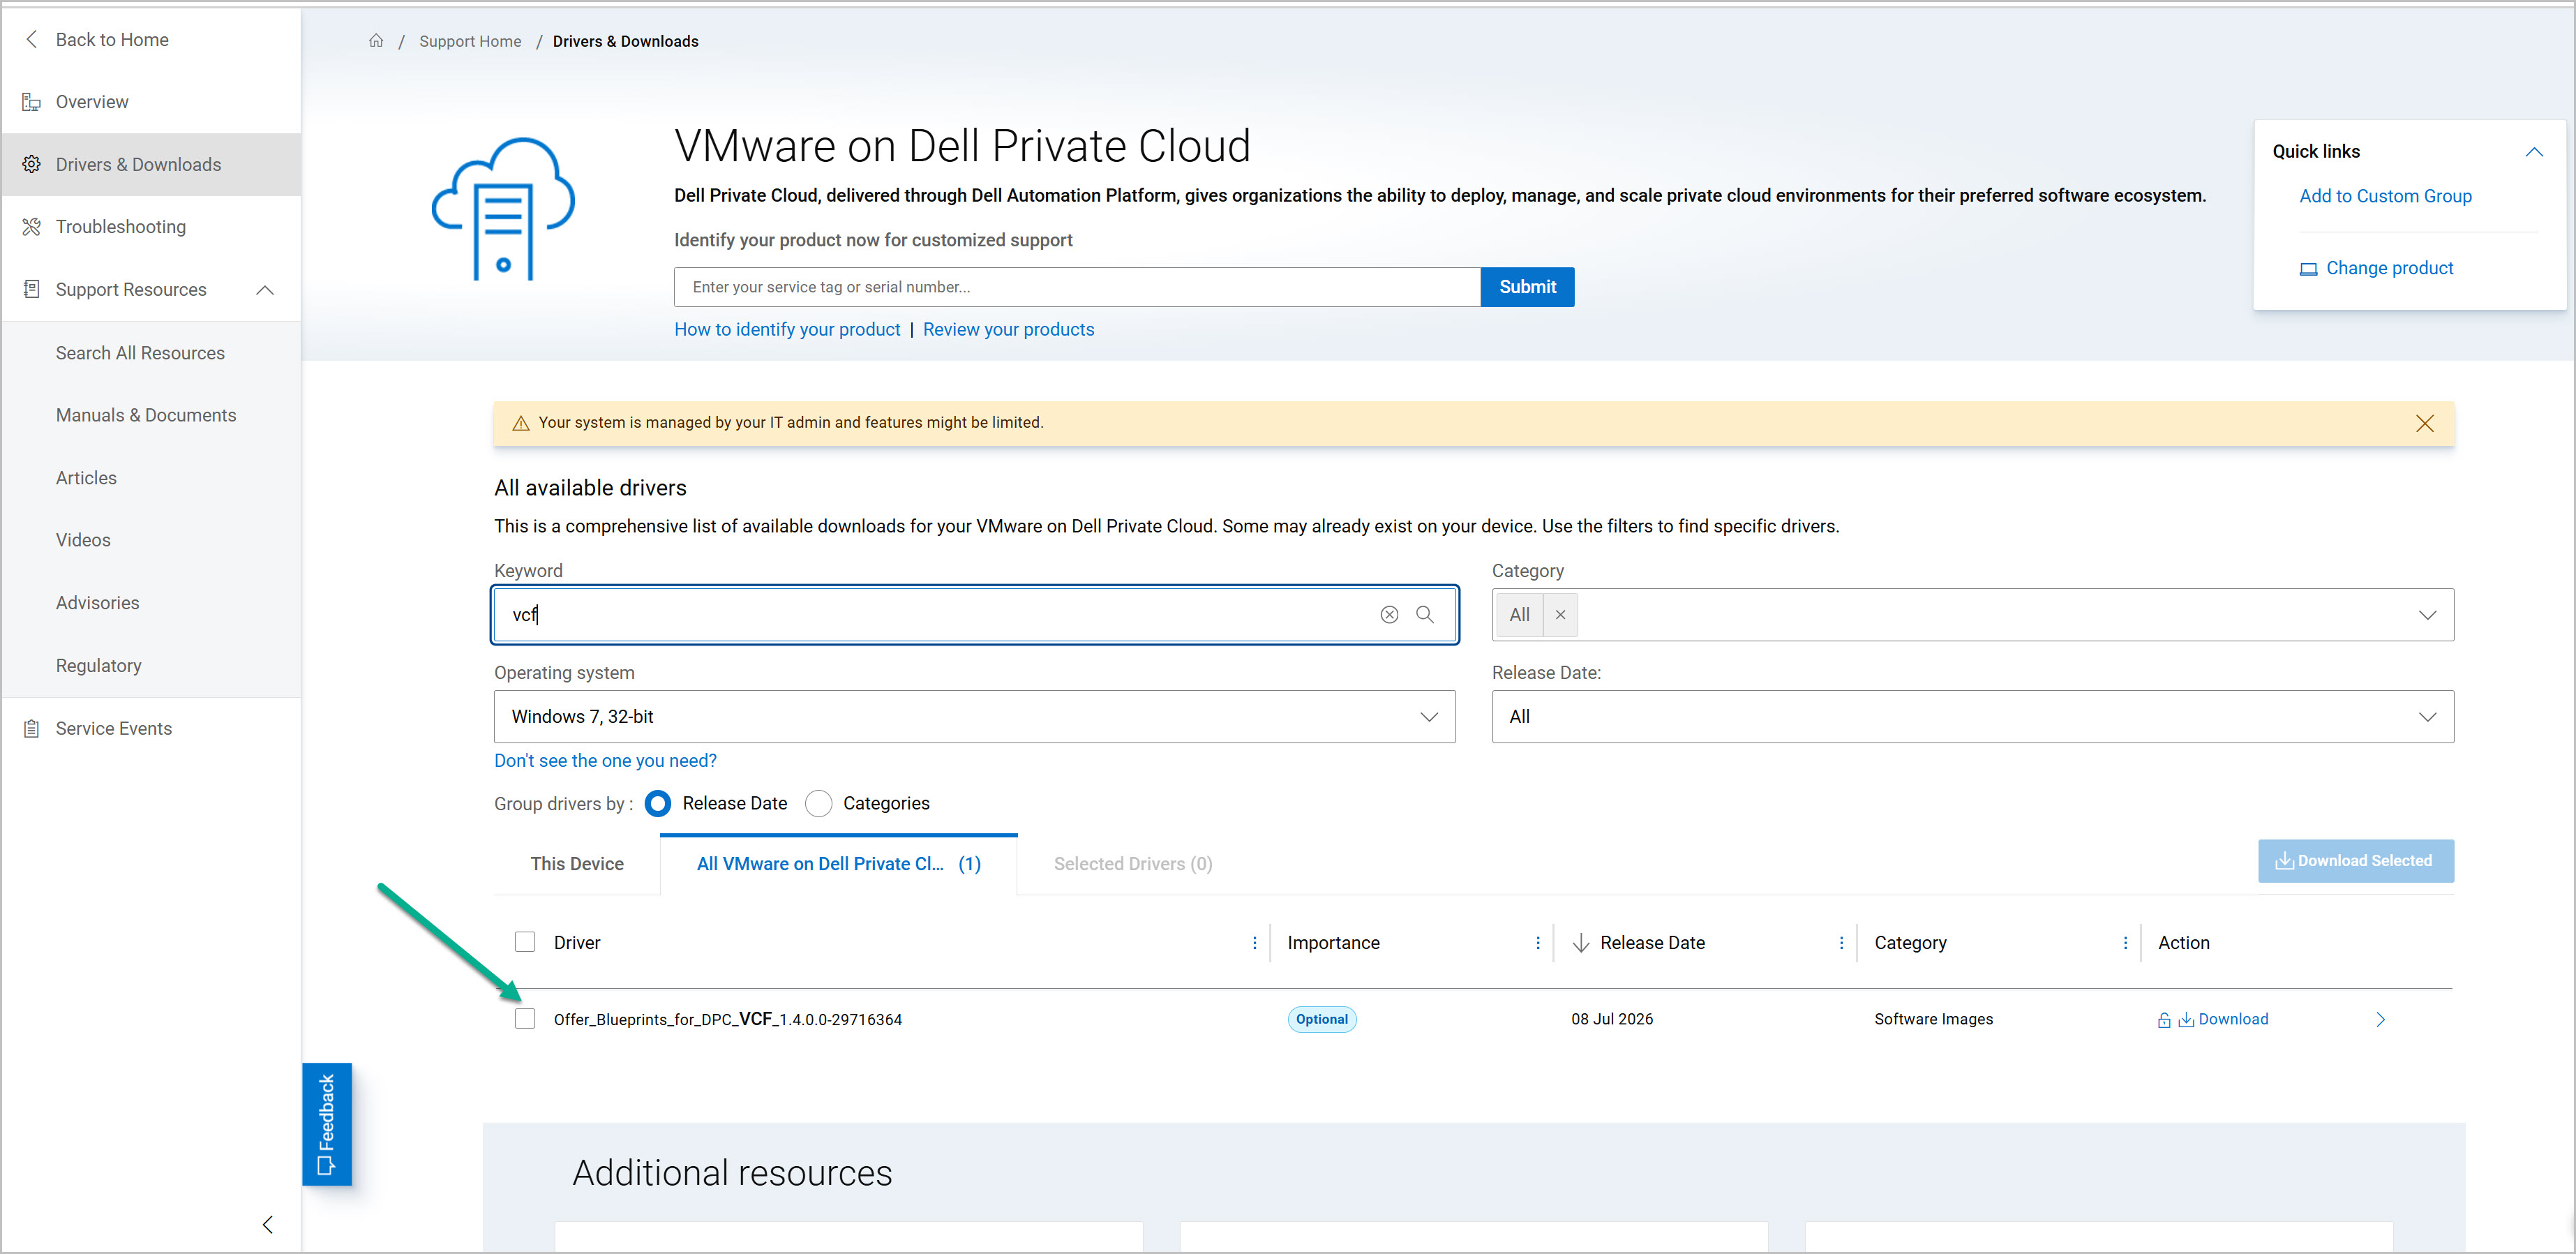
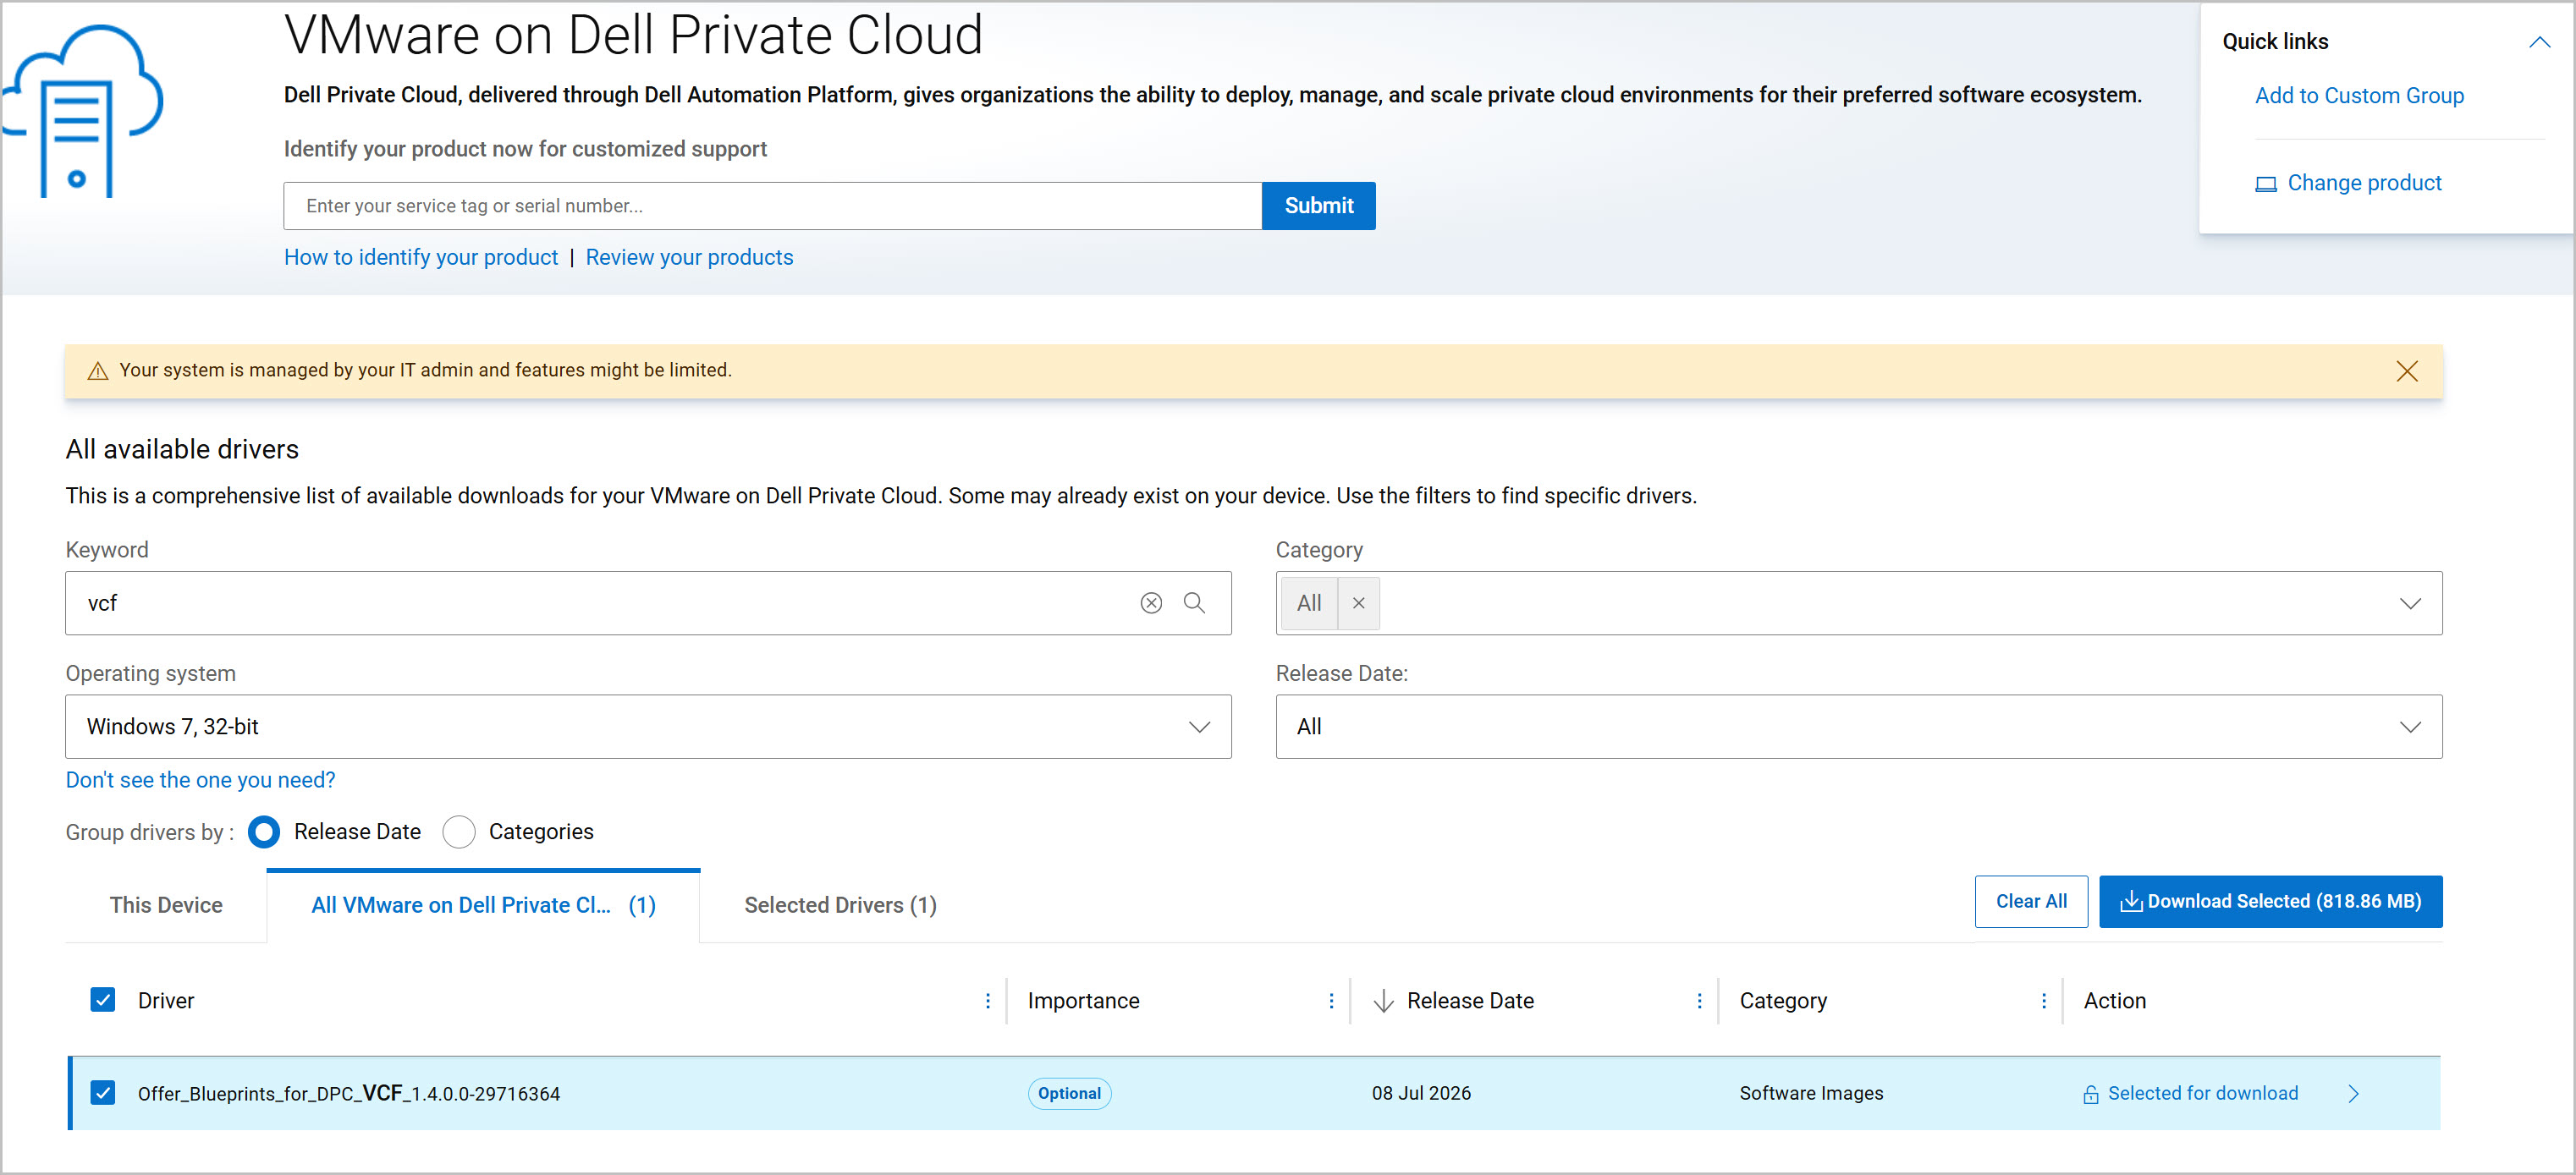
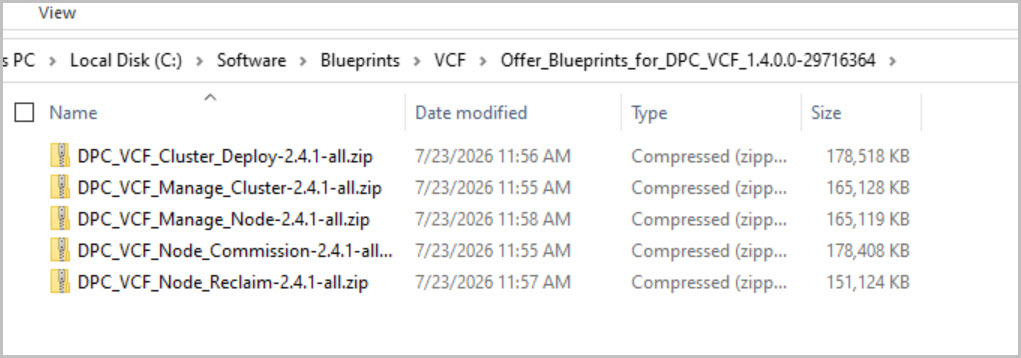
- Download the DPC blueprint package from Dell Support.
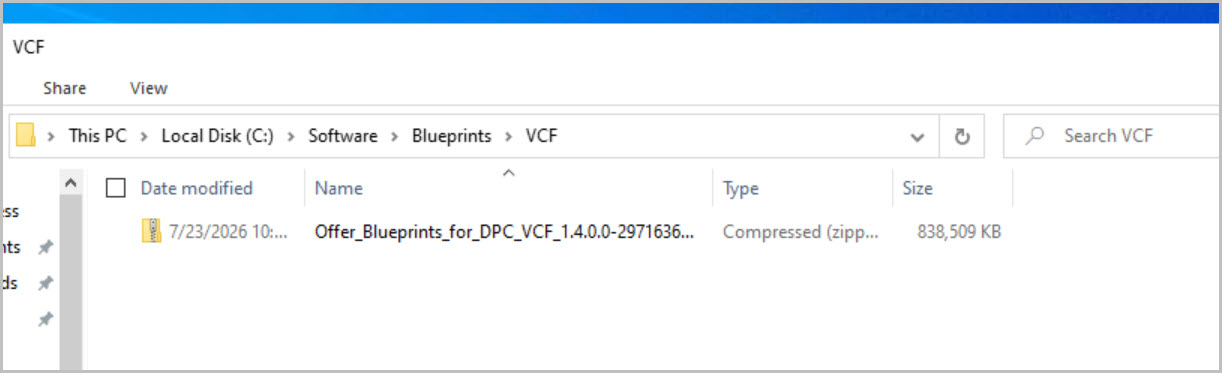
- Extract the downloaded blueprints.
- Log in to DAPO and open Automation Studio.
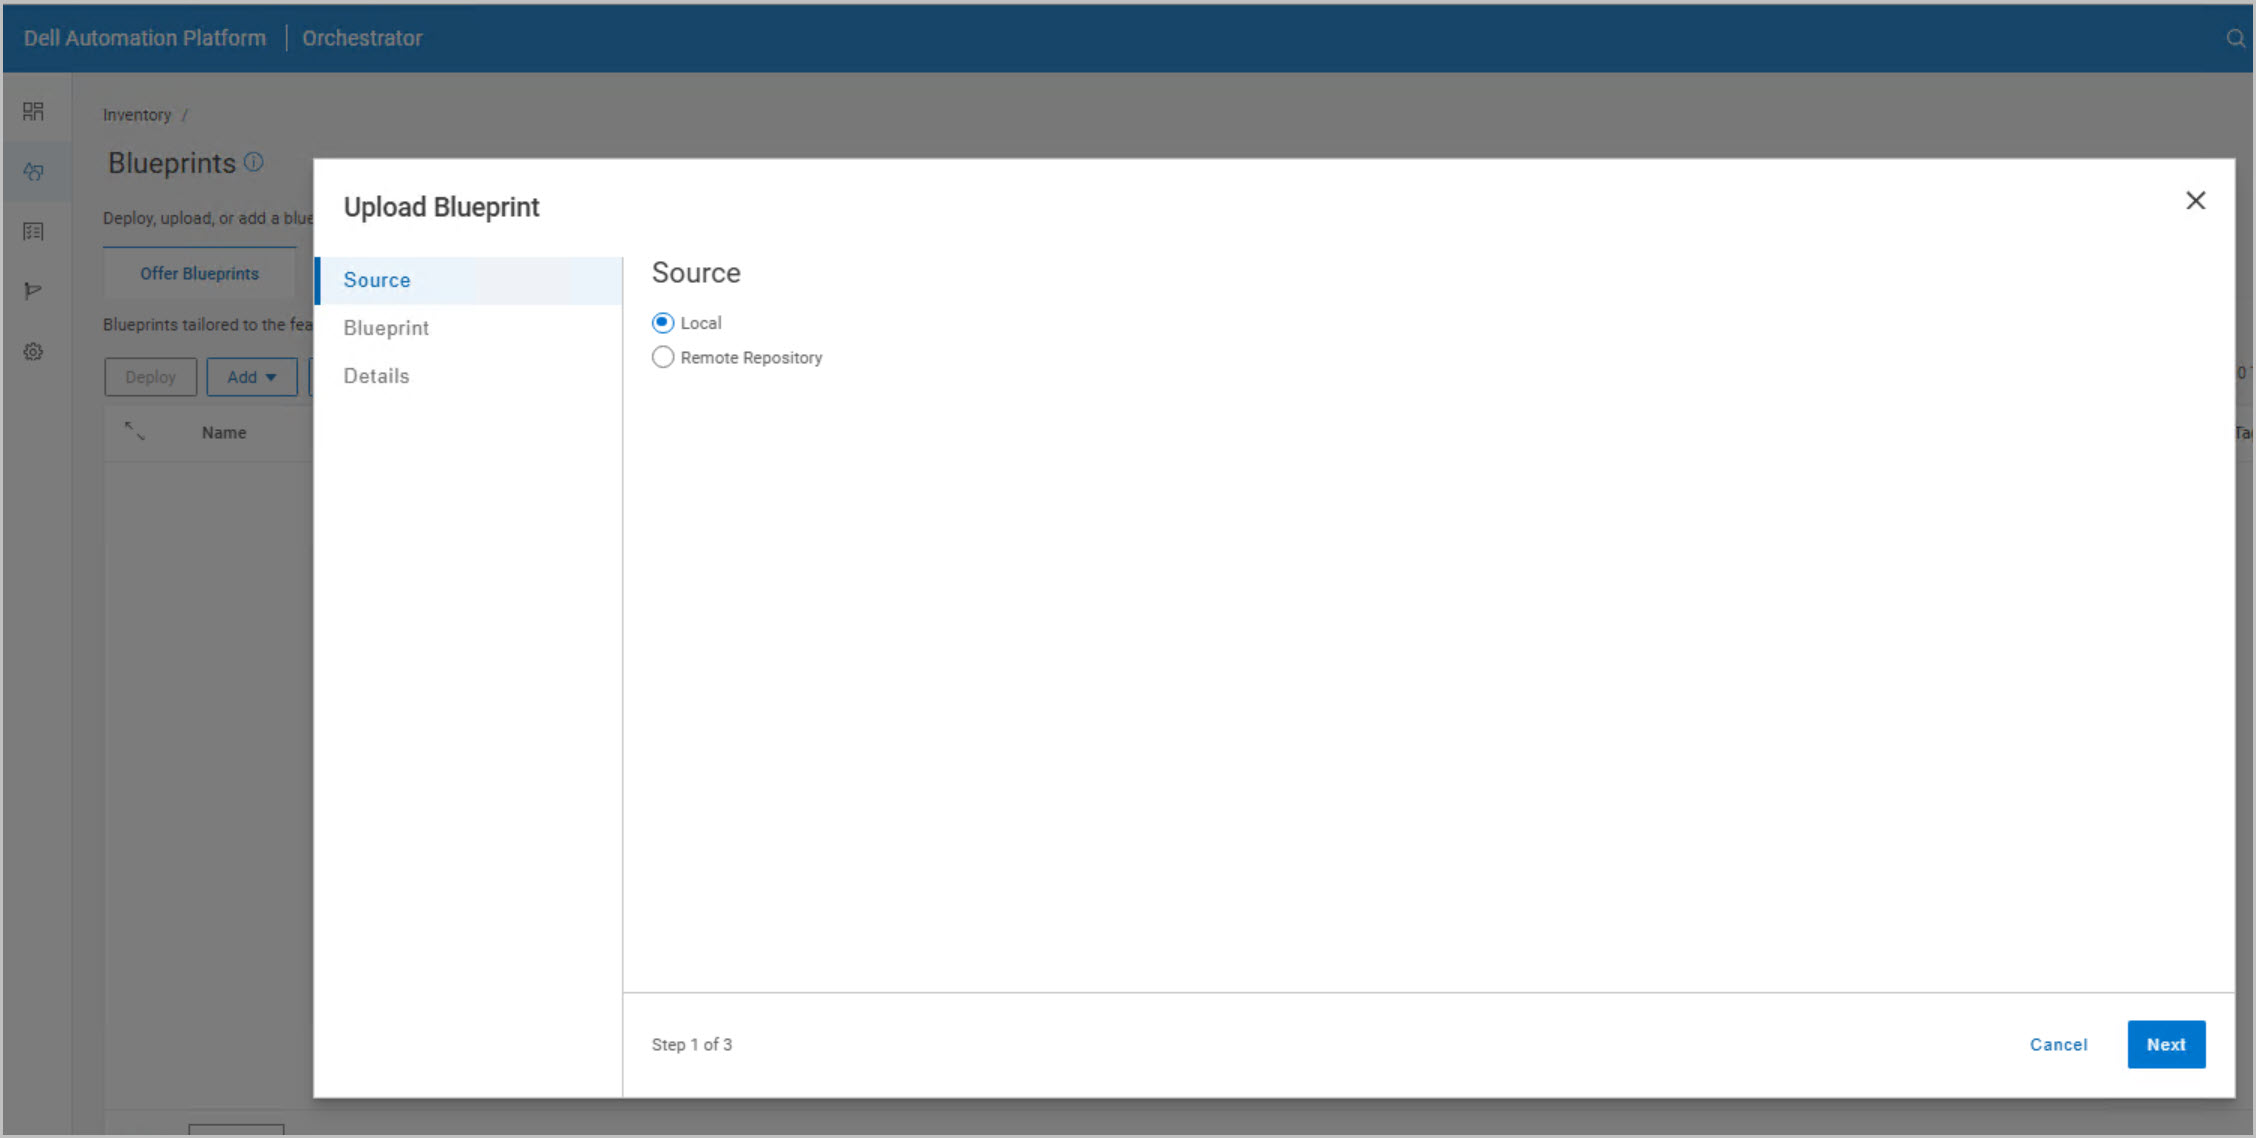
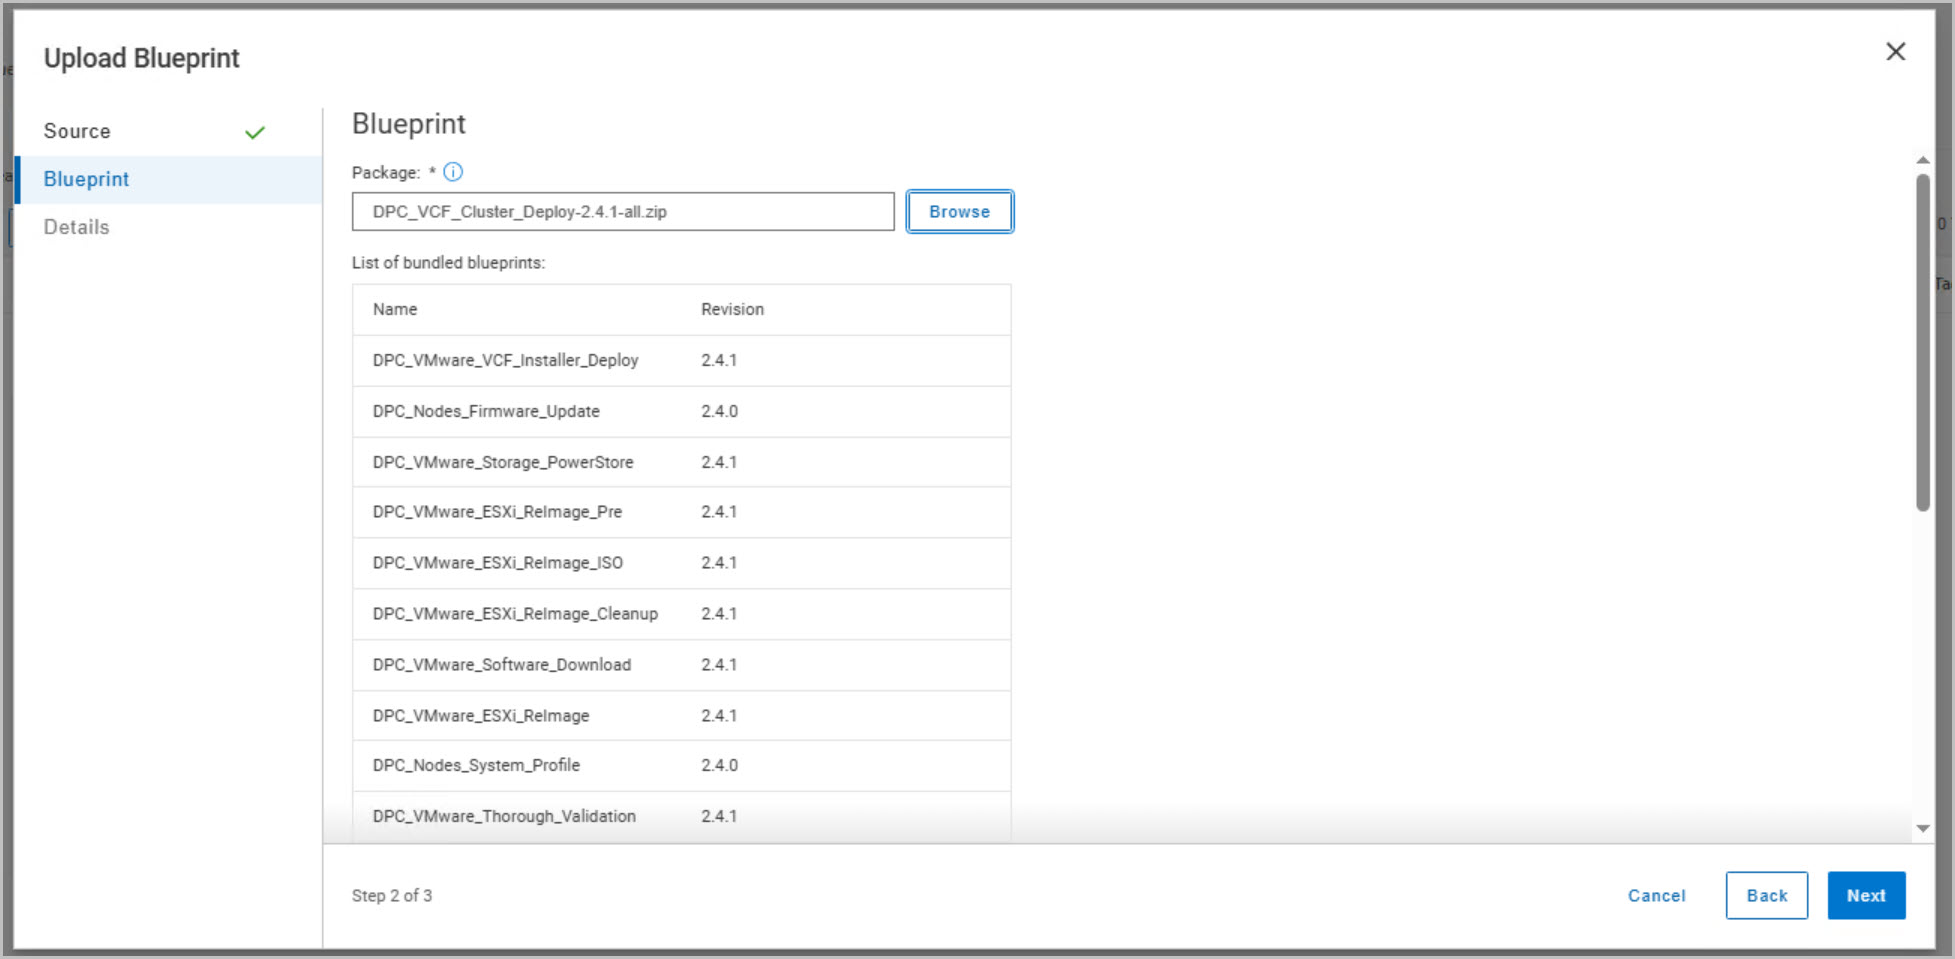
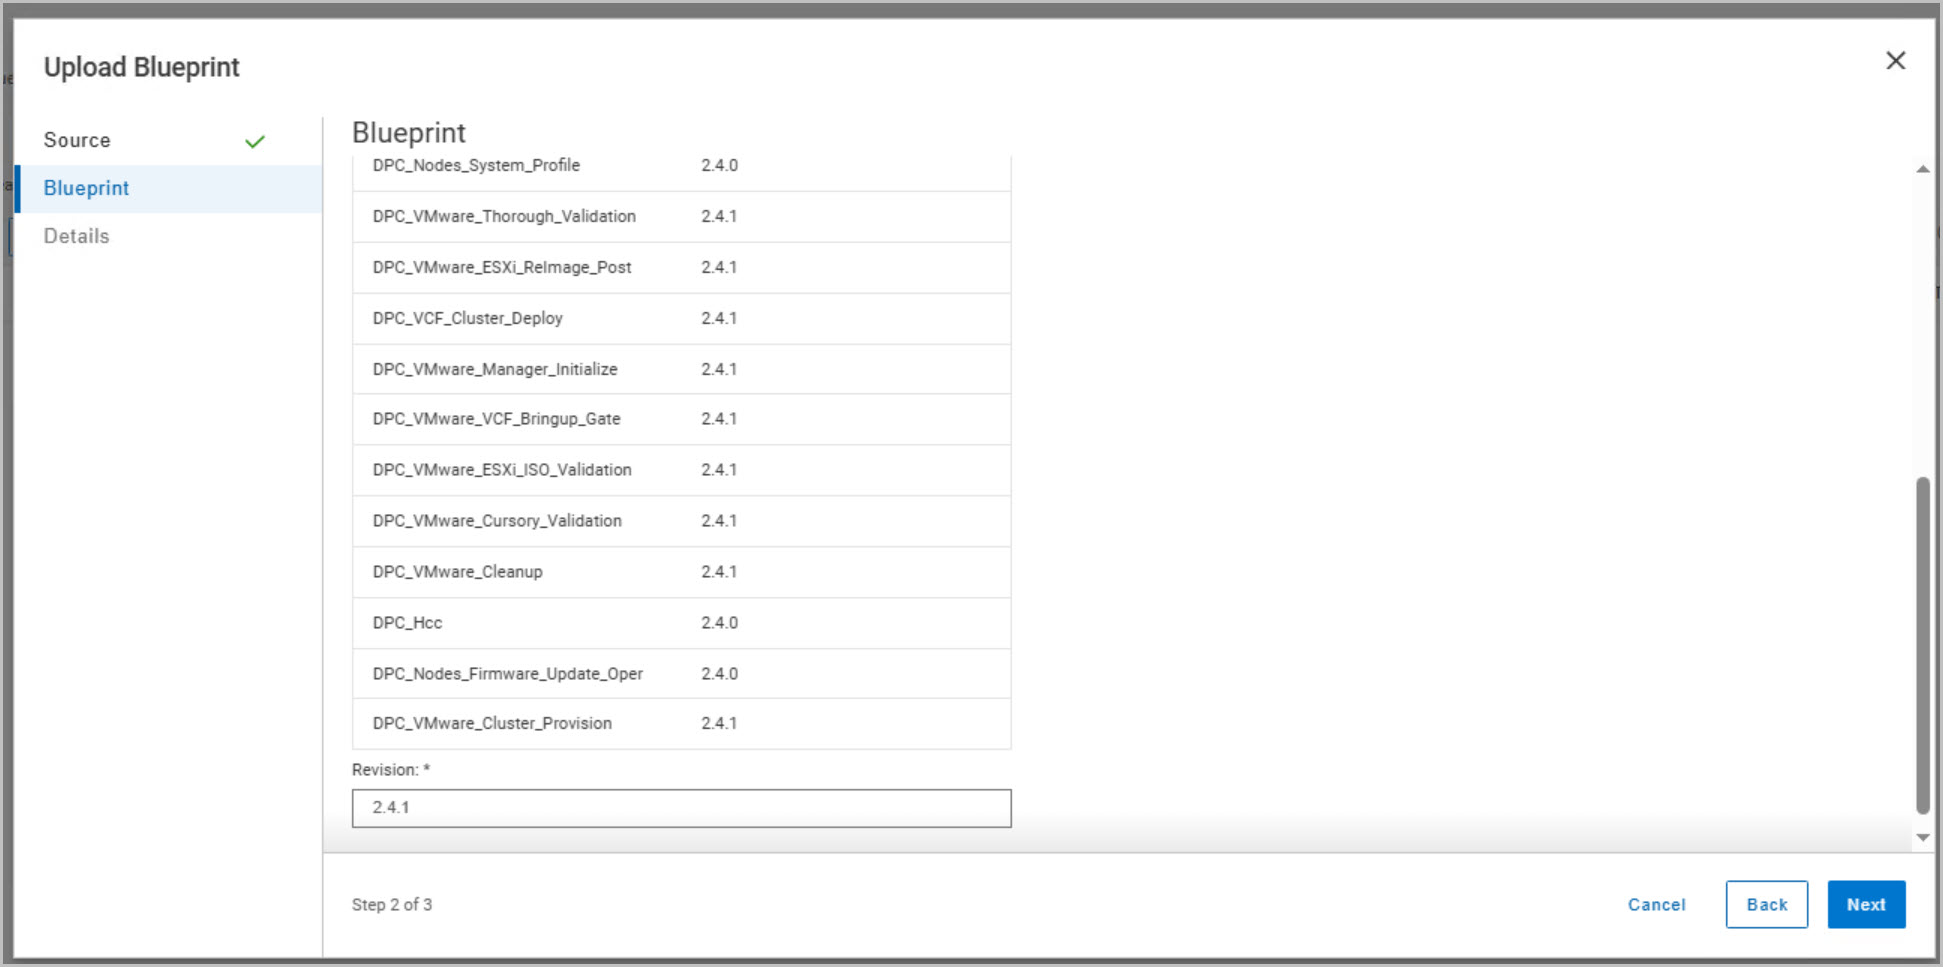
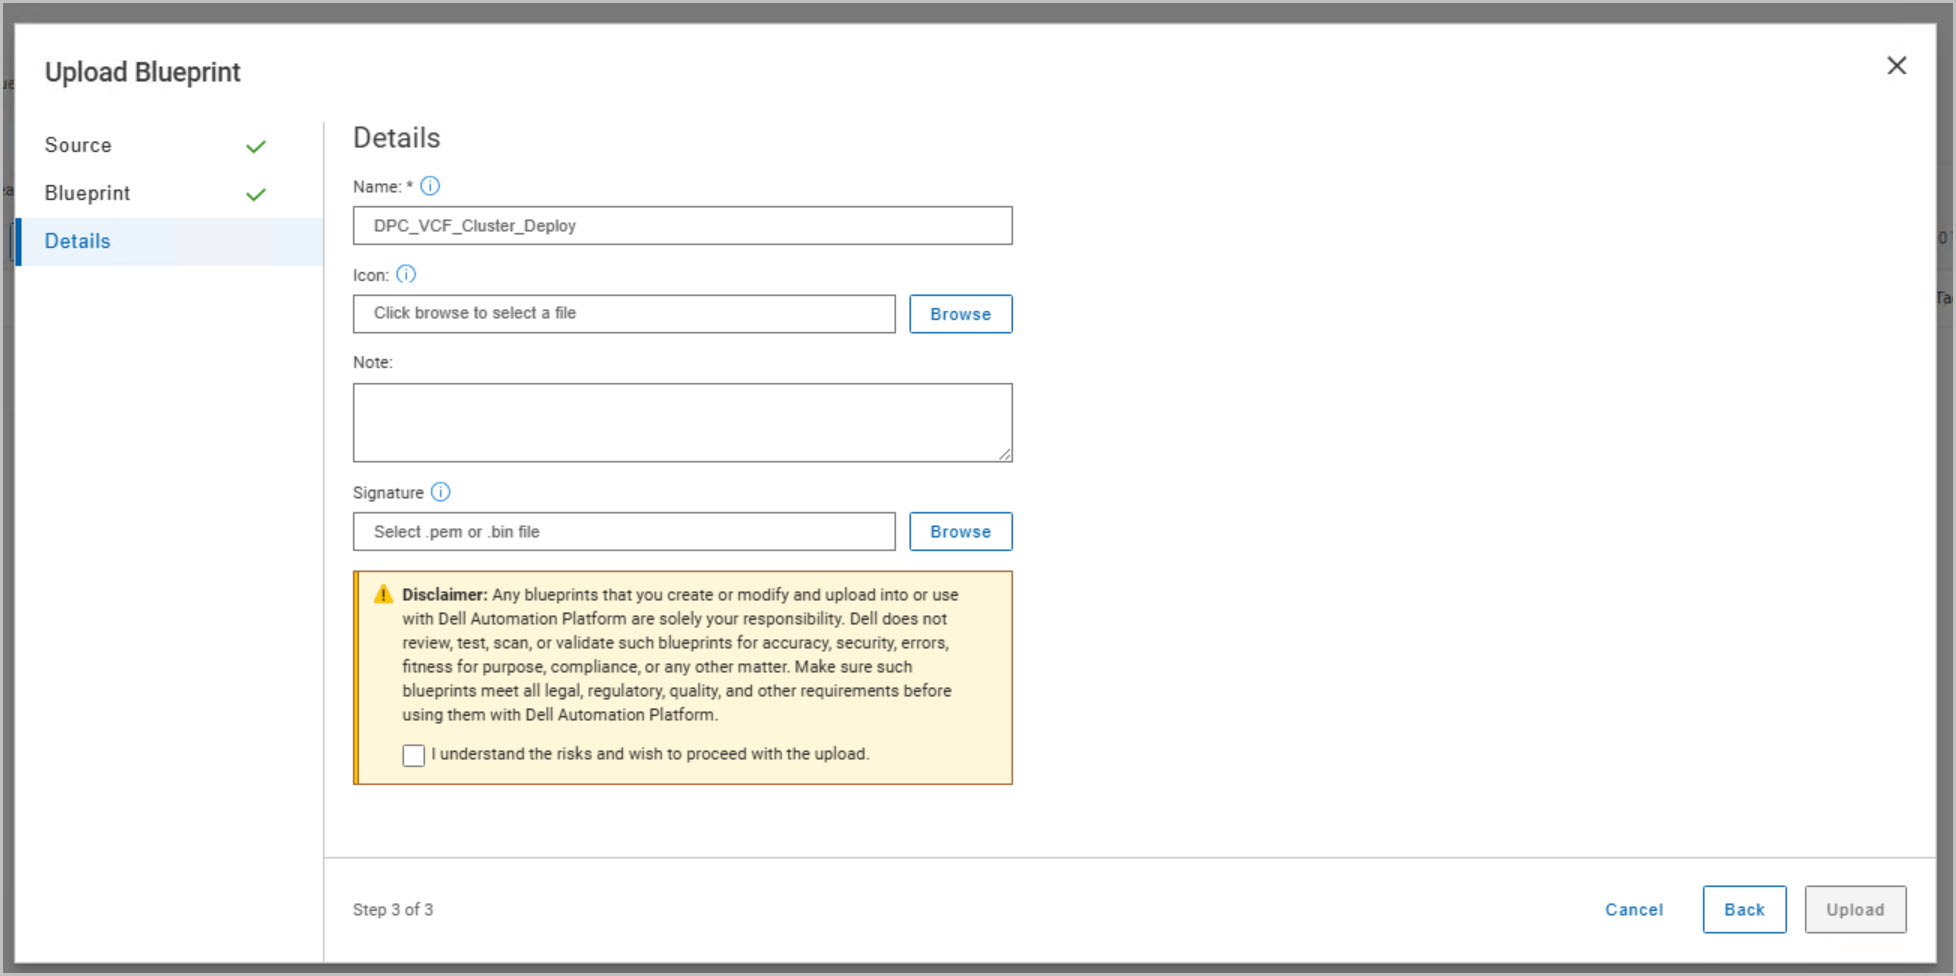
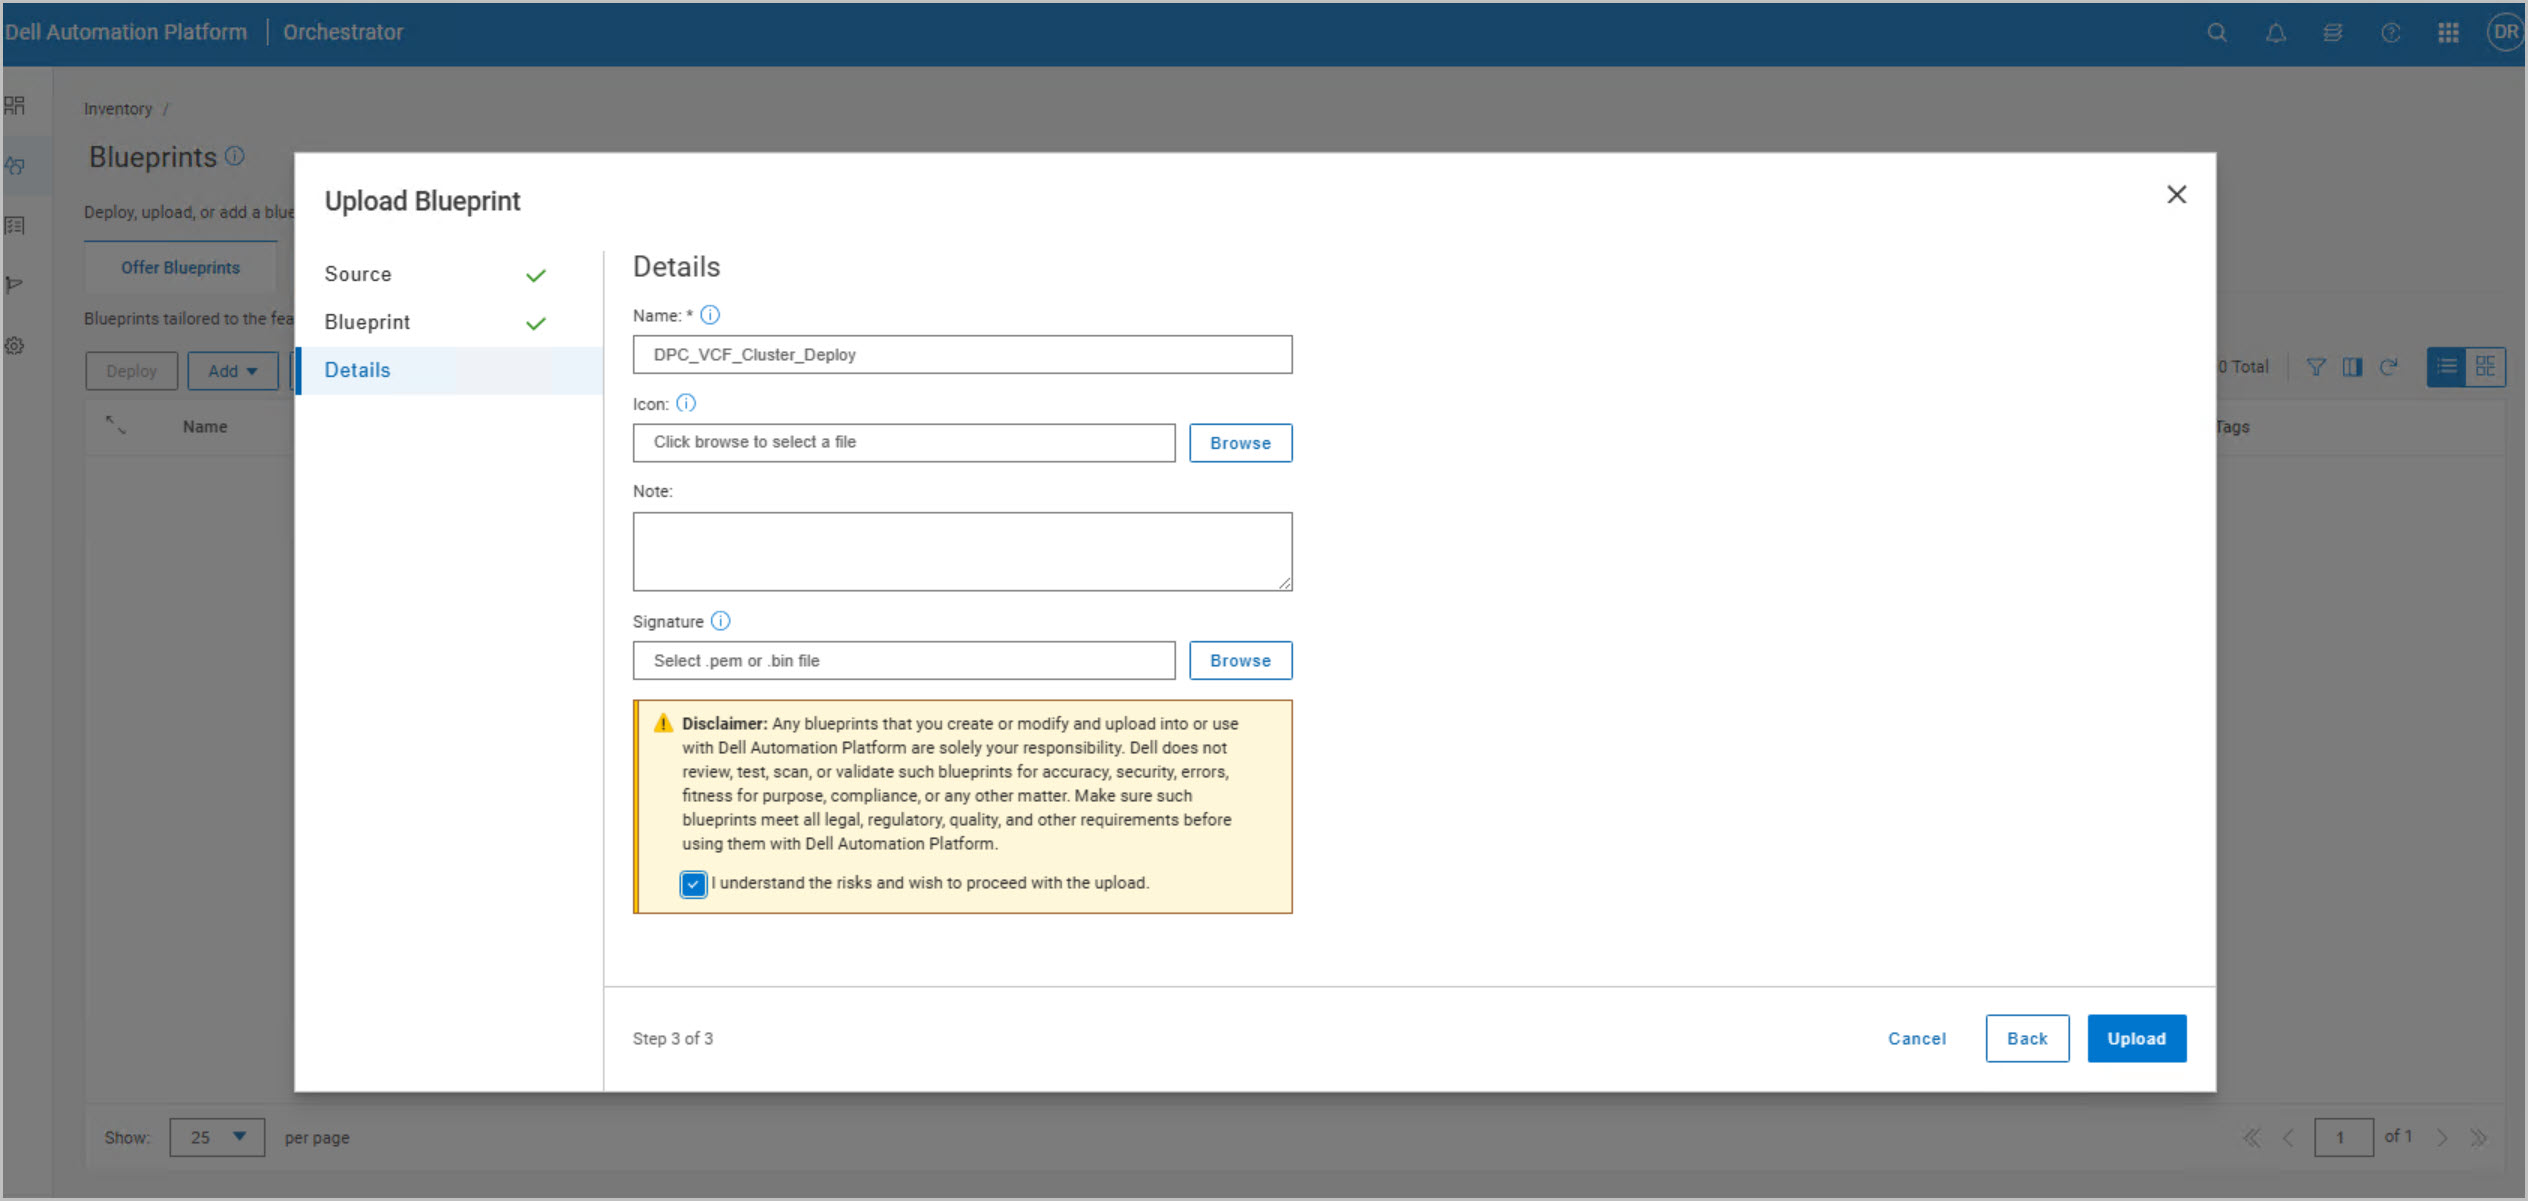
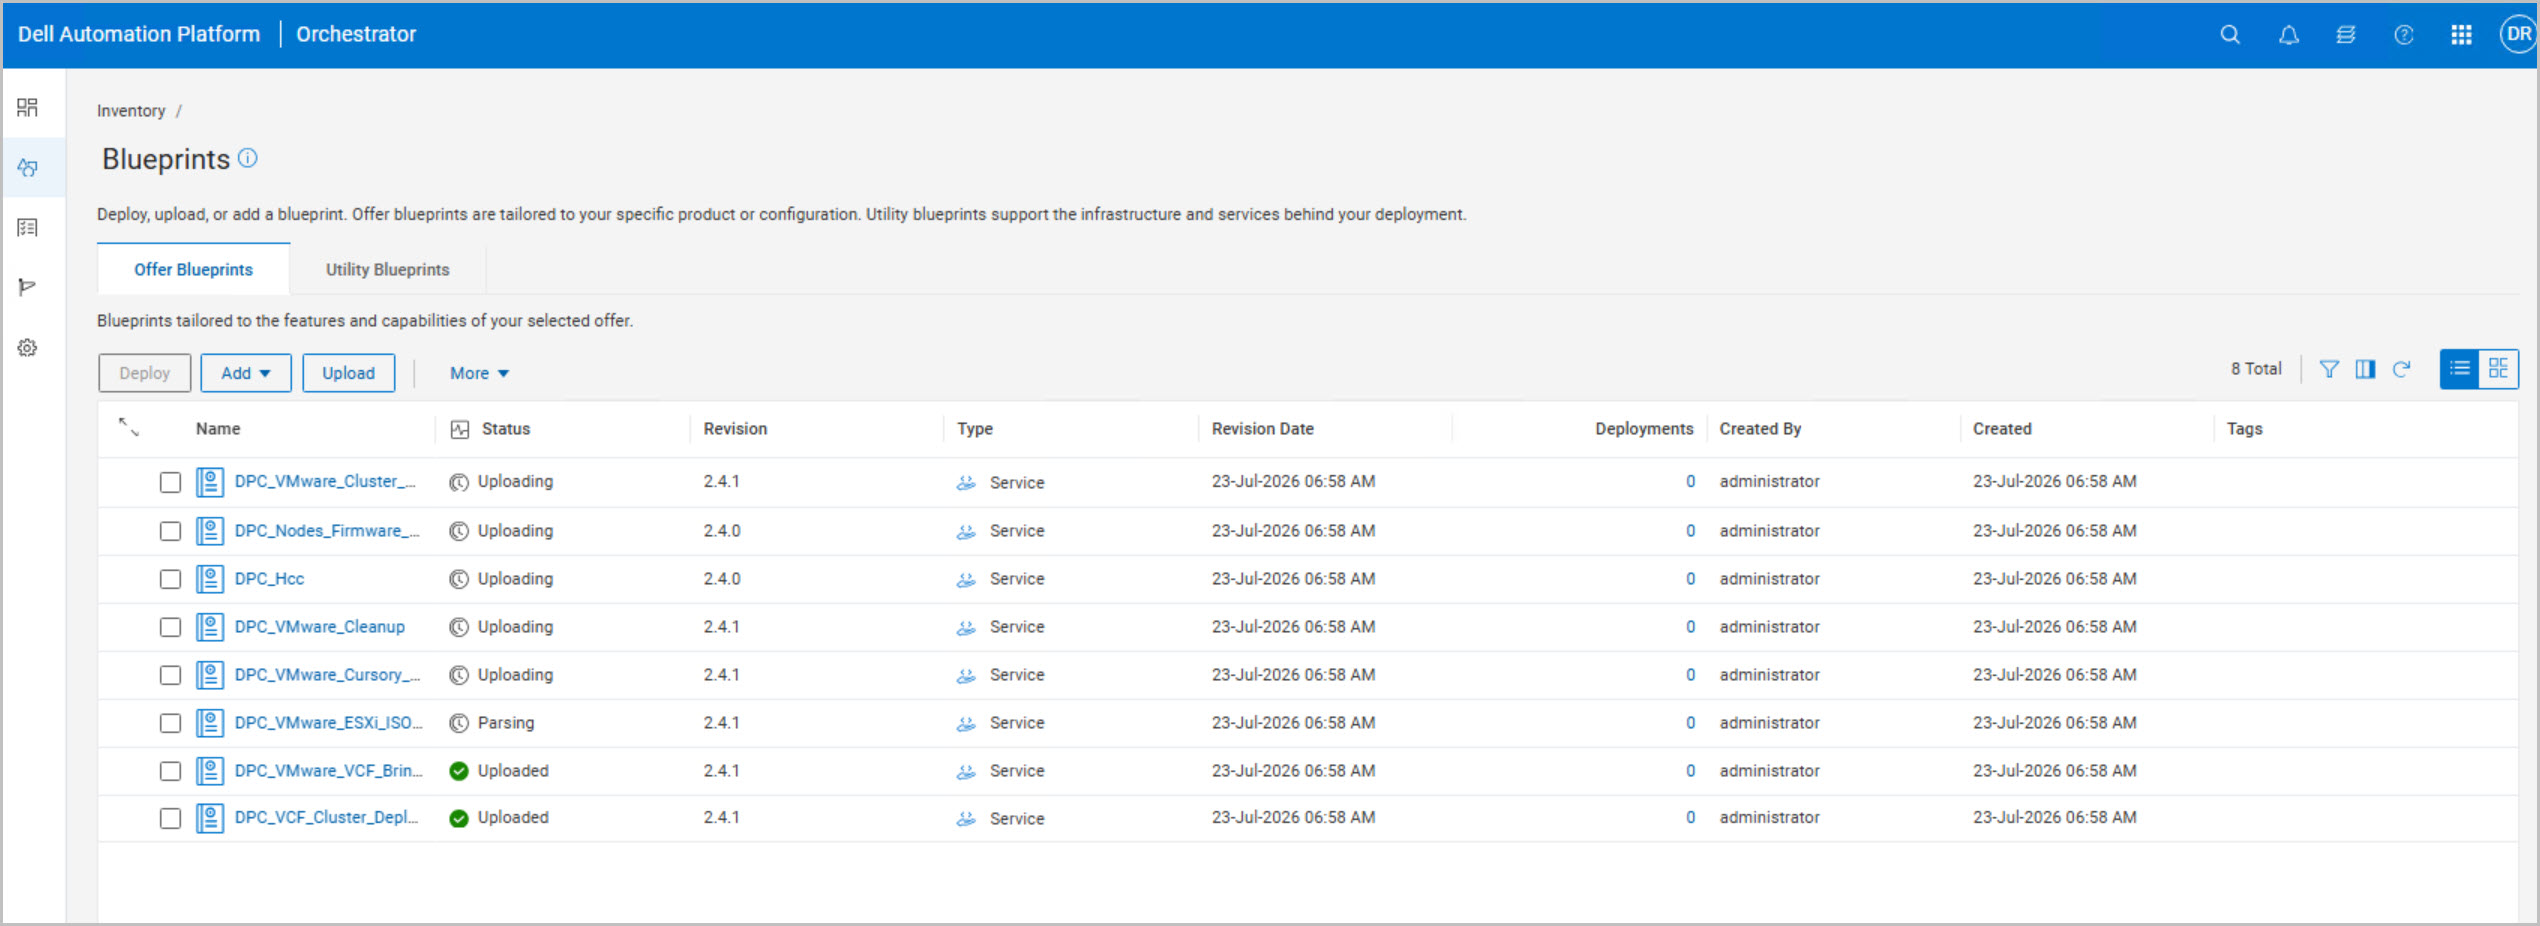
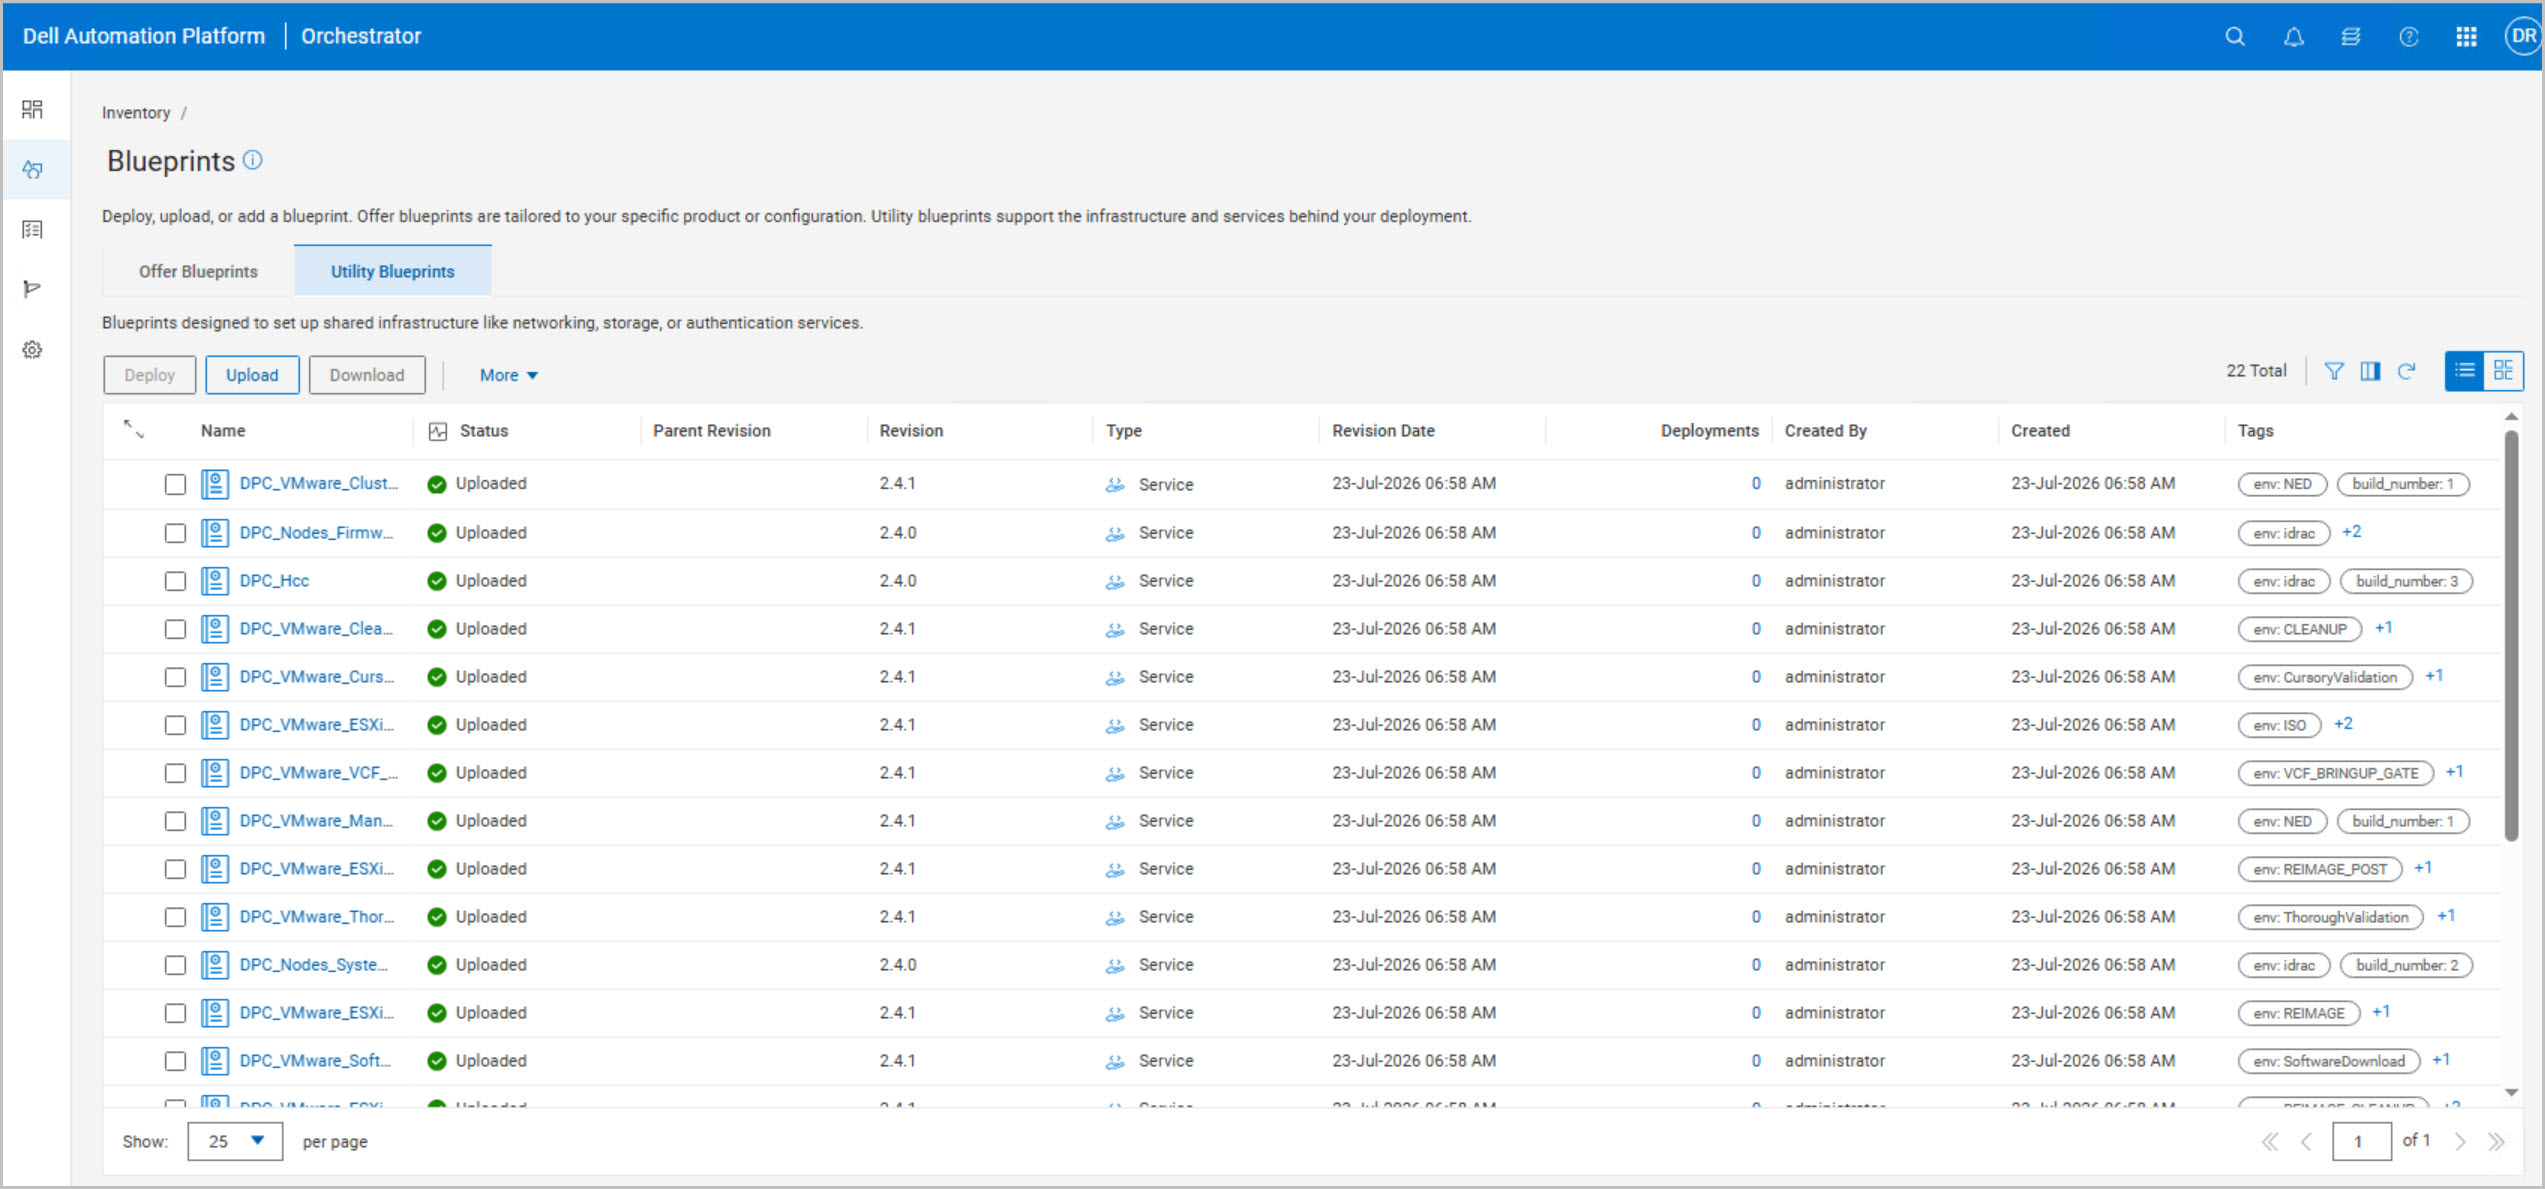
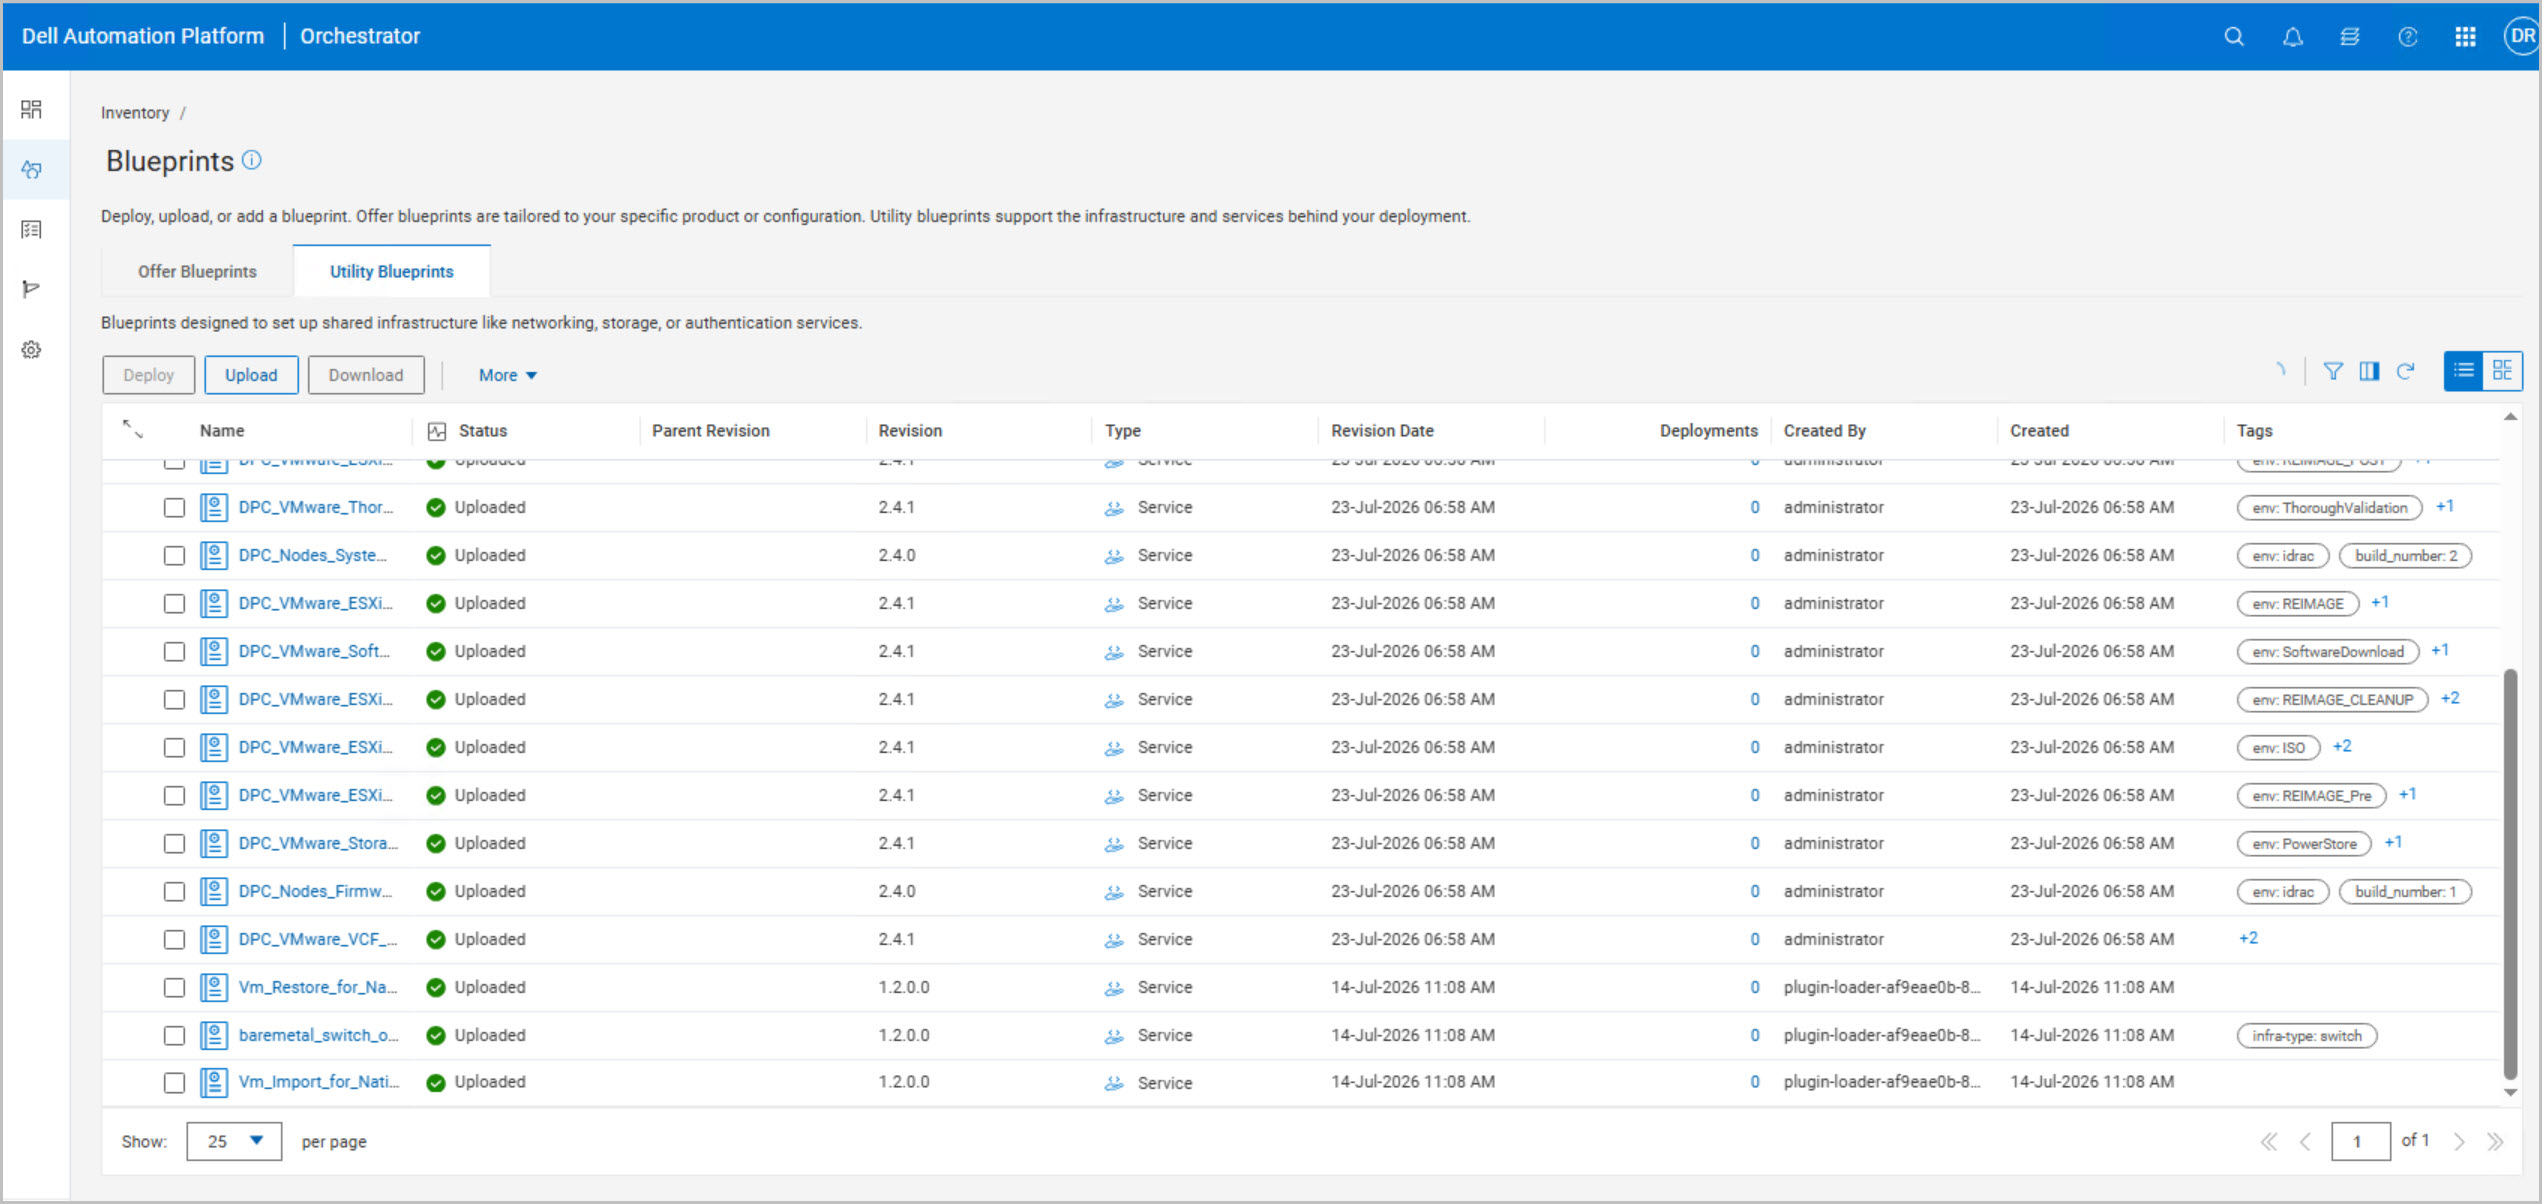
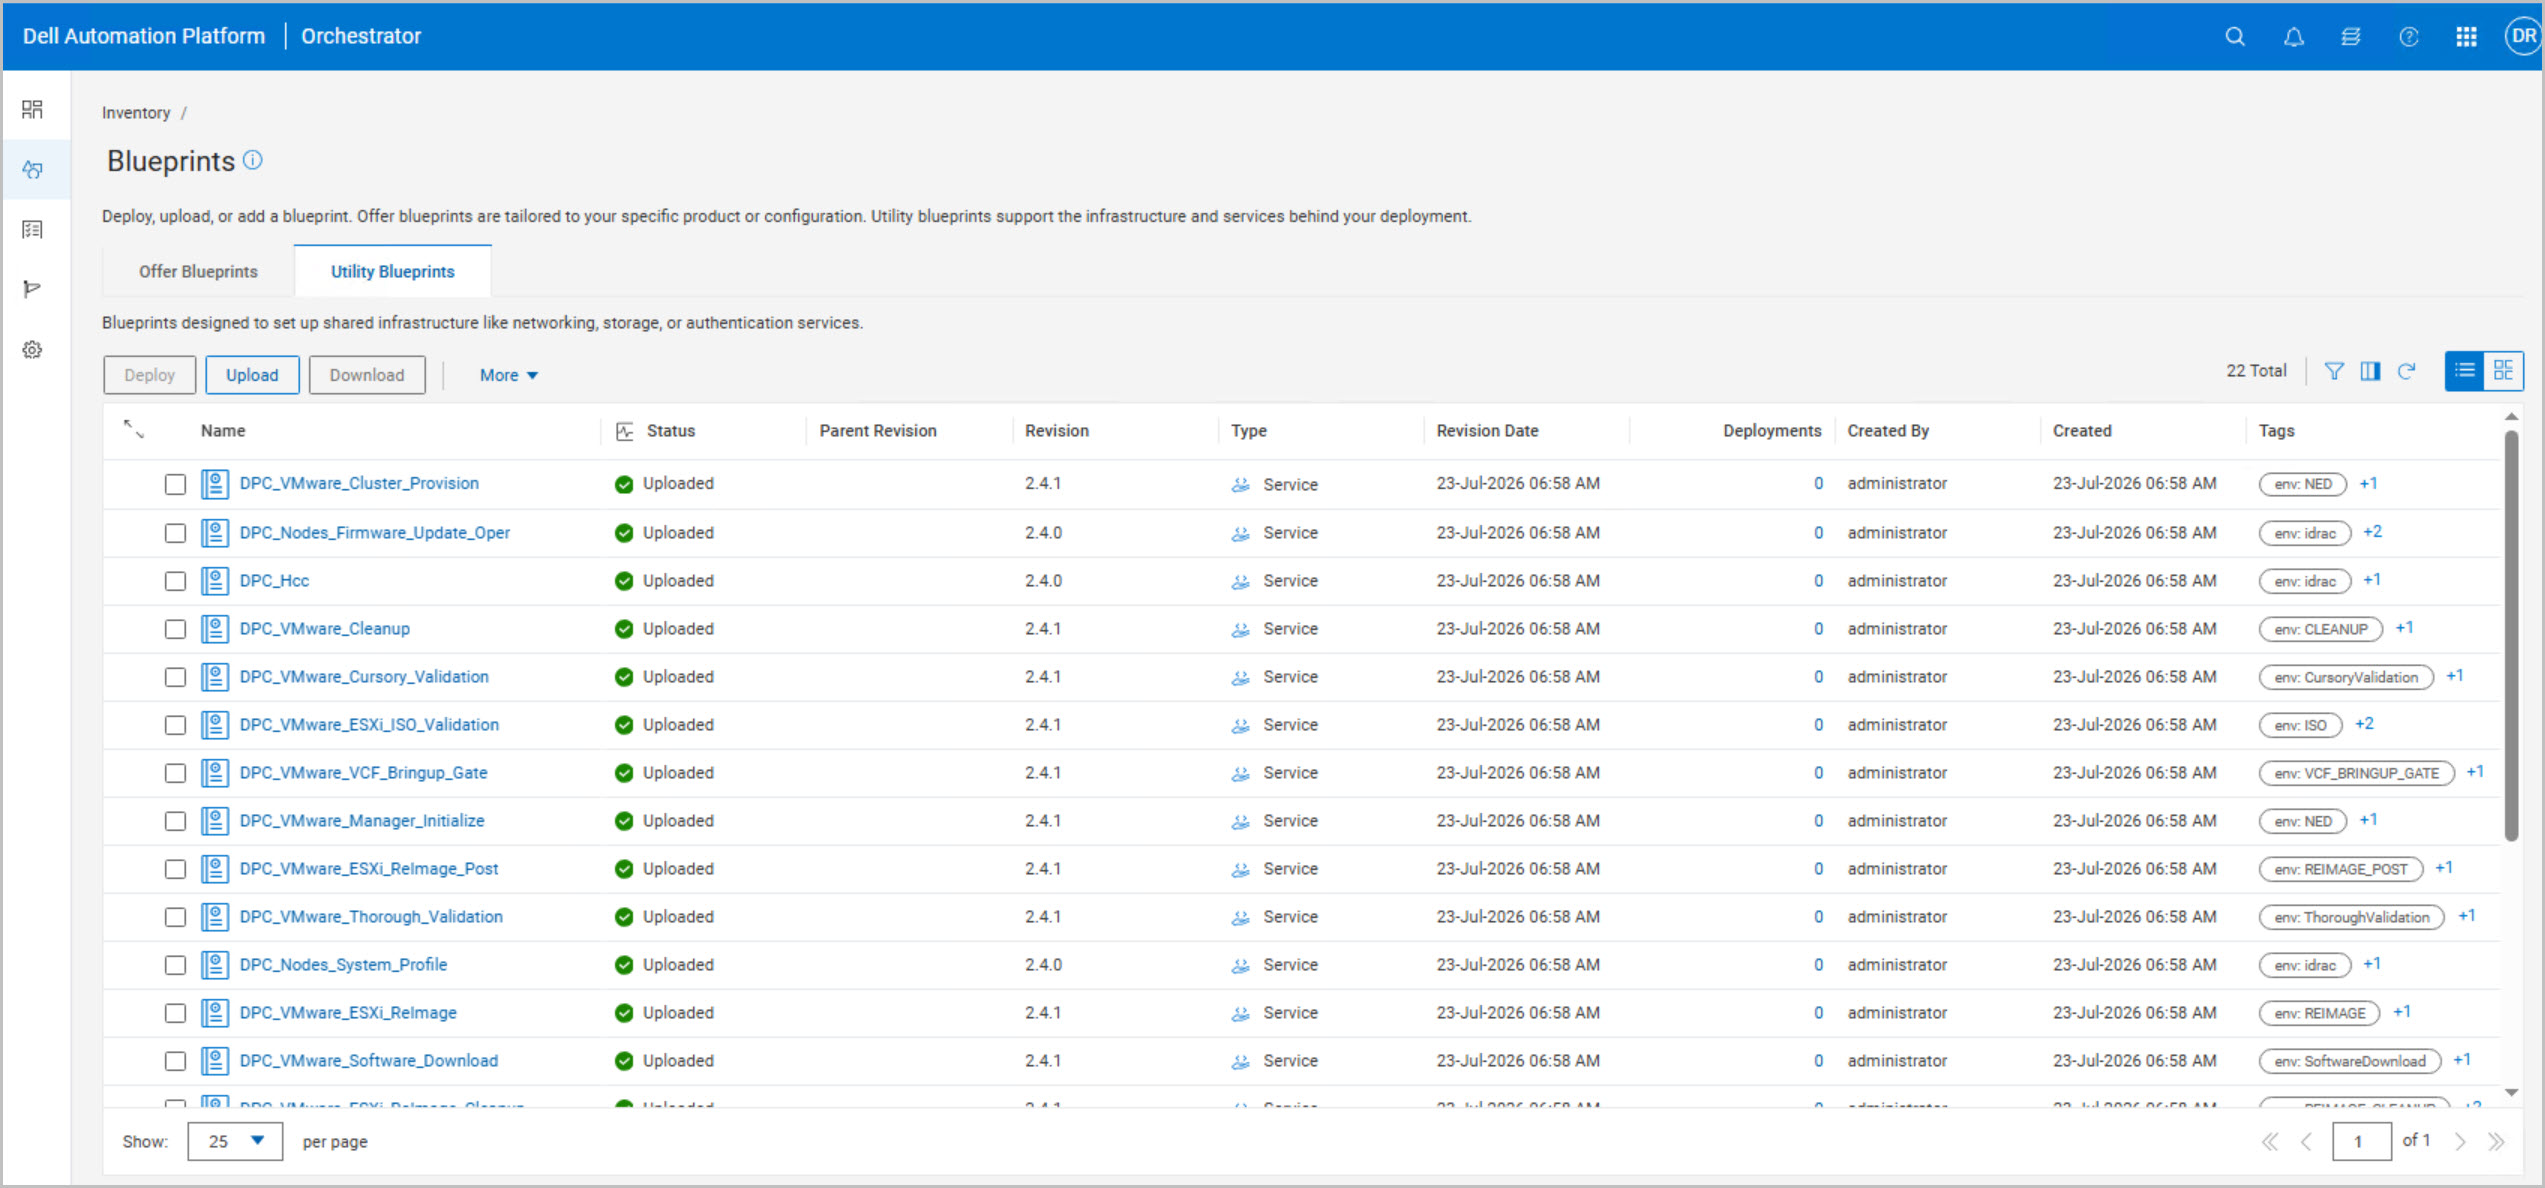
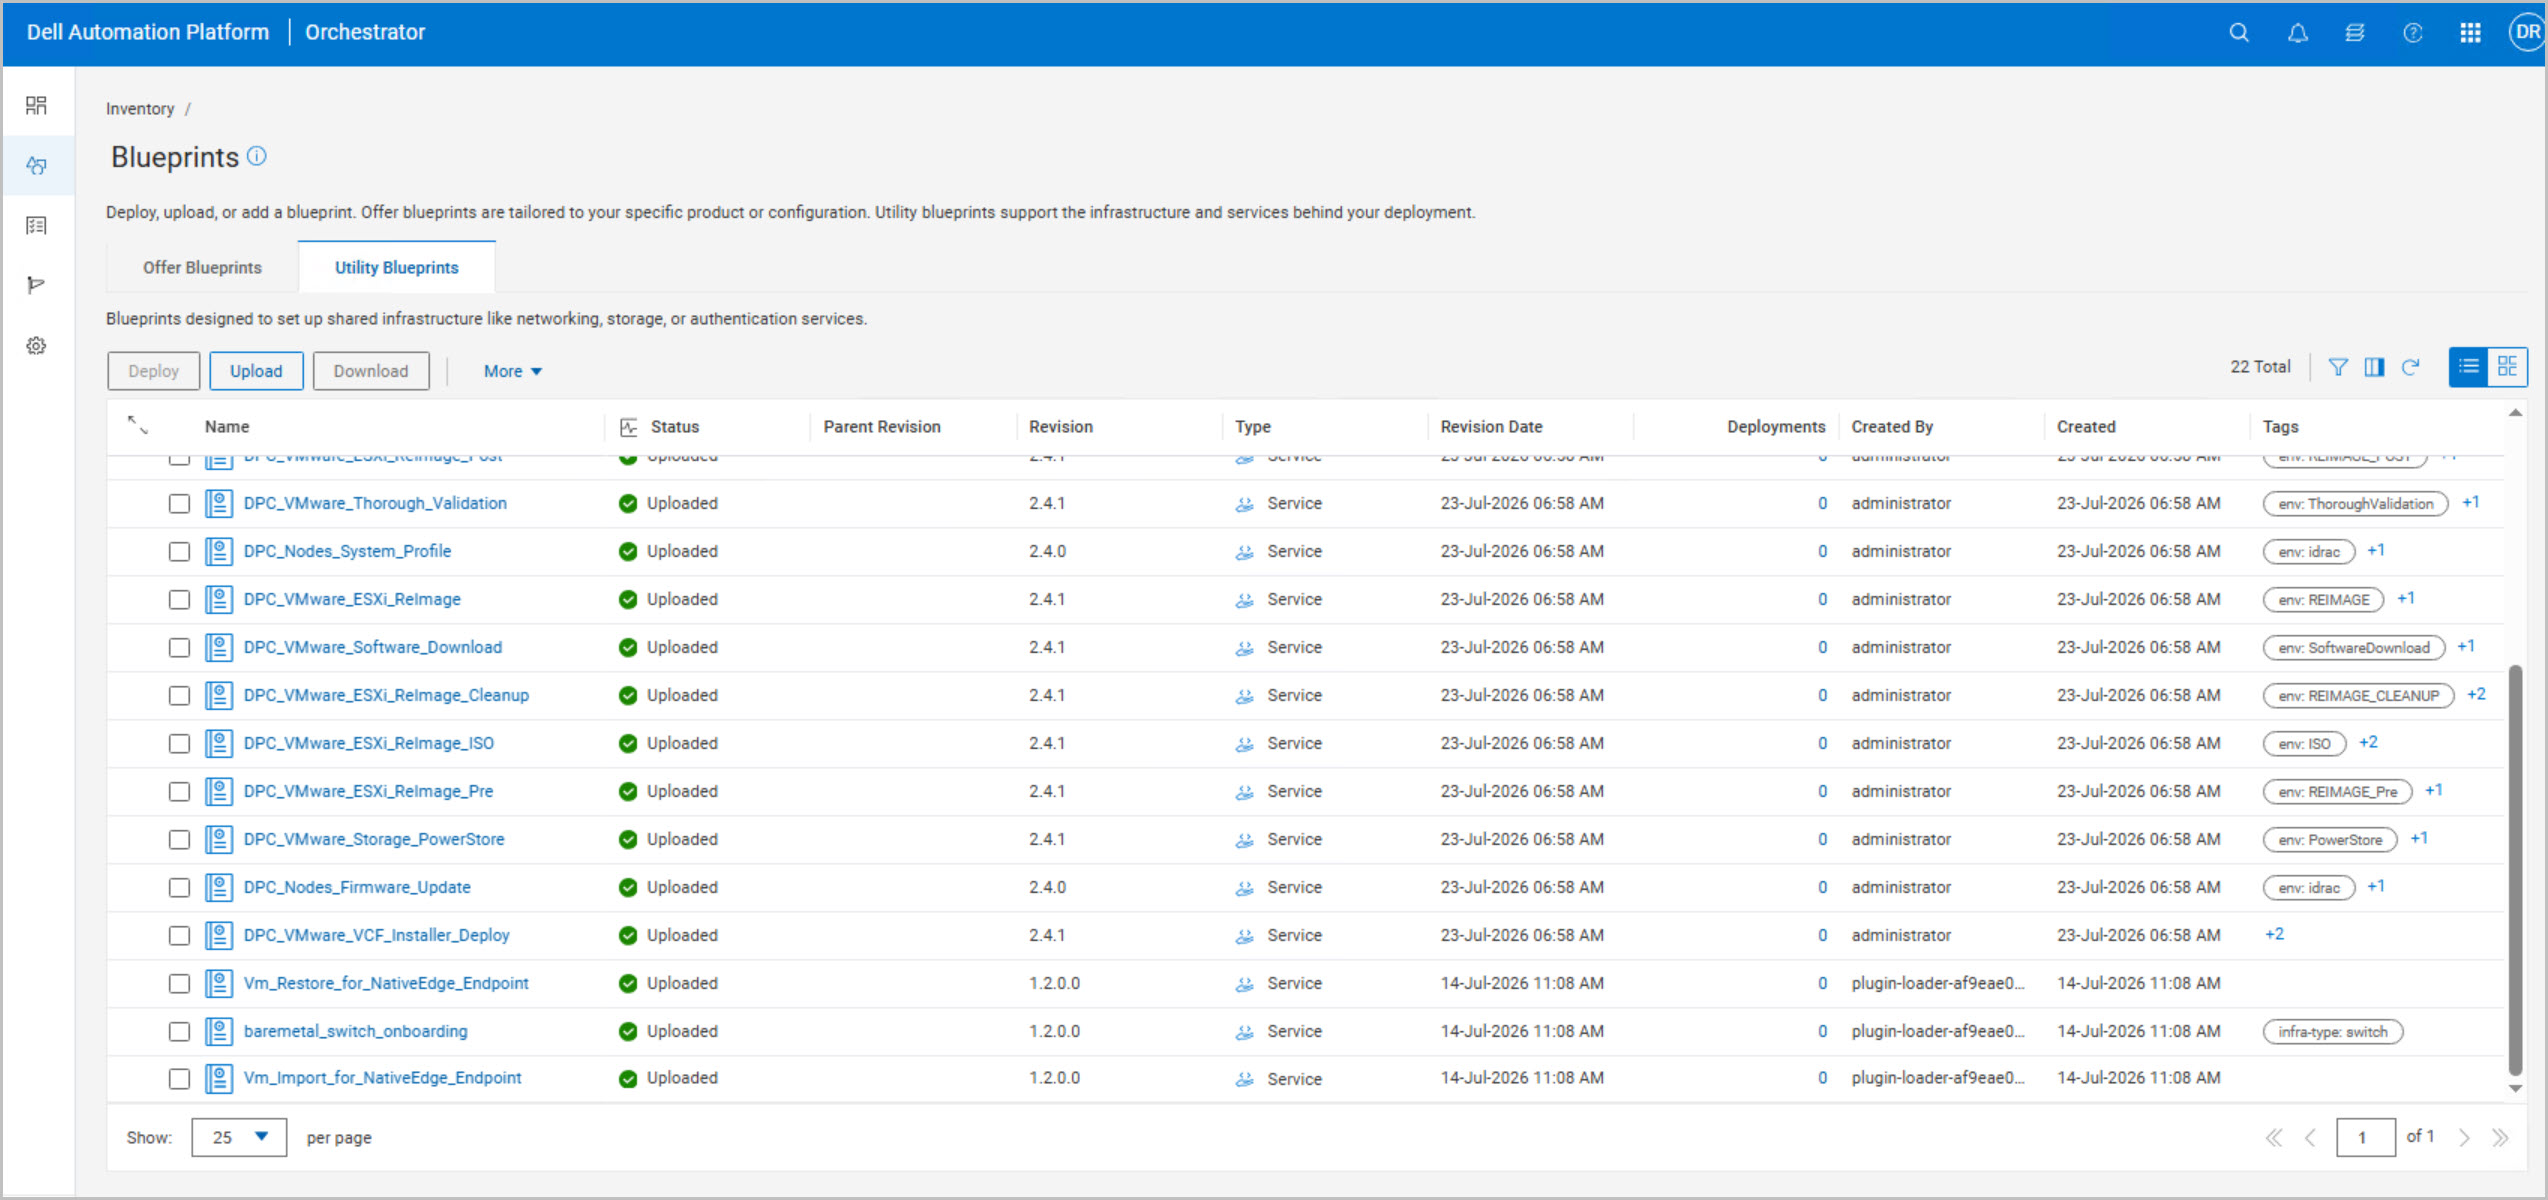
- Import the DPC blueprint package.
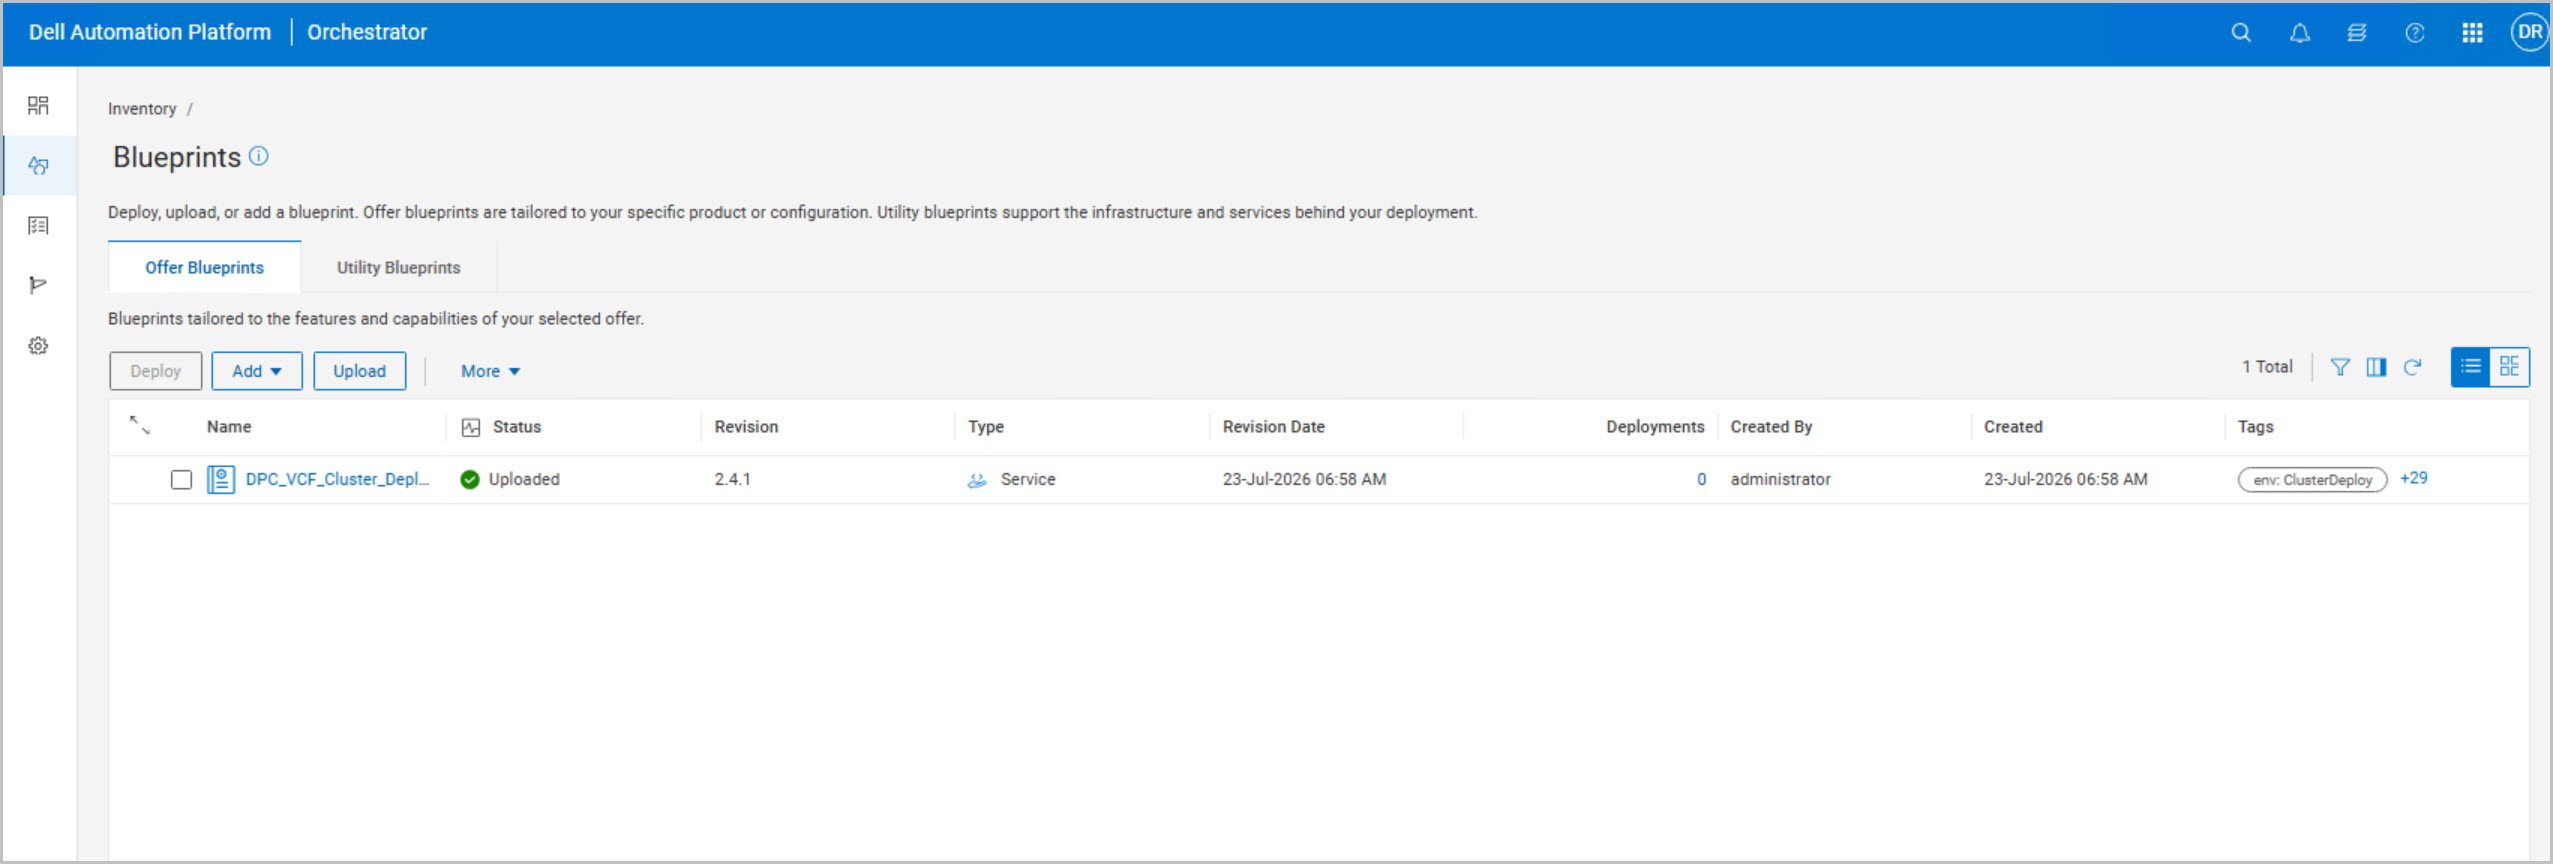
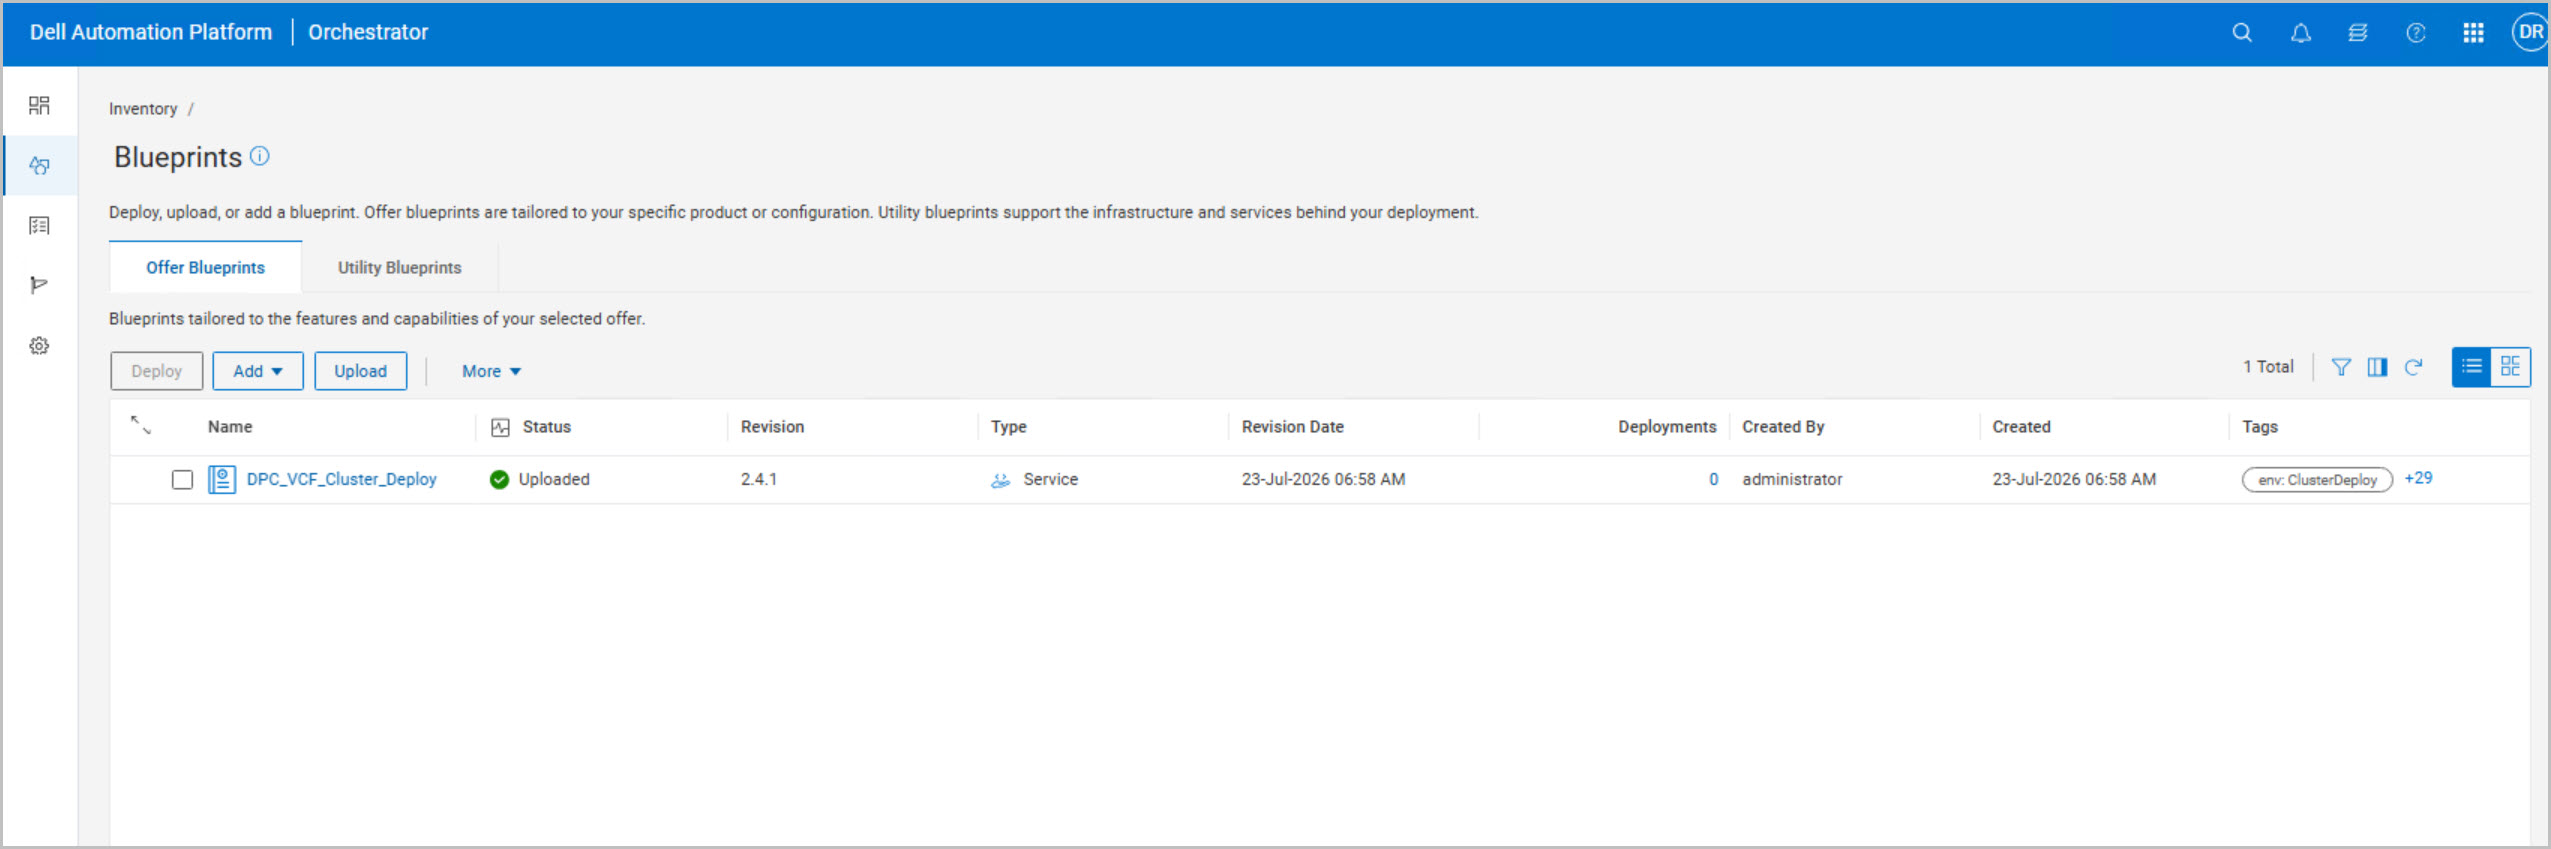
- Verify the blueprints were imported successfully.
Pre-Deployment Validation
Before running the blueprint, ensure:
- All compute assets show Healthy.
- PowerStore asset is Connected.
- Server NICs are Up and correctly cabled.
- WWNs are present and visible on the PowerStore array.
- Required bundles have completed upload and validation.
- All secrets have been configured successfully.
- All required DNS entries are created.
- NTP functioning correctly.
Deploying the DPC VCF Cluster Blueprint
In this walkthrough, I’m using the Automated PowerStore Deployment option within the Day-1 deployment blueprint. With this deployment model, DPC is responsible for the entire storage provisioning workflow, including PowerStore host registration and volume creation. As a result, ESXi hosts must not be pre-registered on the PowerStore array, and storage volumes should not be created in advance. The blueprint dynamically performs these tasks during deployment, and any manual preconfiguration can lead to conflicts or deployment failures. Before starting the workflow, ensure the PowerStore system has sufficient capacity available and that all deployment prerequisites have been completed, allowing the automation workflow to manage storage provisioning end-to-end.
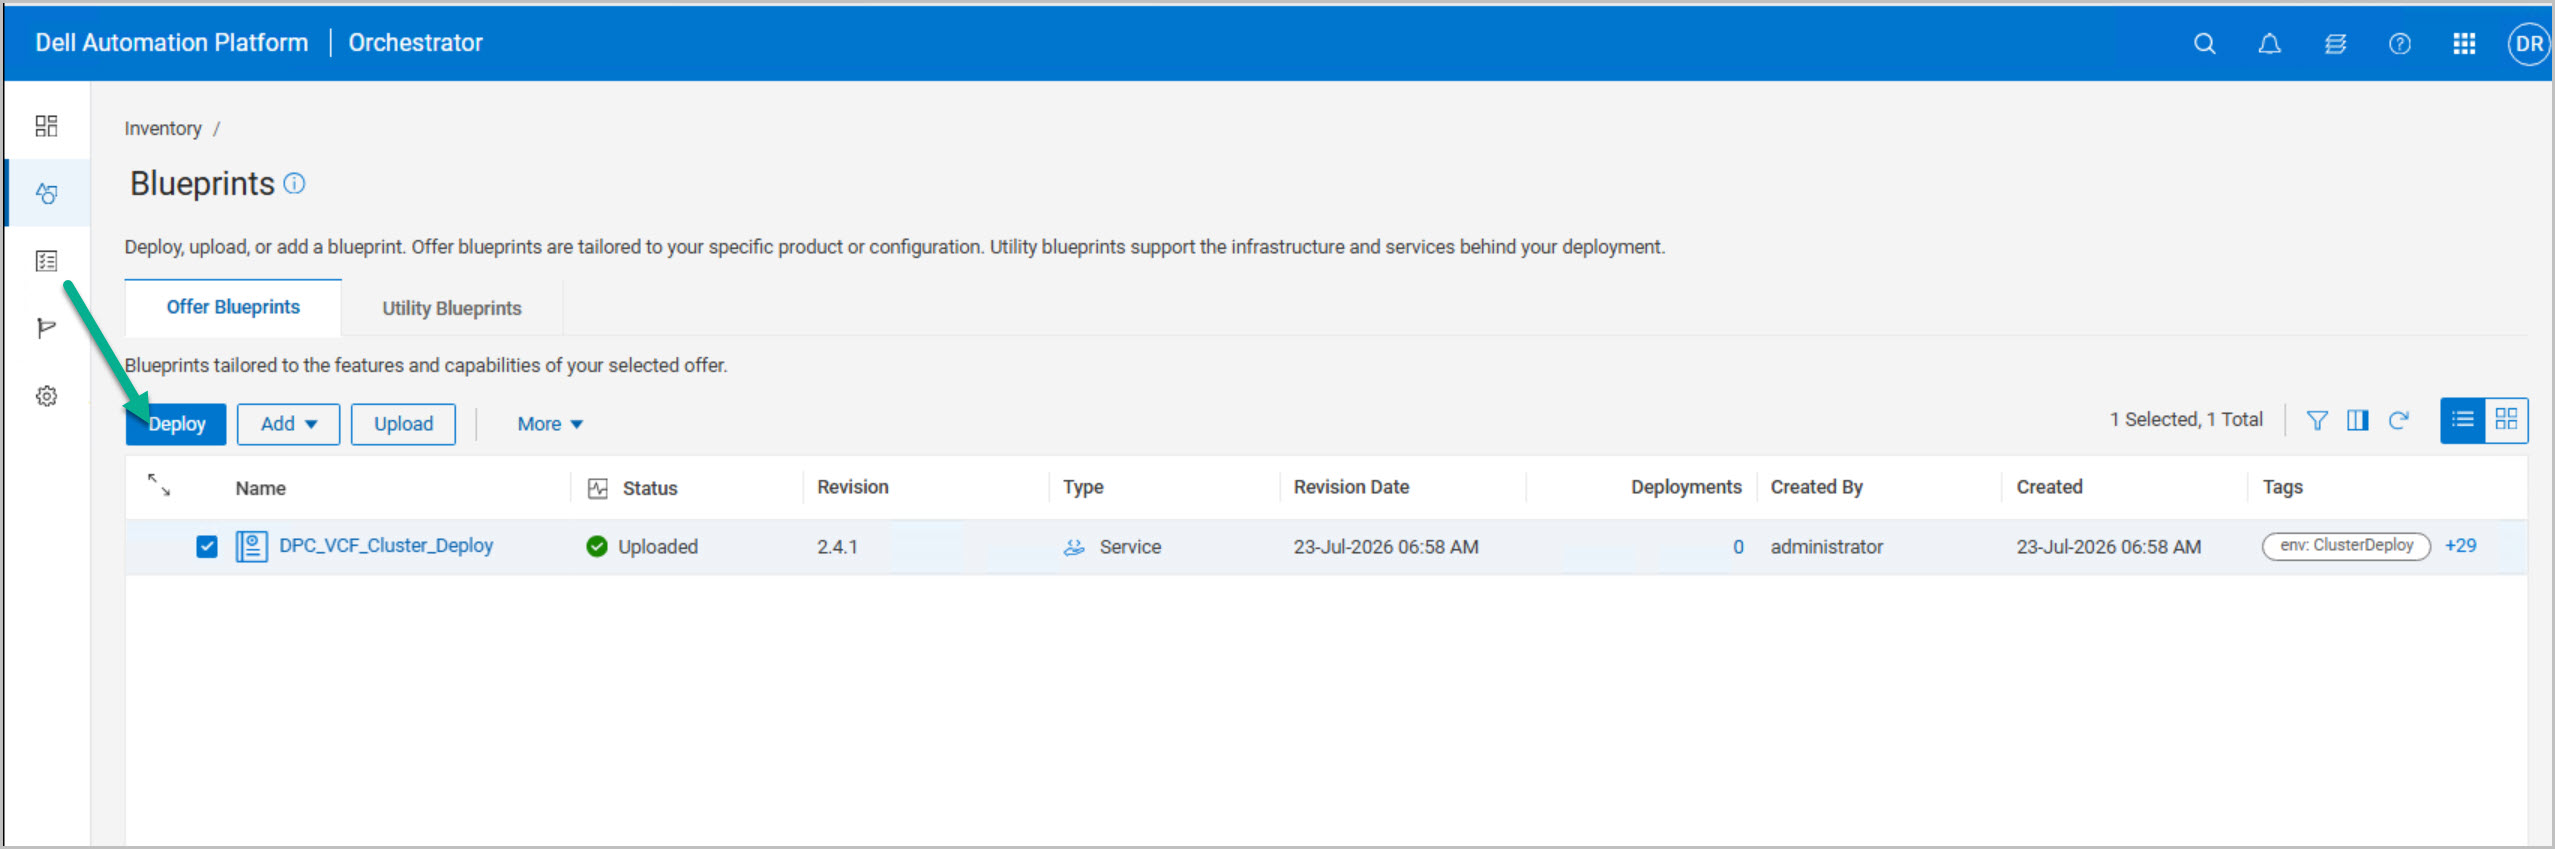
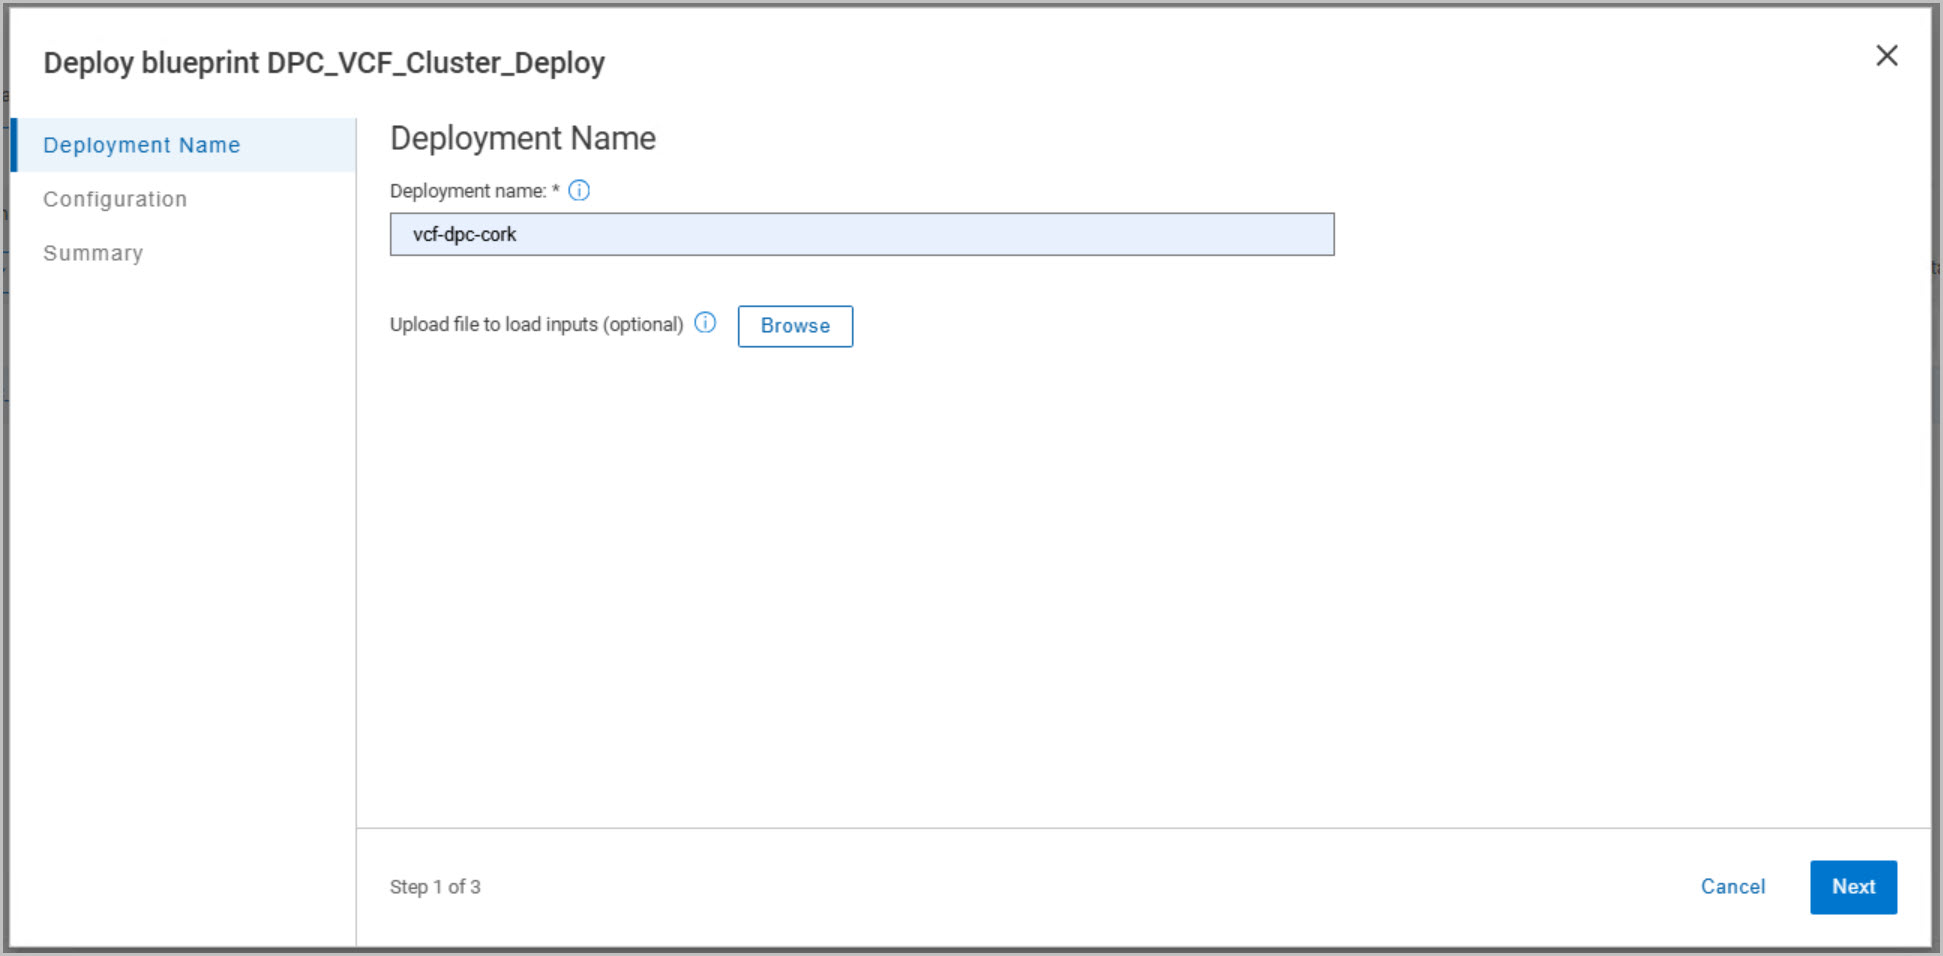
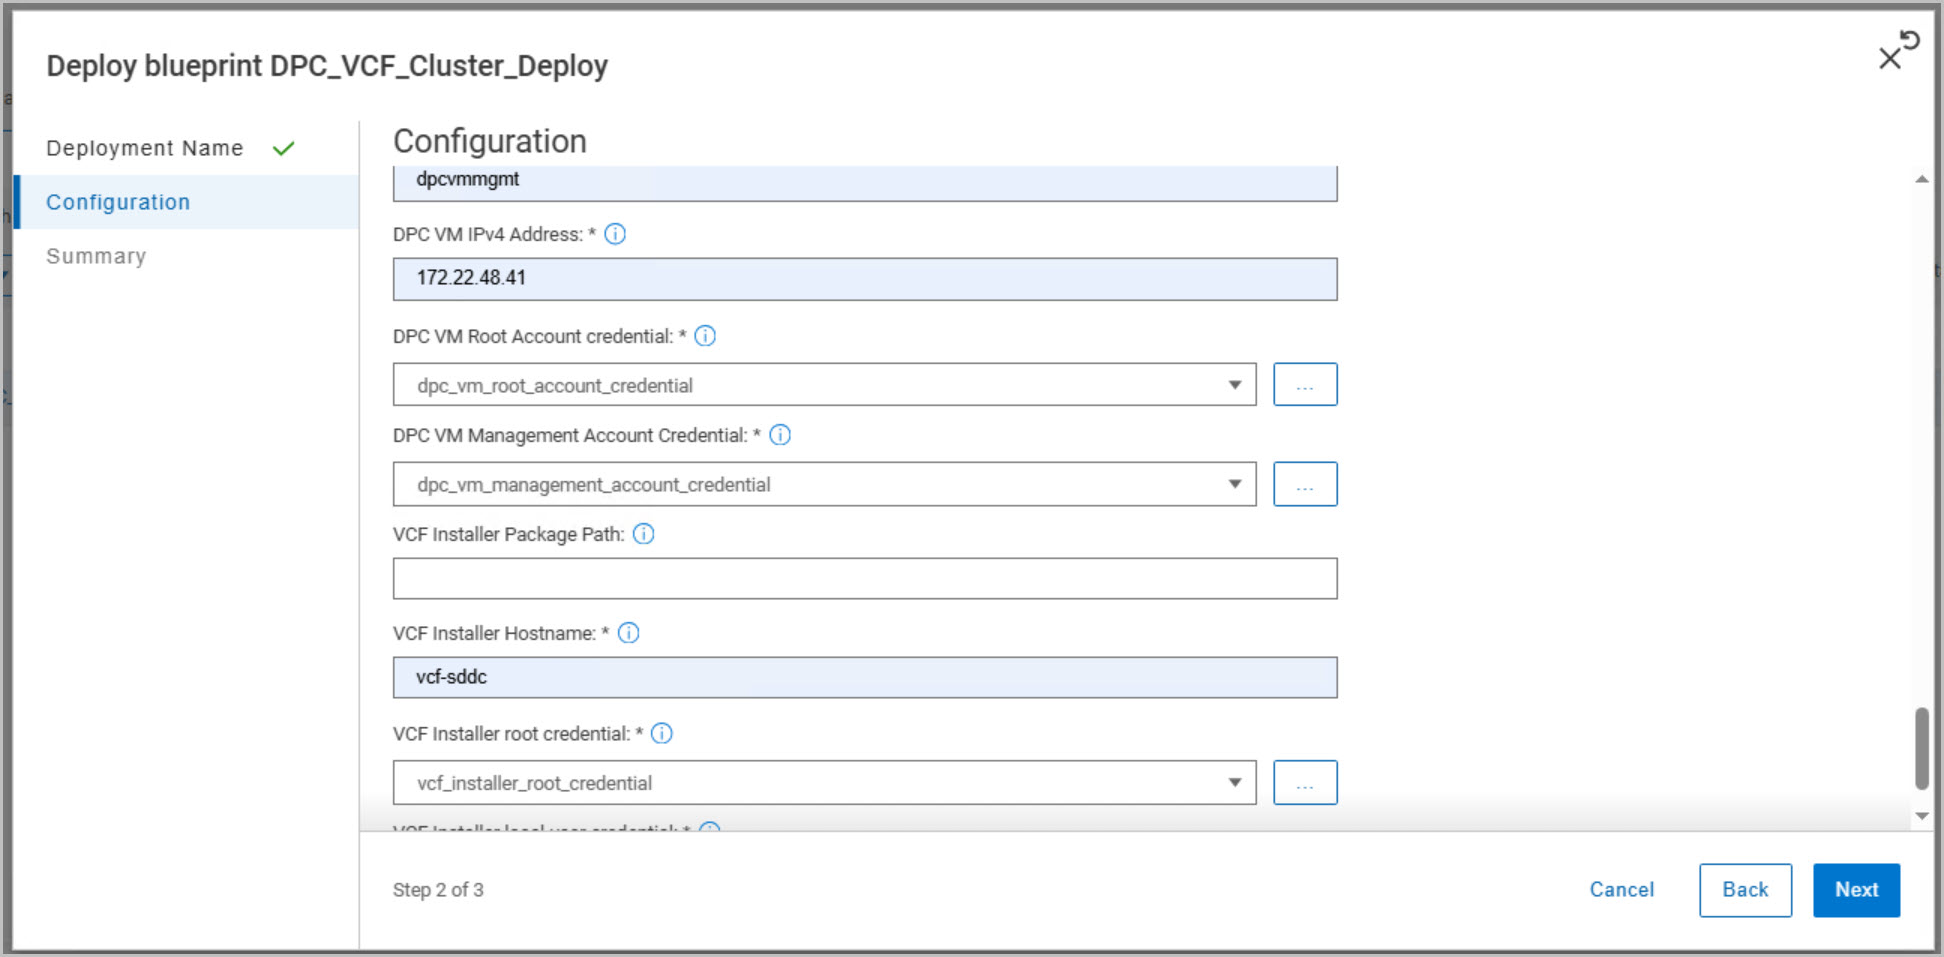
- Navigate to Blueprints, select DPC_VCF_Cluster_Deploy, and click Deploy.
- Deployment Name
- Enter a unique deployment name (for example,
vcf-dpc-cork).
- Optionally upload a saved input file.
- Click Next.
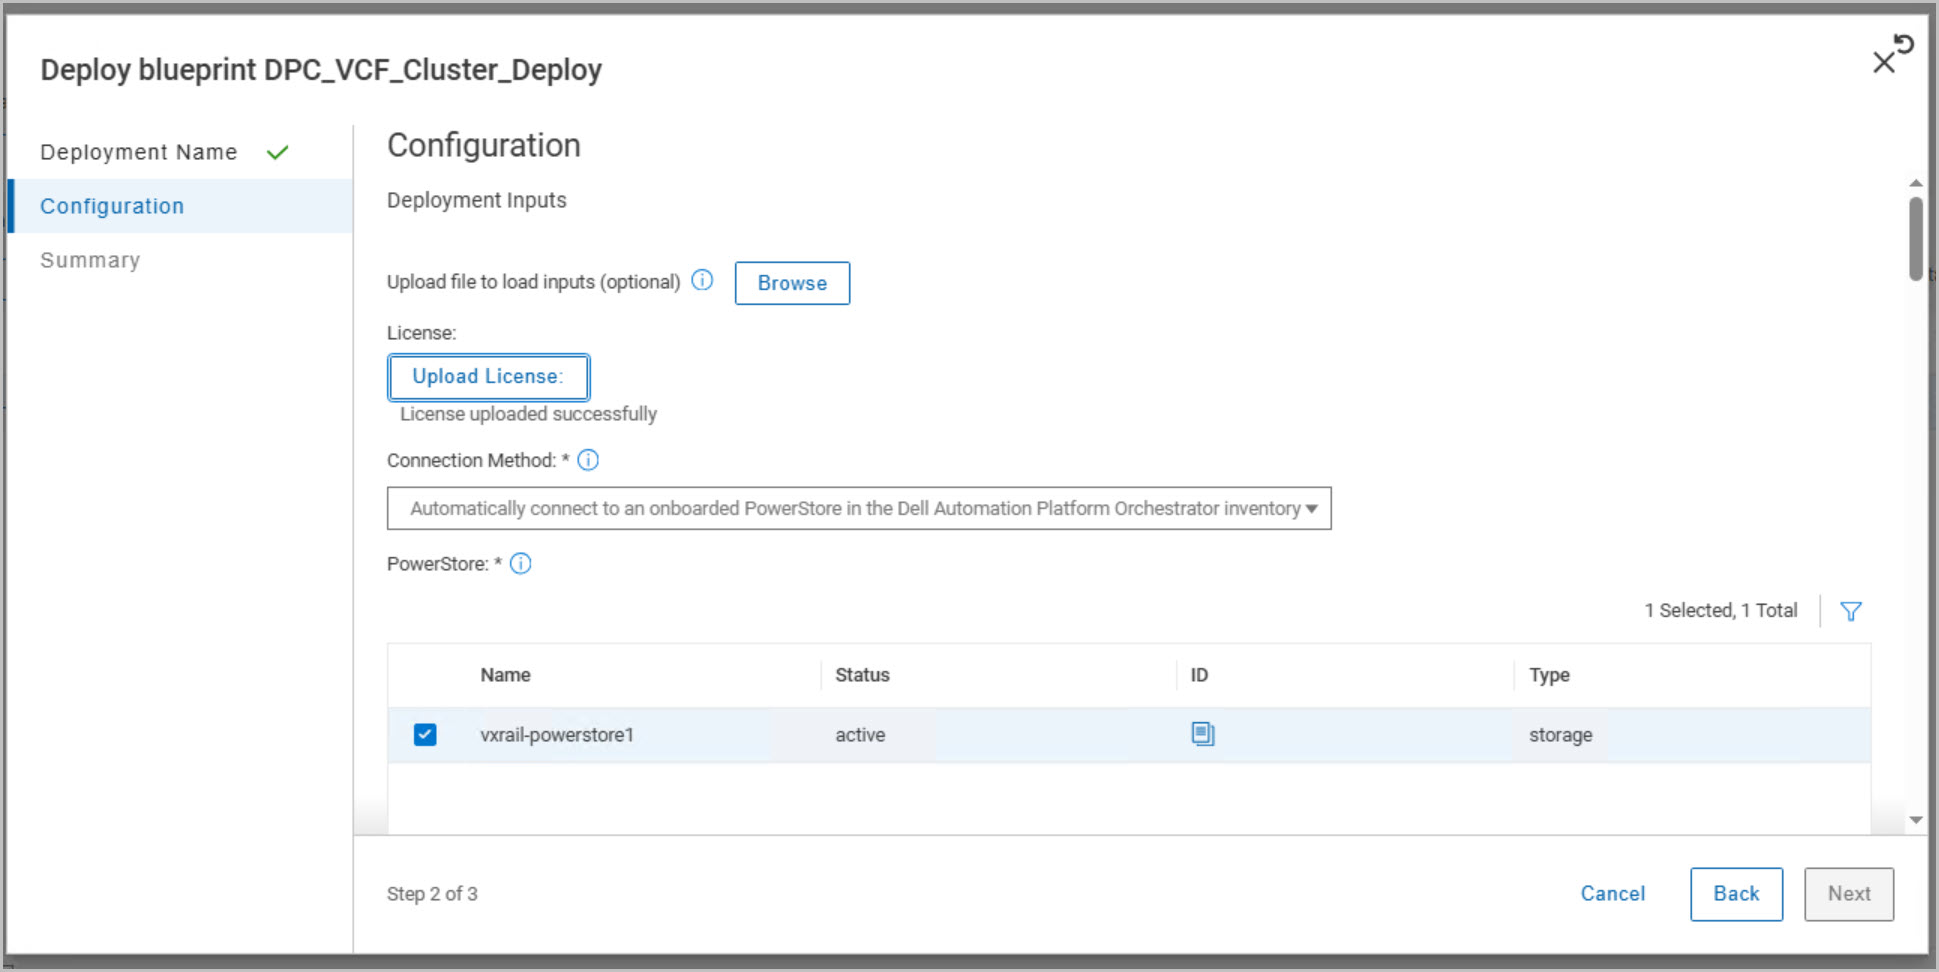
- Storage Configuration
- Select the onboarded PowerStore array.
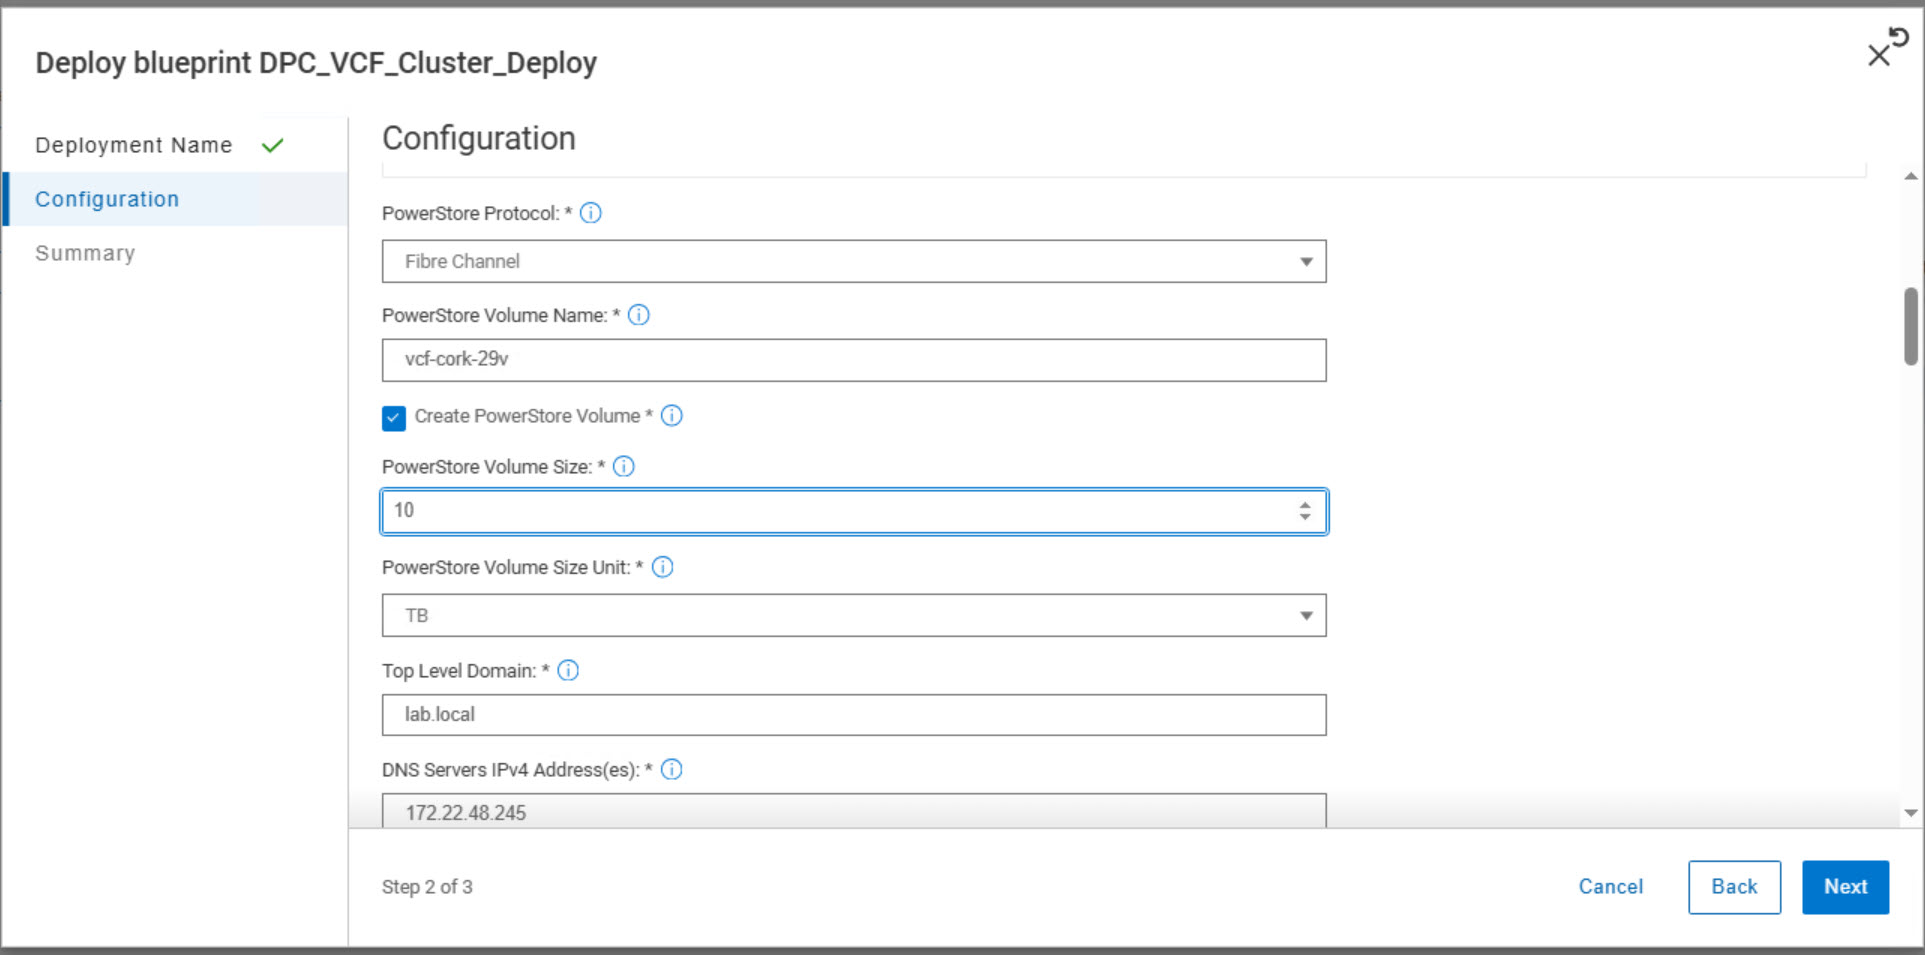
- Choose the storage protocol (Fibre Channel in this example).
- Specify the datastore name and size (confirm VCF sizing requirements min. 6TB ).
- Leave Create PowerStore Volume enabled when using Automated PowerStore Deployment.
- Network Configuration
- Enter the DNS domain and DNS servers.
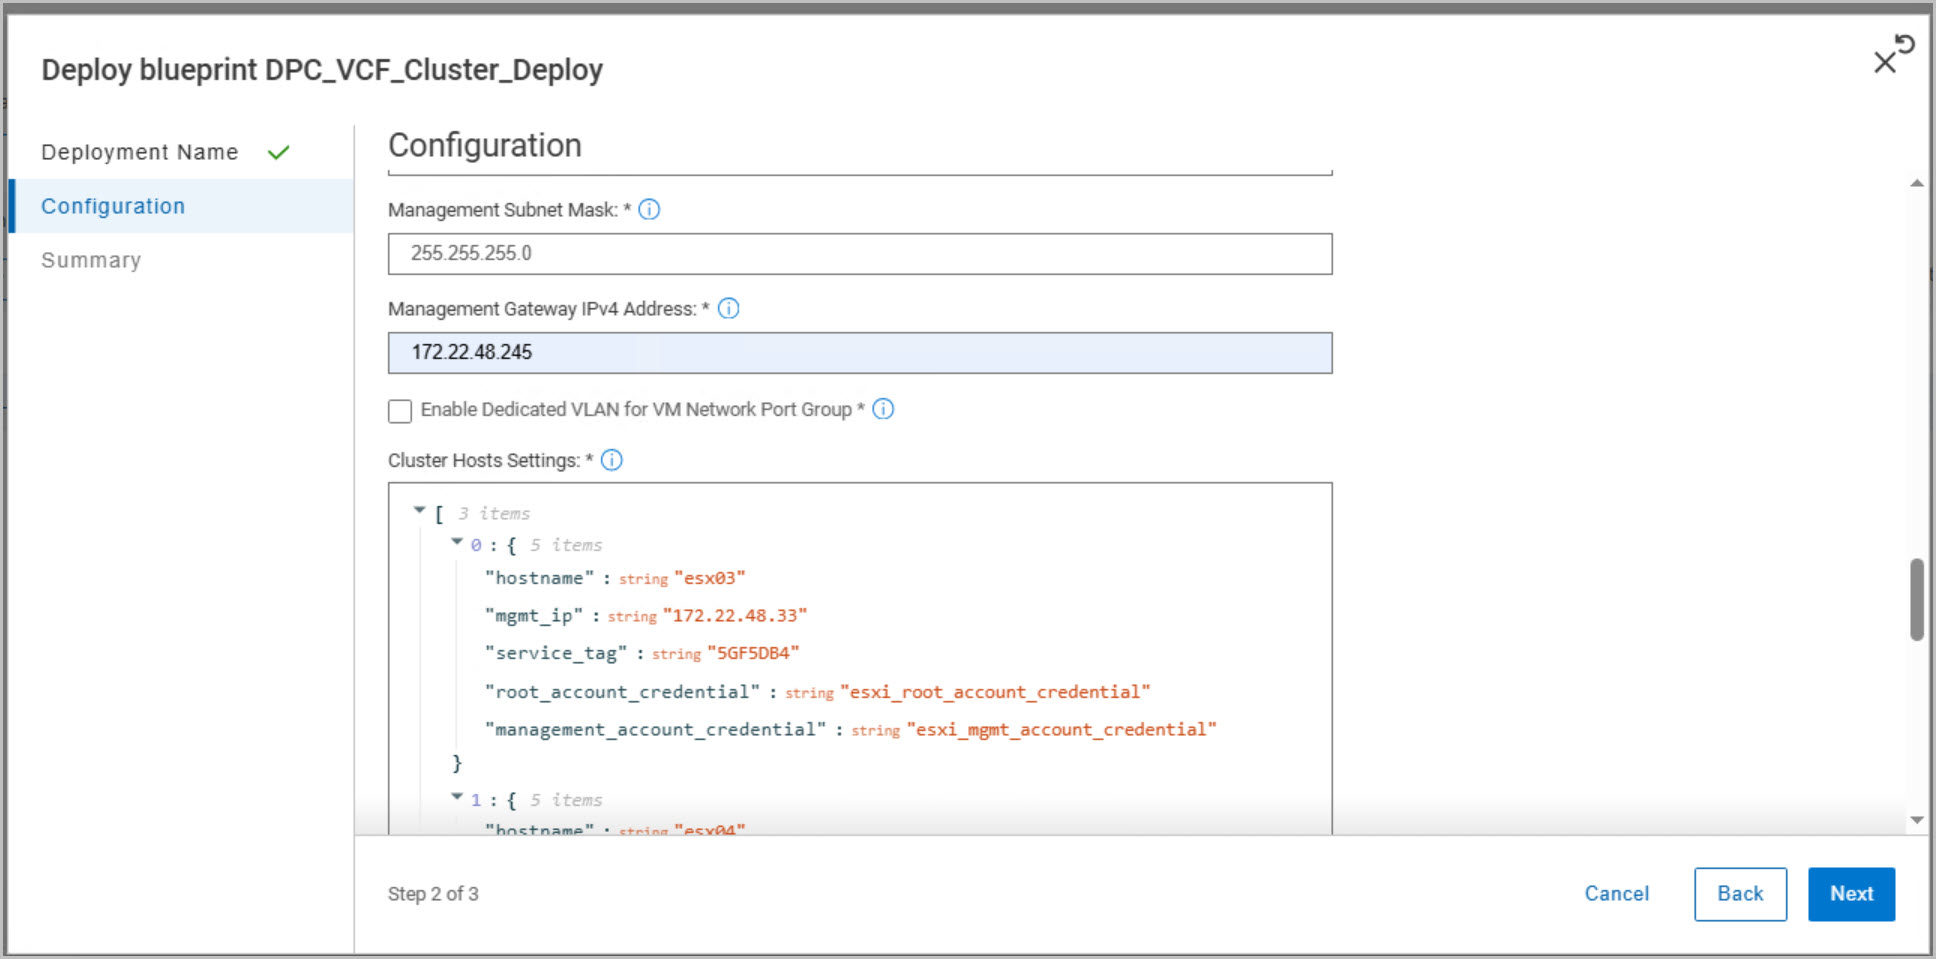
- Configure the management subnet mask and gateway.
- Review VLAN and port group settings.
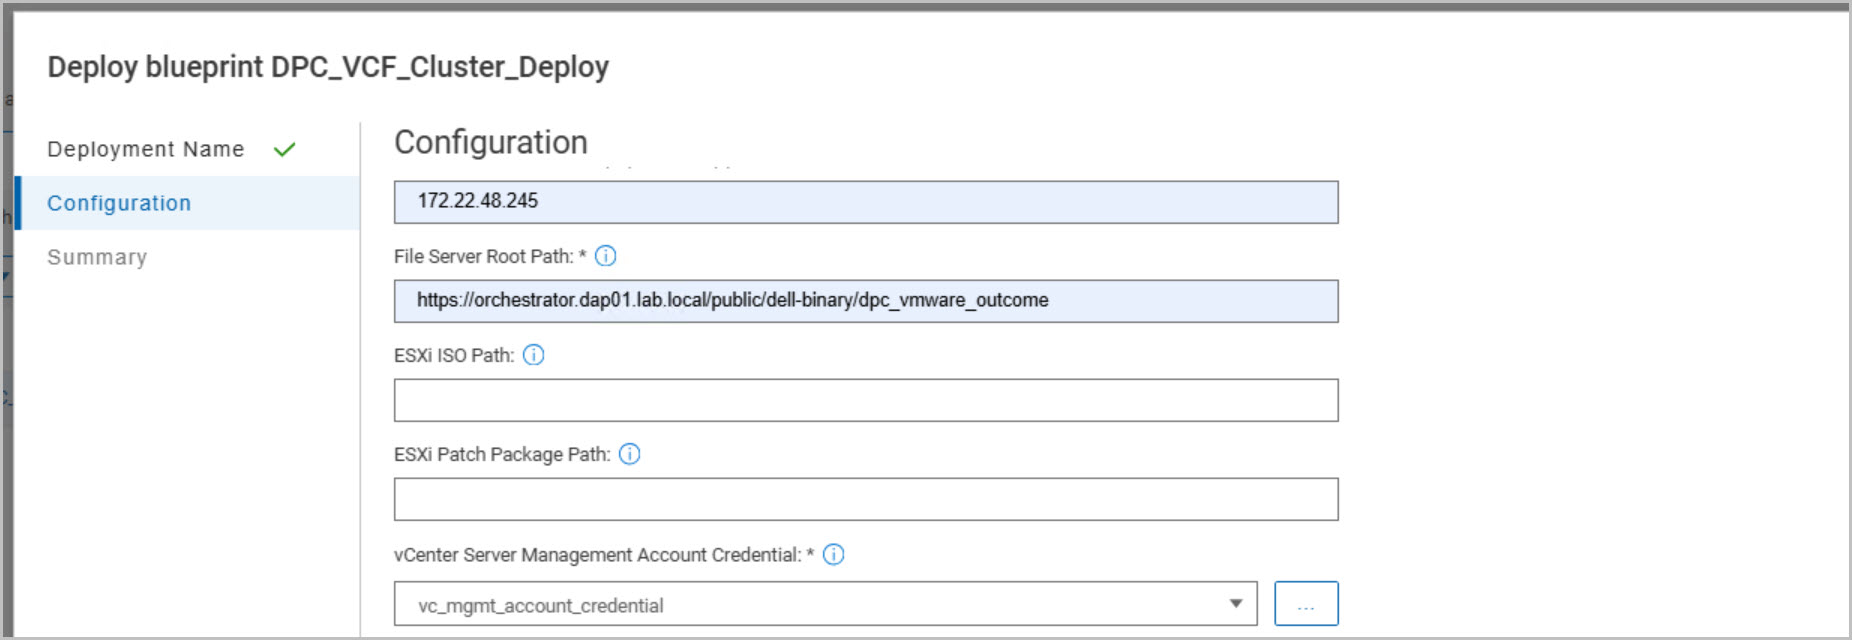
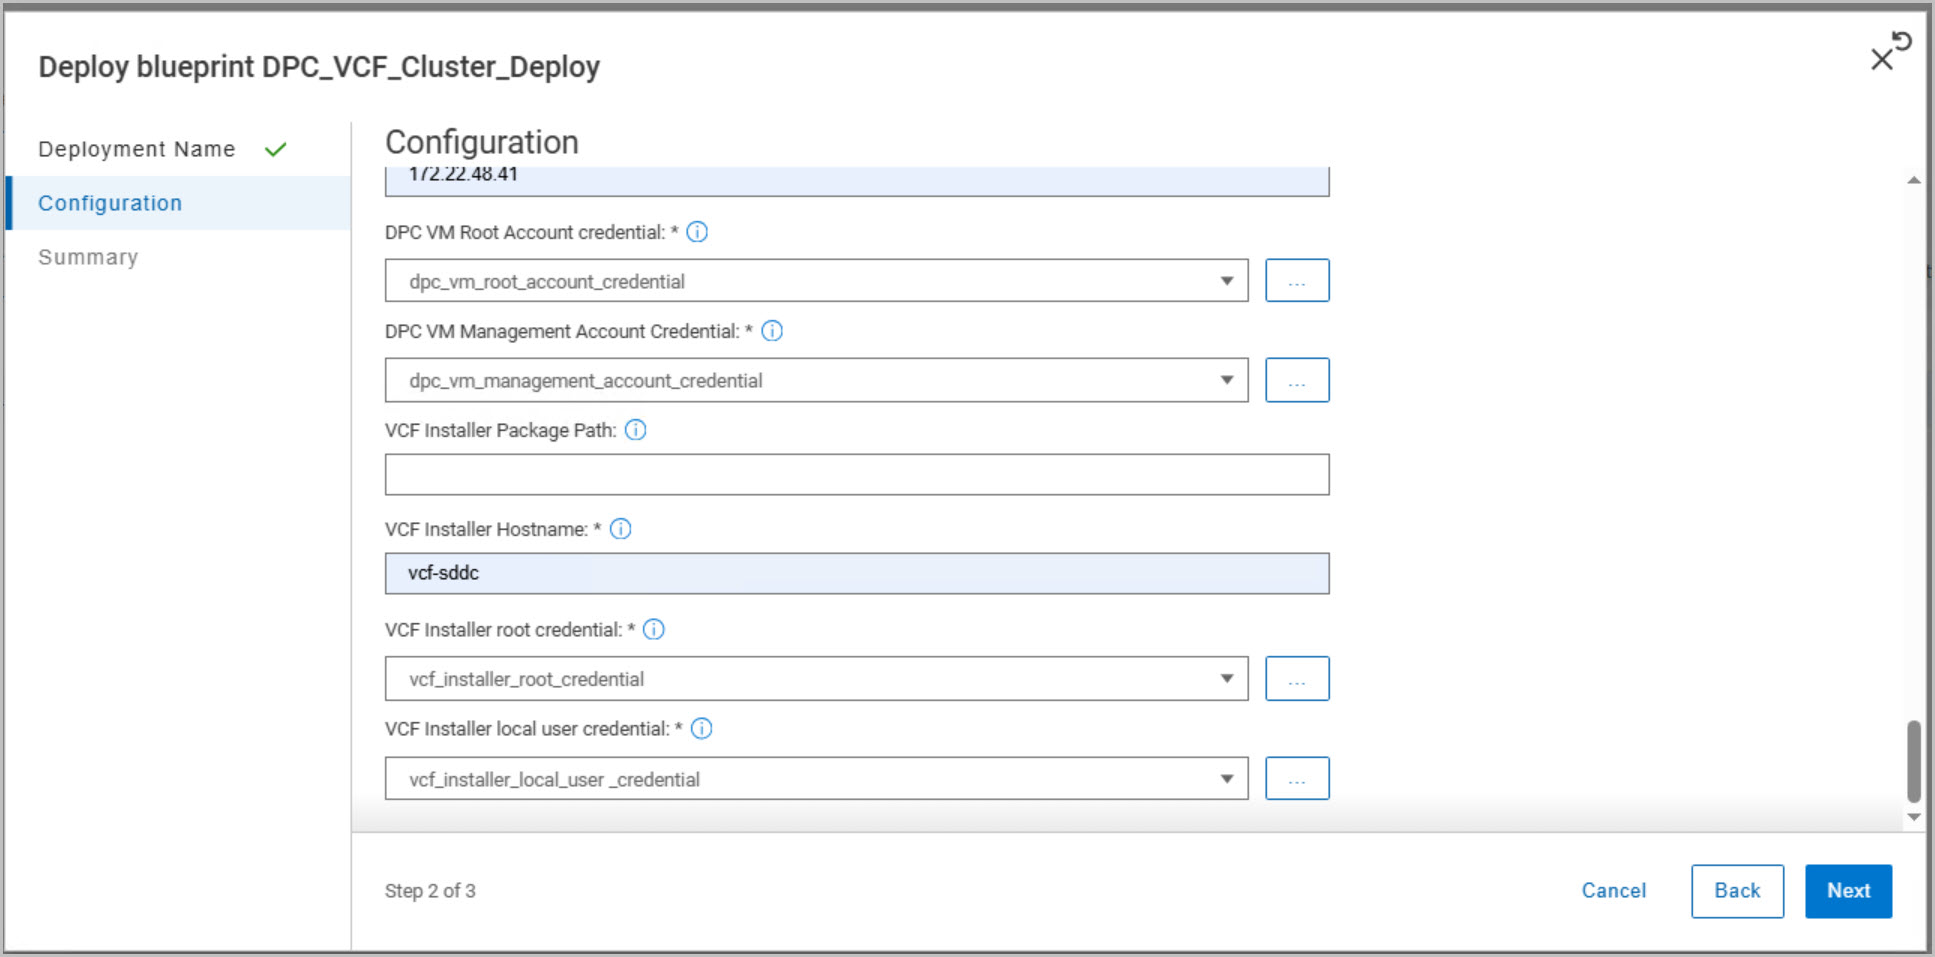
- Repository & Credentials
- Verify the DPC binary repository path.
- Select the required secrets for:
- DPC Management VM
- VCF Installer (SDDC Manager)
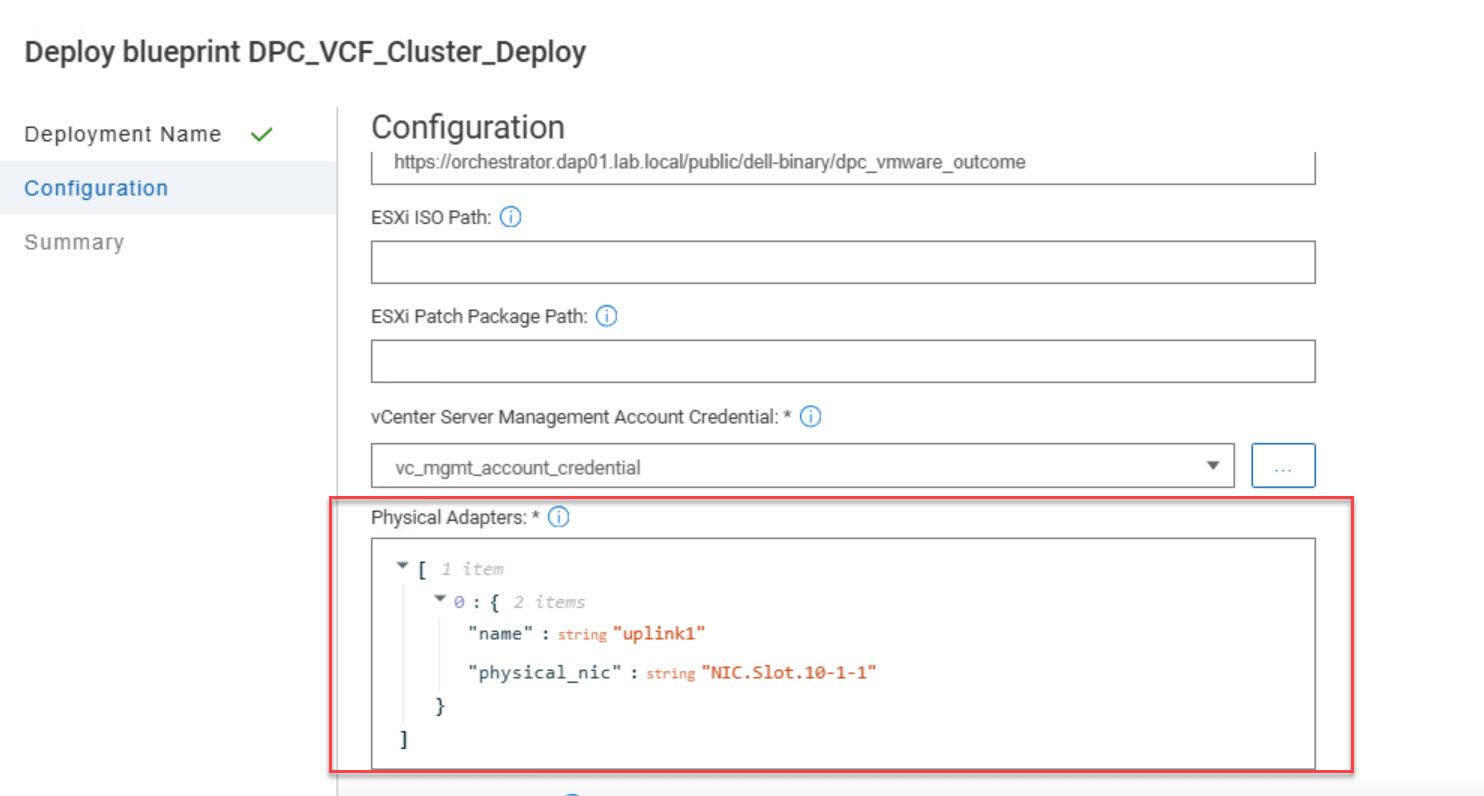
- Physical Adapter Mapping
- Map the deployment uplinks to the correct physical NIC.
- The management uplink is mapped to one physical NIC only.
- Verify the selected NICs are connected and operational.
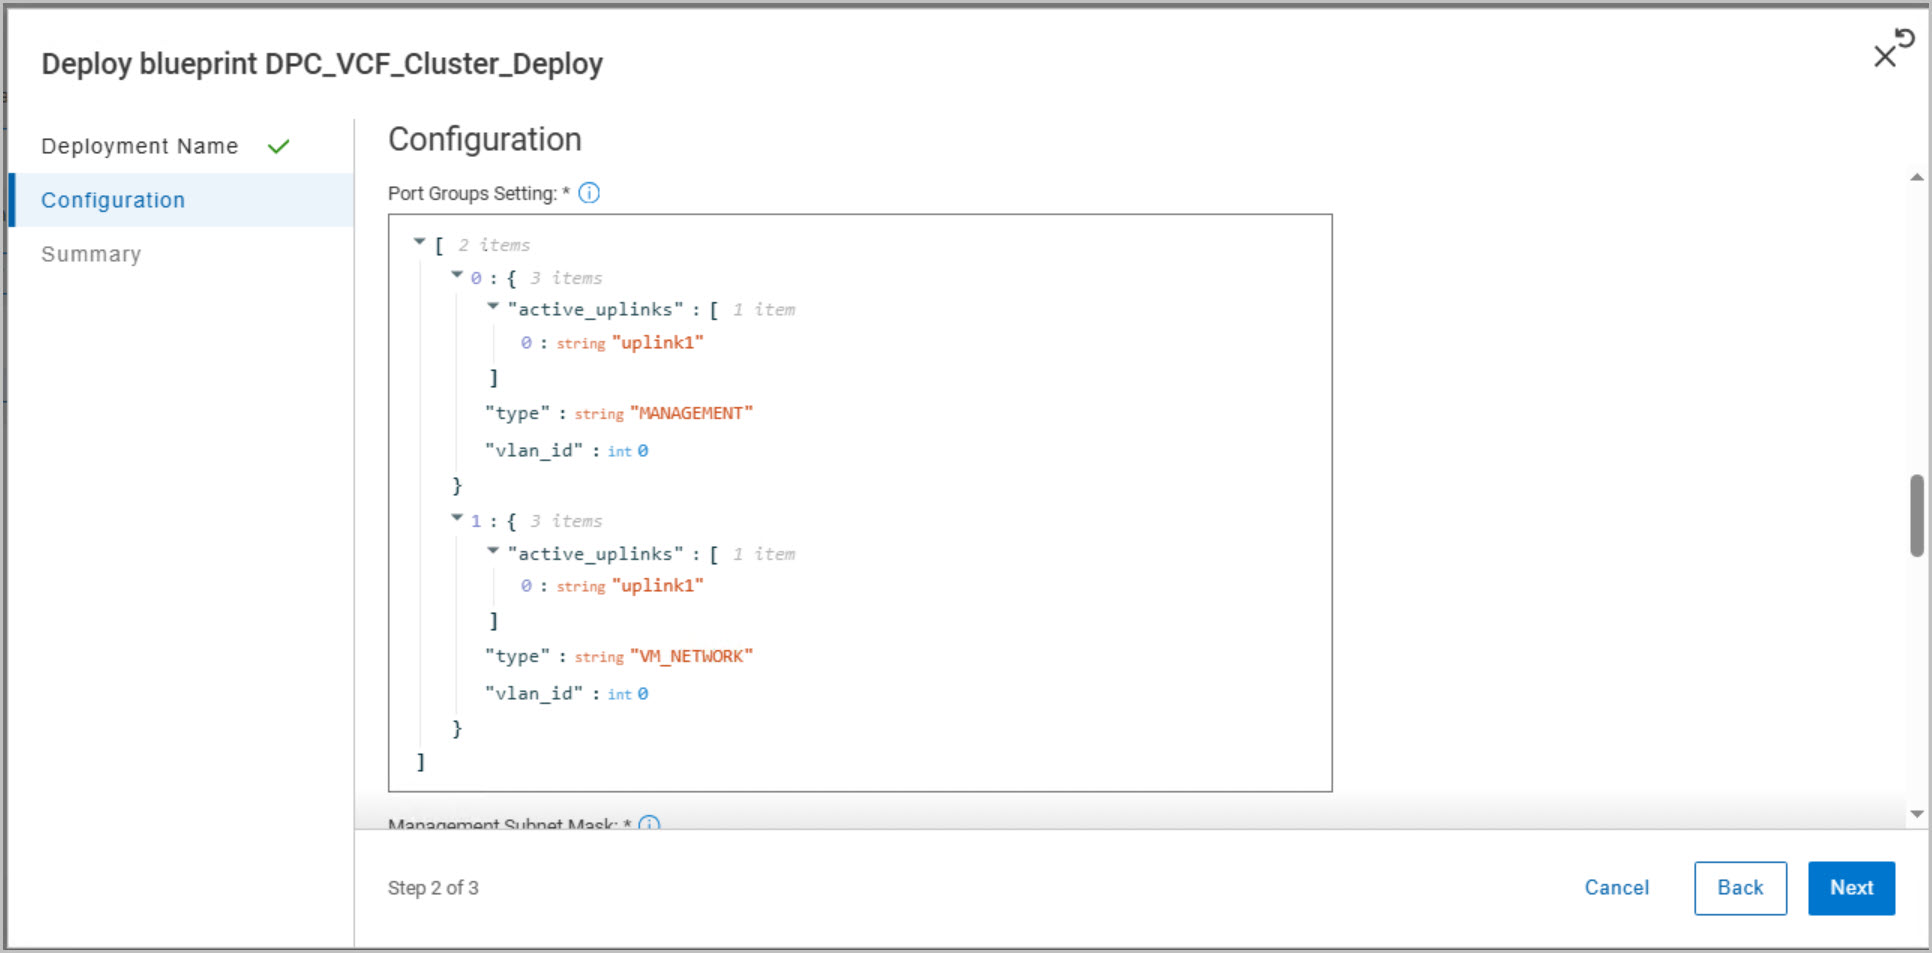
- Port Group Settings
- Review Management and VM Network port groups.
- Confirm uplink and VLAN assignments are correct.
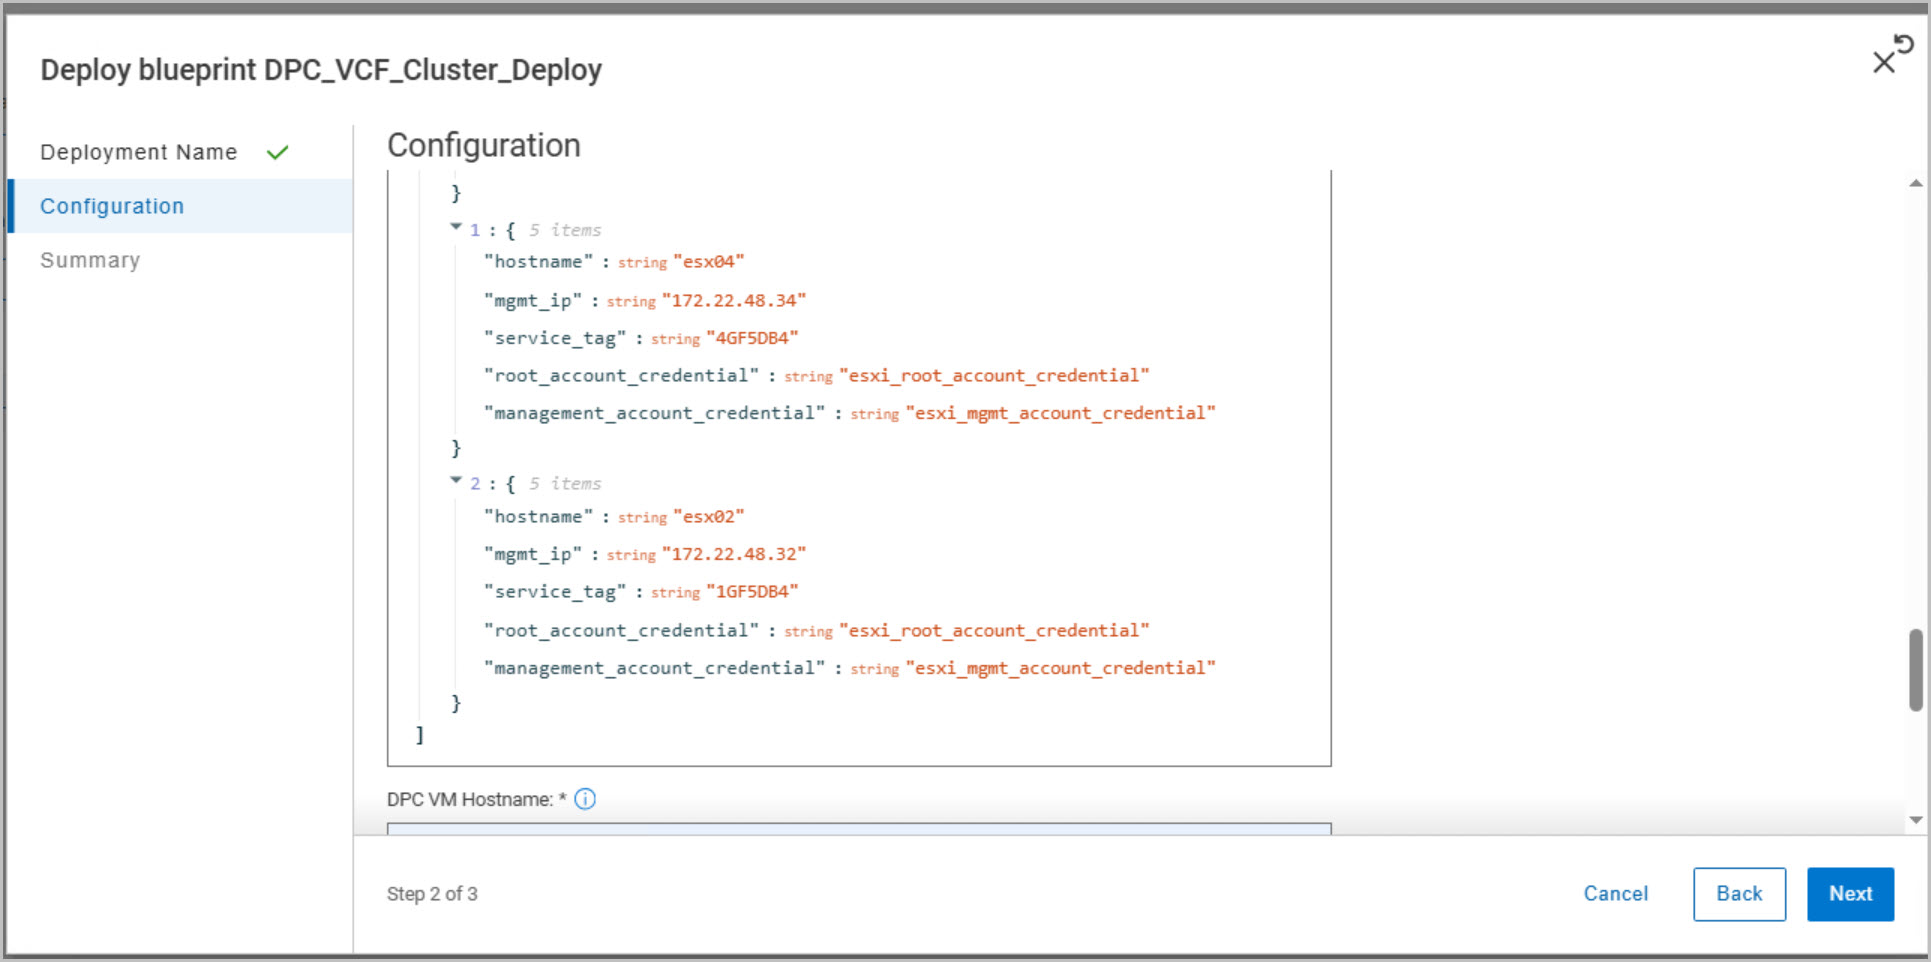
- Cluster Host Settings
- Verify each ESXi host:
- Hostname
- Management IP
- Service Tag
- Credential mappings
- DPC Management VM
- Review the hostname, IP address, and associated credentials.
- VCF Installer Configuration
- Verify the VCF Installer hostname and credential assignments.
- Important: The VCF Installer credentials must meet the VMware Cloud Foundation password requirements. When creating the VCF Installer root and local user secrets, ensure the passwords are at least 15 characters long and comply with the VCF complexity requirements. Using a password that does not meet these requirements will cause the deployment validation to fail and prevent the management domain from being deployed successfully.
- Review Summary
- Confirm storage, networking, hosts, credentials, and appliance settings.
- Deploy
- Click Deploy to start the workflow.
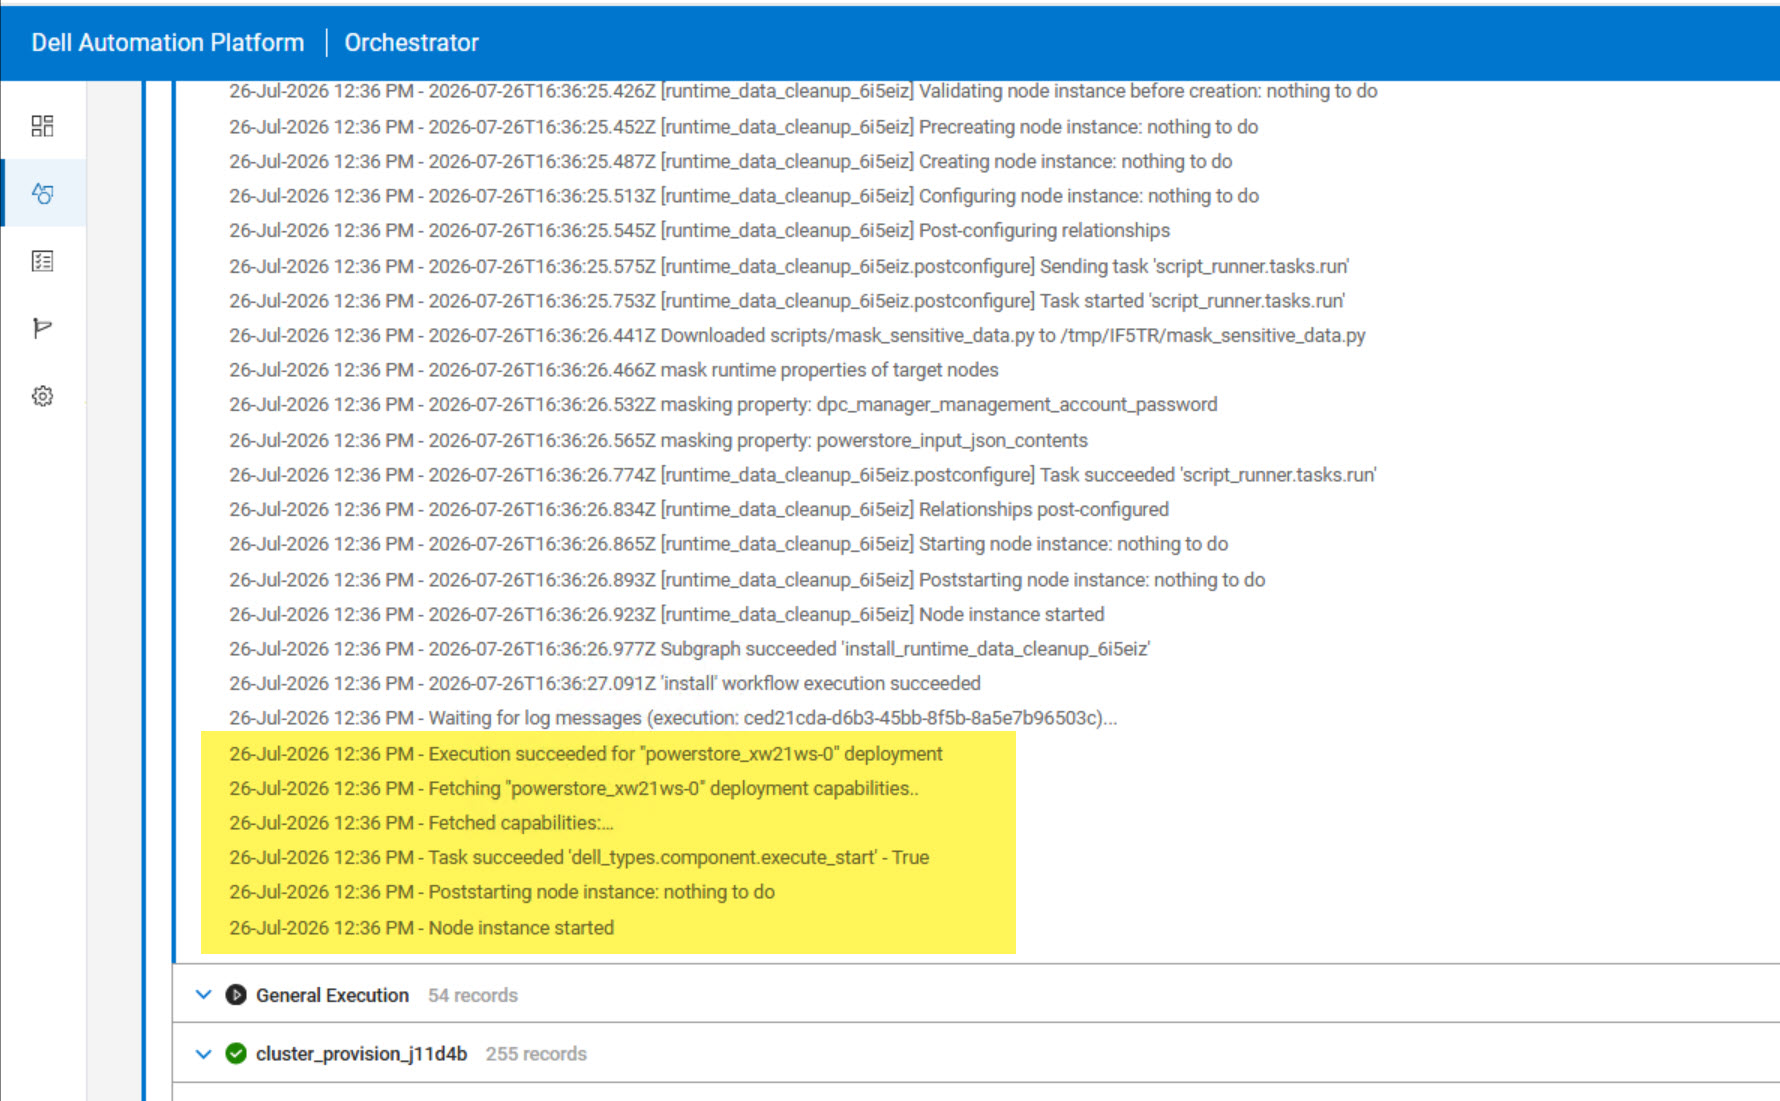
- Monitor progress from the Deployments dashboard as DAPO provisions storage, deploys the management appliances, and builds the VCF Management Domain.
Tracking Deployment Progress
Once the blueprint has been deployed, you can monitor progress from Deployments within the DAPO portal.
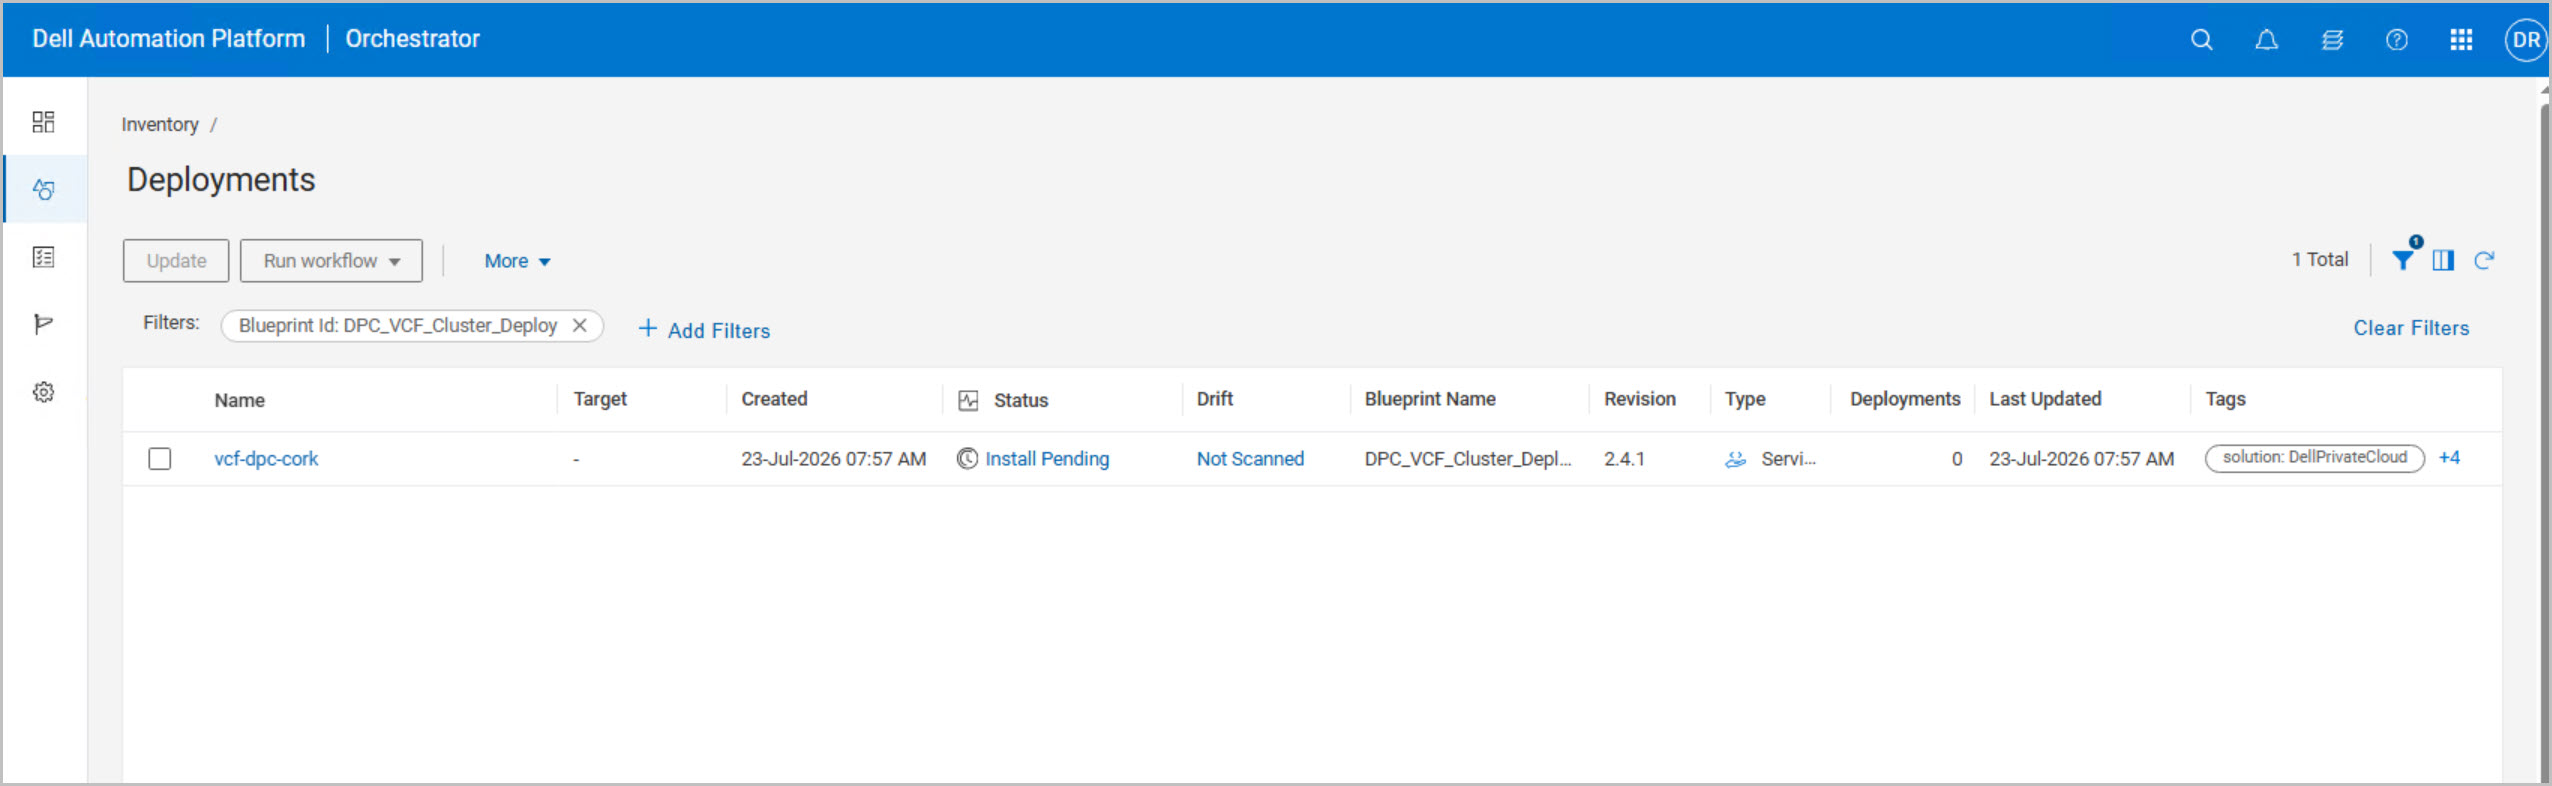
- Navigate to Inventory → Deployments.
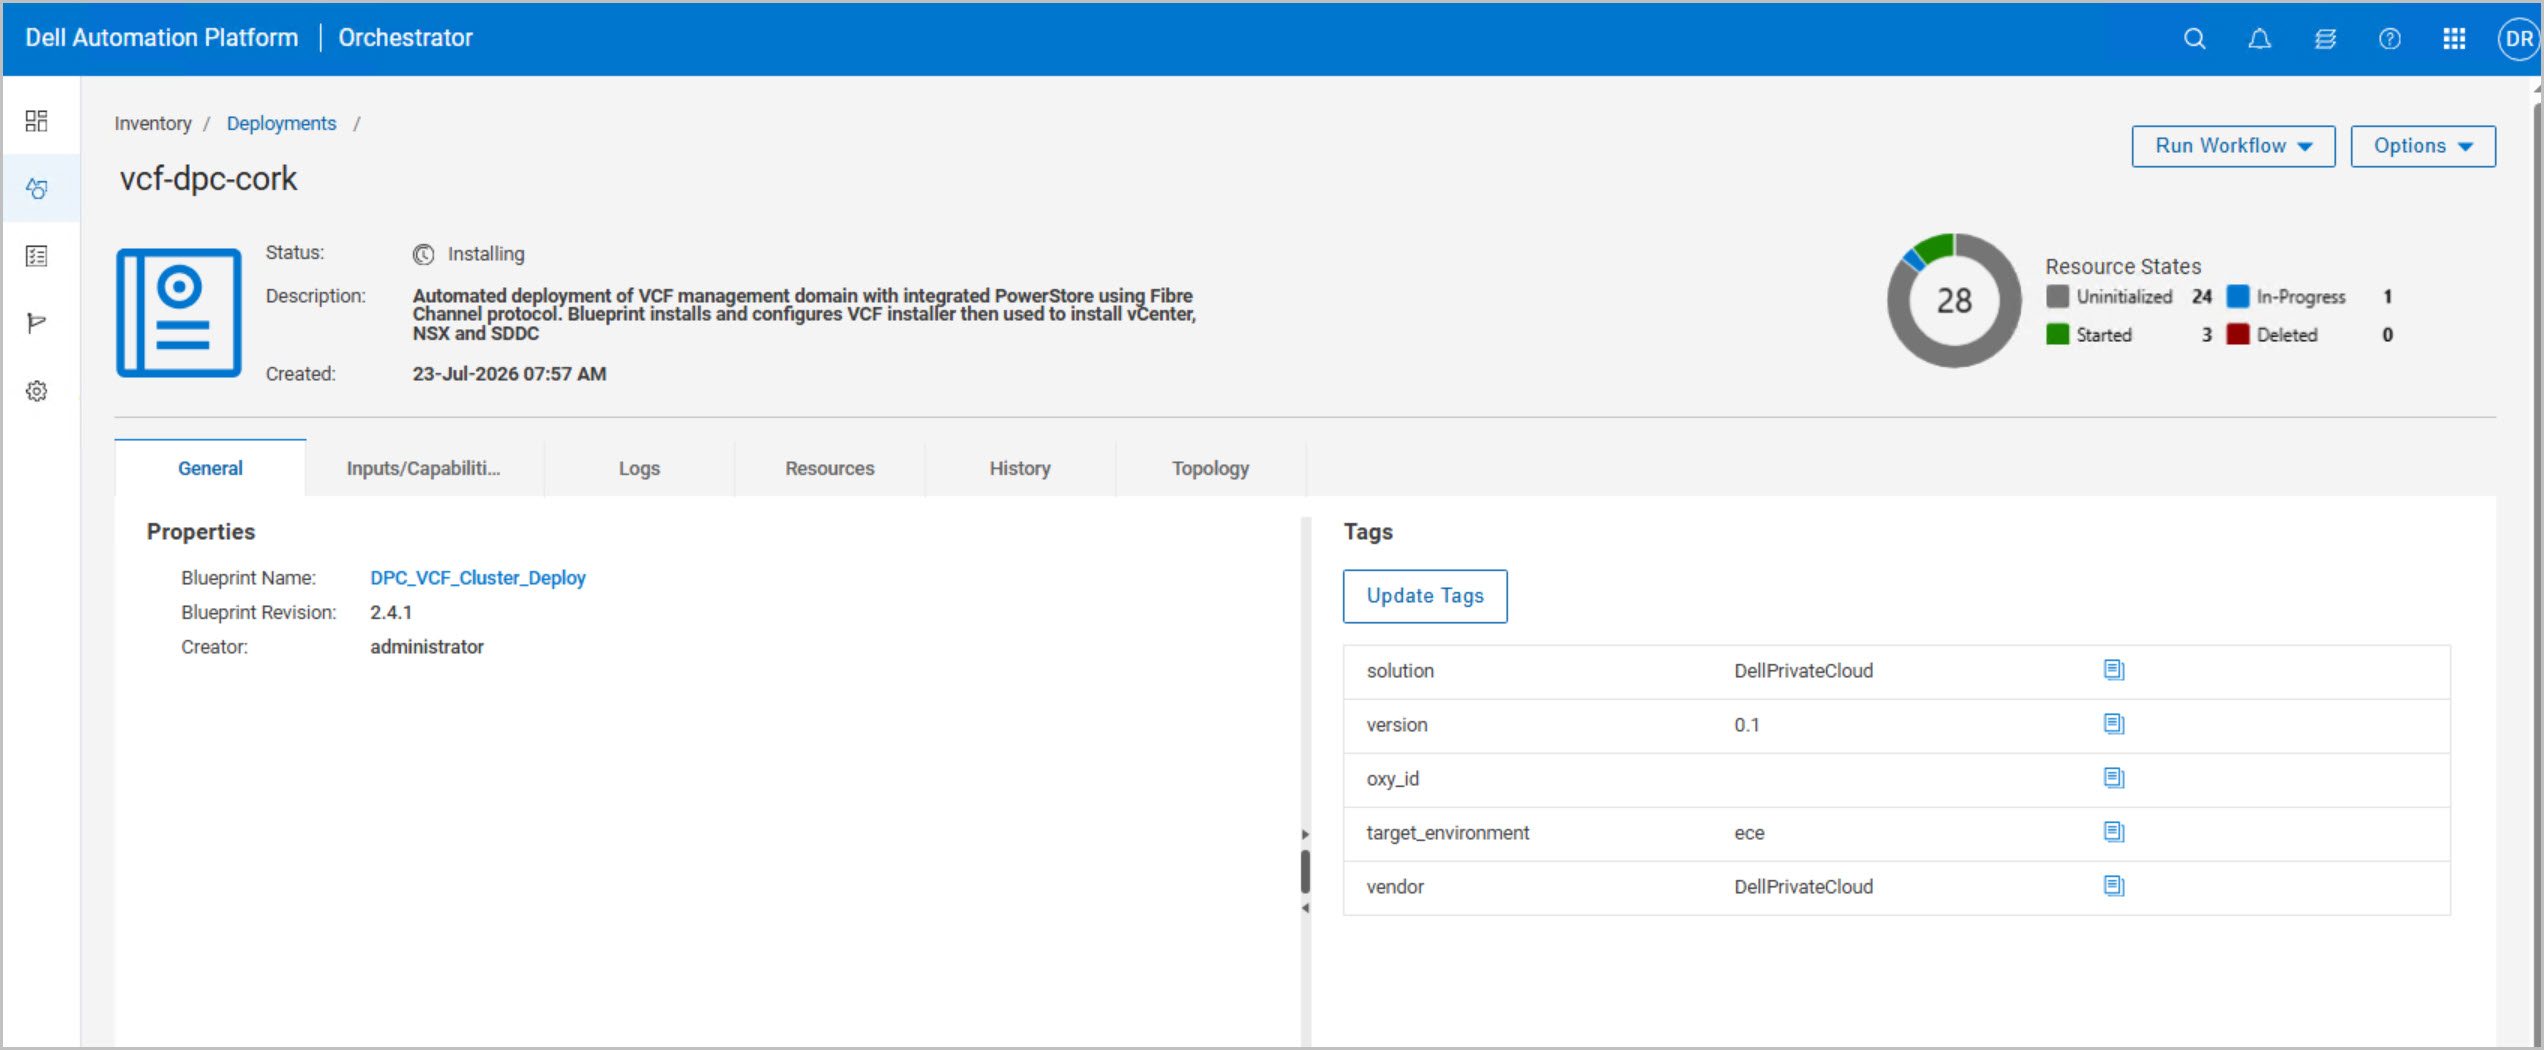
- Select the active deployment (for example, vcf-dpc-cork).
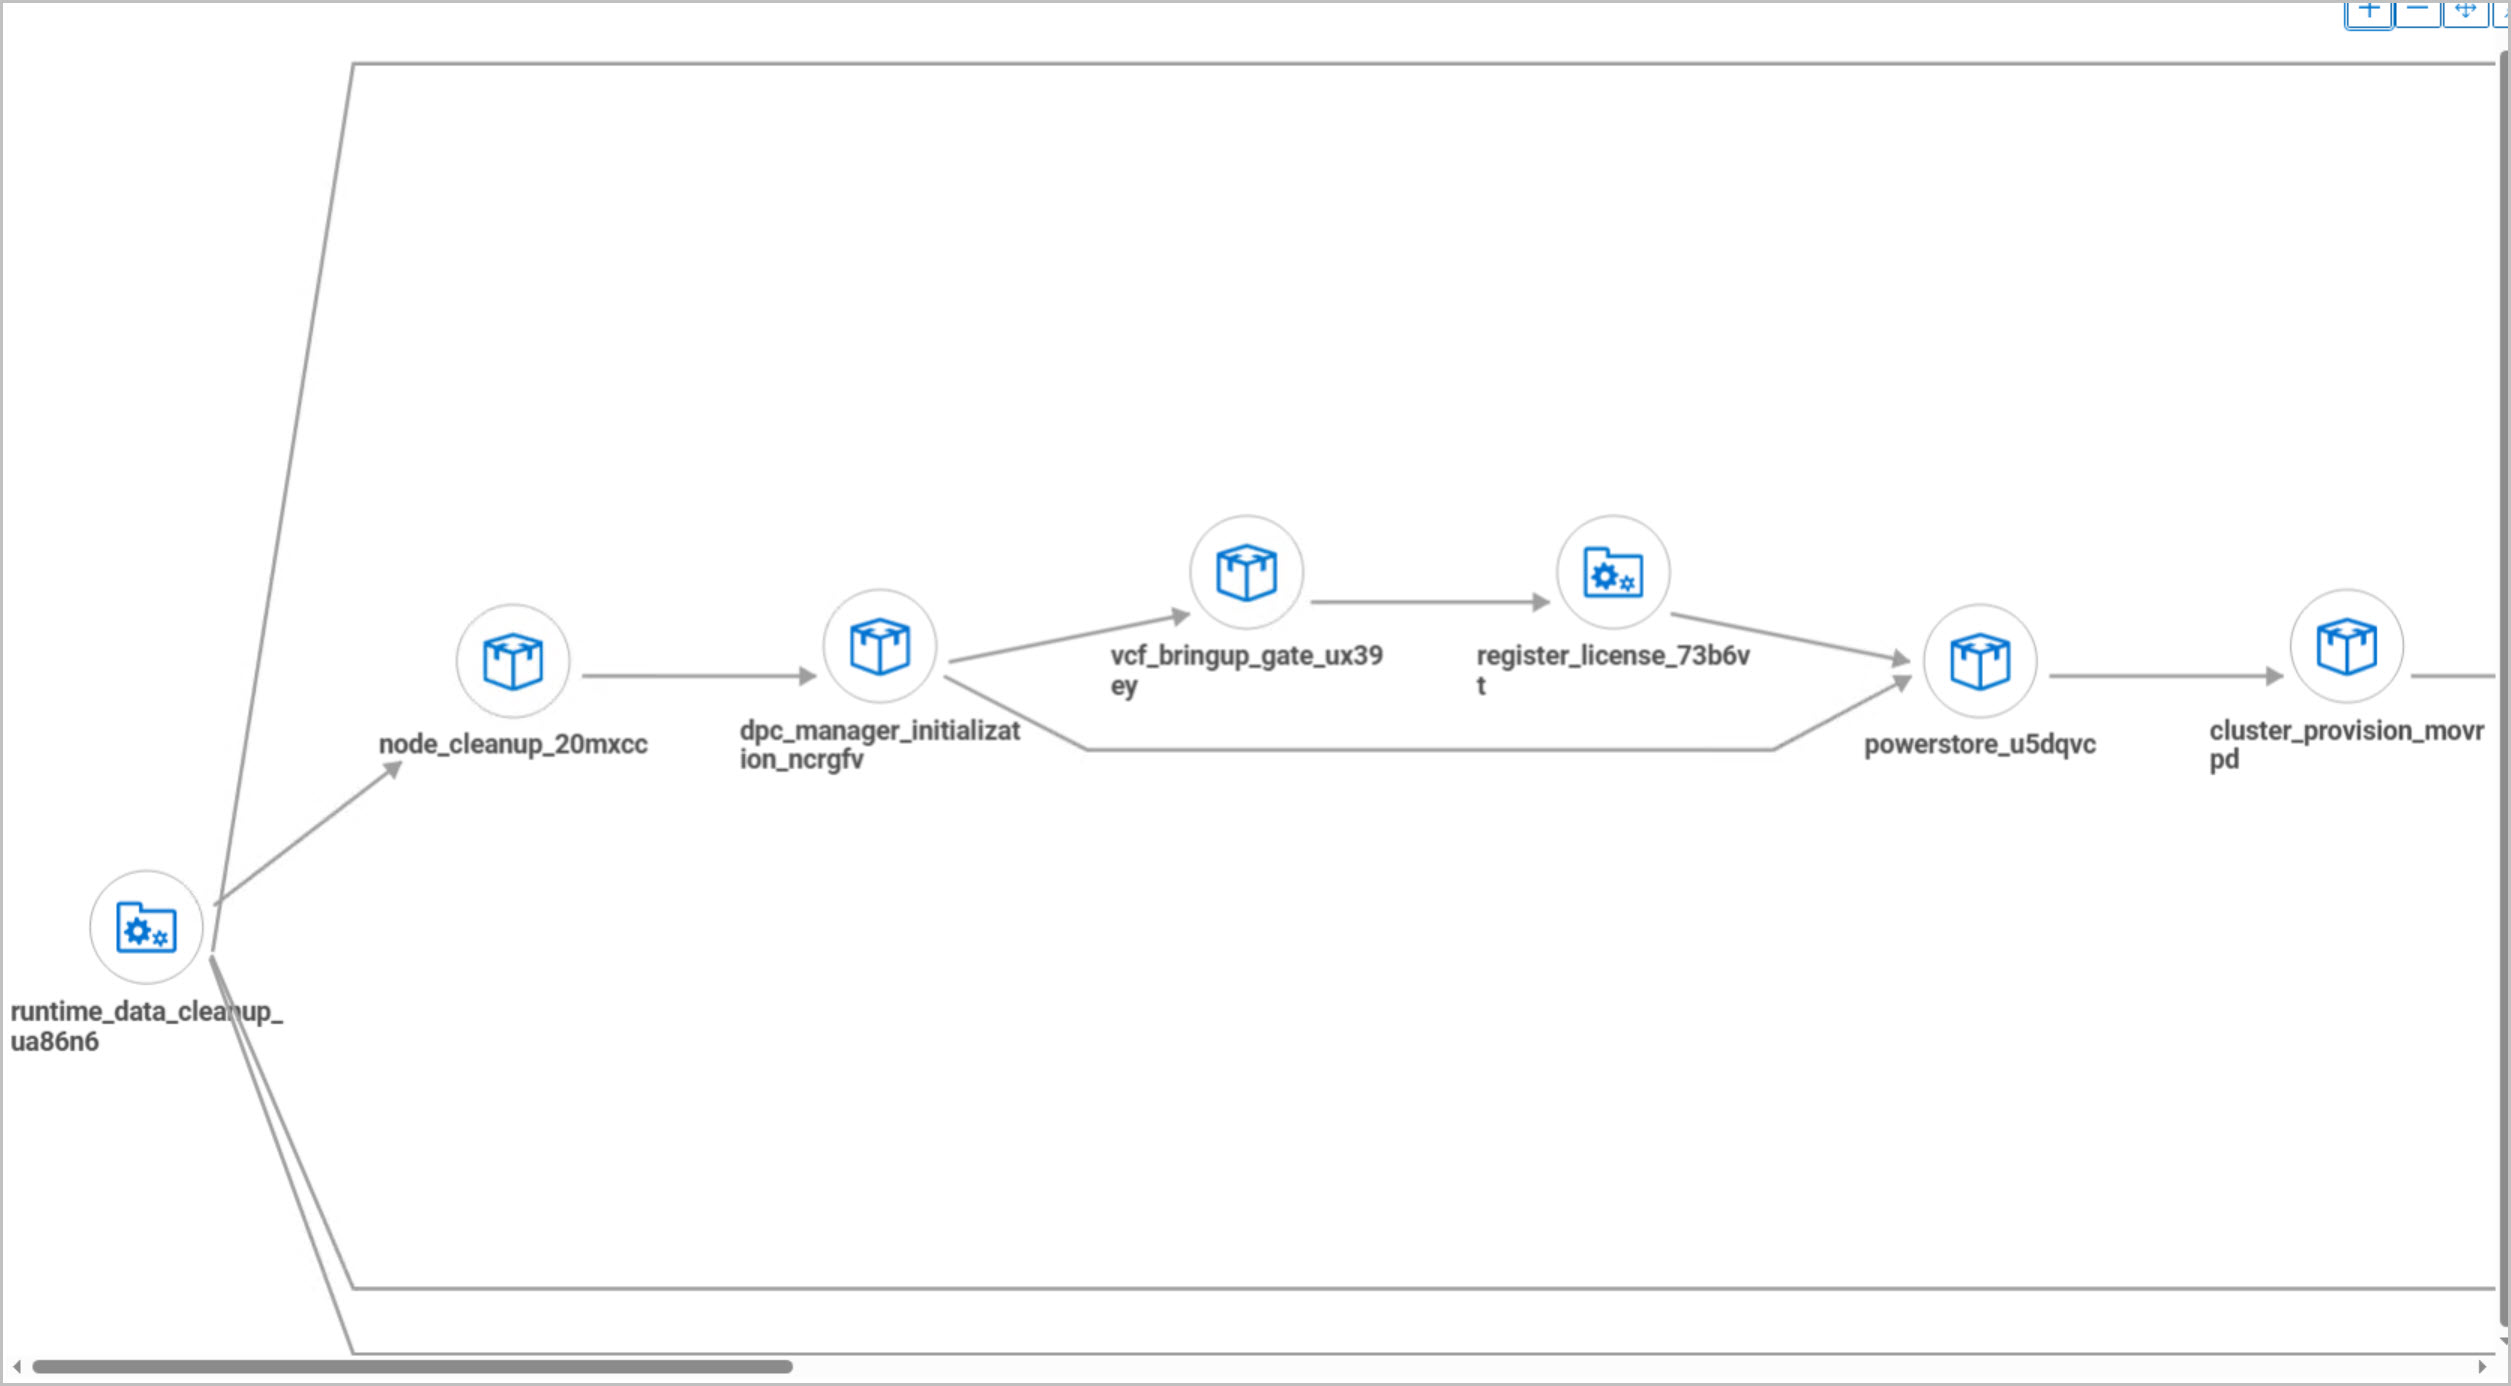
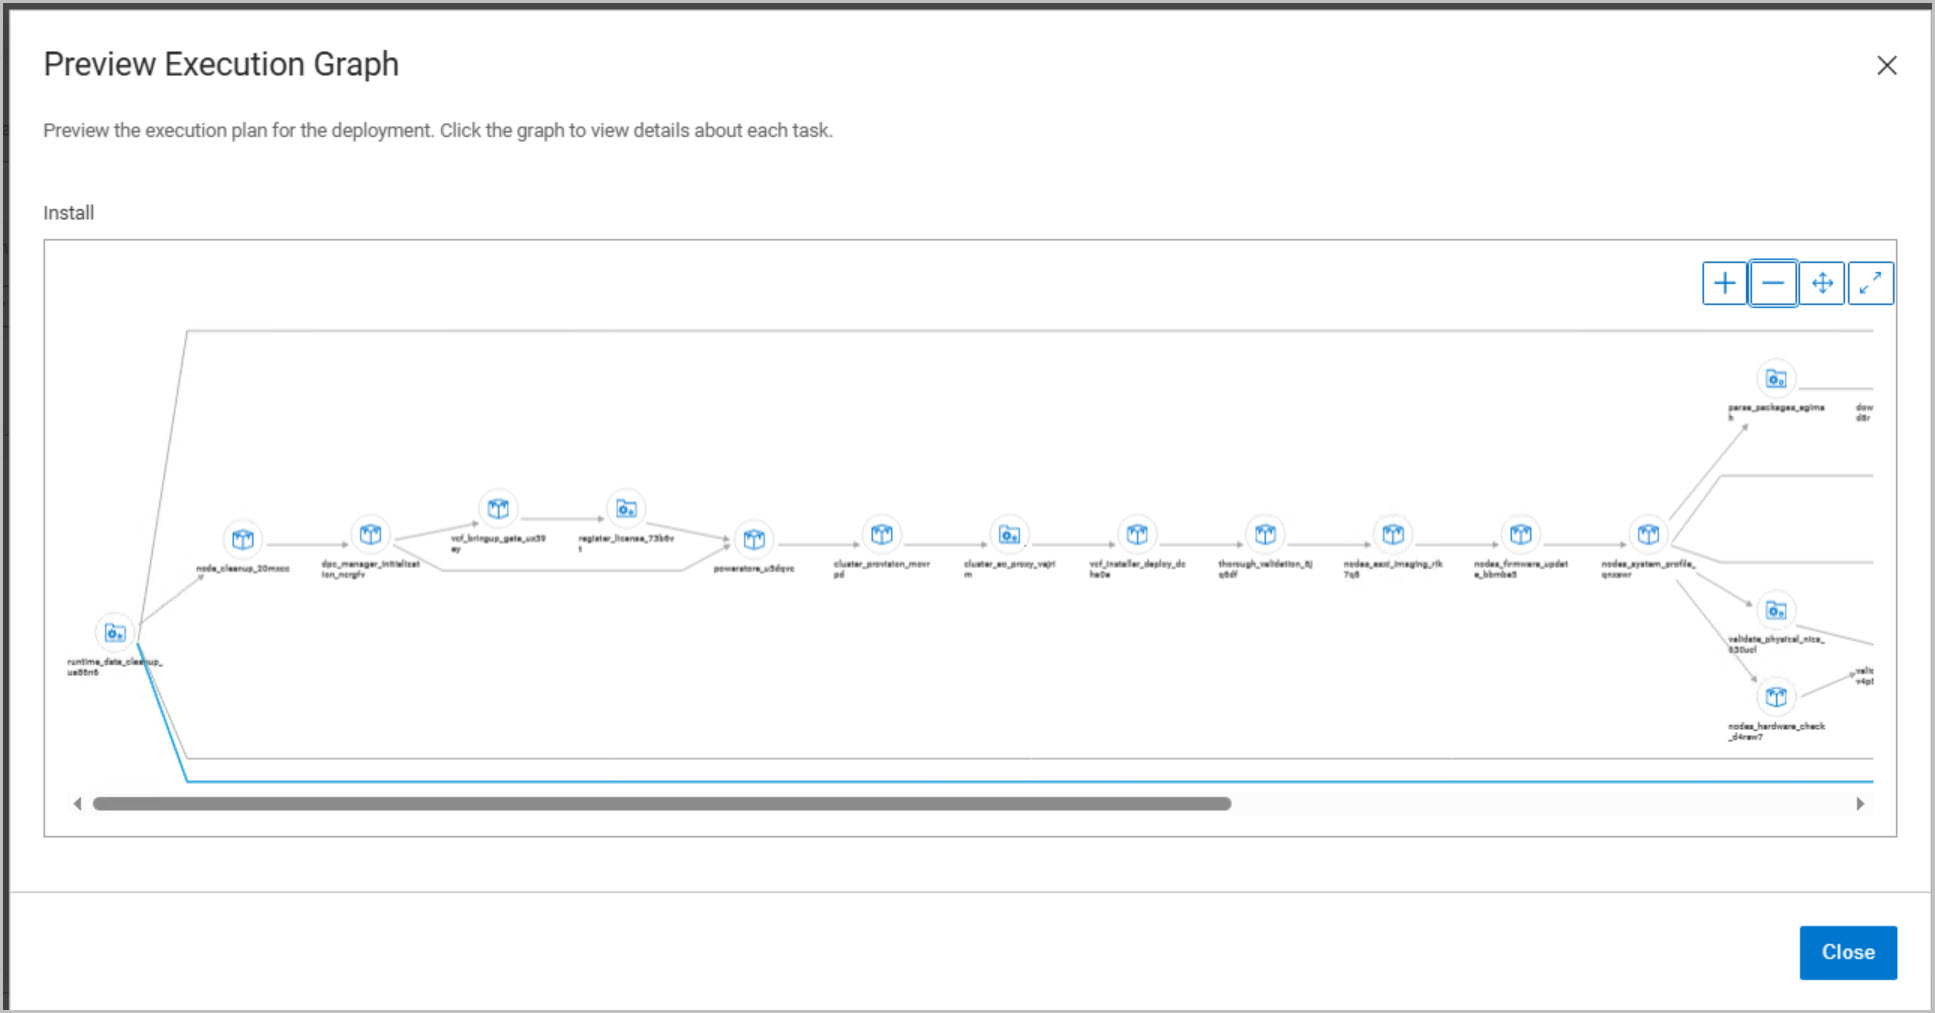
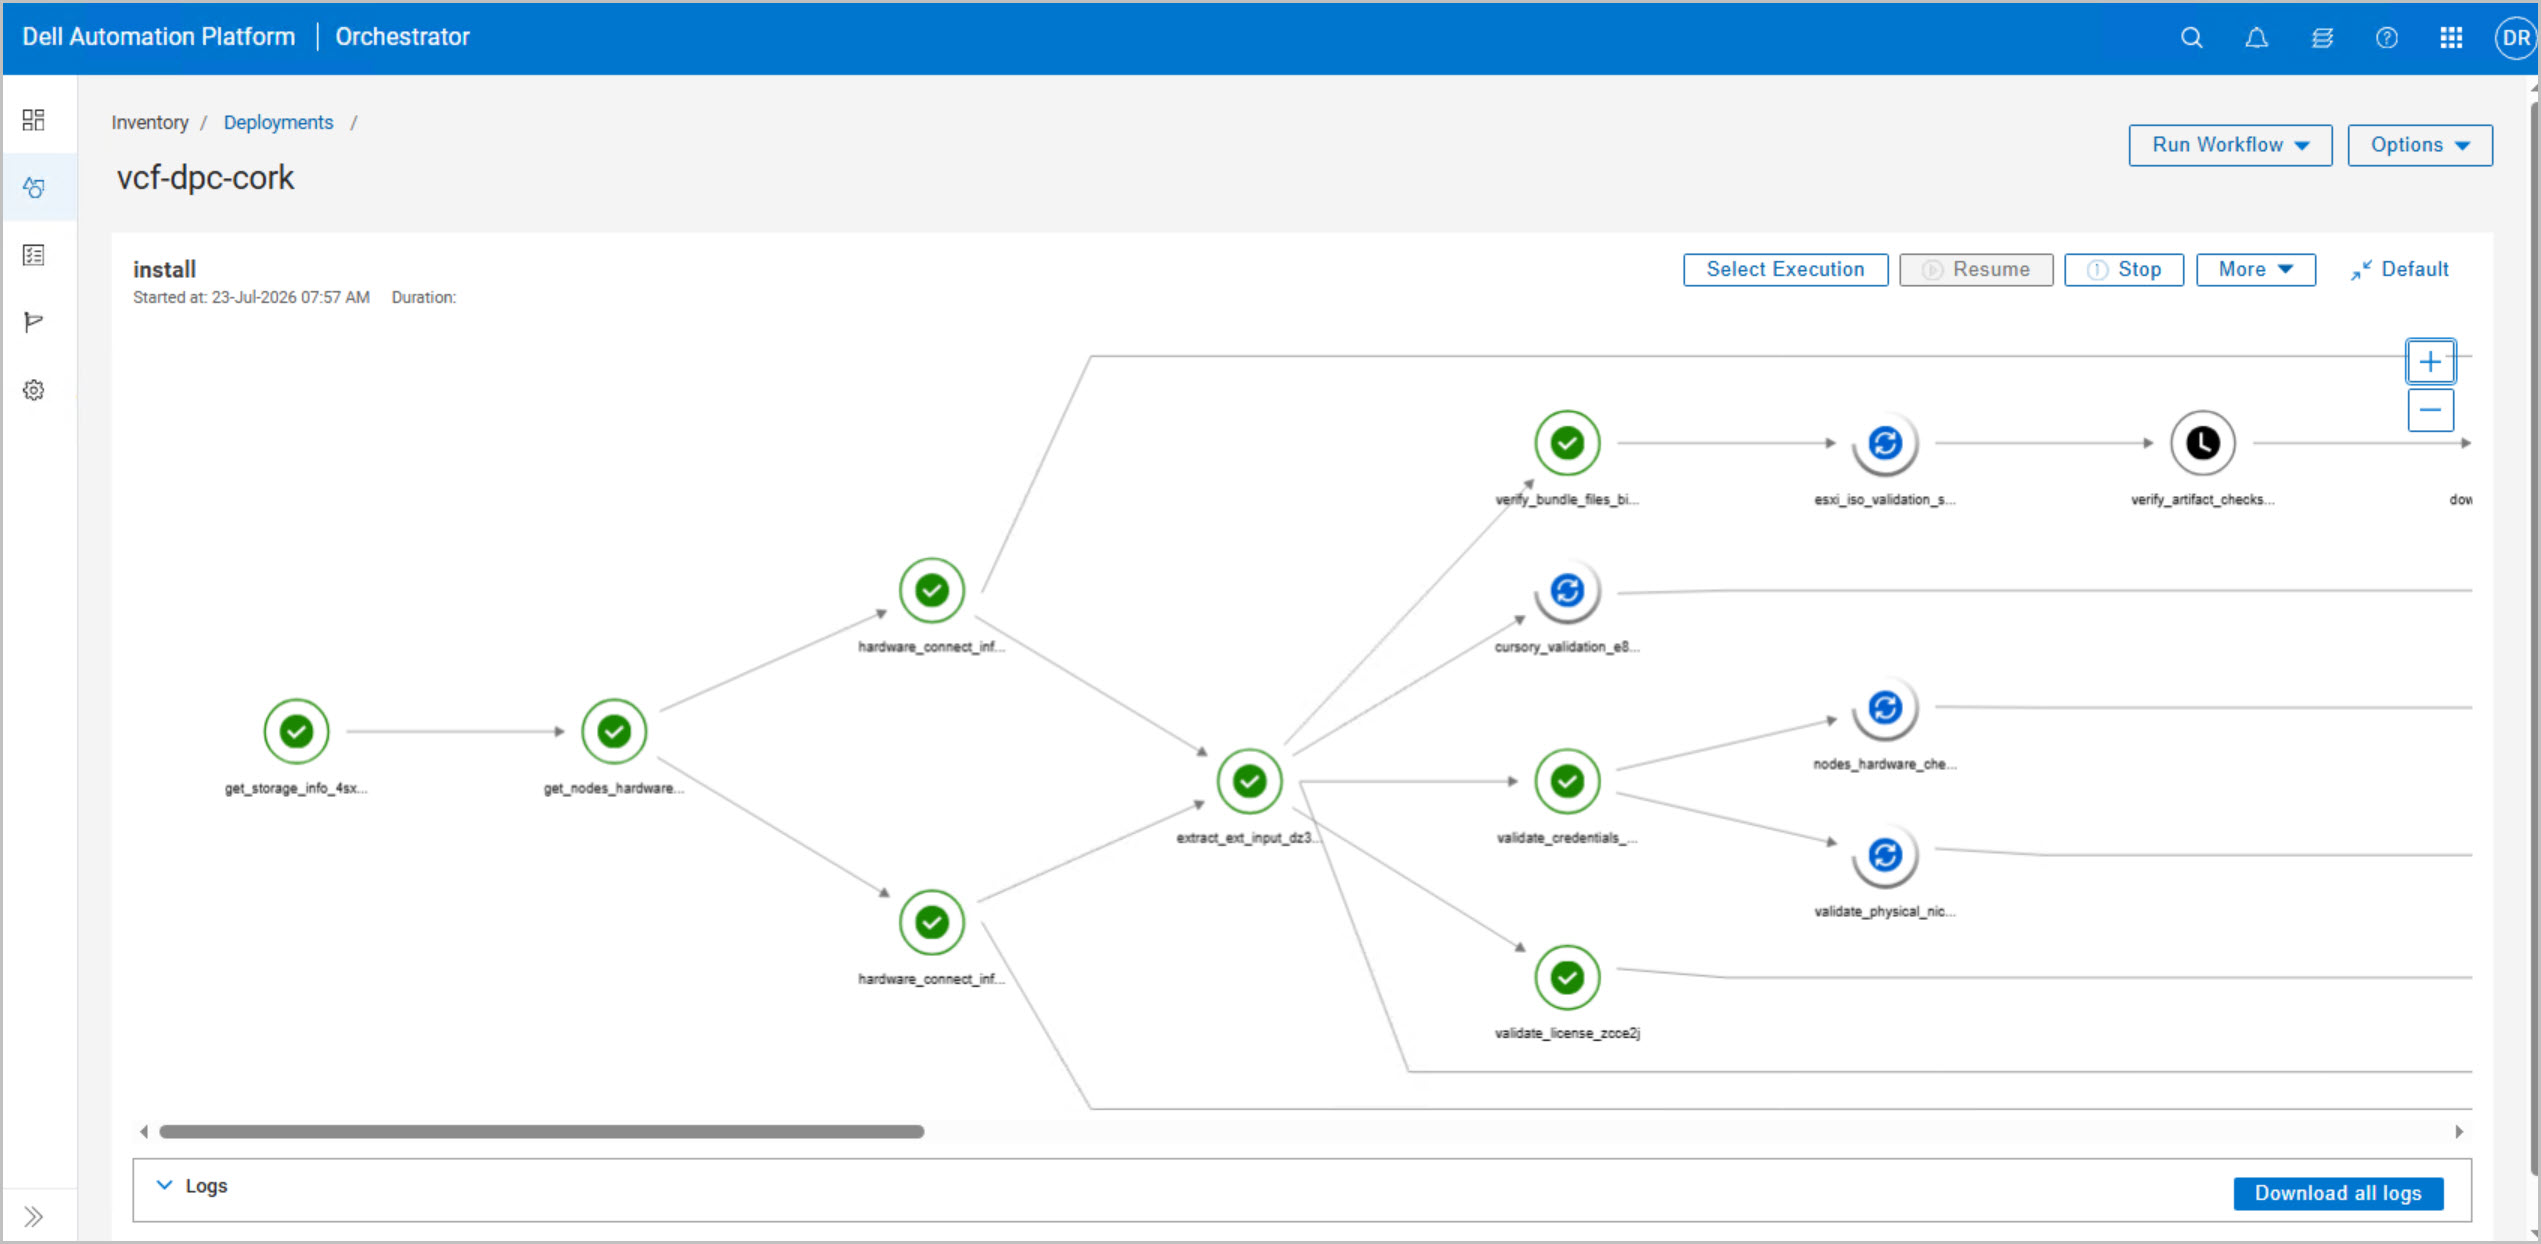
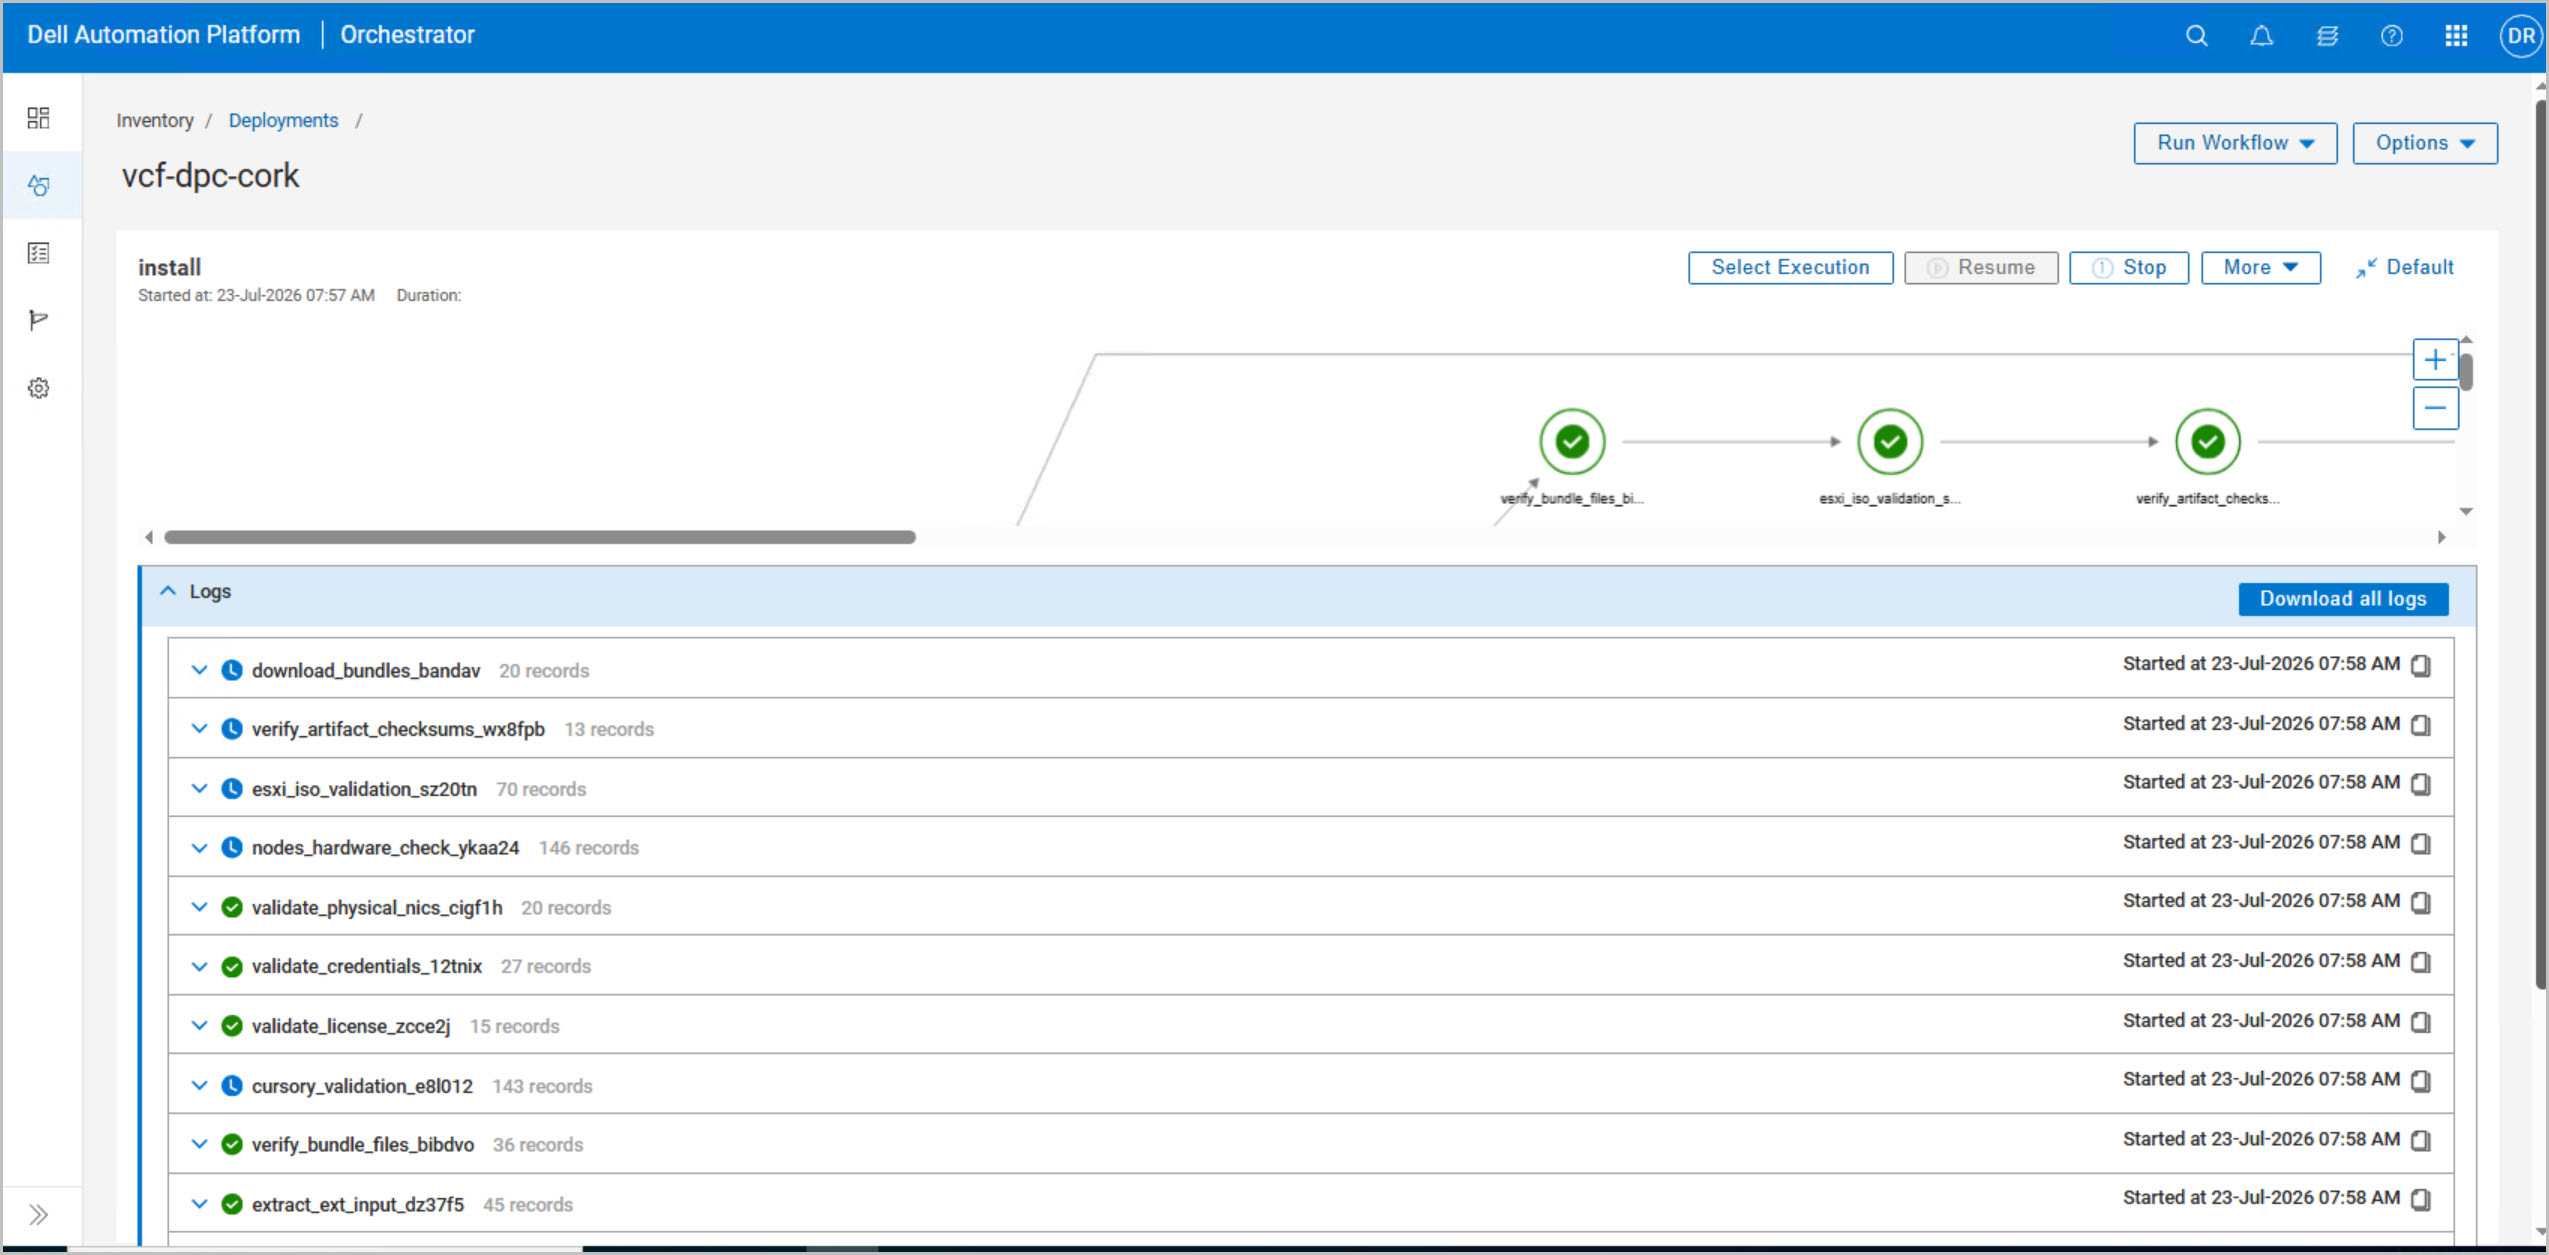
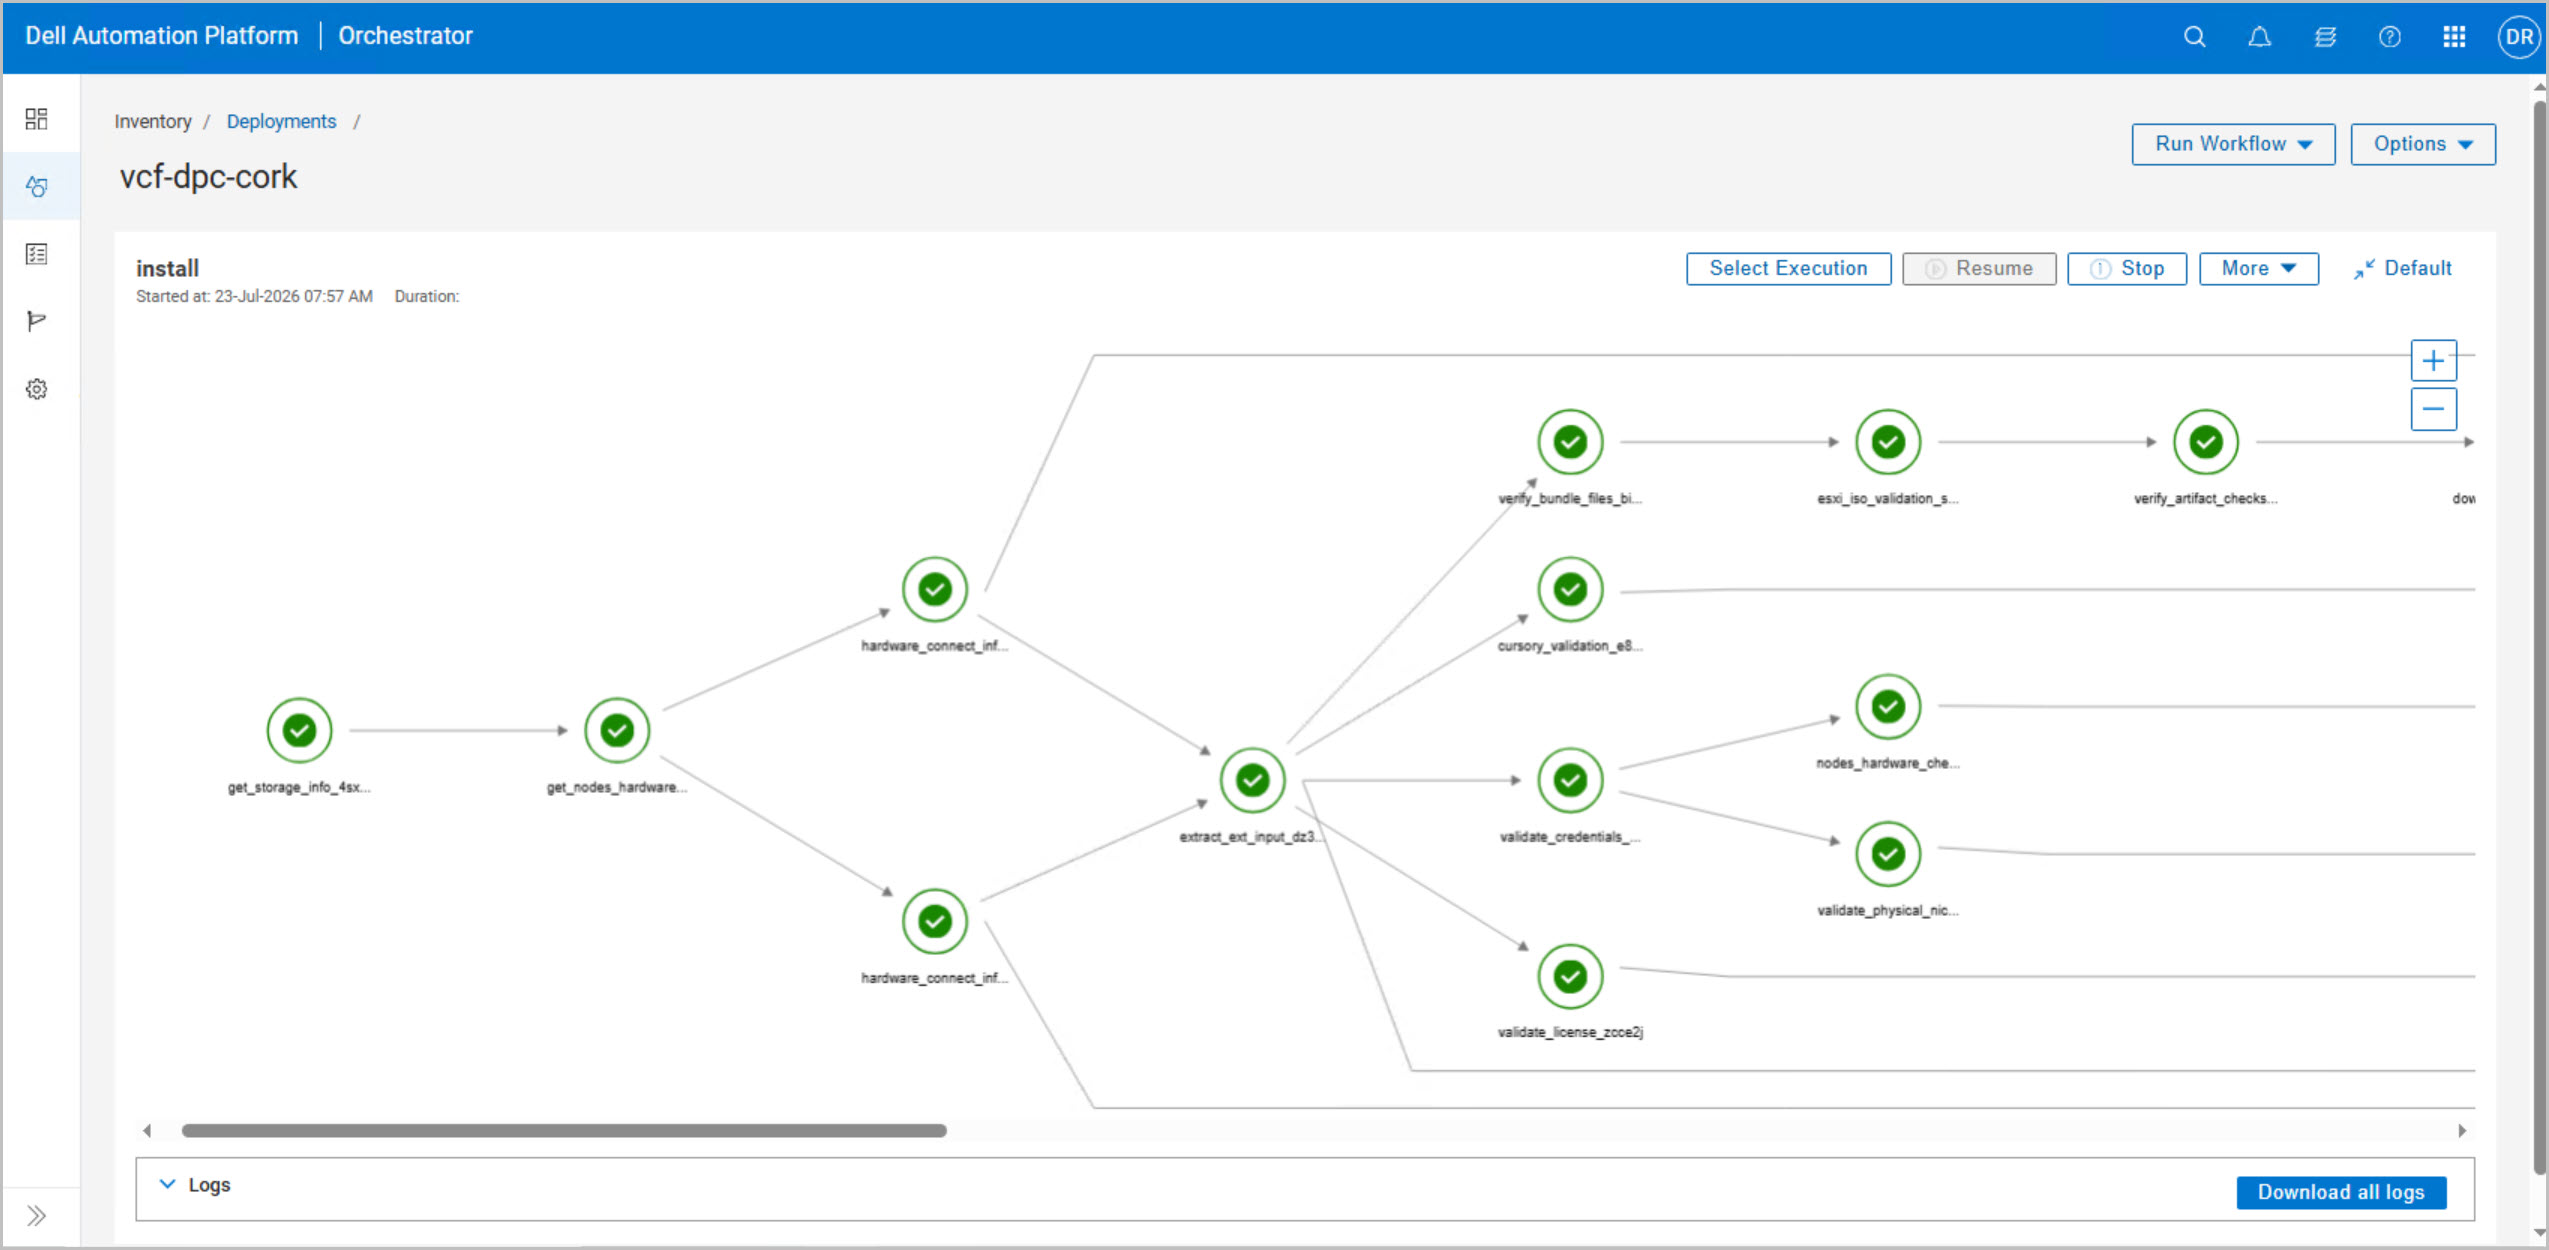
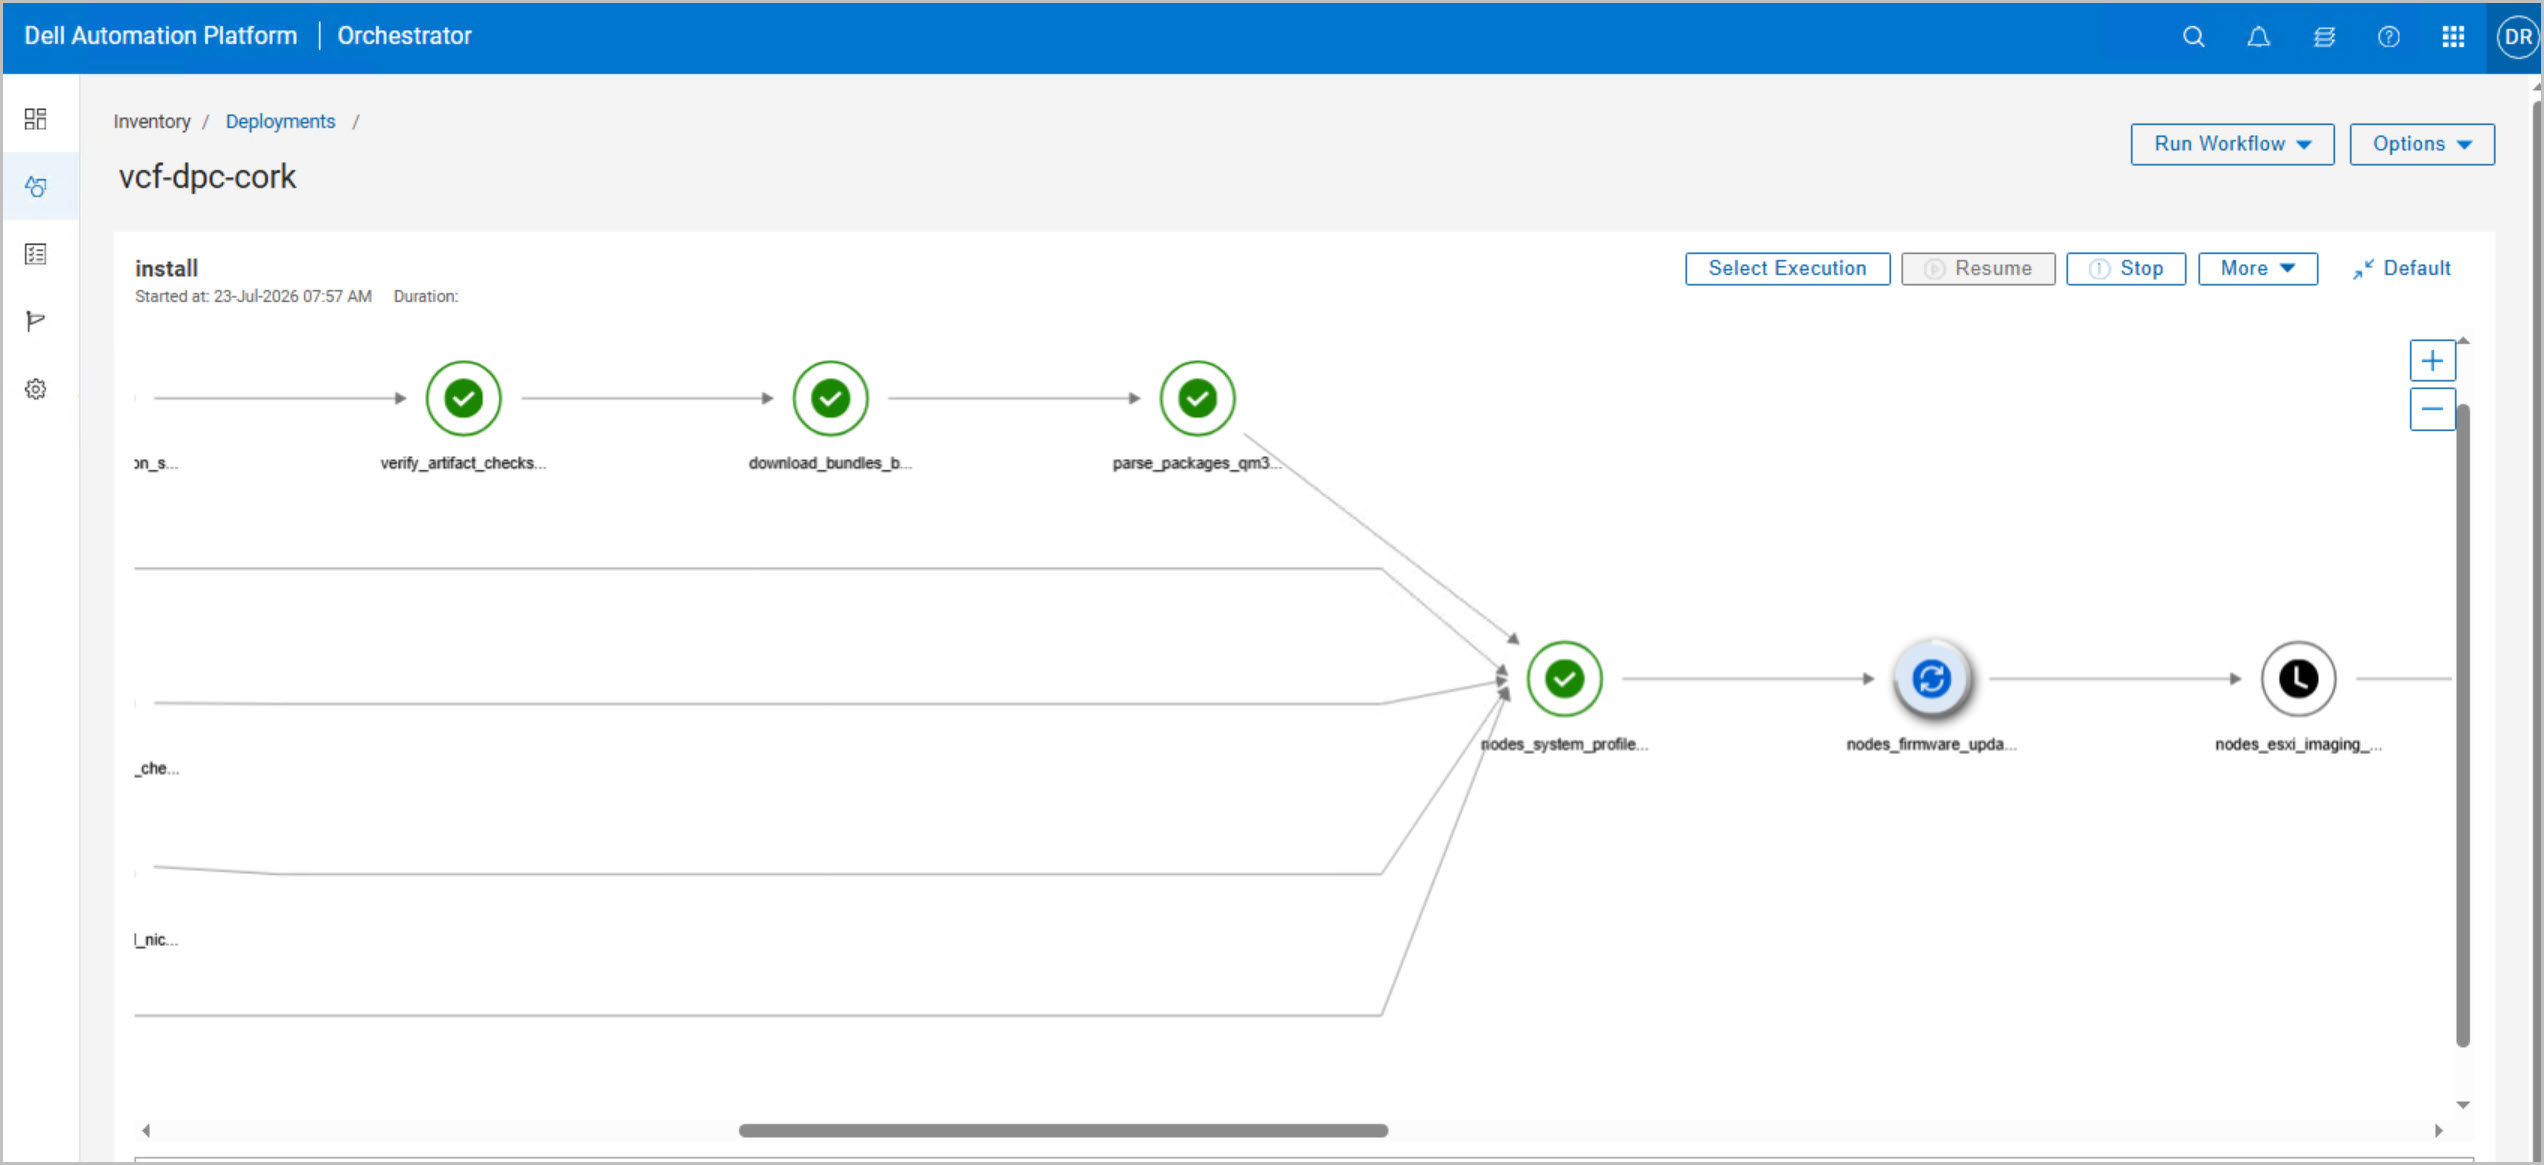
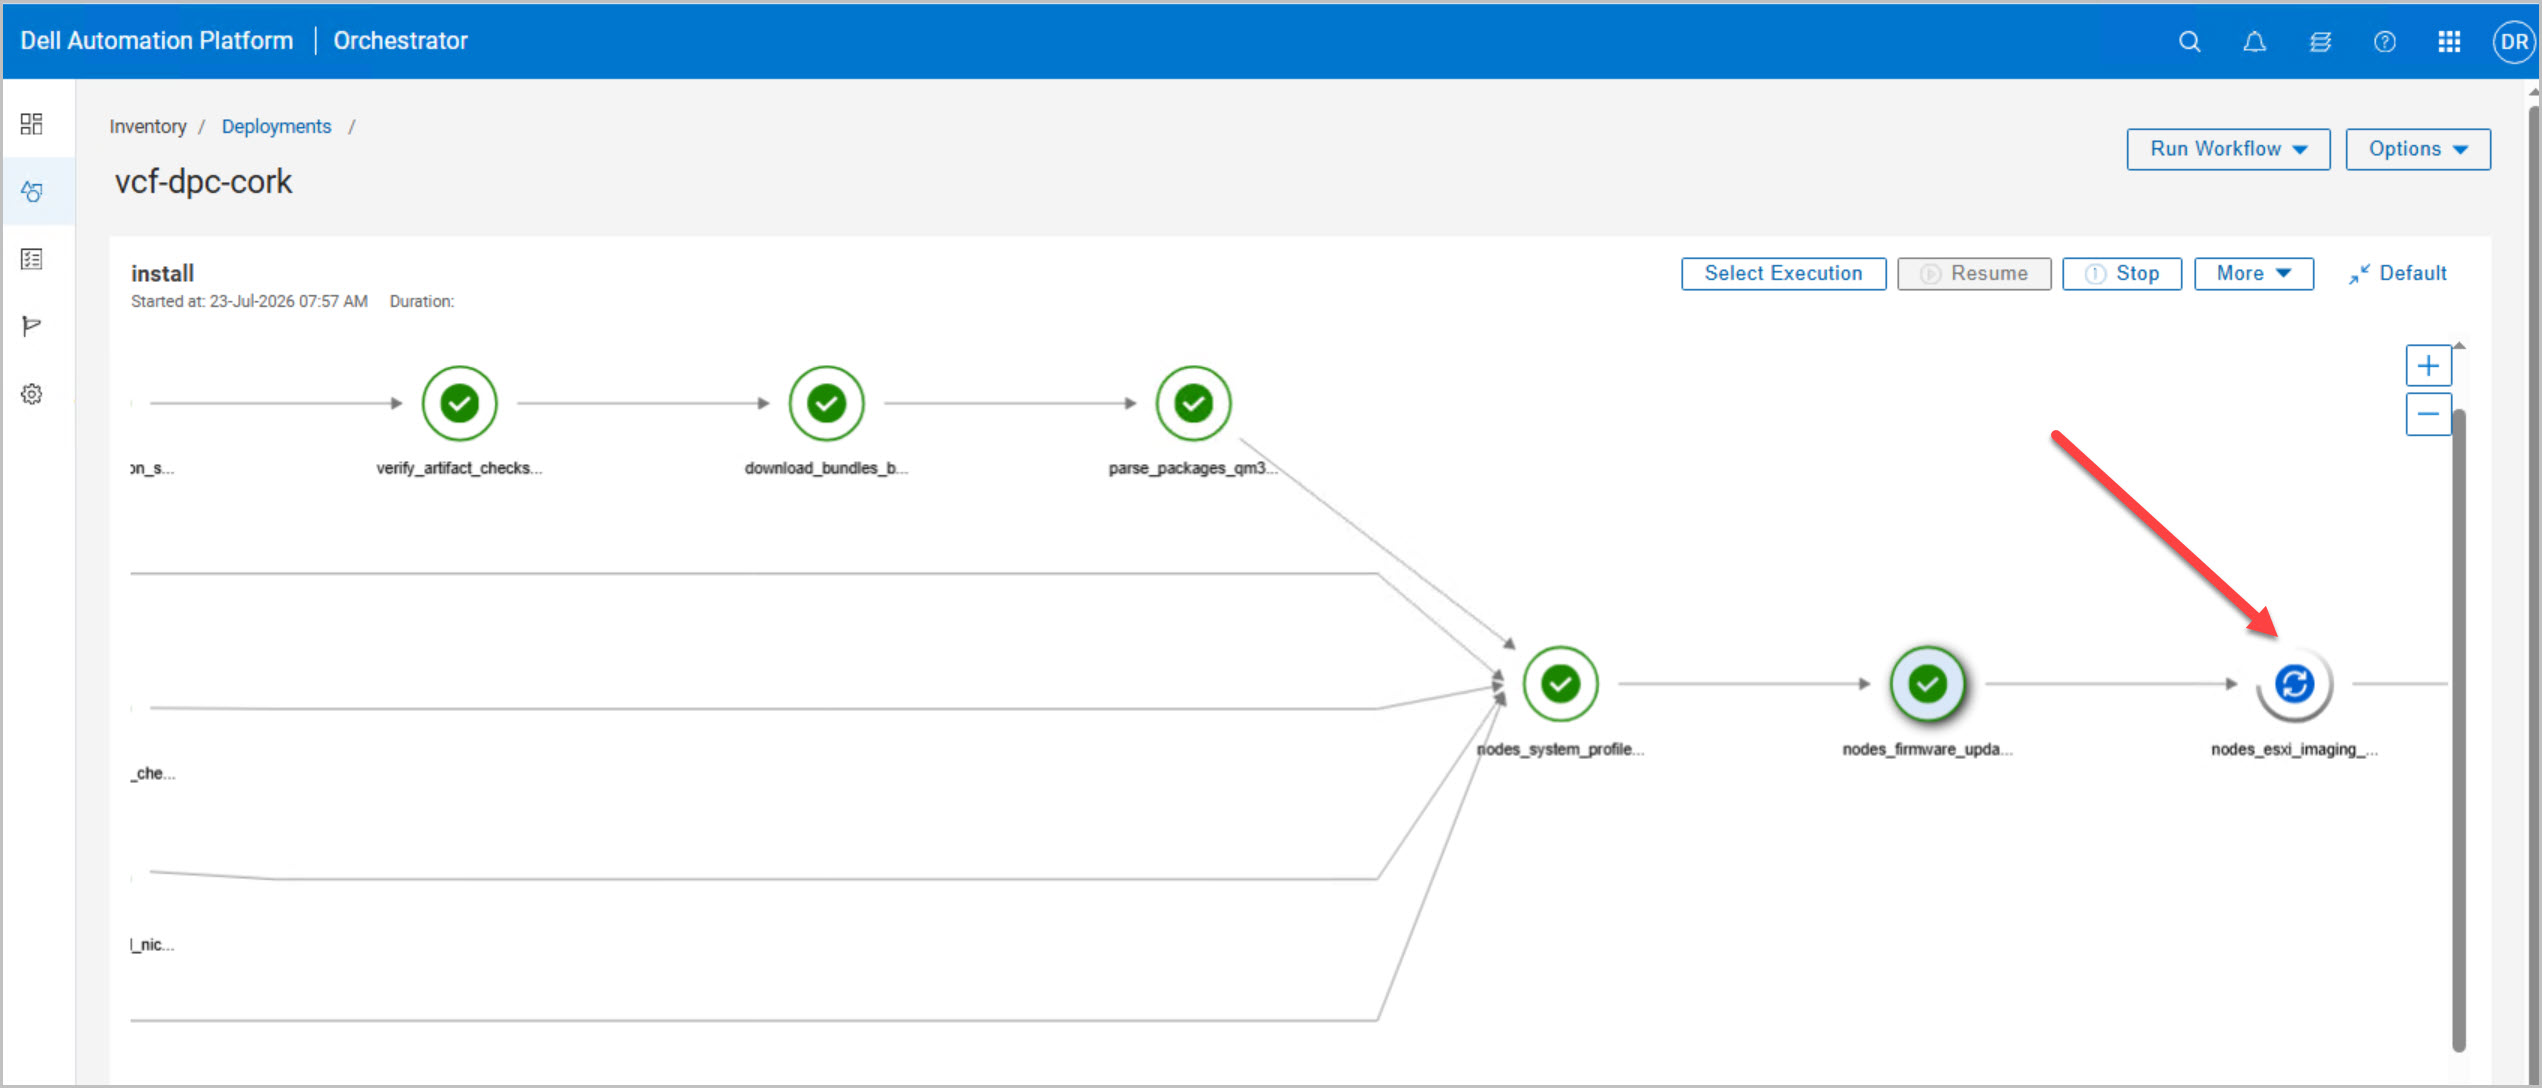
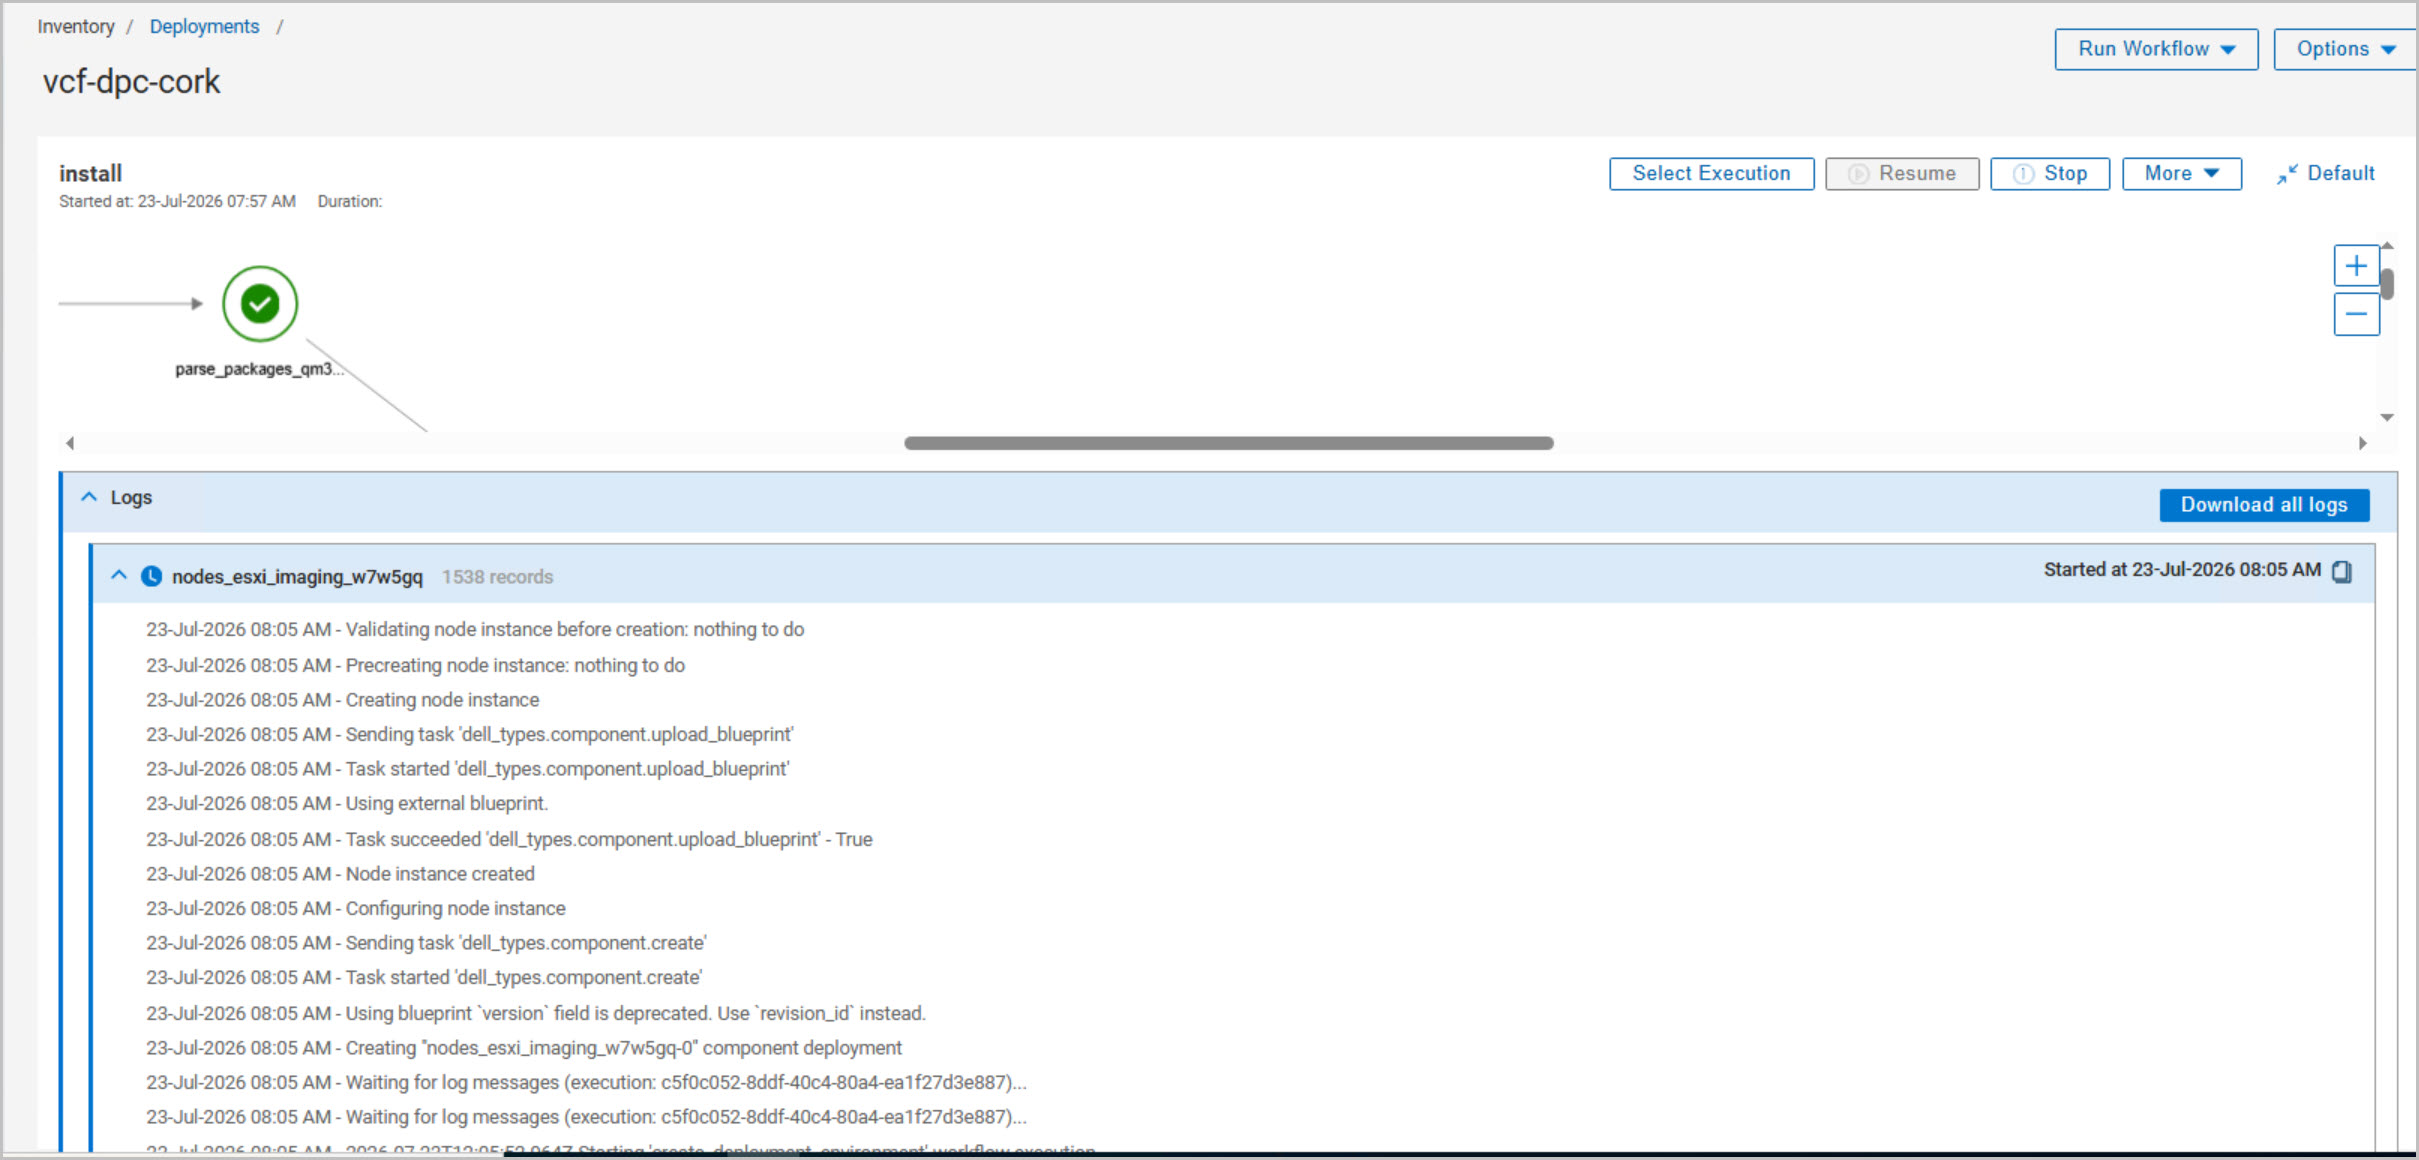
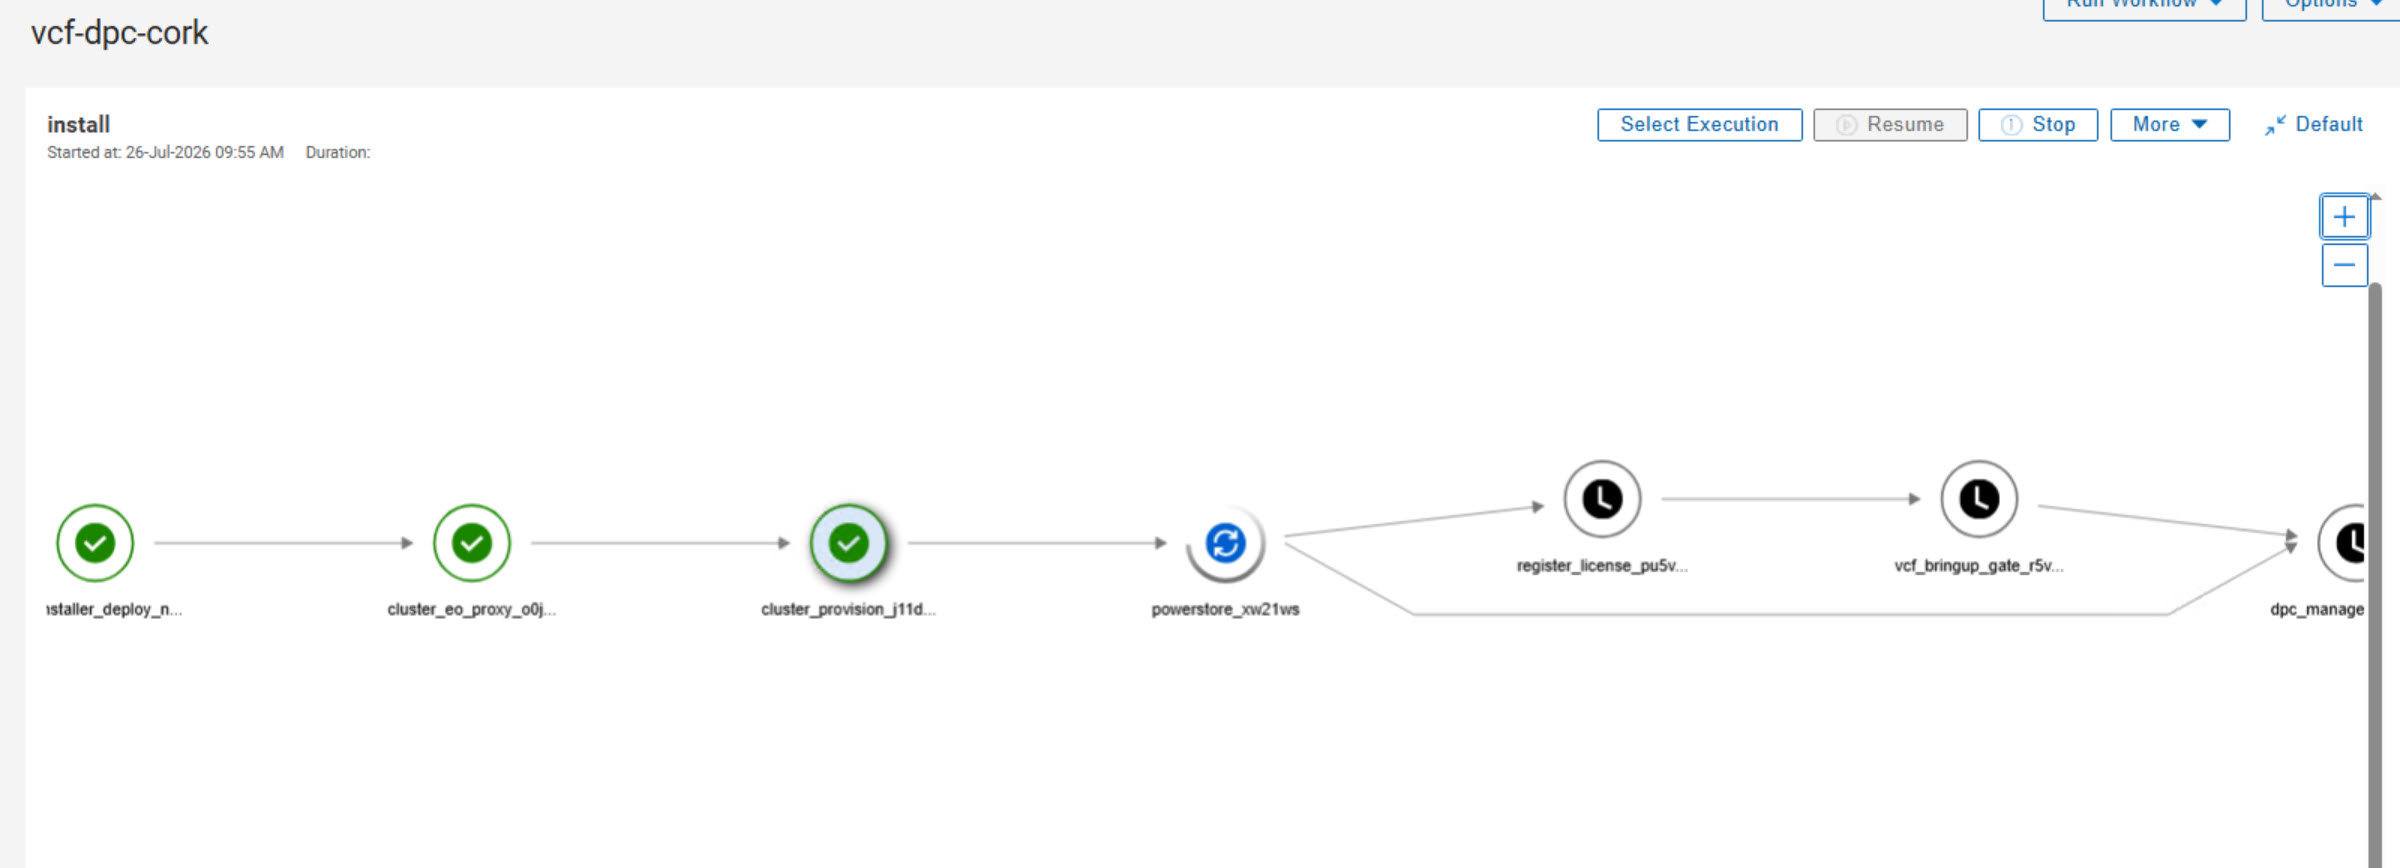
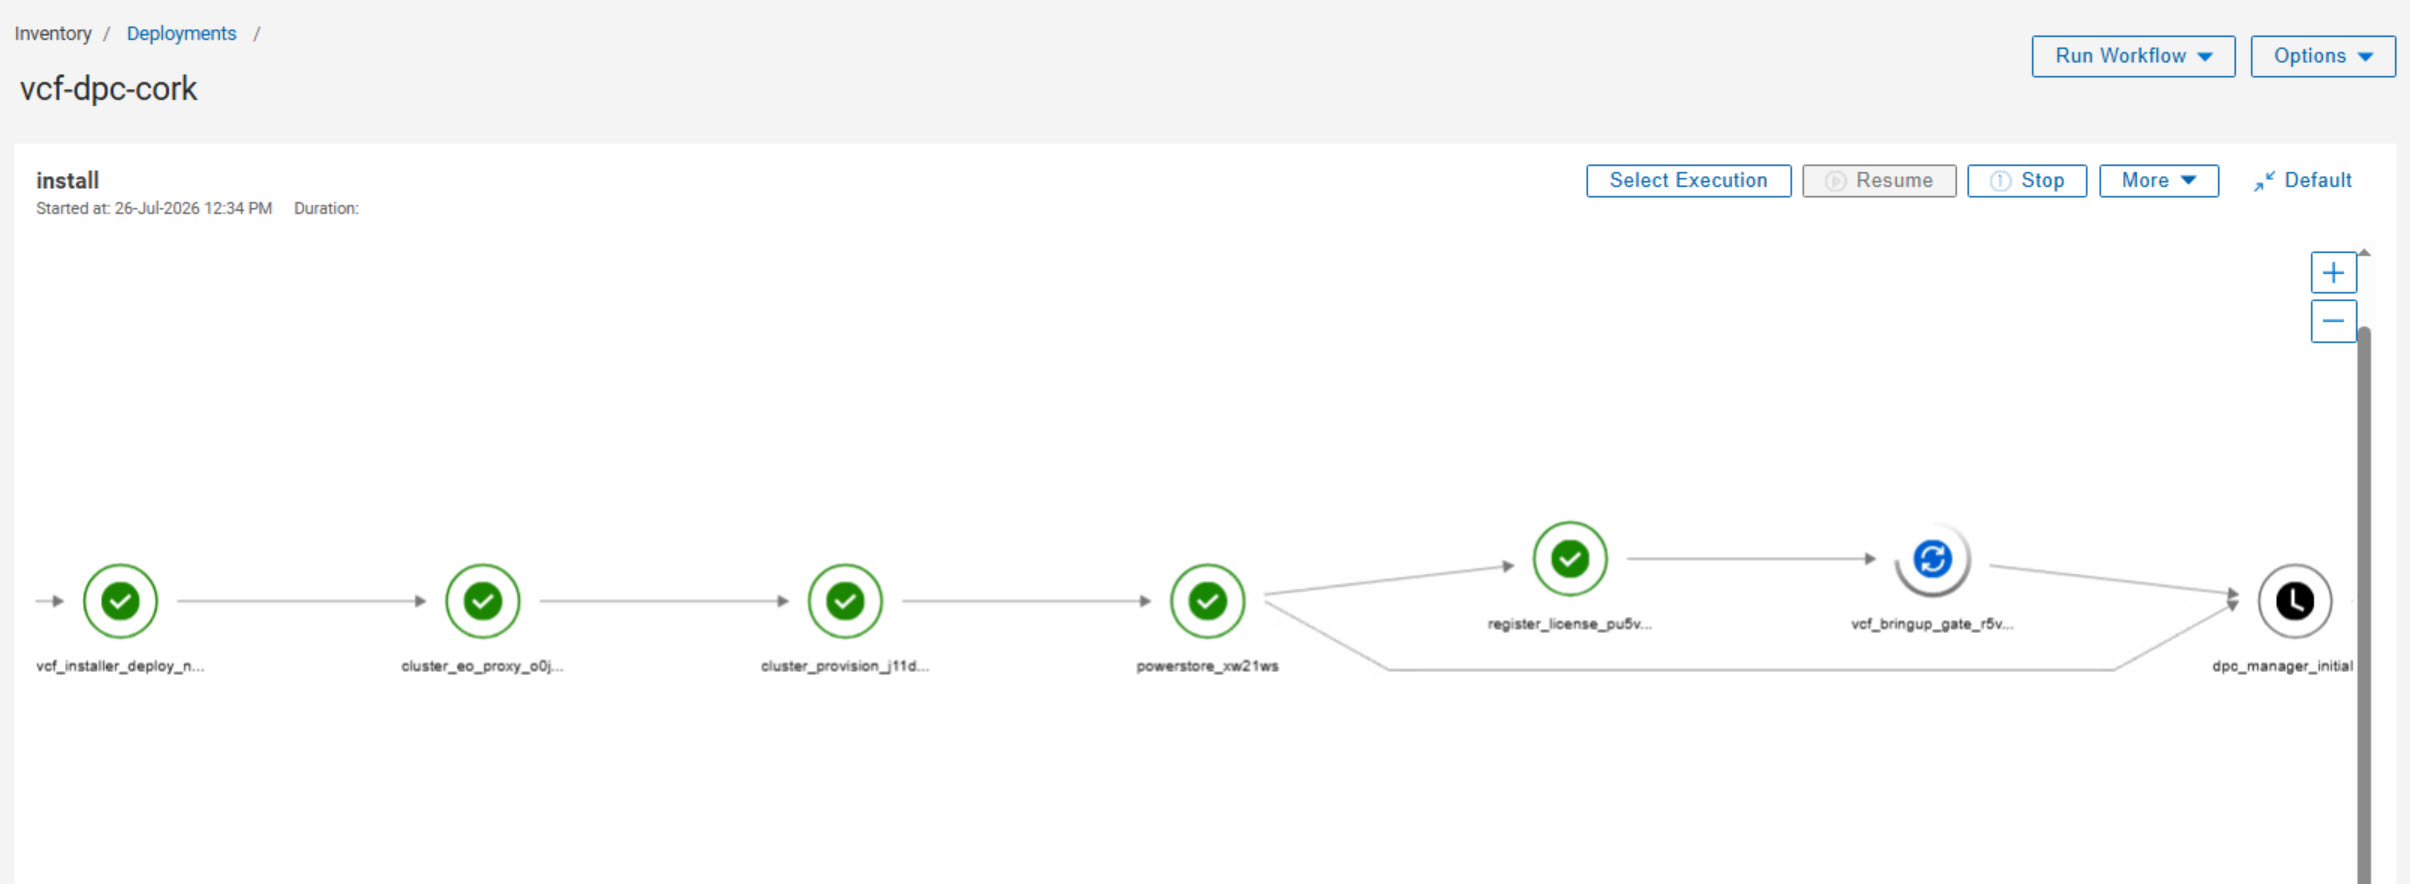
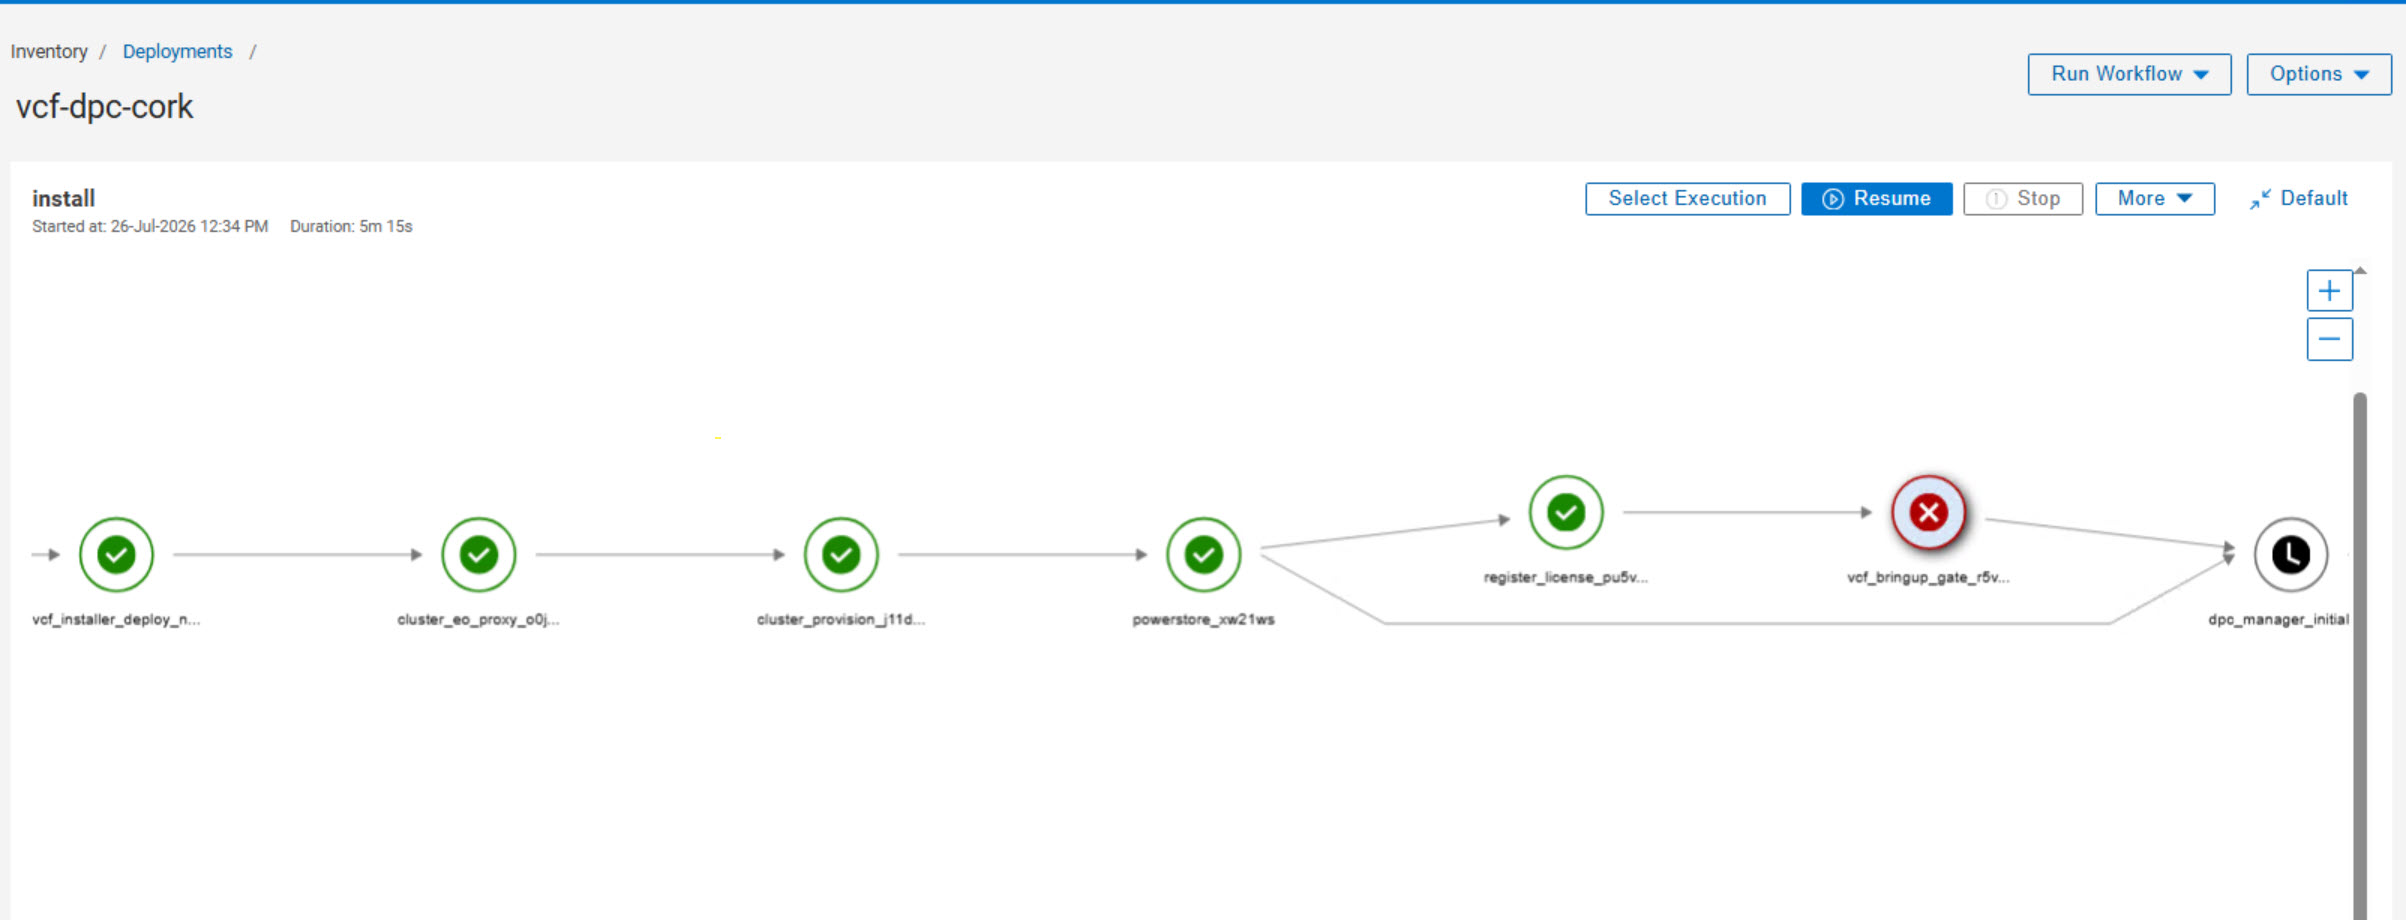
- The workflow view displays each deployment stage and its current status.
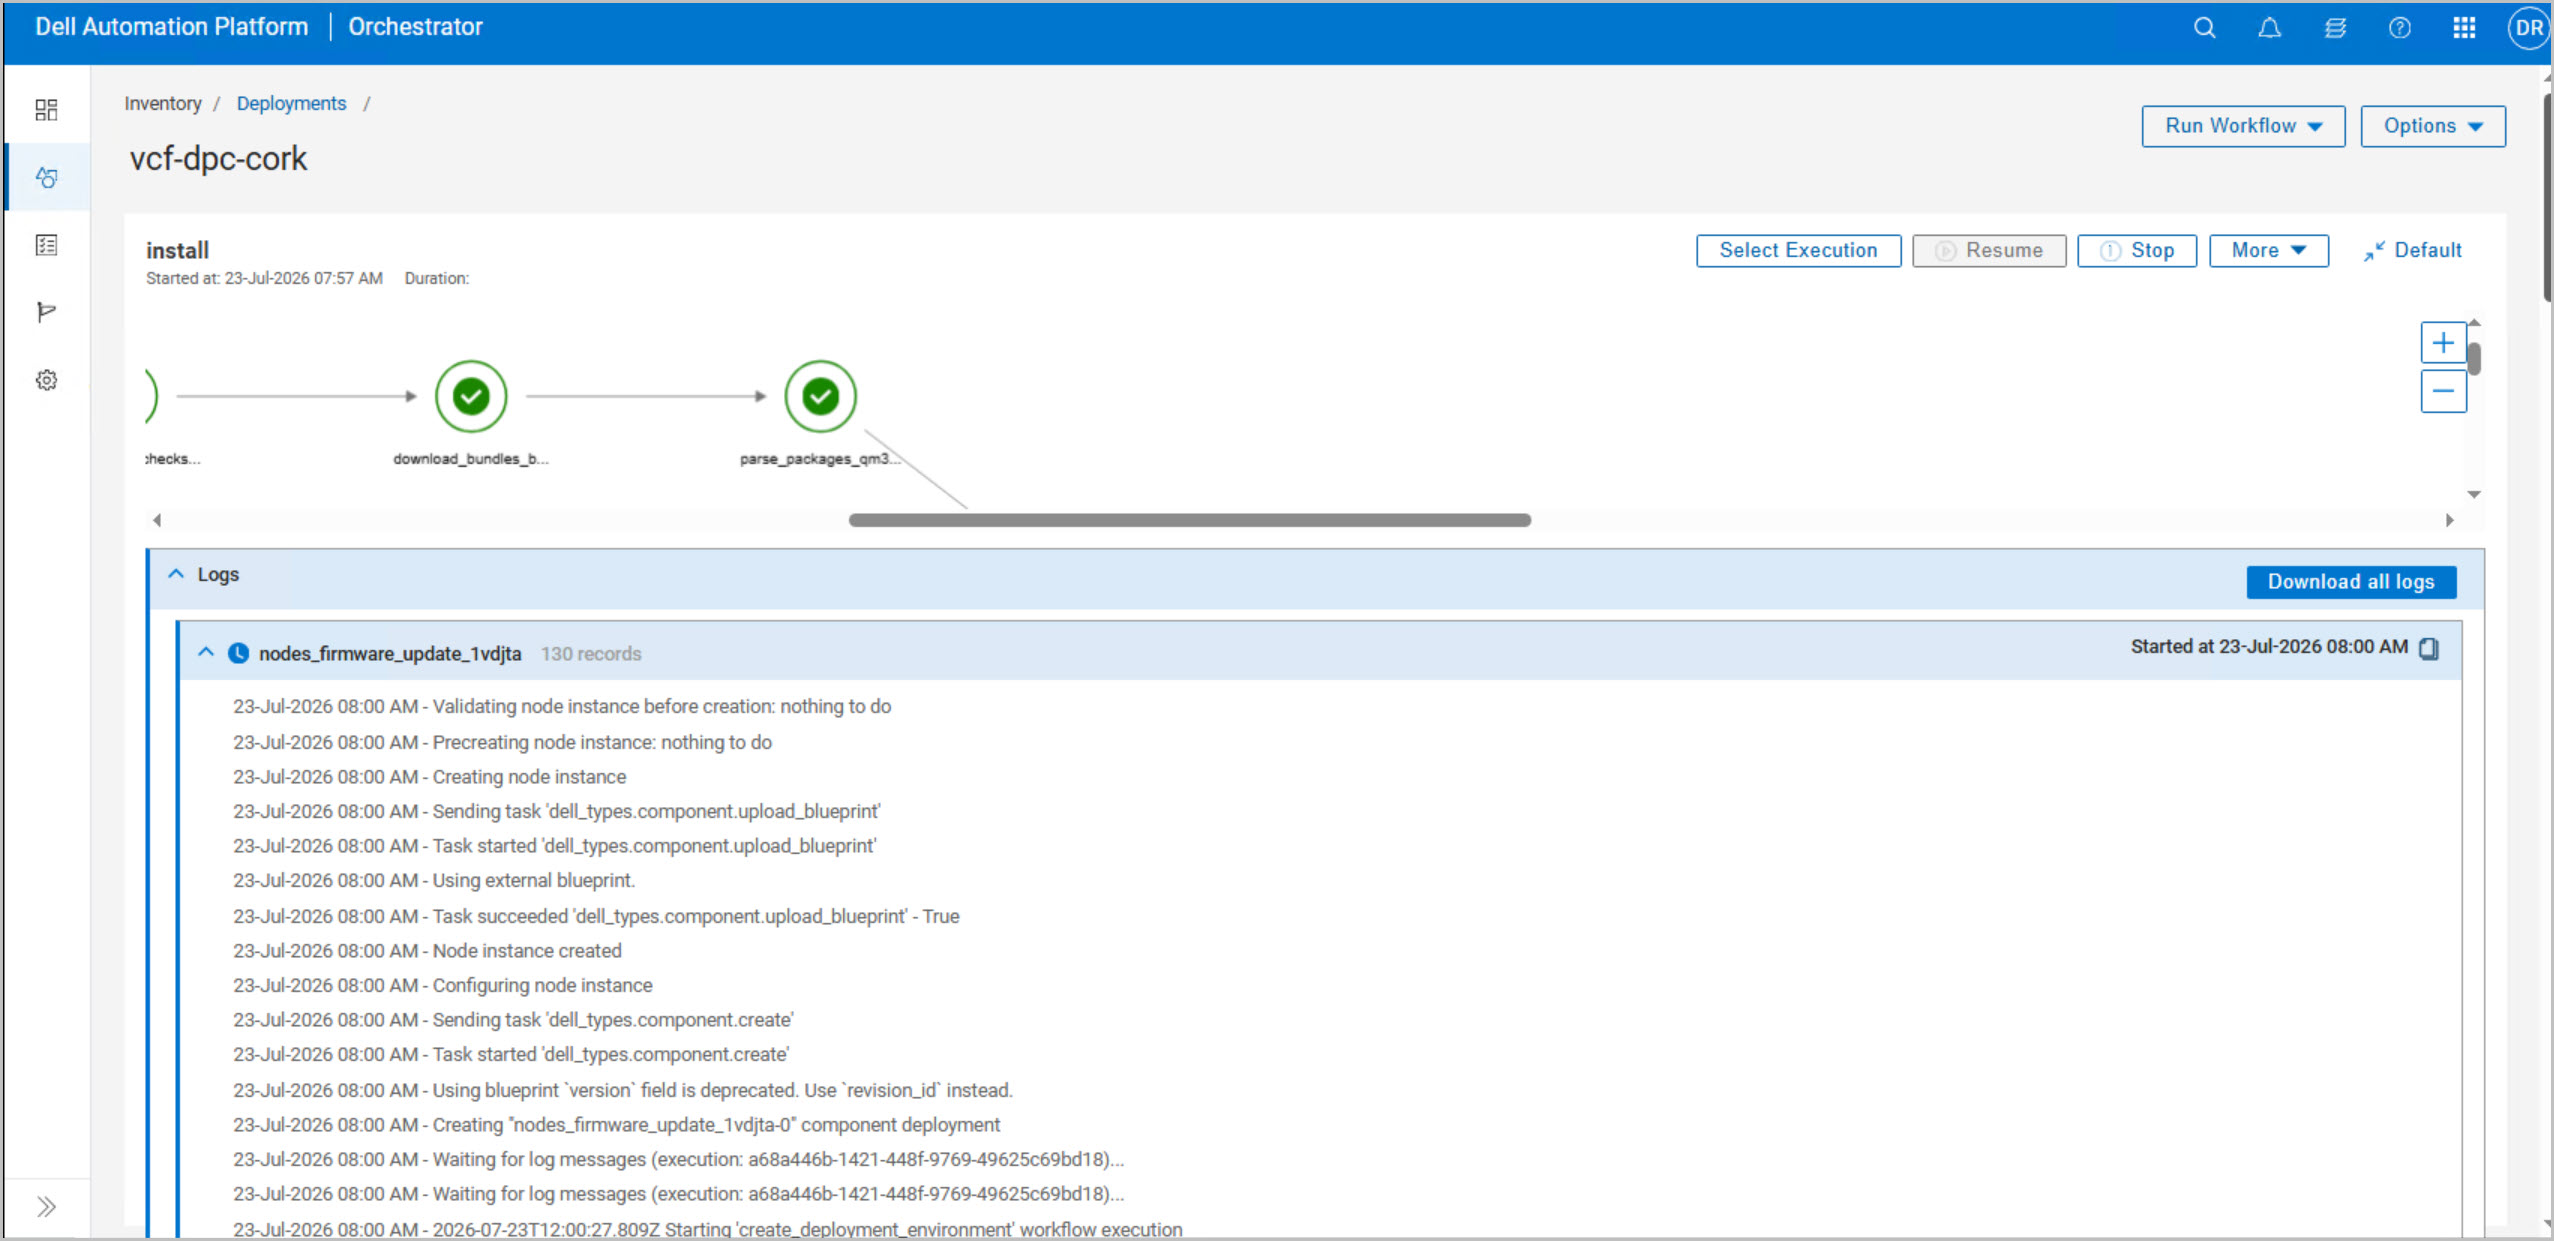
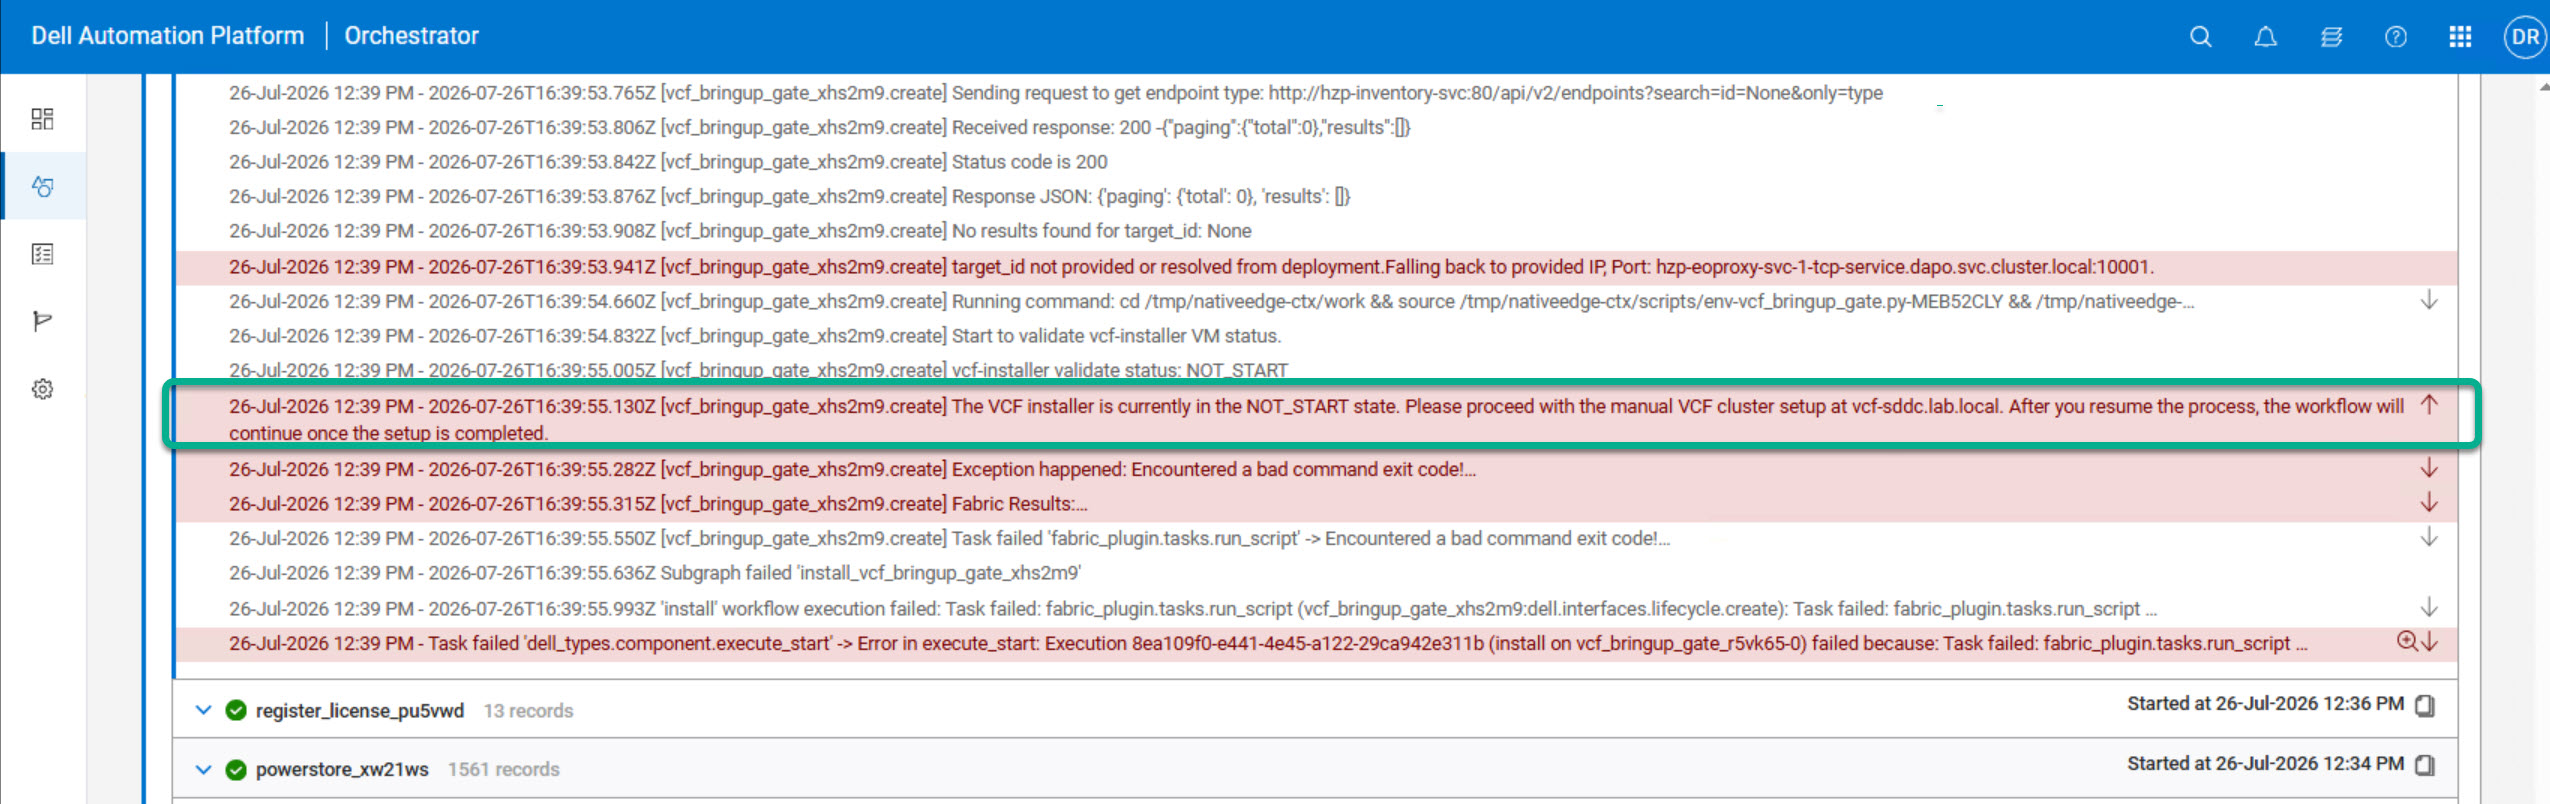
- Click any workflow task to view detailed logs, inputs, and execution results.
- Monitor for:
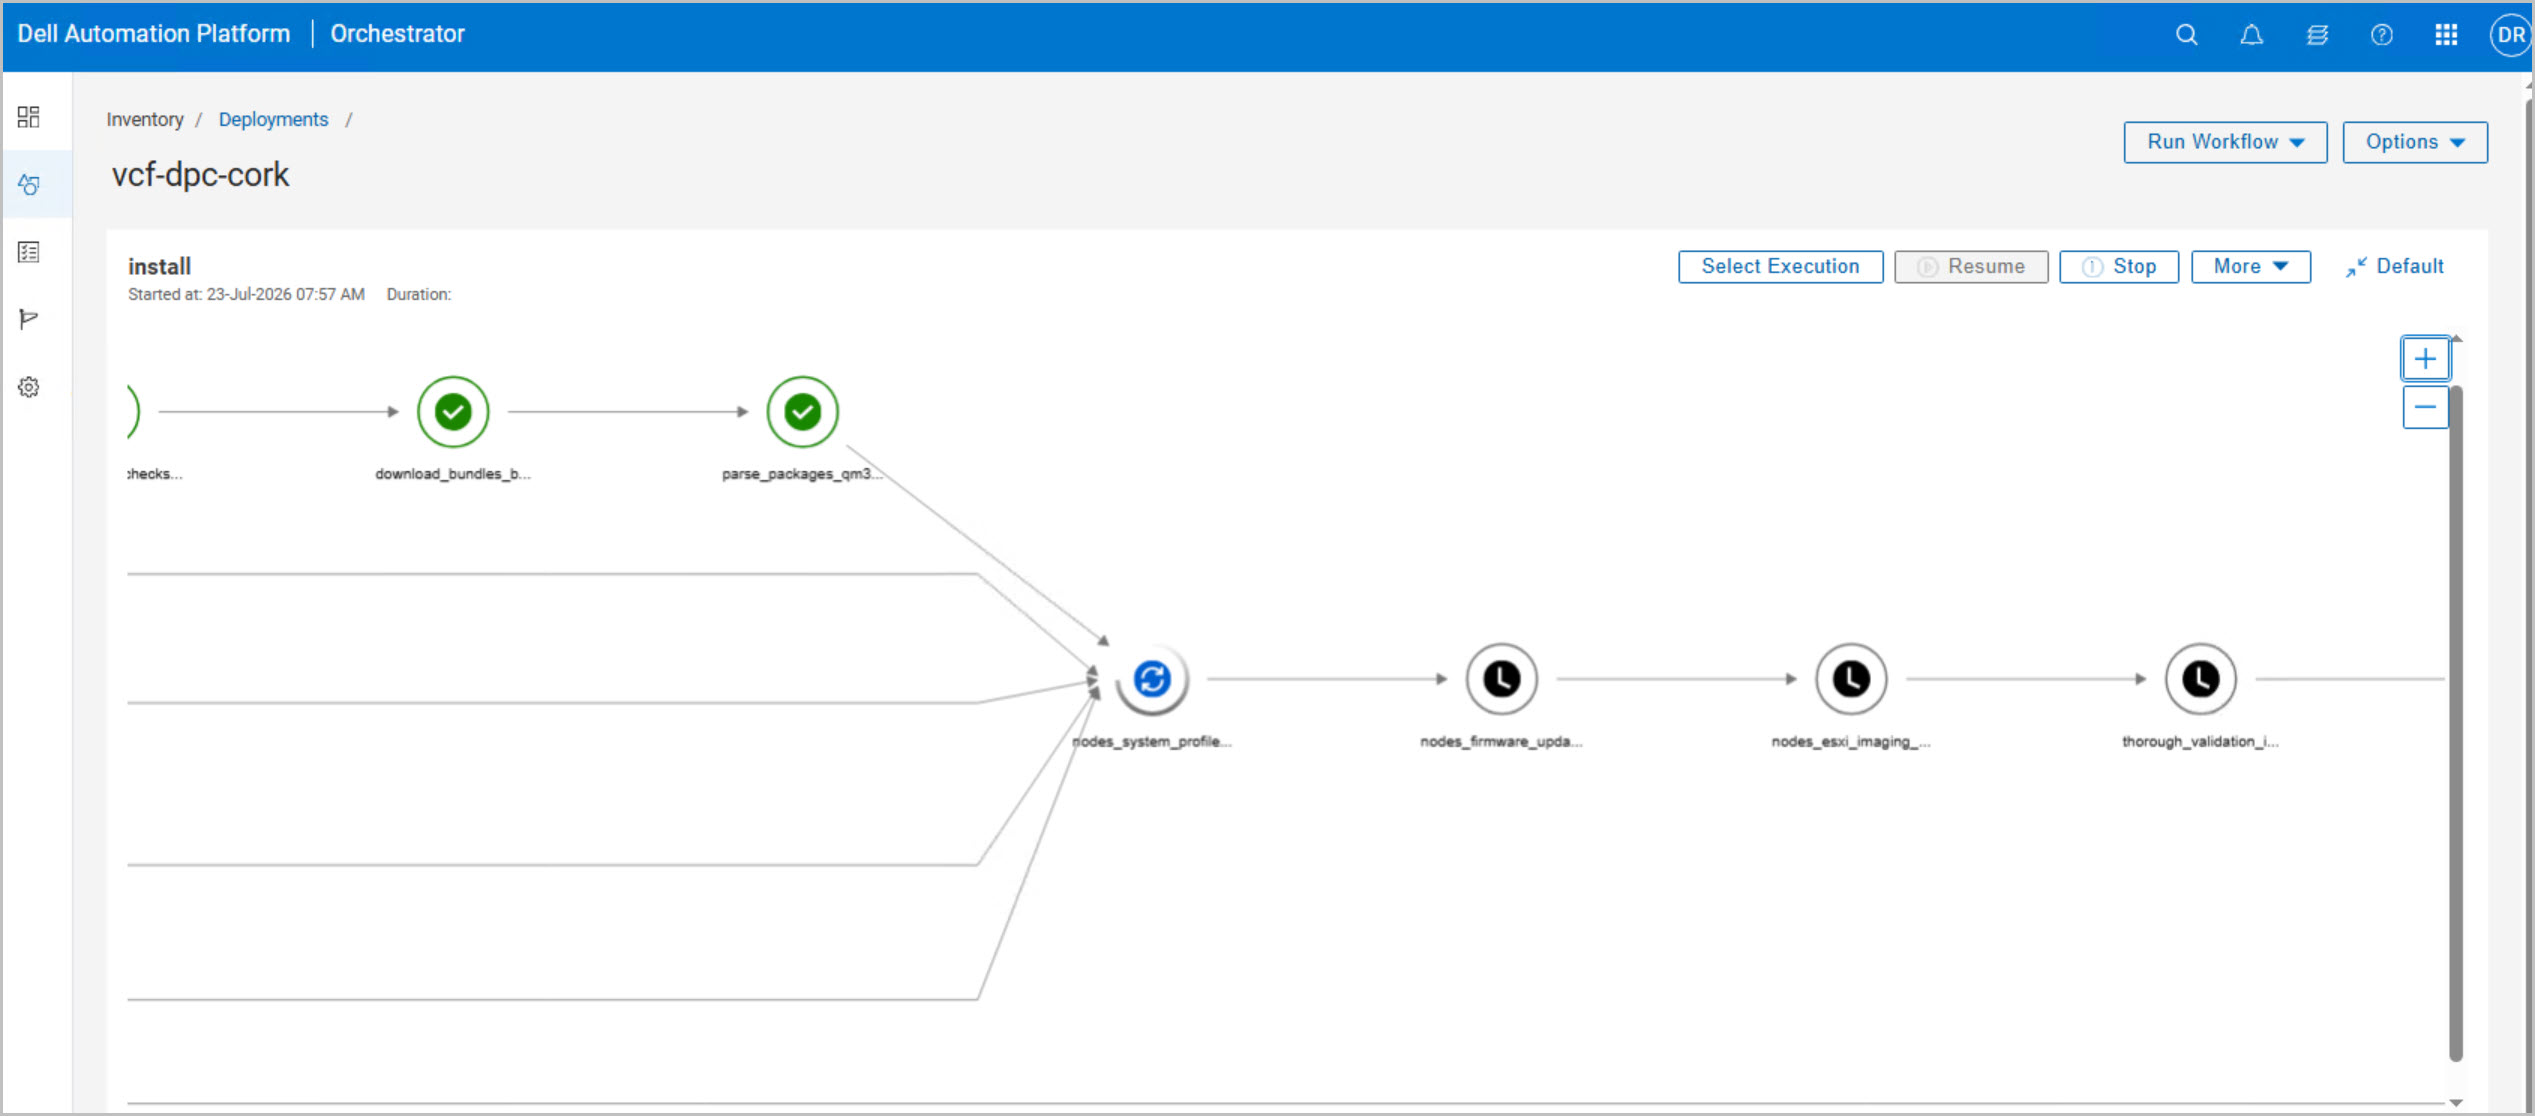
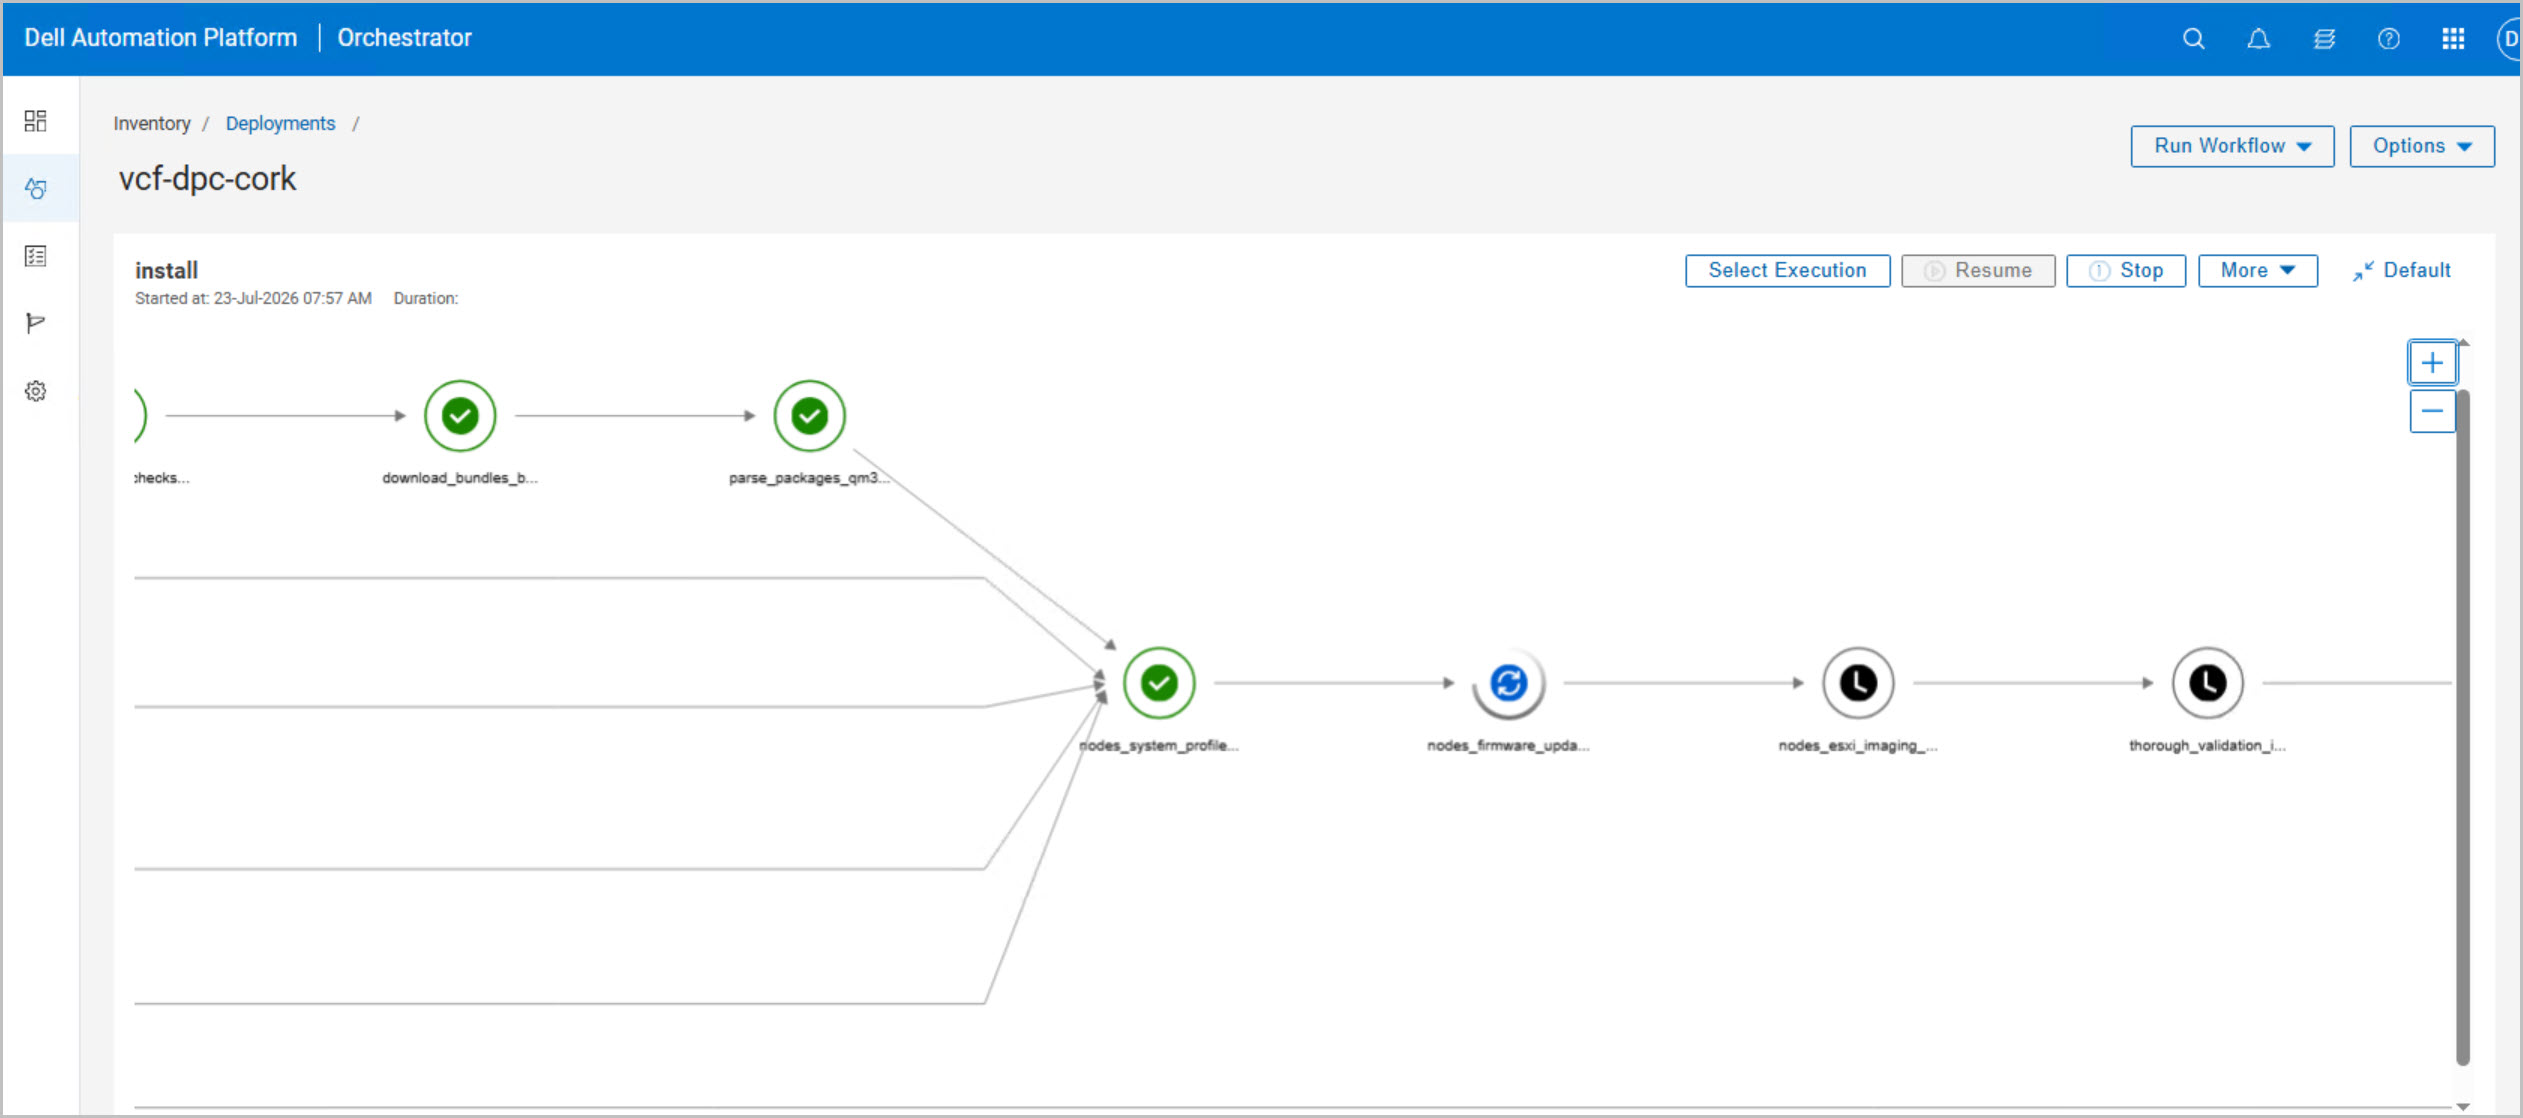
- ✅ Green checkmarks indicating completed tasks
- 🔄 Blue icons indicating tasks currently running
- ❌ Red icons indicating failures requiring investigation
- Use Select Execution to switch between workflow runs if multiple executions exist.
- Zoom in or out of the workflow diagram to follow progress through the deployment stages.
- If a task fails, select the task node and review the execution logs before rerunning the workflow.
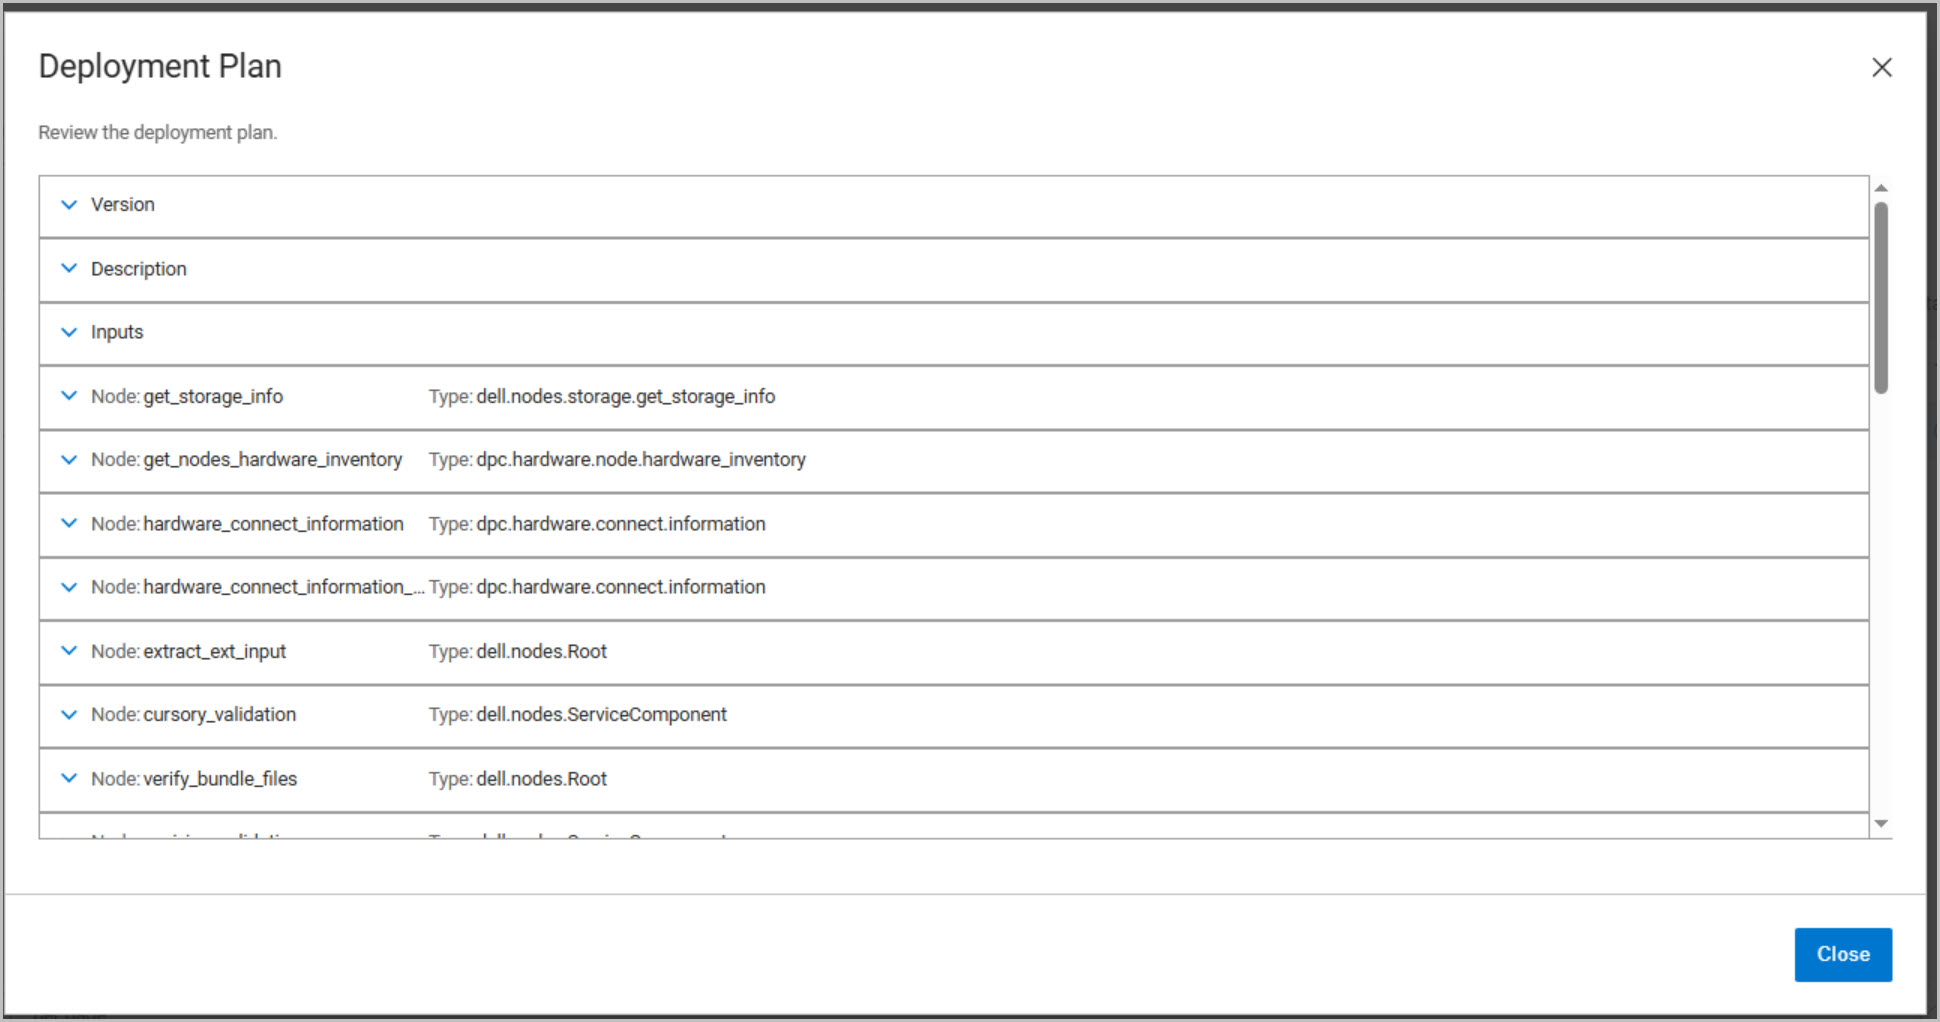
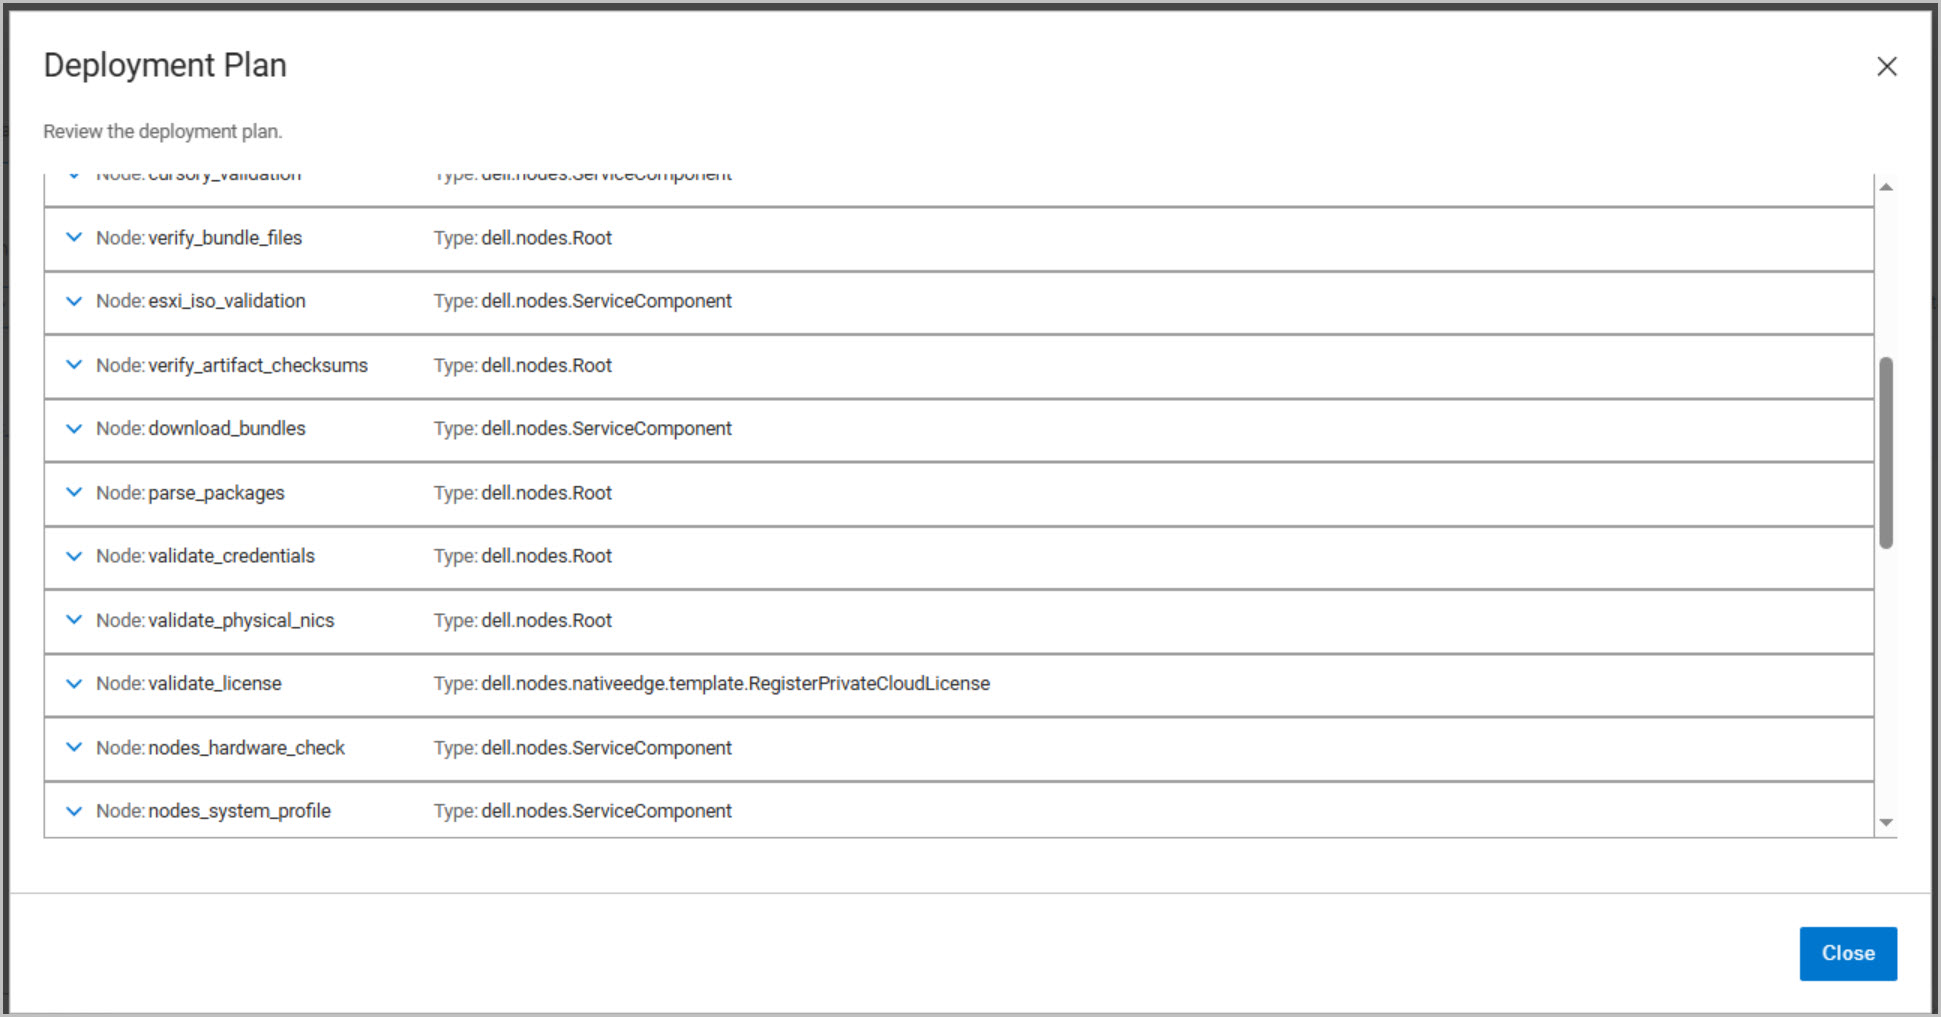
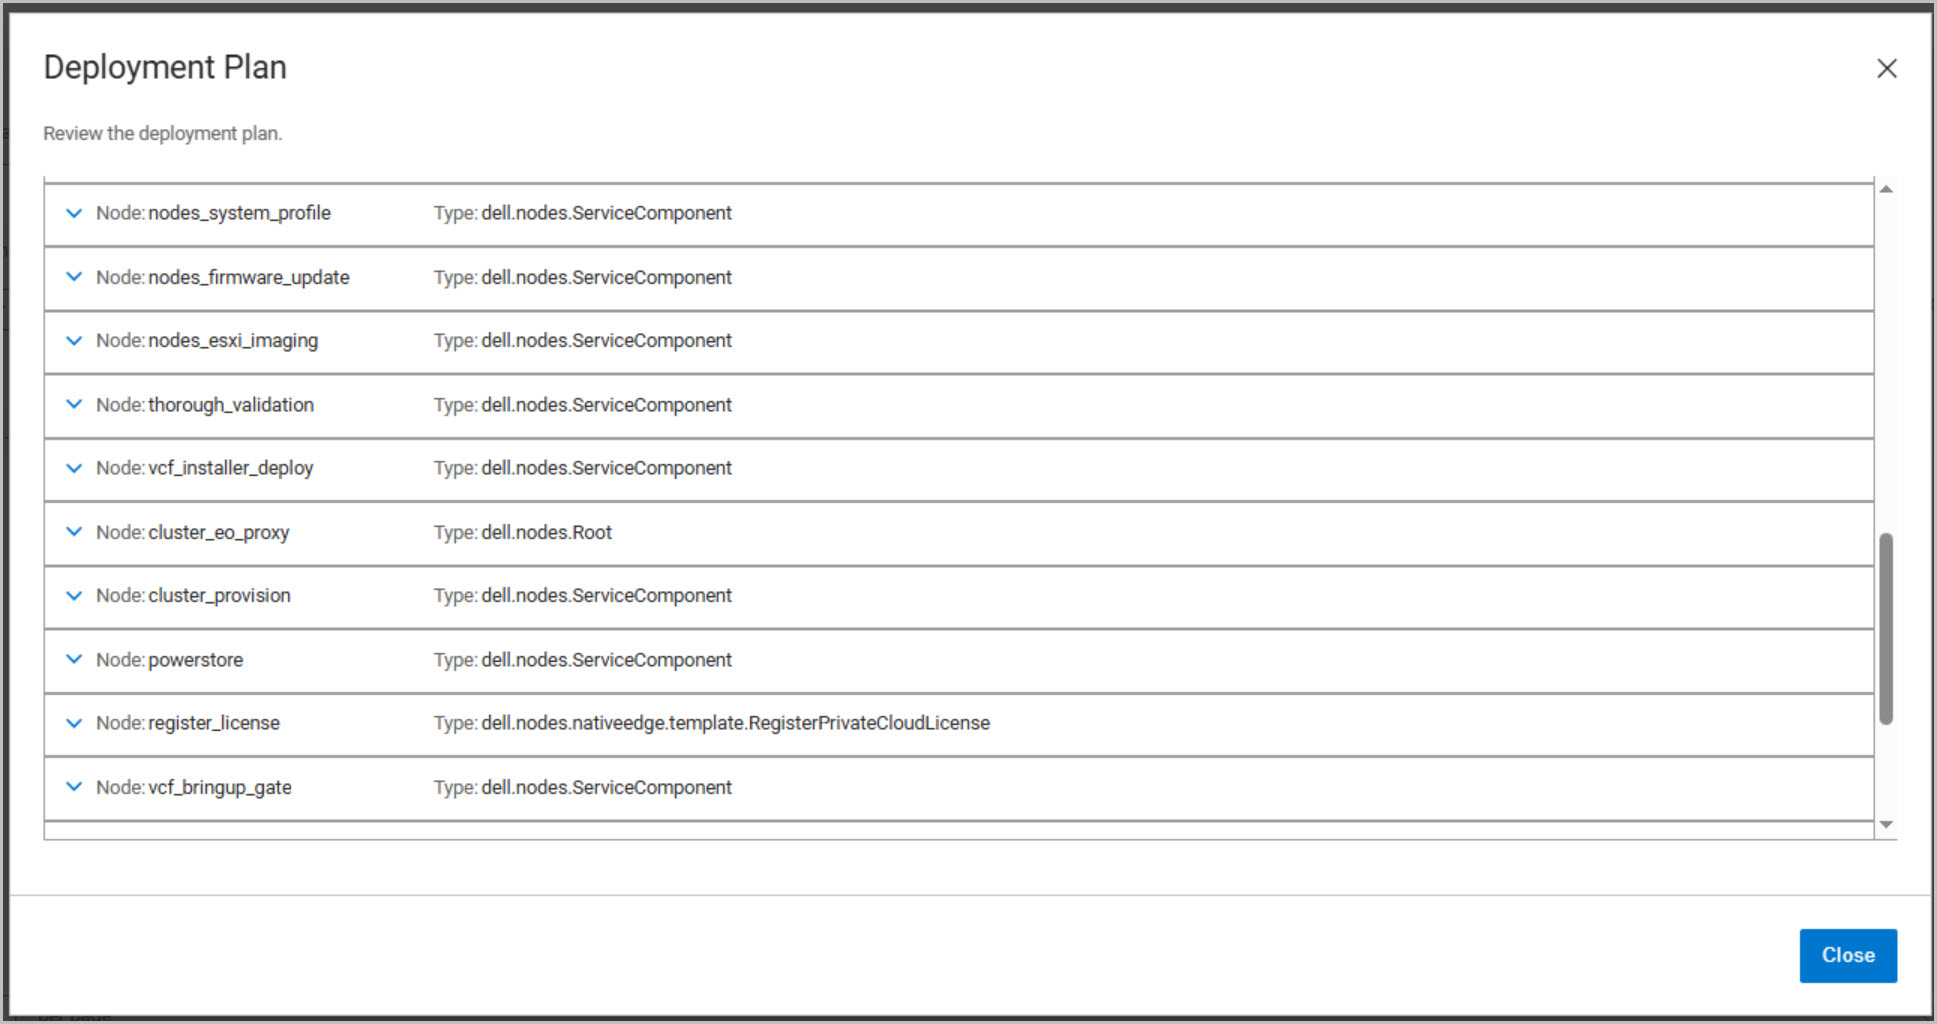
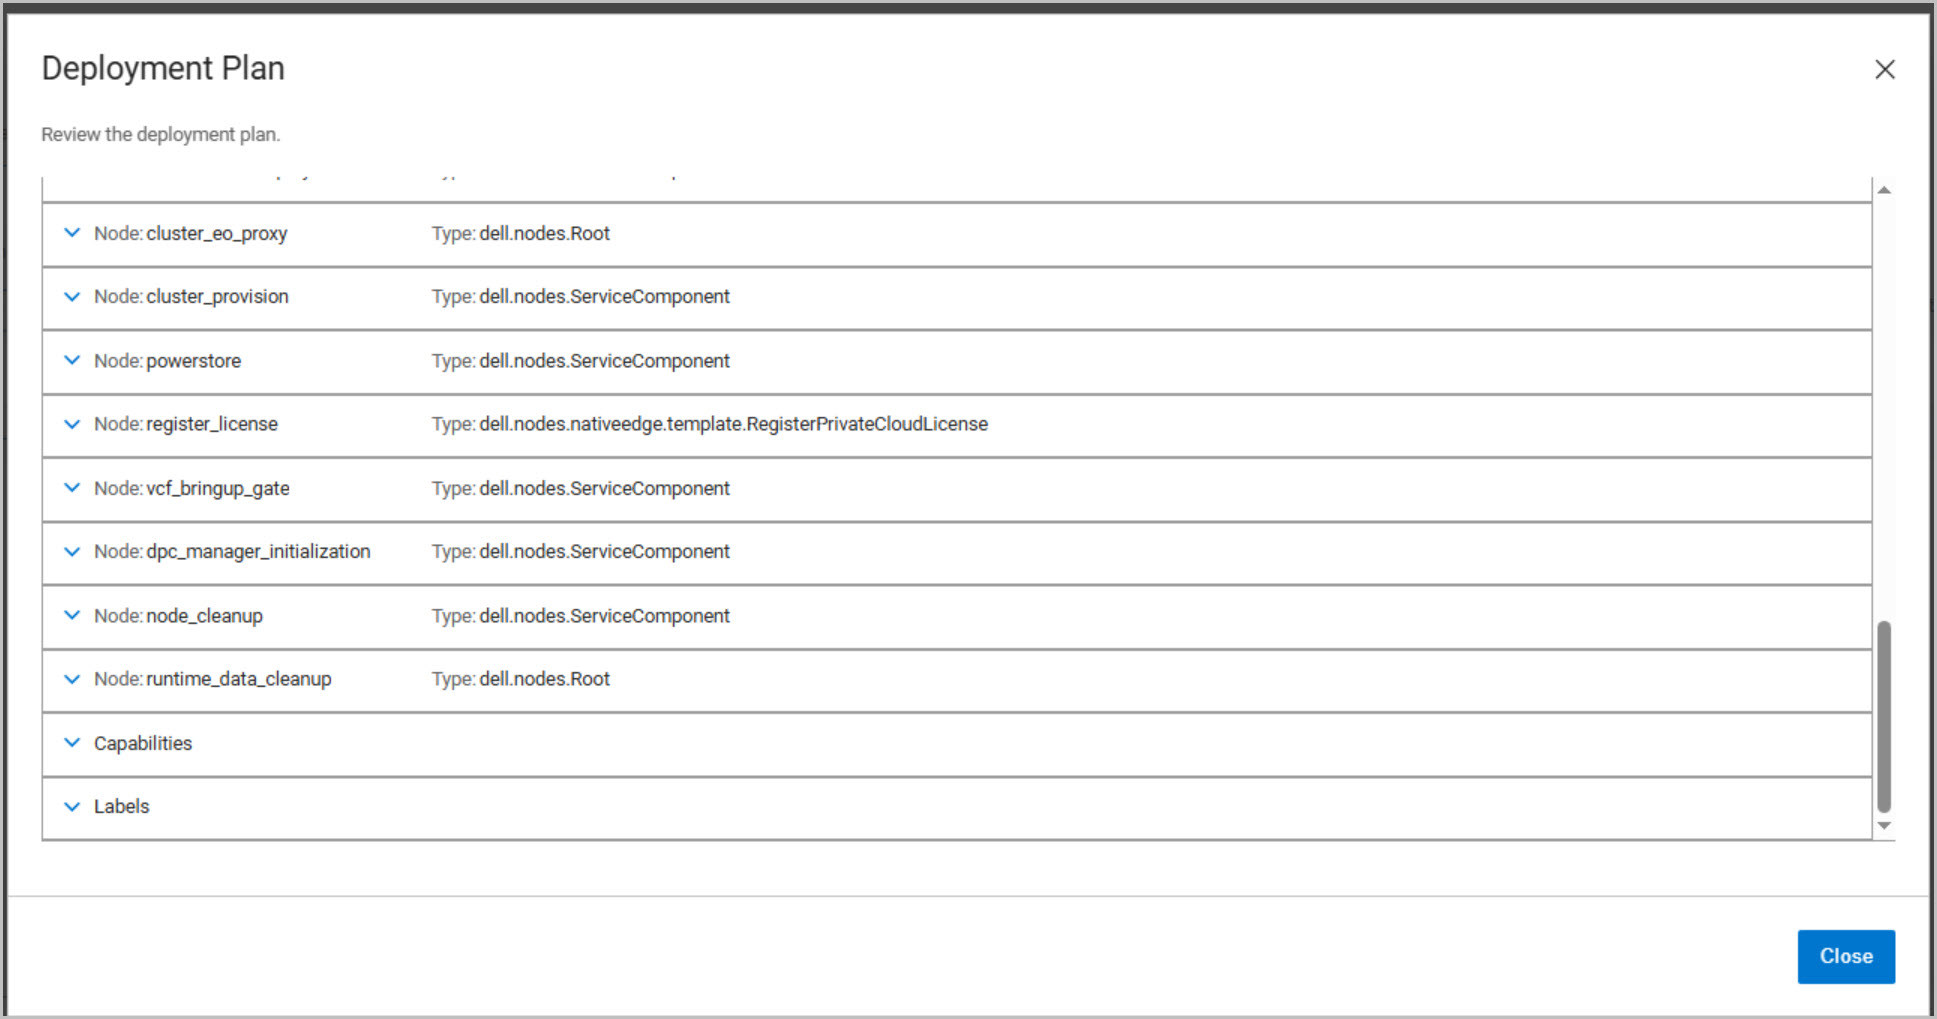
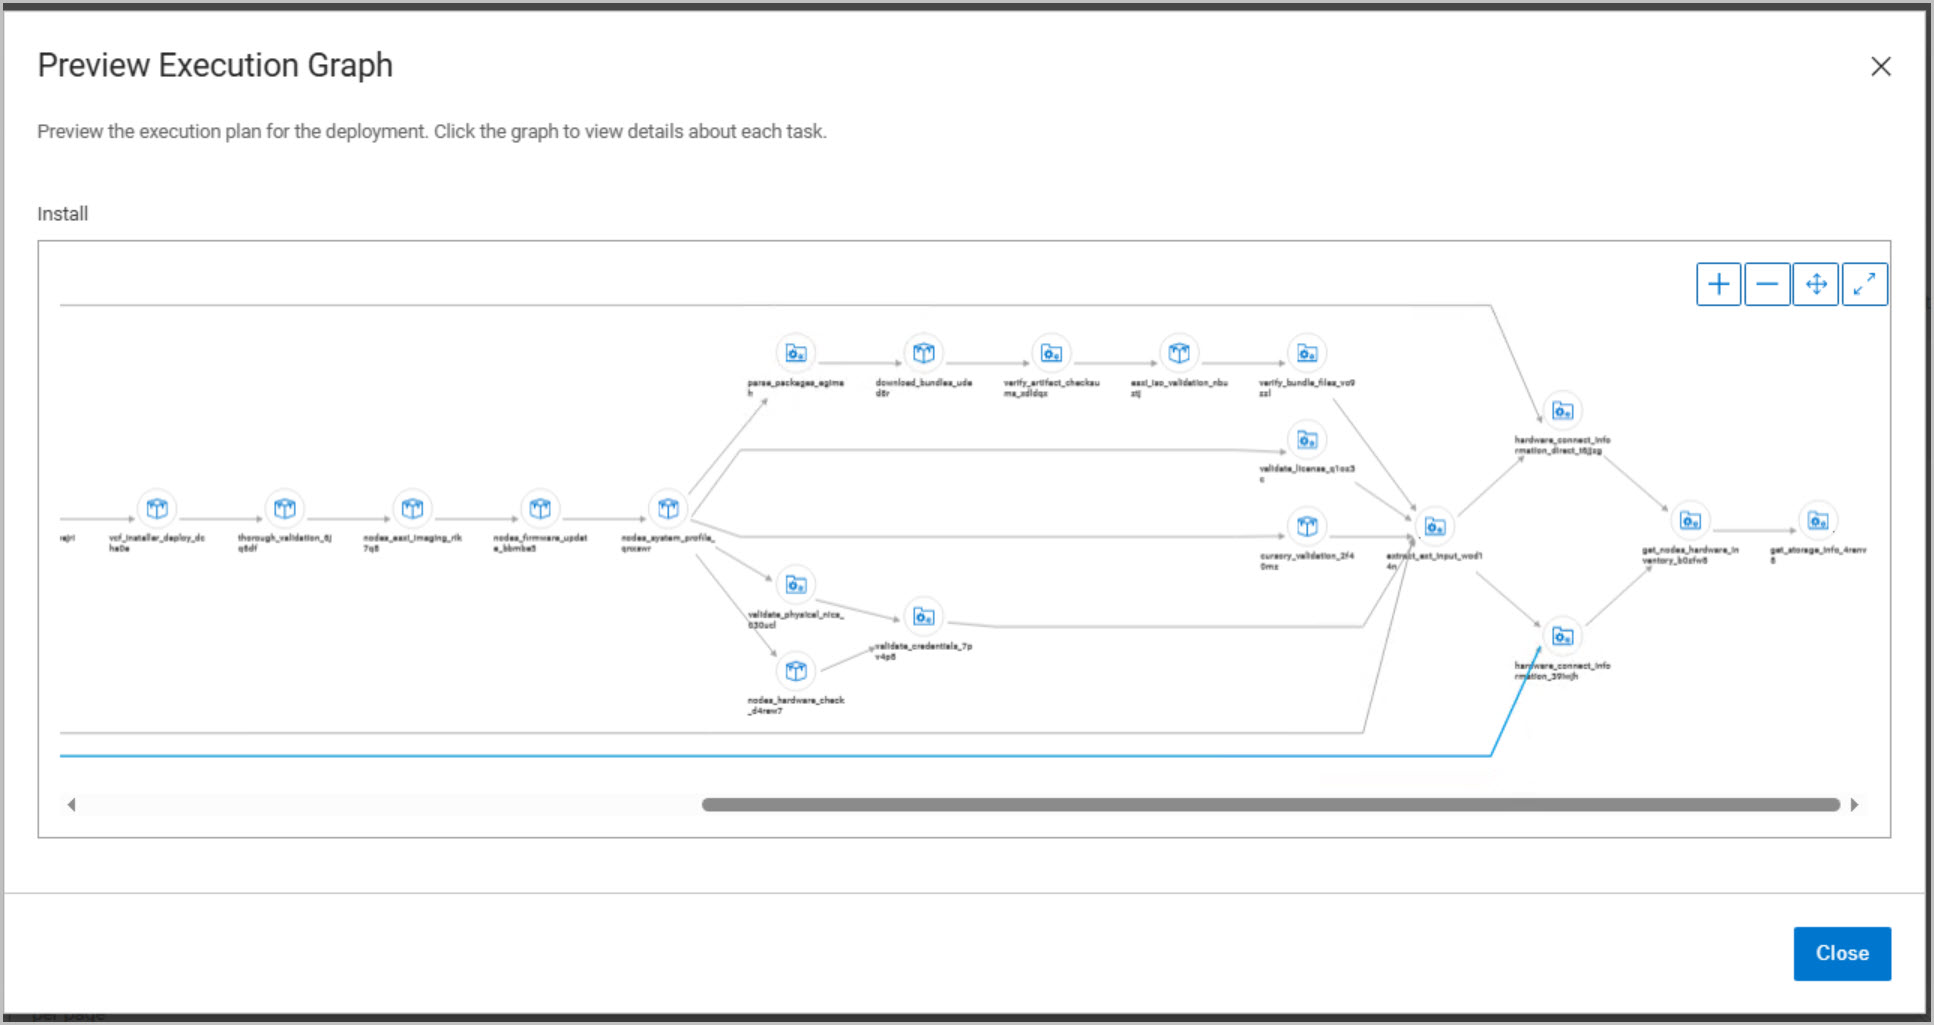
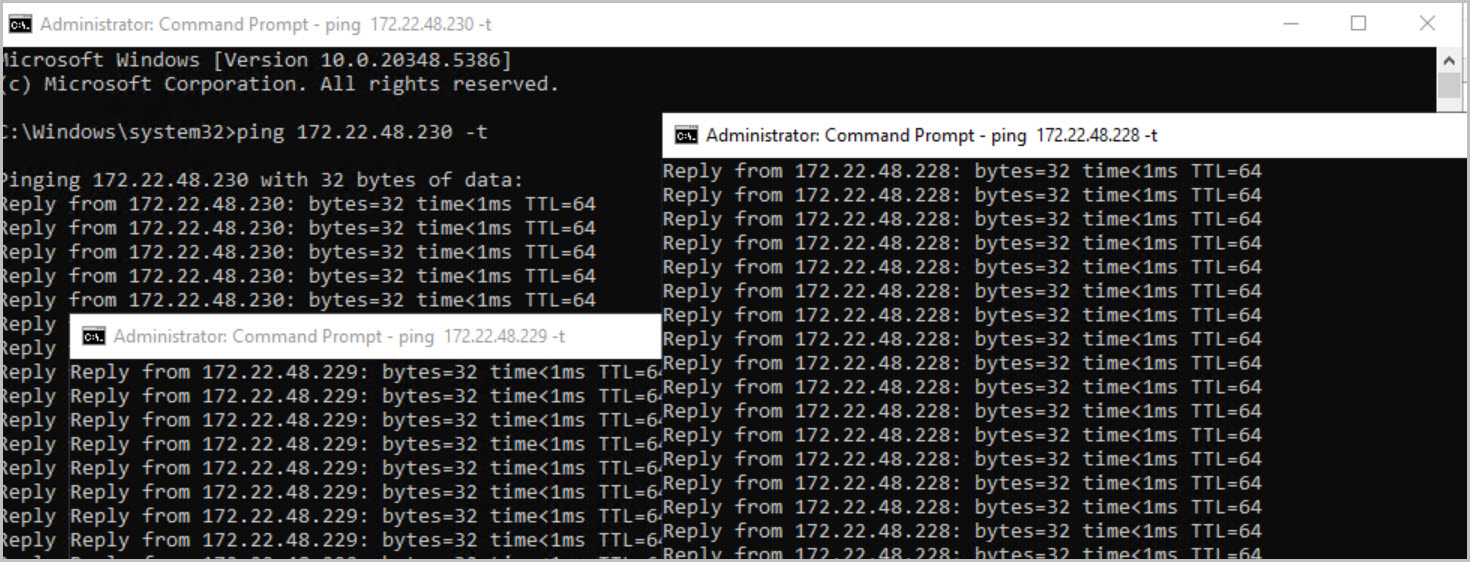
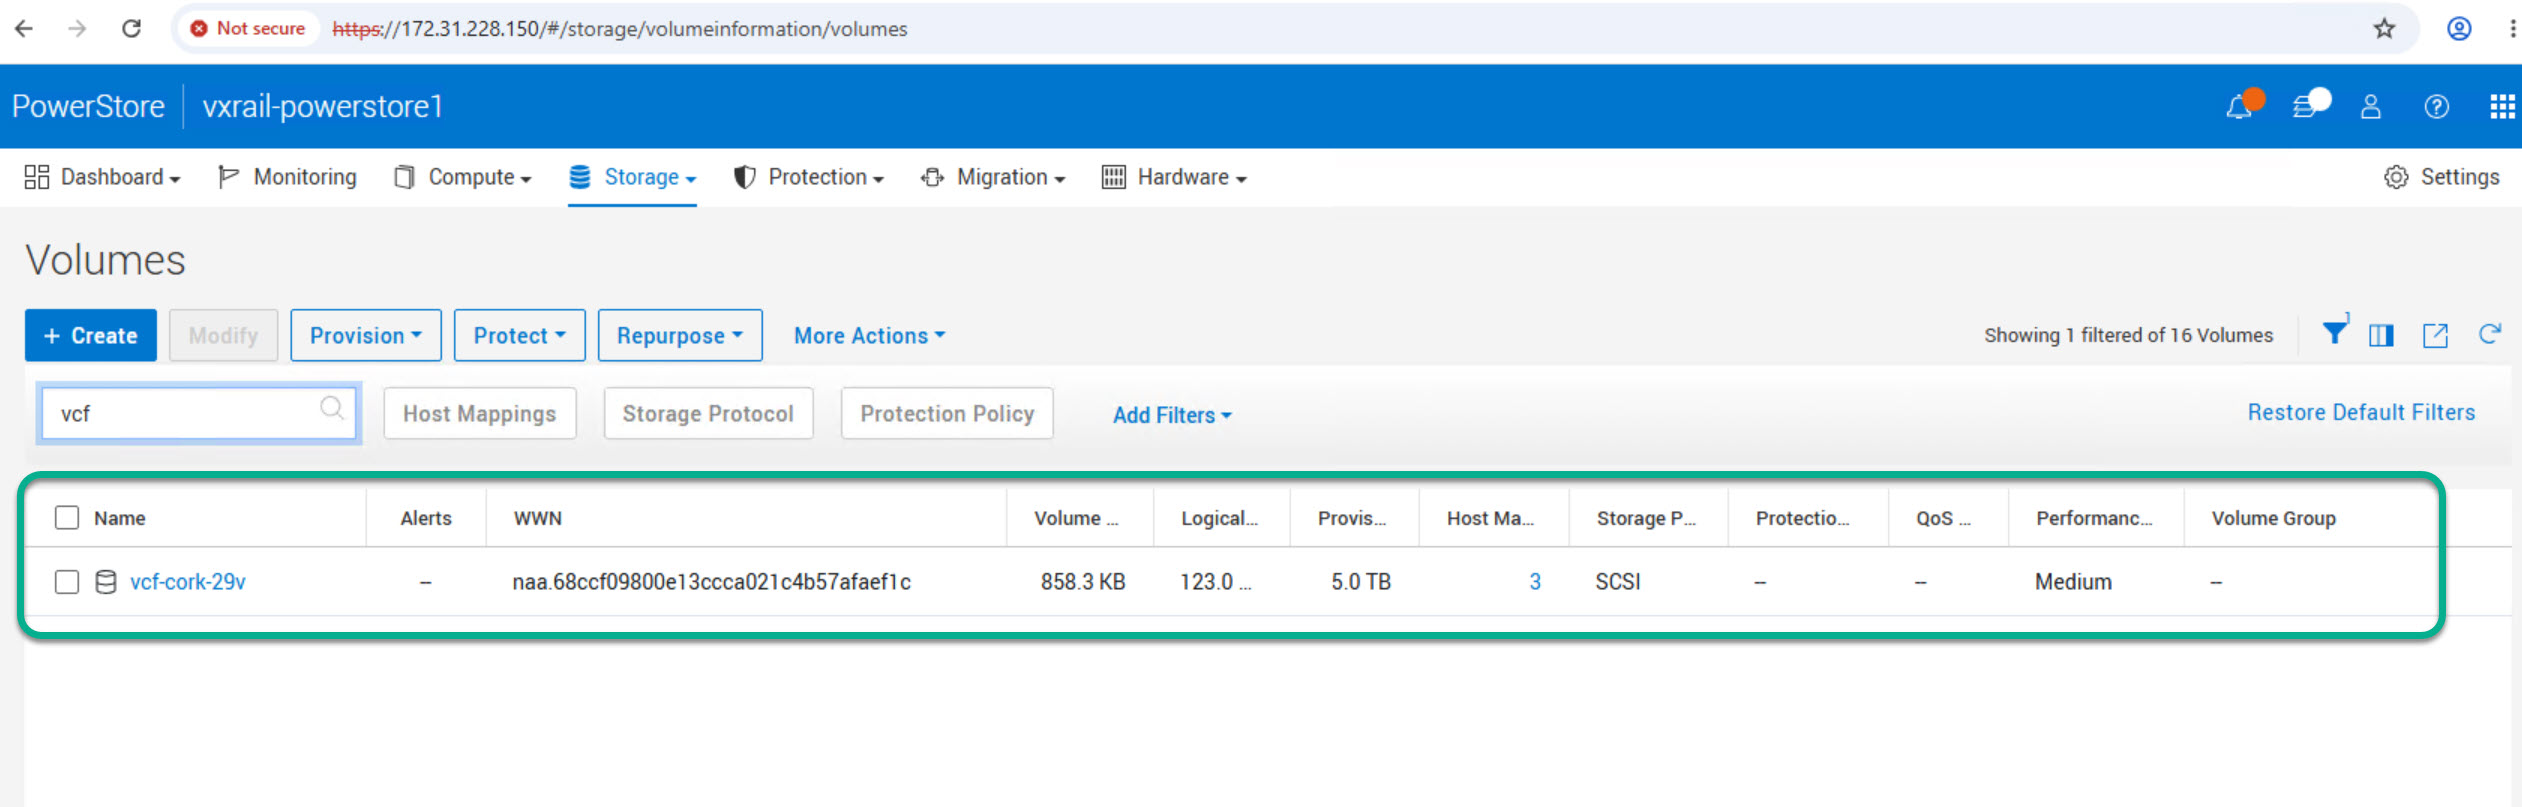
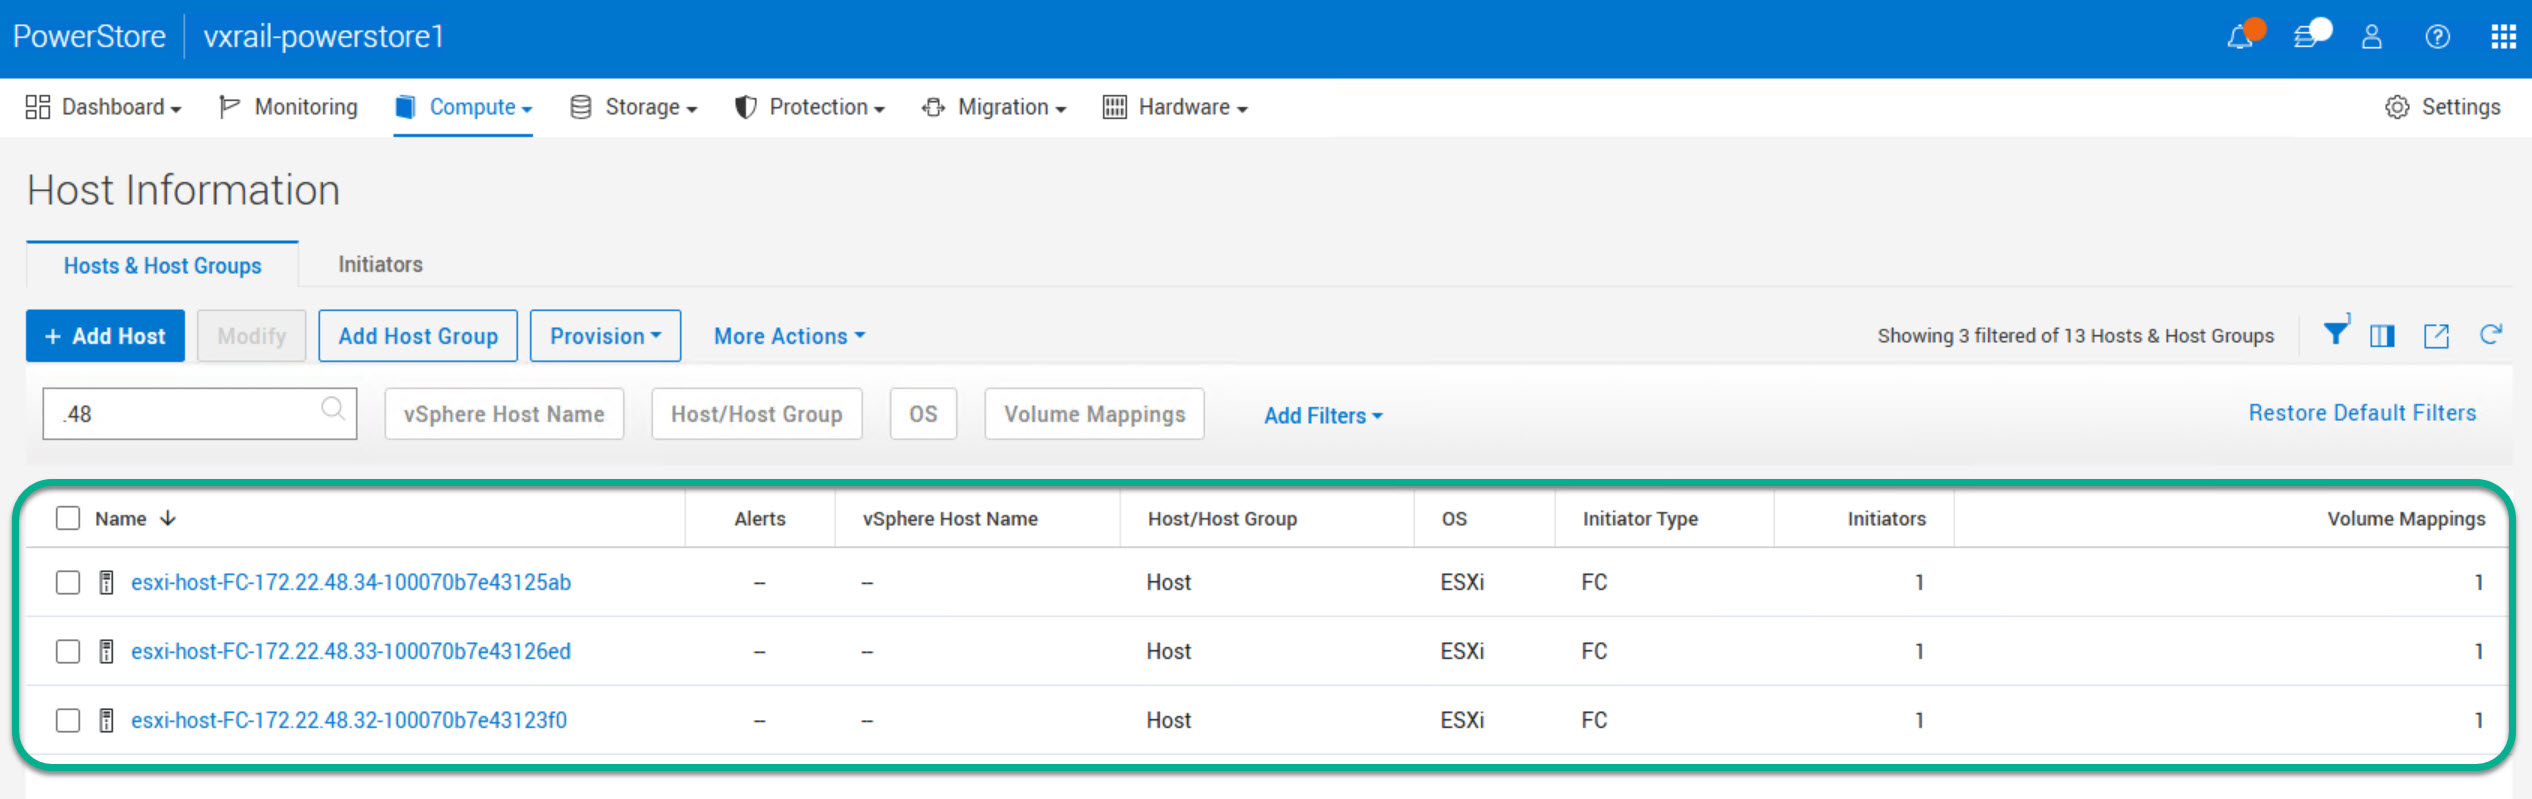
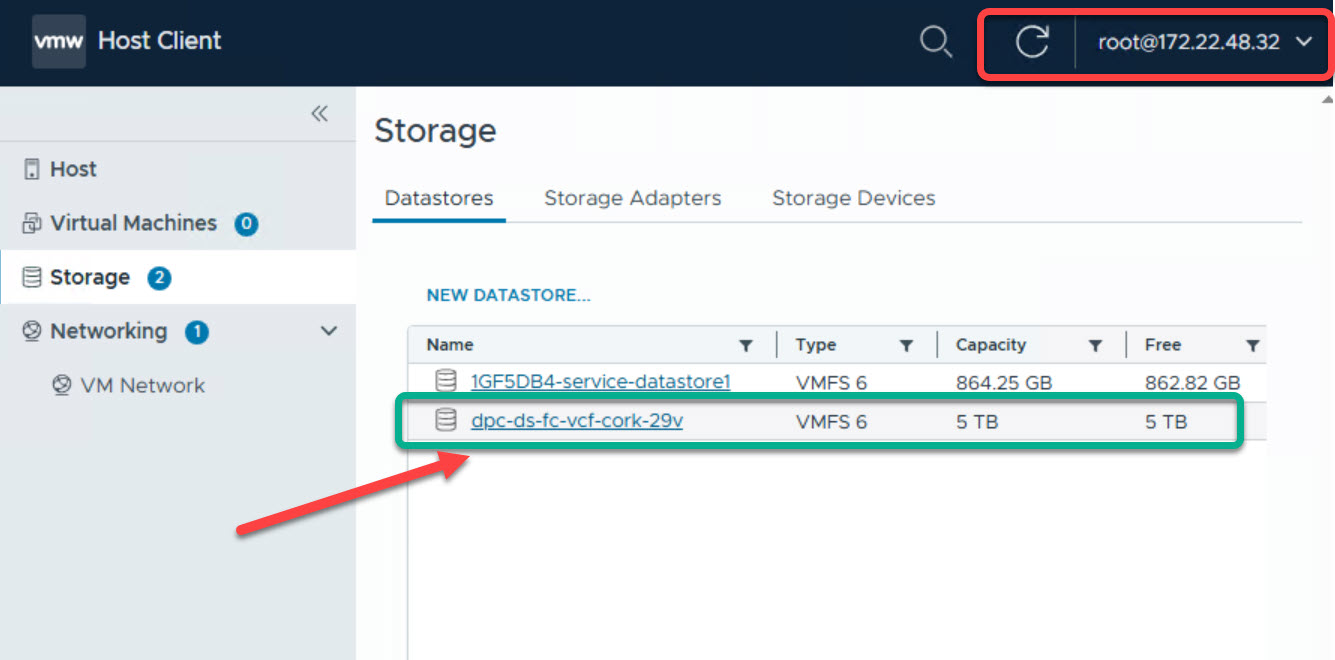
After the blueprint is launched, the workflow begins with three key preparation stages before infrastructure provisioning starts. First, the blueprint performs a series of pre-deployment checks to validate configuration inputs, connectivity, credentials, and infrastructure readiness. Once validation passes, DAPO proceeds to download the required software bundles from the configured repository location, ensuring all deployment artifacts are locally available. The final preparation step is to parse and validate the downloaded packages, confirming that the required versions, dependencies, and deployment components are present and compatible. The workflow then applies the required system profiles to the PowerEdge hosts, performs any necessary firmware updates bringing the hosts into compliance with the versions defined in the DPC hardware bundle, carries out ESXi imaging along with A new PowerStore-backed datastore successfully created, zoned, mounted, and presented to all three ESXi hosts and finishes with a comprehensive validation of networking, storage, and host configuration before continuing with the VCF deployment. This validation serves as a final checkpoint to ensure the environment is ready for management domain deployment.
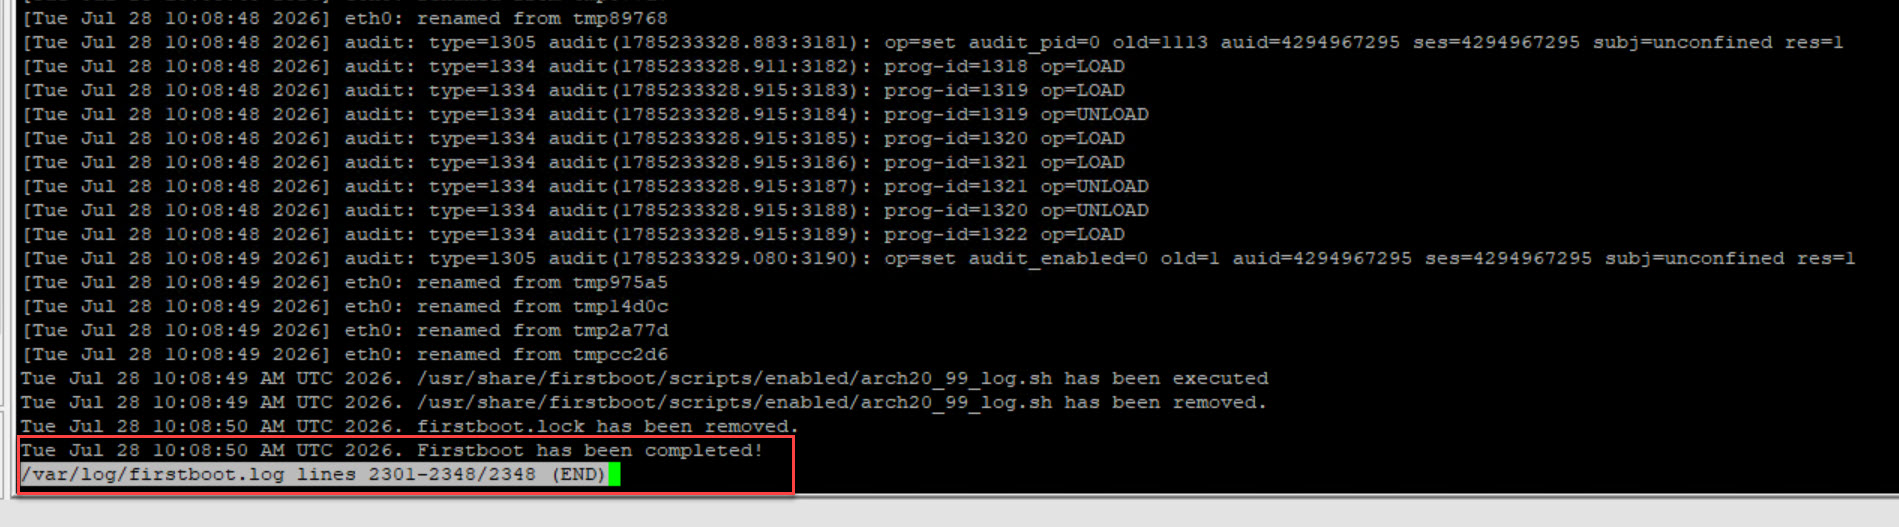
After the initial boot process completes for DPC Manager, review the first boot log located at:
less /var/log/firstboot.log
to confirm that the appliance initialization completed successfully.
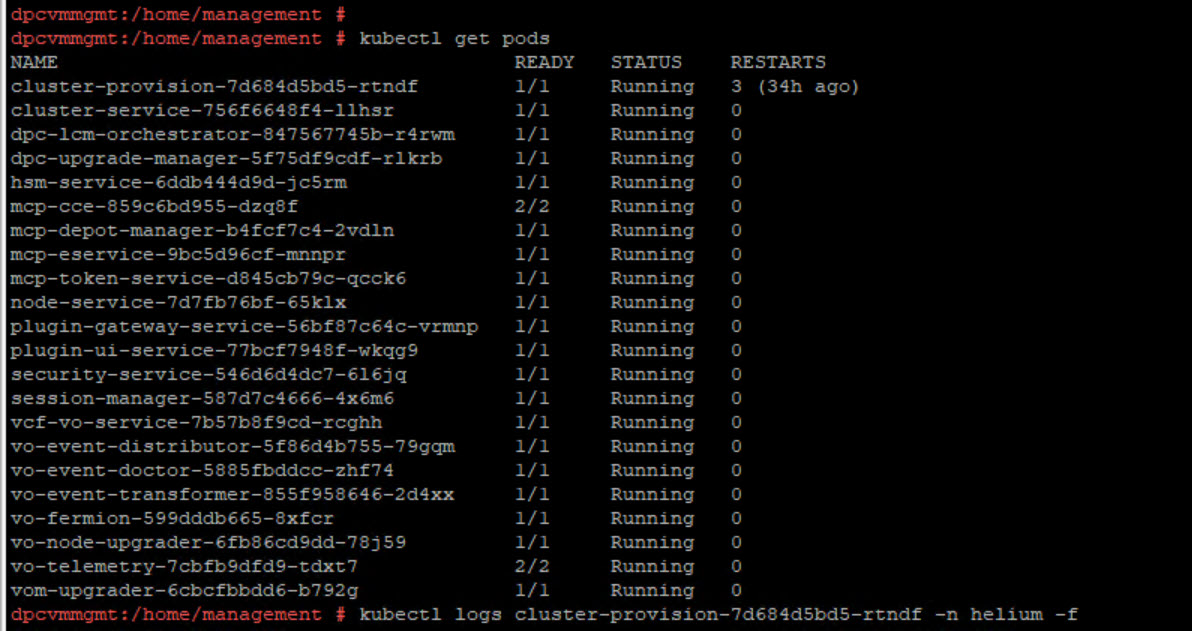
Once the workflow reaches the VCF deployment gate, responsibility transitions from DAPO to the VCF Installer. At this stage, the infrastructure has been prepared, validated, and is ready for VMware Cloud Foundation deployment. The VCF Installer then takes over to deploy and configure the management domain components. I’ll cover this phase in detail in Part 3, where we’ll walk through the VCF Installer workflow, management domain deployment, and post-deployment validation.






9 Comments »