PART 1 PART 2 PART 3
This post provides a detailed guide on deploying VMware vRealize Suite Lifecycle Manager (vRSLCM) as part of a VCF On VxRail solution. It covers the necessary prerequisites and walks through the deployment process, including screenshots. The VMware vRealize Suite Lifecycle Manager automates the LCM of the vRealize Suite. It must be deployed before any vRealize Log Insight, vRealize Operations, or vRealize Automation components can be deployed. The vRealize Suite Lifecycle Manager contains the functional elements that collaborate to orchestrate the LCM operations of the vRealize Suite environment. vRLCM VM is deployed onto the xRegion NSX-T segment.
Note: ensure ‘My VMware’ creds are entered successfully in the SDDC Manager repository settings and the list of available products are being displayed in the SDDC Manager repository.
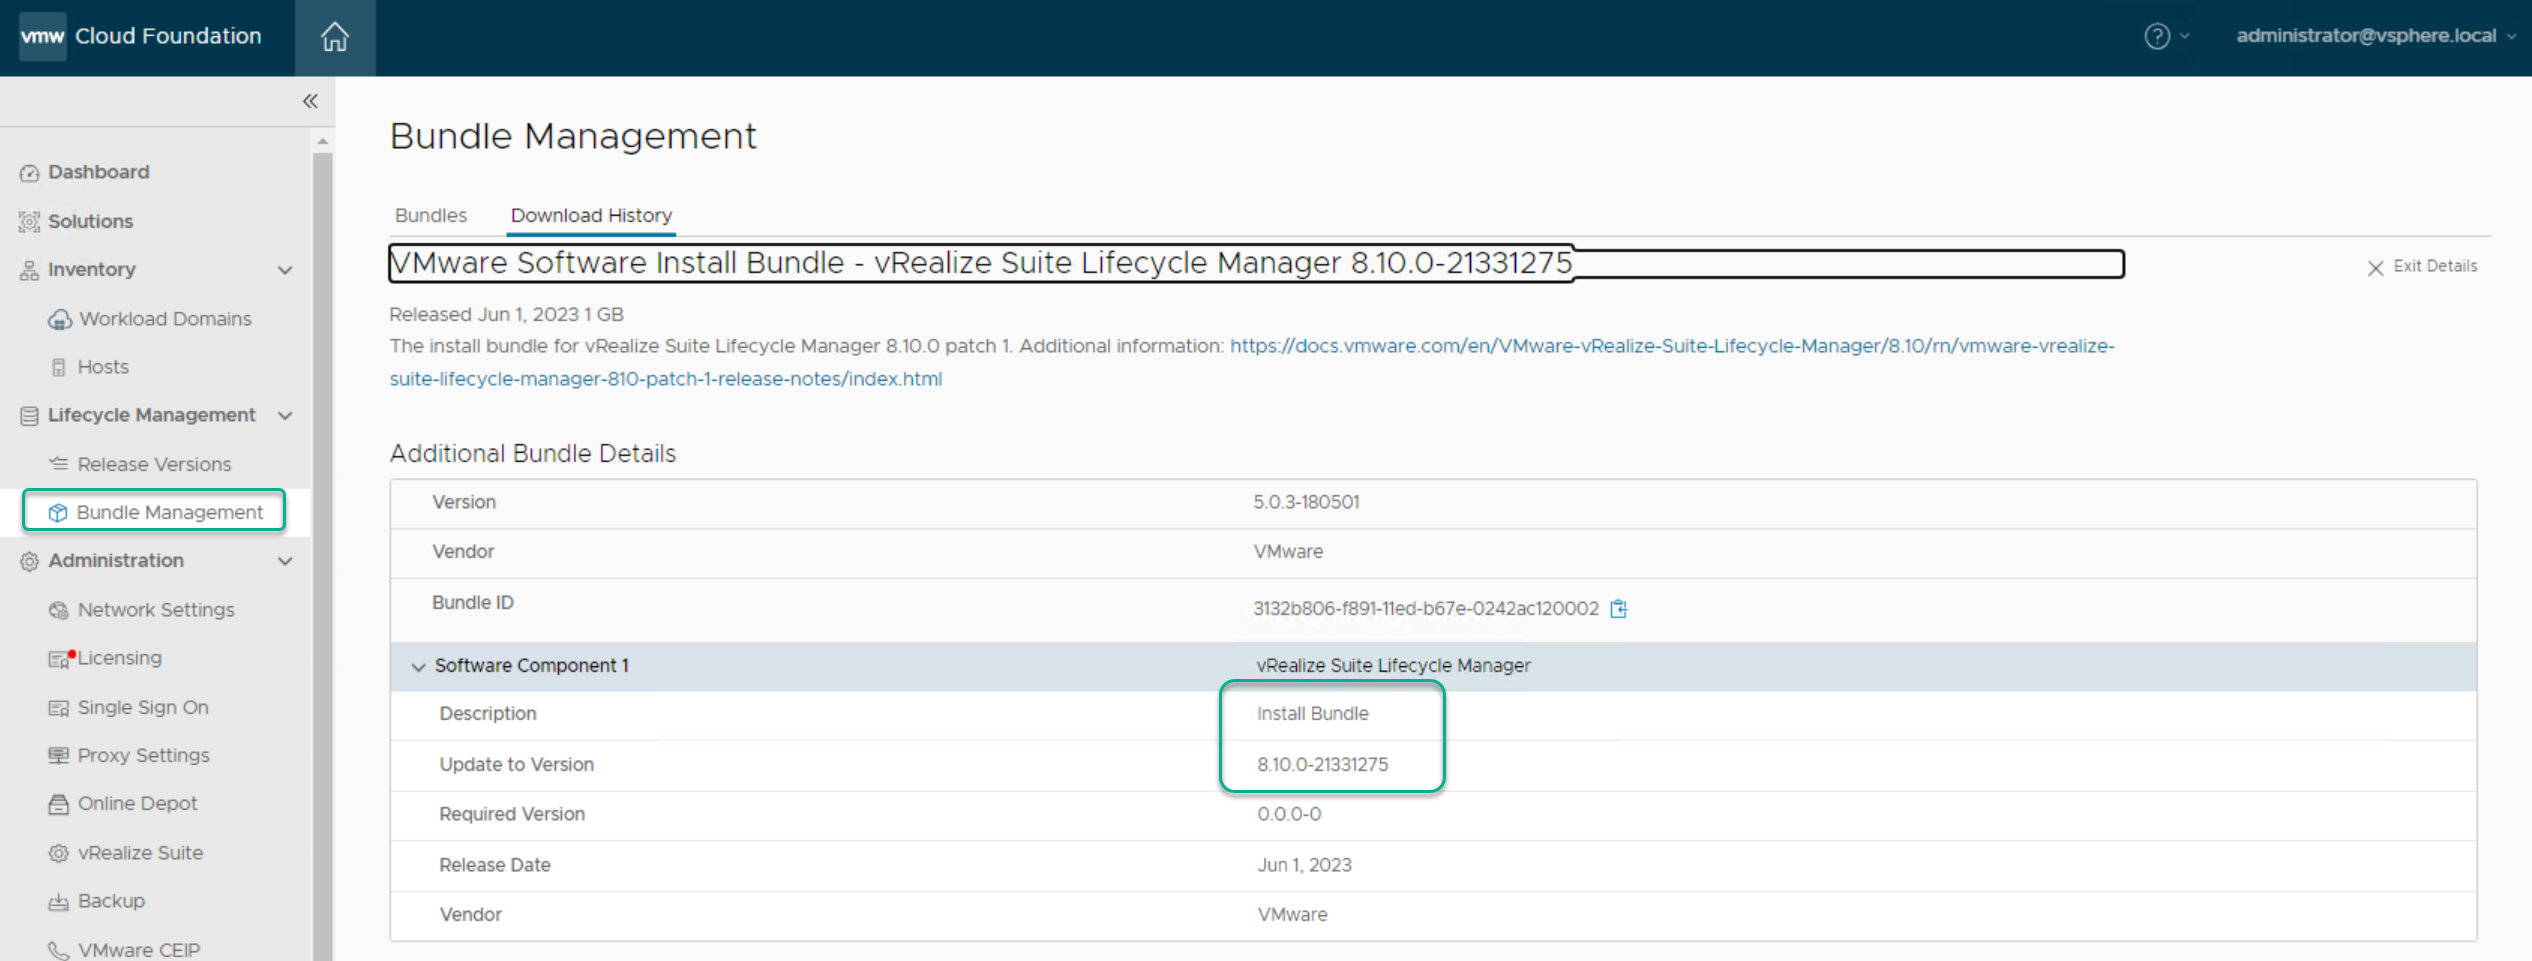
Before we can deploy vRSLCM we first need to download the the vRSLCM product Binary. From within the SDDC Manager console click Bundle Management and download the VMware Software Install Bundle – vRealize Suite Lifecycle Manager 8.8.2:
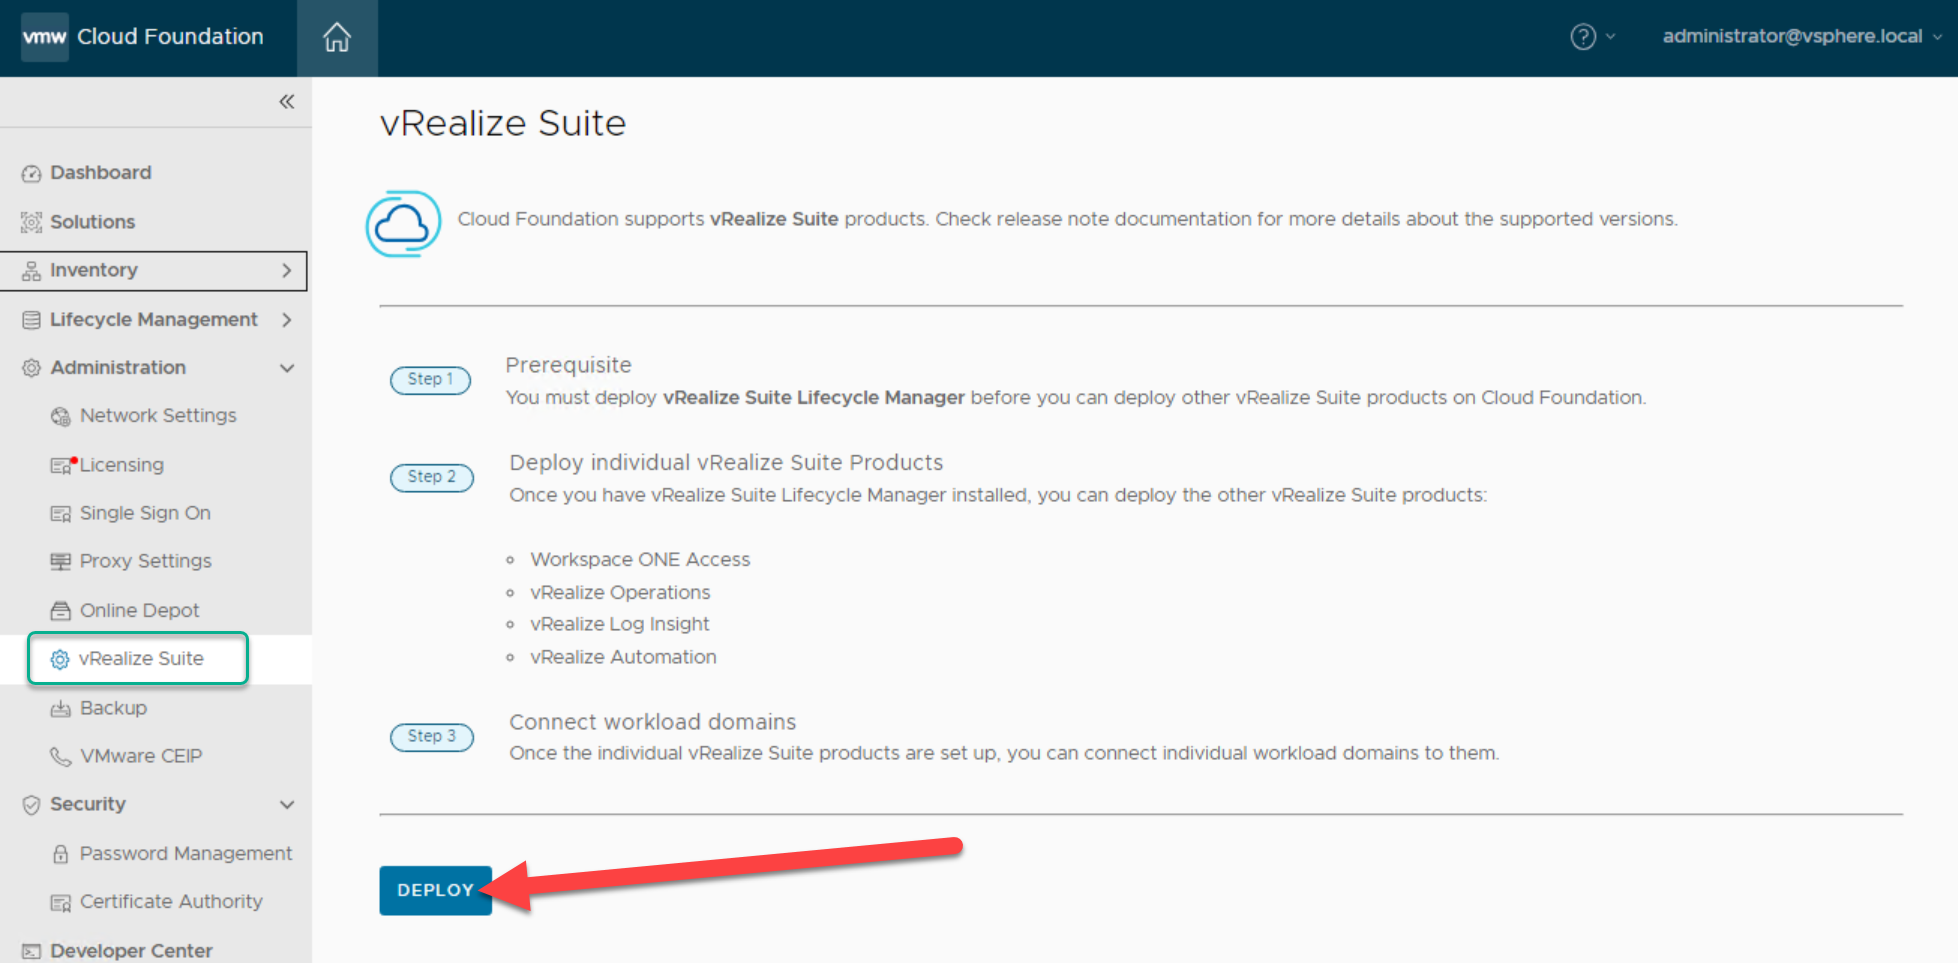
To begin the deployment of vRSLCM navigate to Administration->vRealize Suite and click DEPLOY:
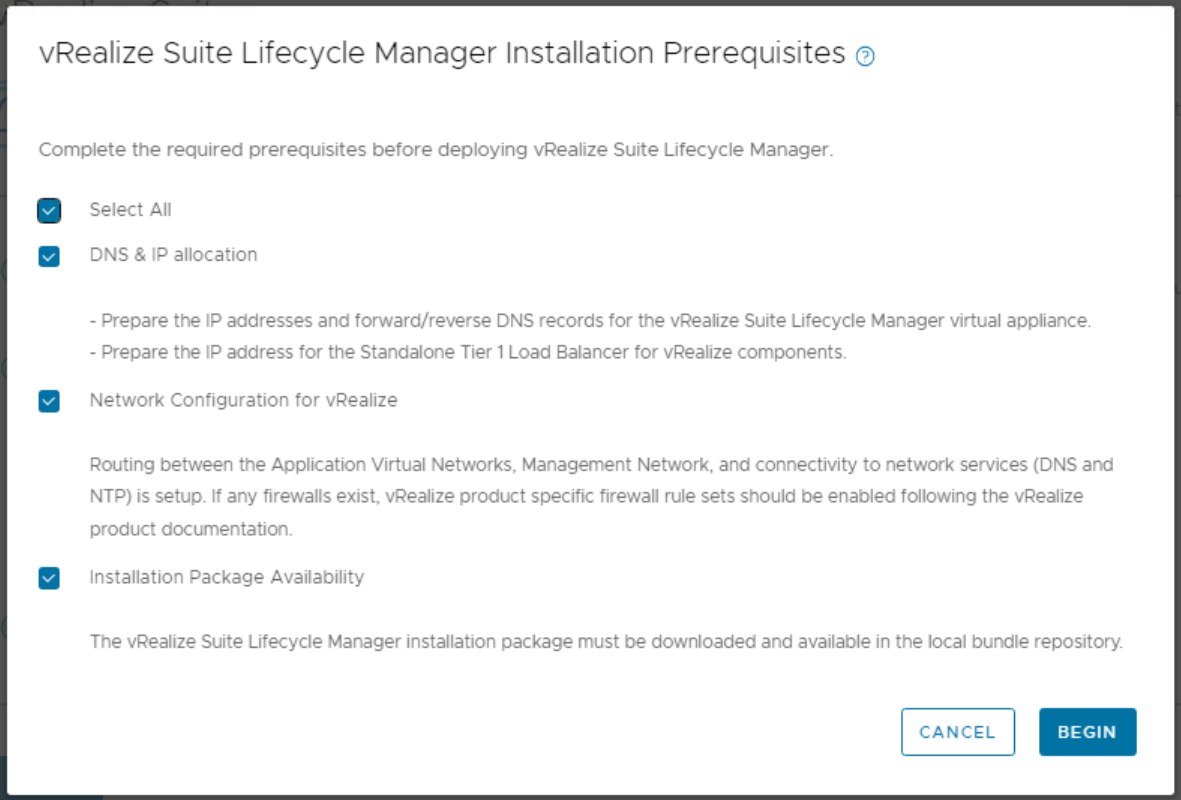
Before proceeding with the deployment of vRSLCM there are few pre-reqs that need to be met:
- AVN (PART3)
- IP subnet & Gateway
- DNS entry, FQDN & IP Address for vRSLCM appliance on the cross-instance NSX segment and prepare both forward (A) and reverse (PTR) DNS records
- Allocate an IP address for the NSX standalone Tier-1 Gateway on the cross-instance NSX segment. This address is used for the service interface of the standalone NSX Tier 1 Gateway created during the deployment. The Tier 1 Gateway is used for load-balancing of specific vRealize Suite products and Workspace ONE Access.
- Required storage: 178 GB
- Virtual disk provisioning: Thin
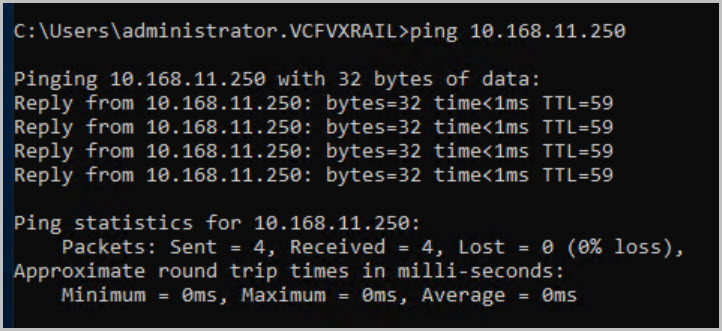
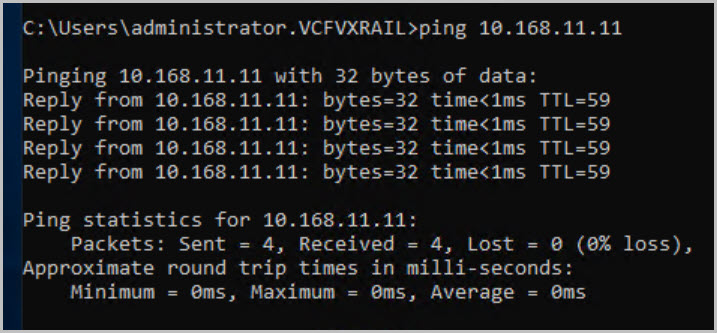
Once you have validated that the required pre-reqs are met using tools such as nslookup to check forward/reverse DNS records and confirming the AVN is routable to the management network, then click BEGIN:
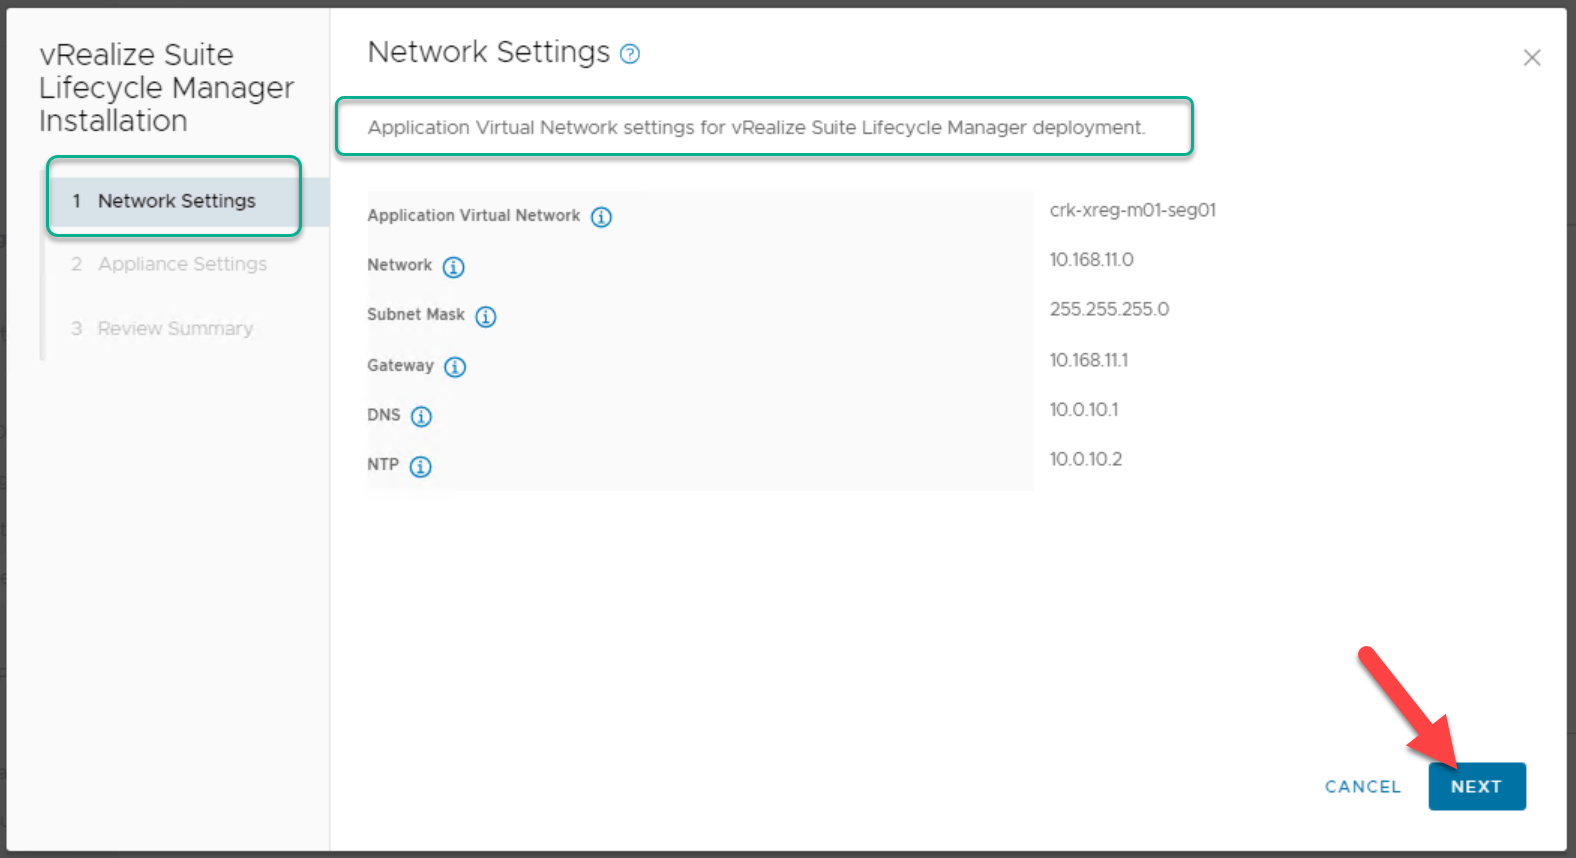
The appropriate network settings auto populate with the correct AVN values:
- vRealize AVN
- Subnet Mask & Gateway for the dedicated network
- DNS & NTP
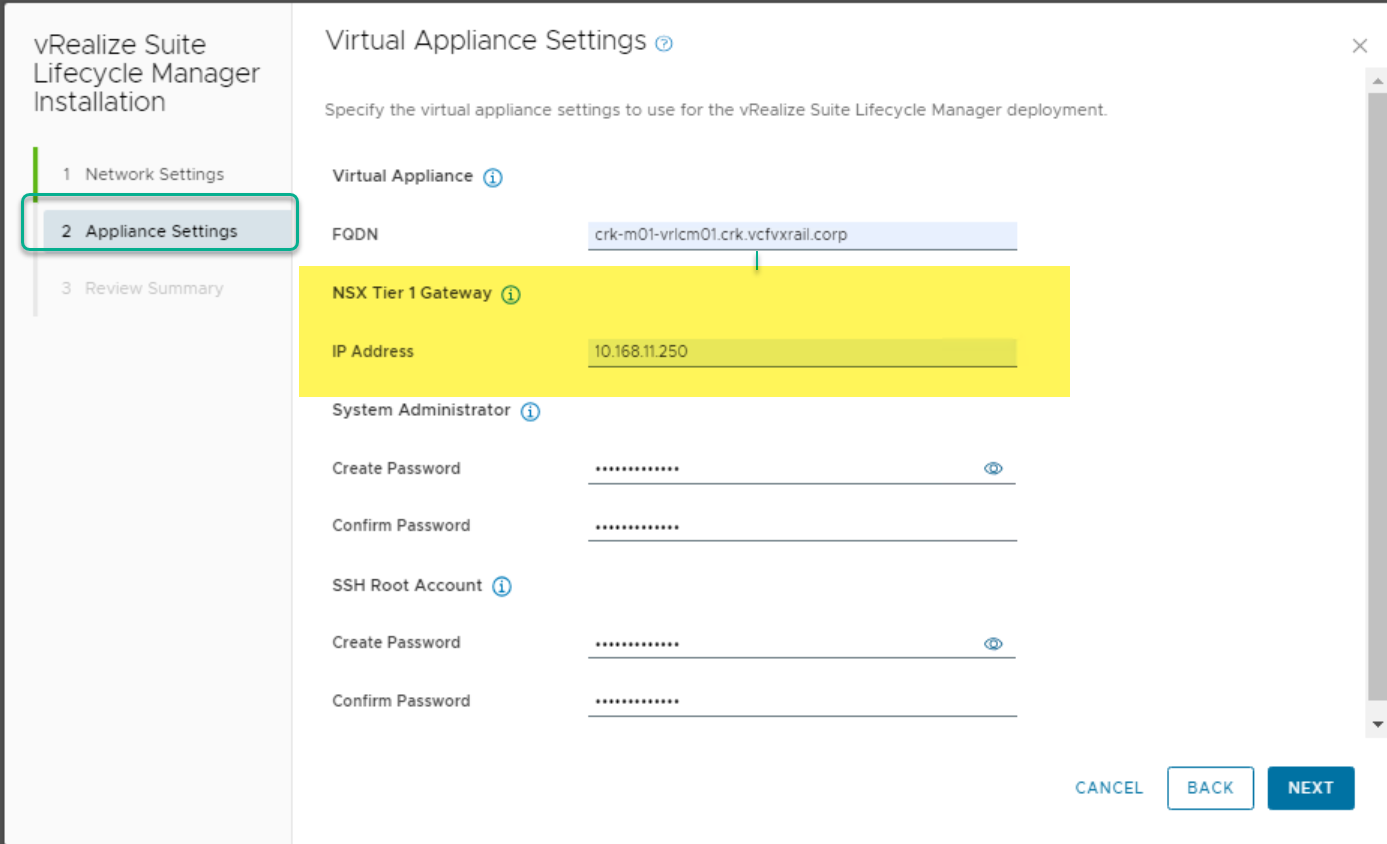
Next enter the vRSLCM vm appliance settings:
- vRSLCM FQDN
- IP Address from the X-Region AVN used for the new Tier 1 NSX-T Gateway
- System Admin (SDDC Mgr uses this account to communicate with vRSLCM)
- SSH Root Account
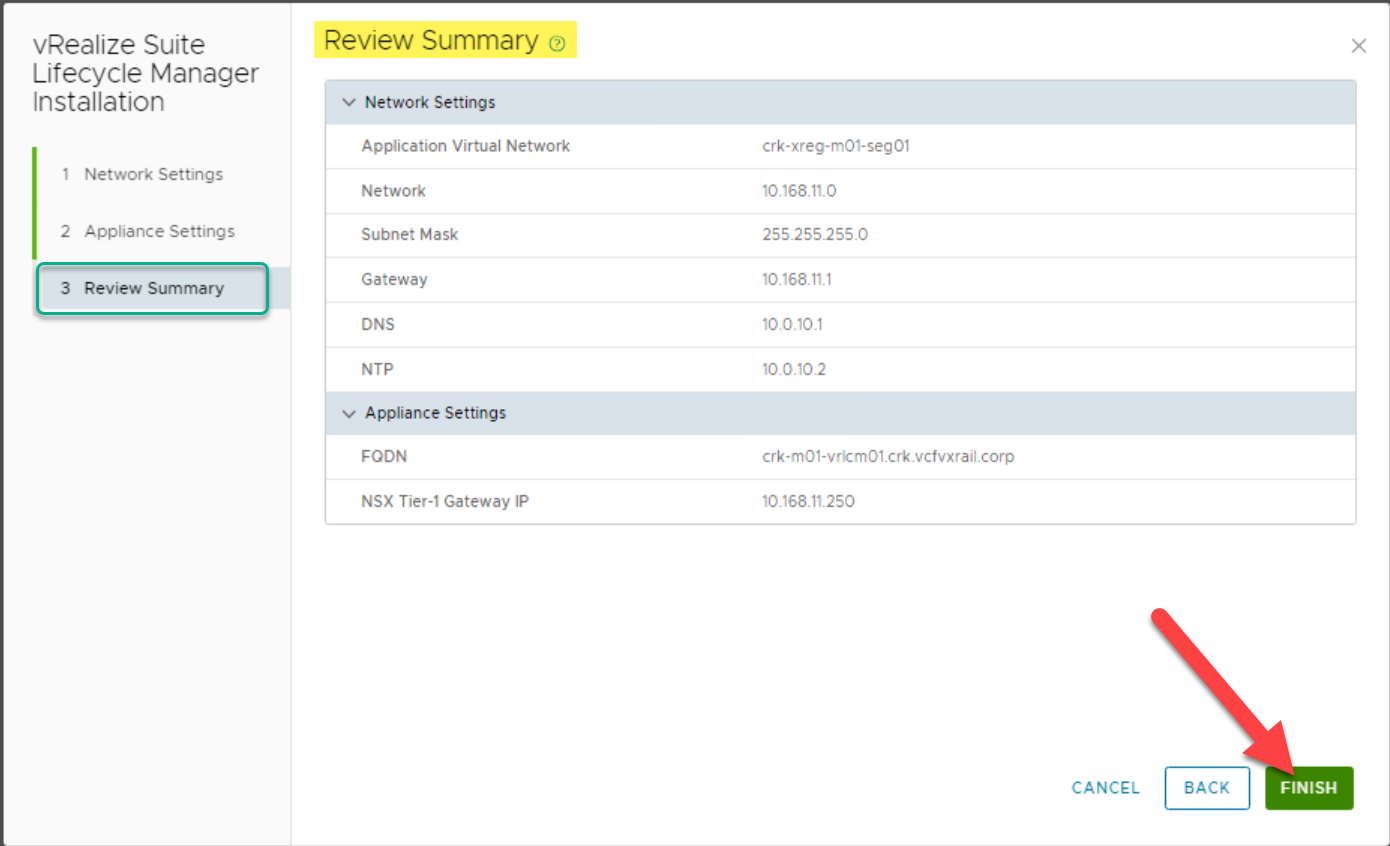
Review provided settings and click FINISH:
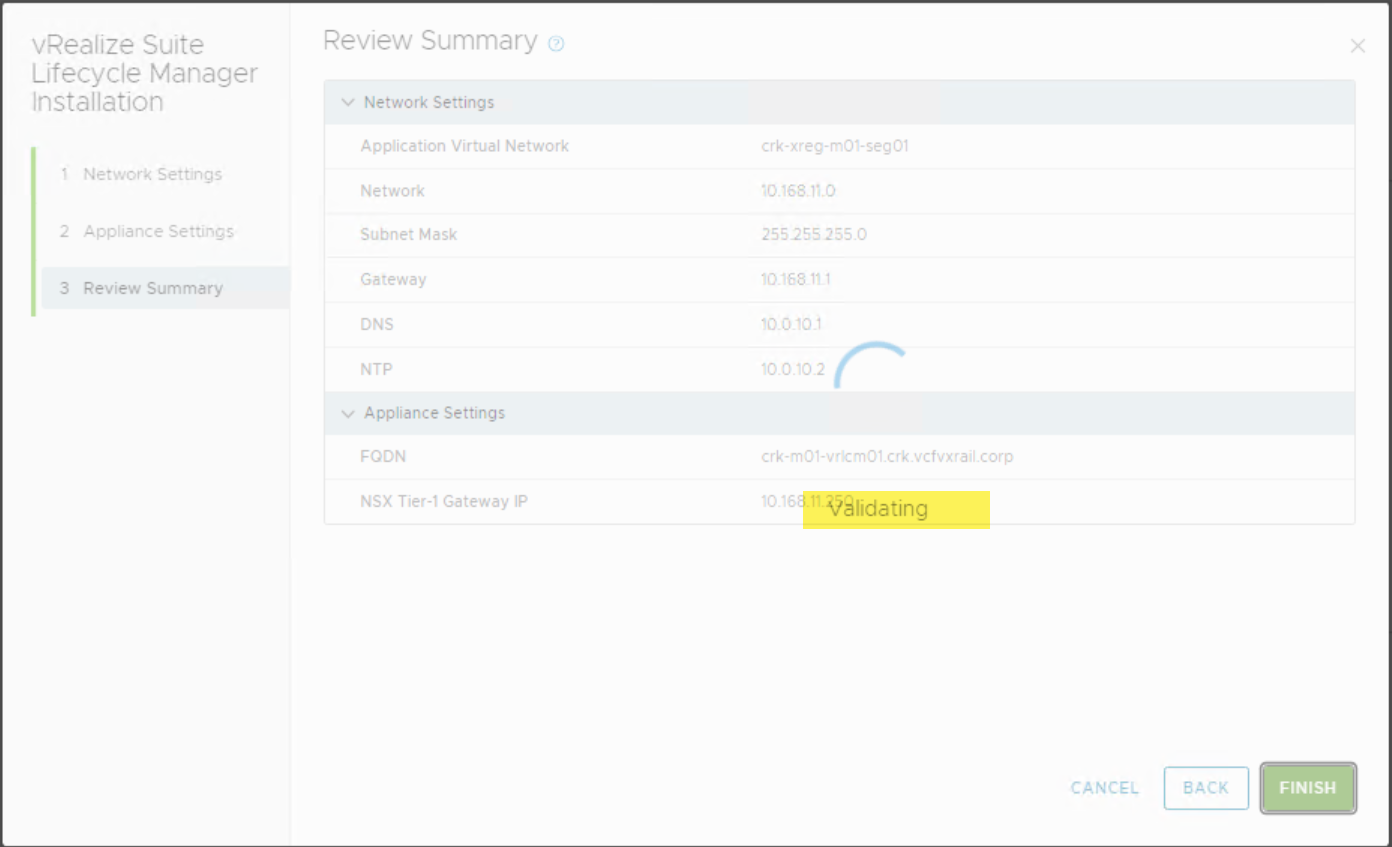
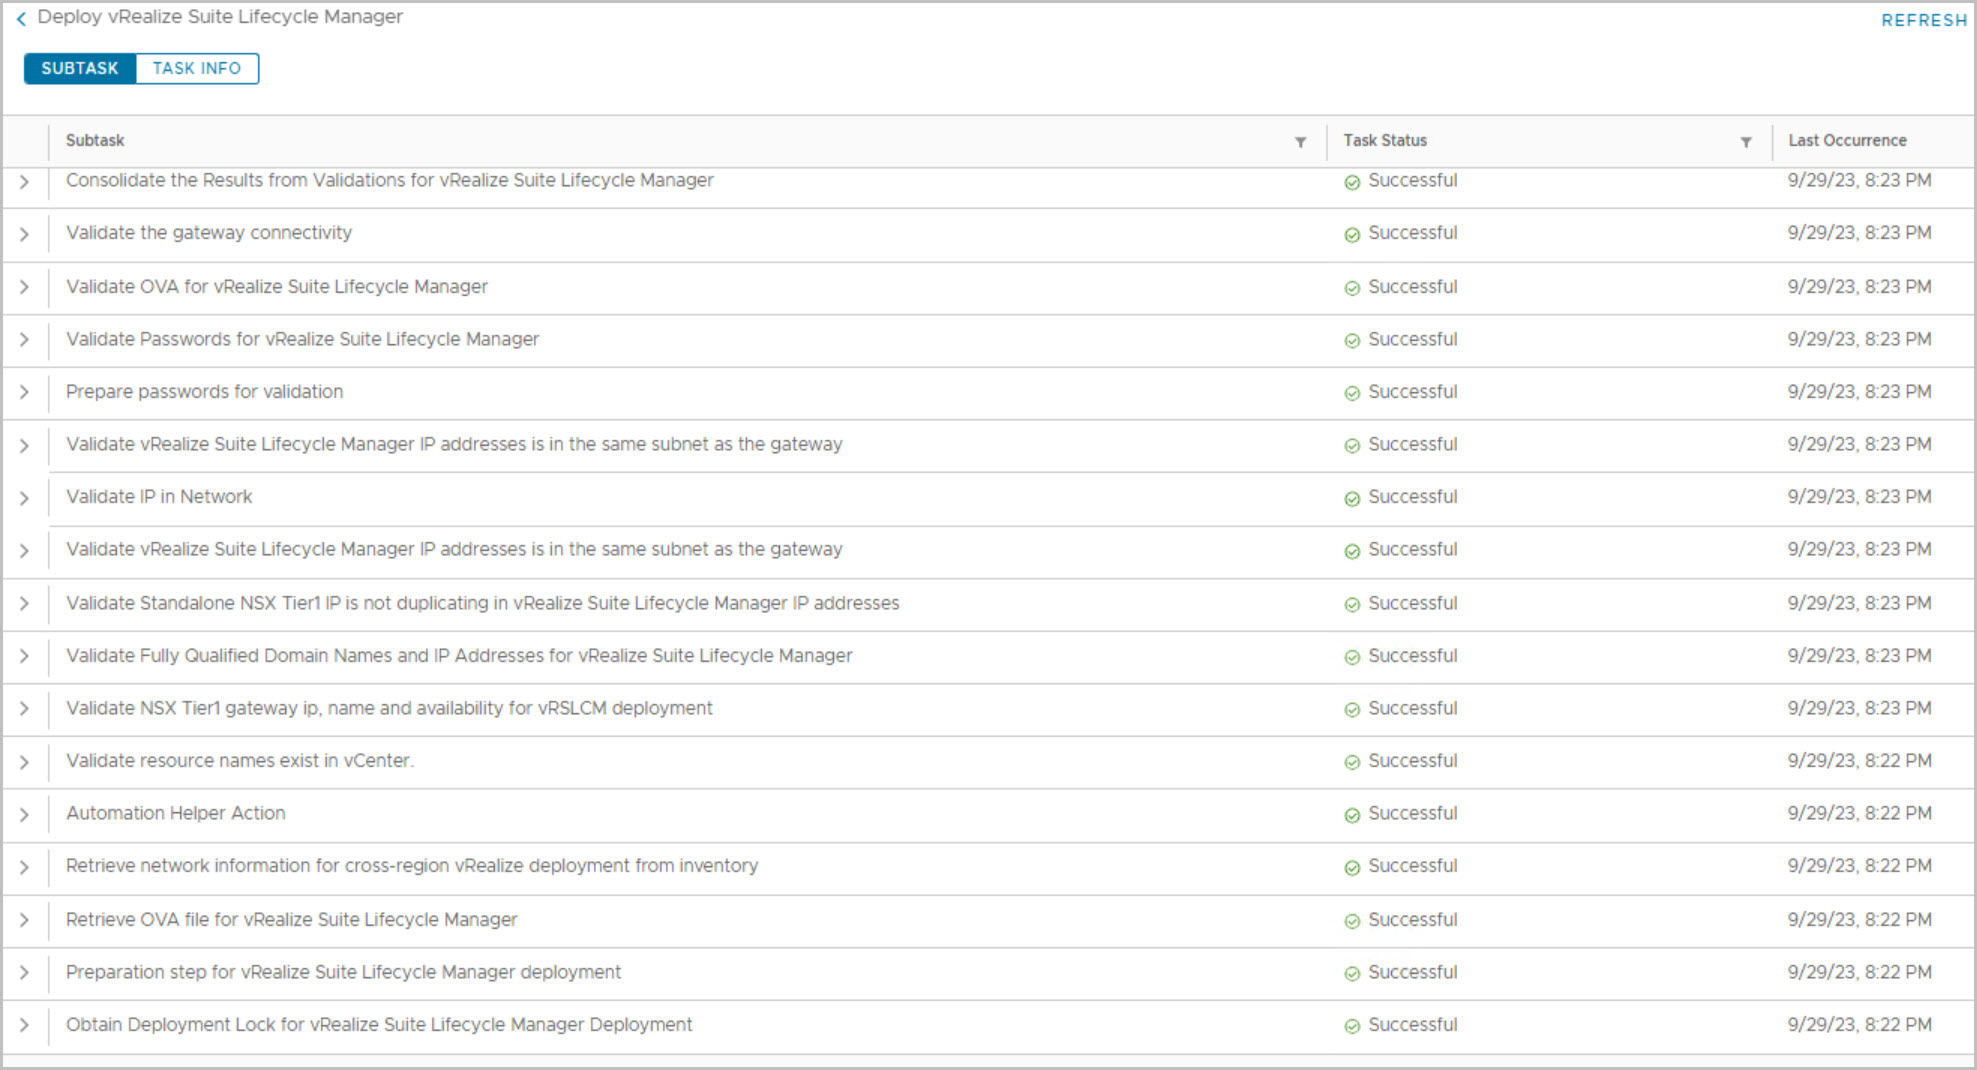
Validation in-progress (checks forward/reverse DNS records):
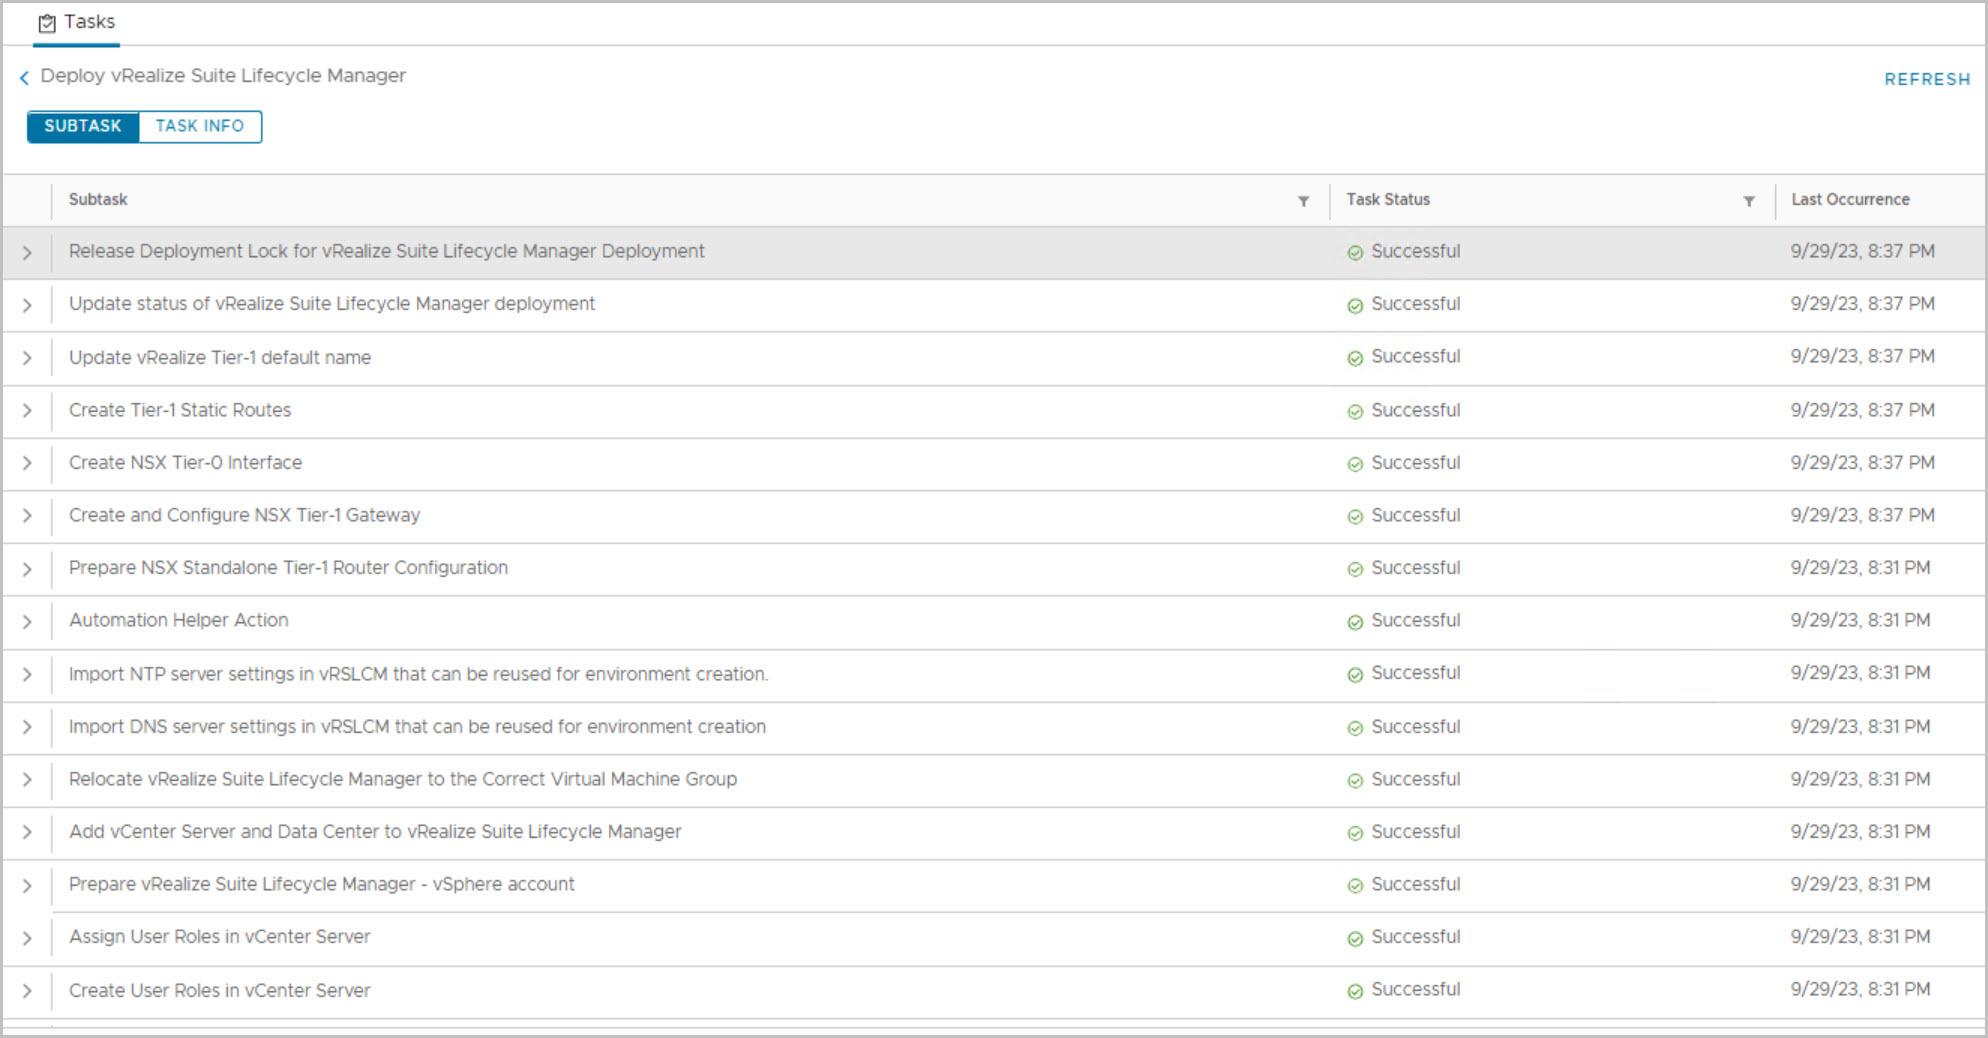
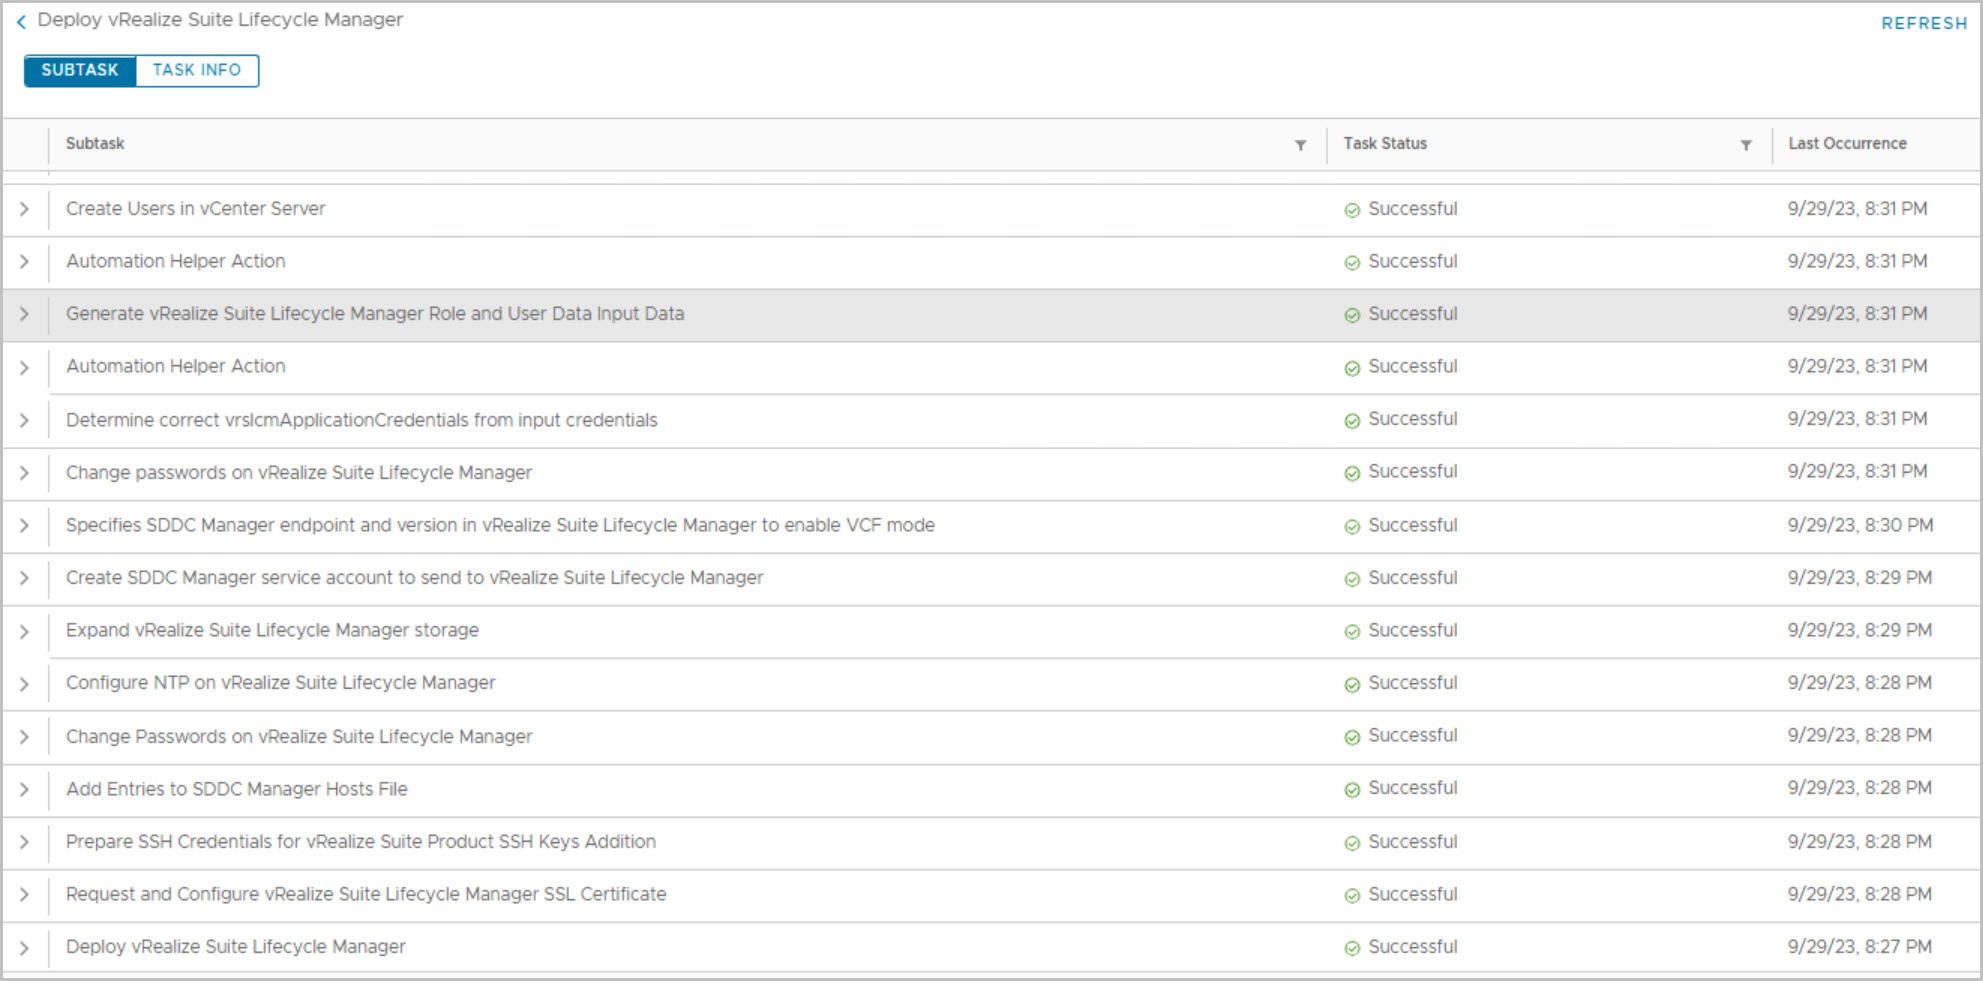
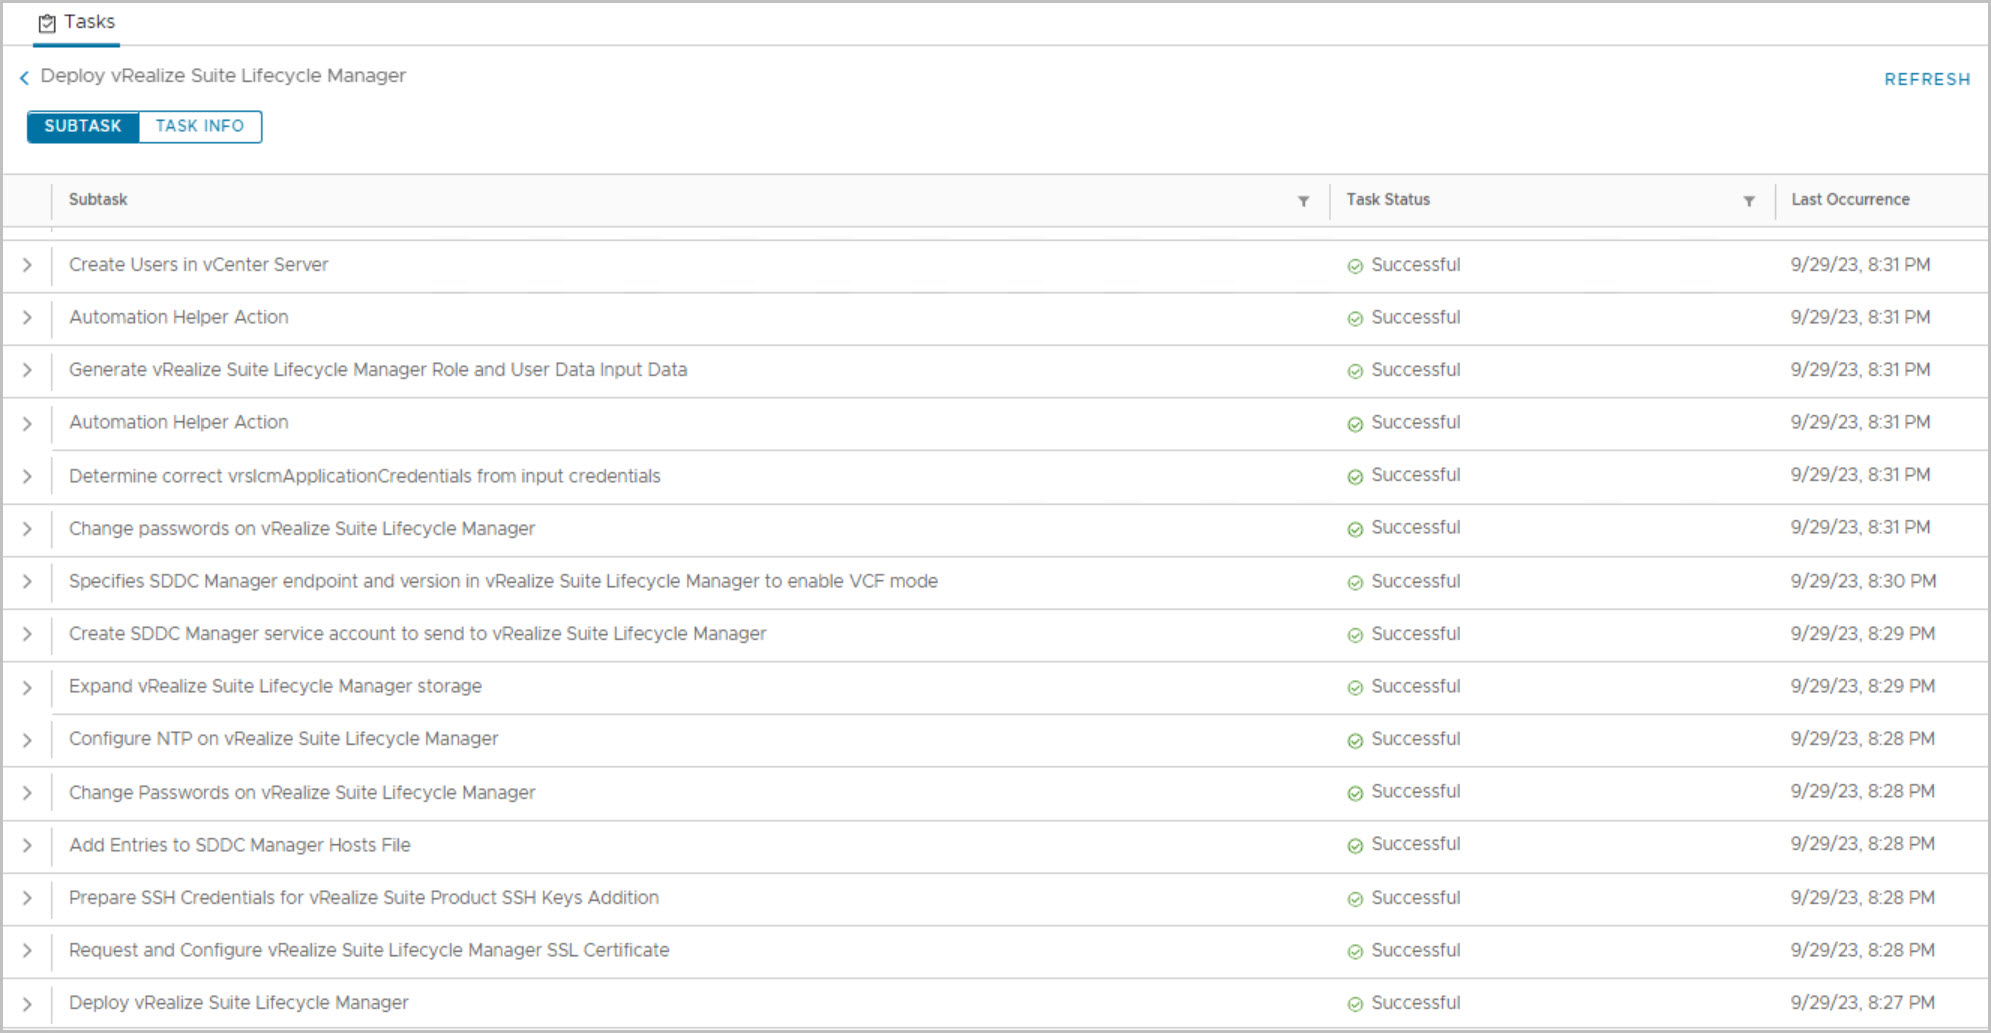
Deployment in progress. Click on task and open the deploy vRSLCM task to track progress of the installation:
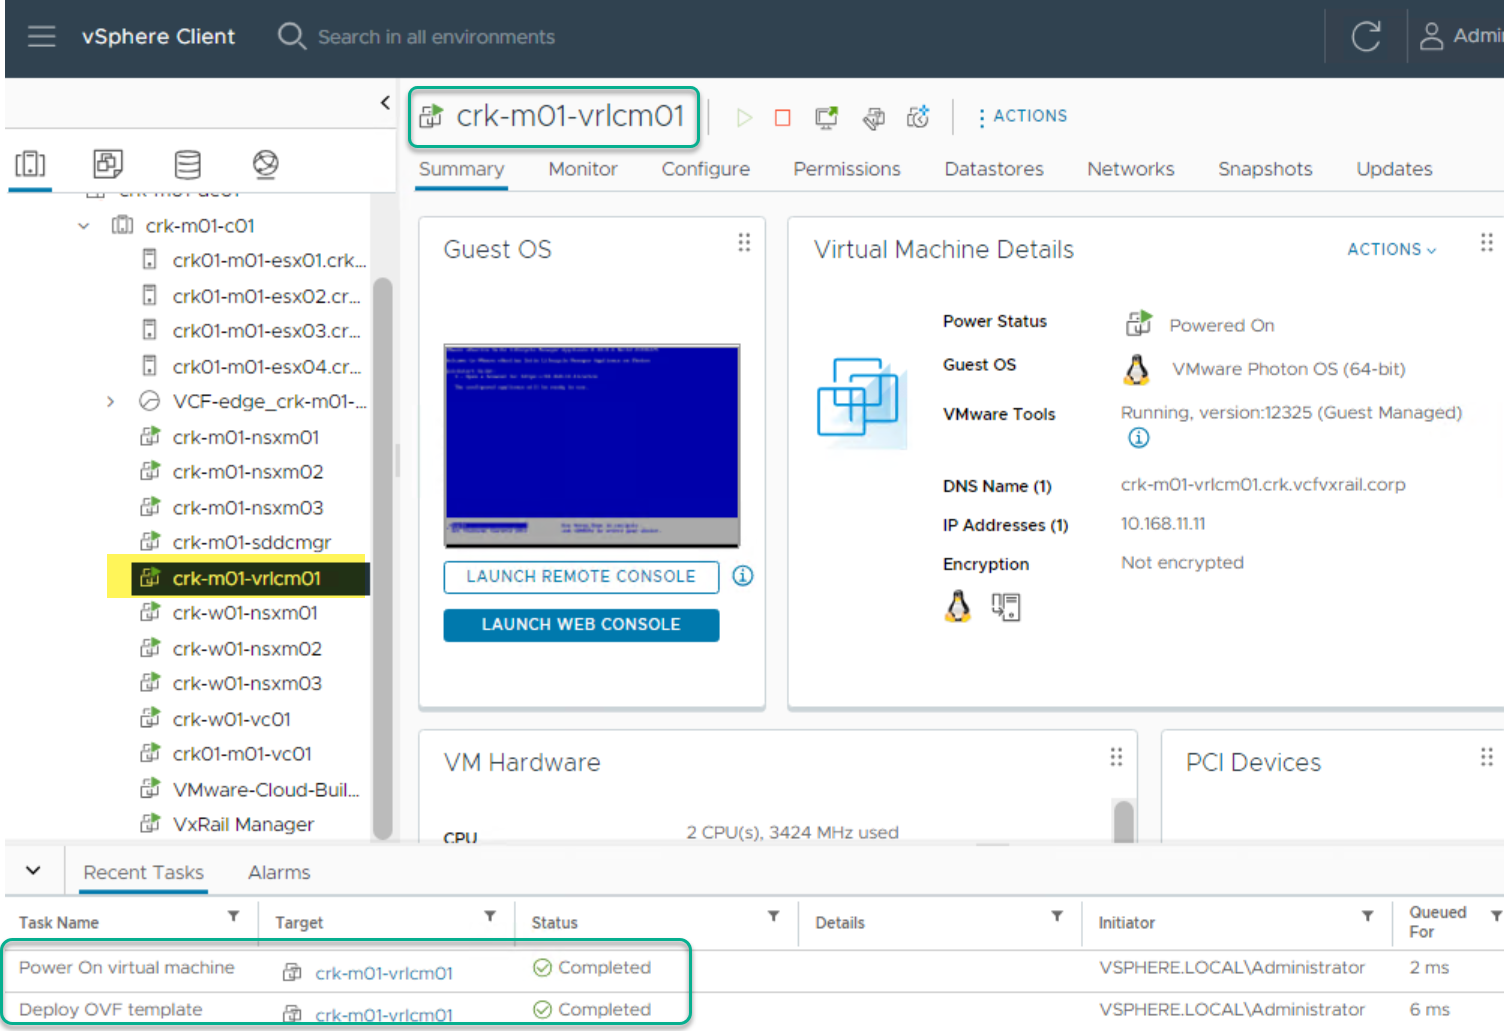
View from vSphere UI, OVF being deployed:
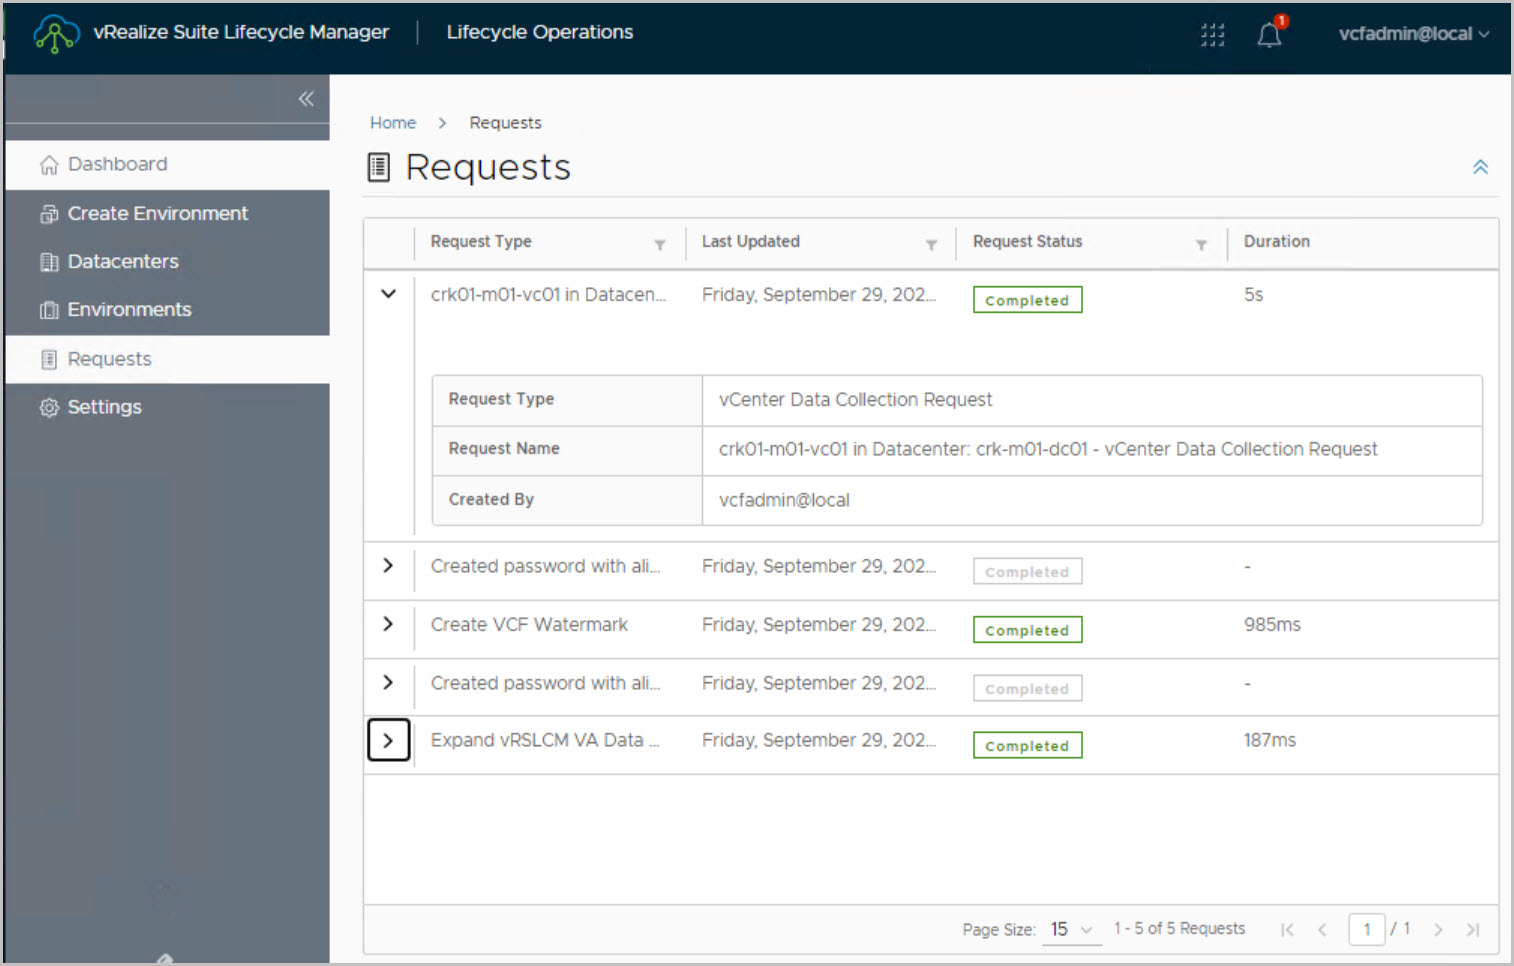
Details of tasks performed during the vRSLCM deployment:
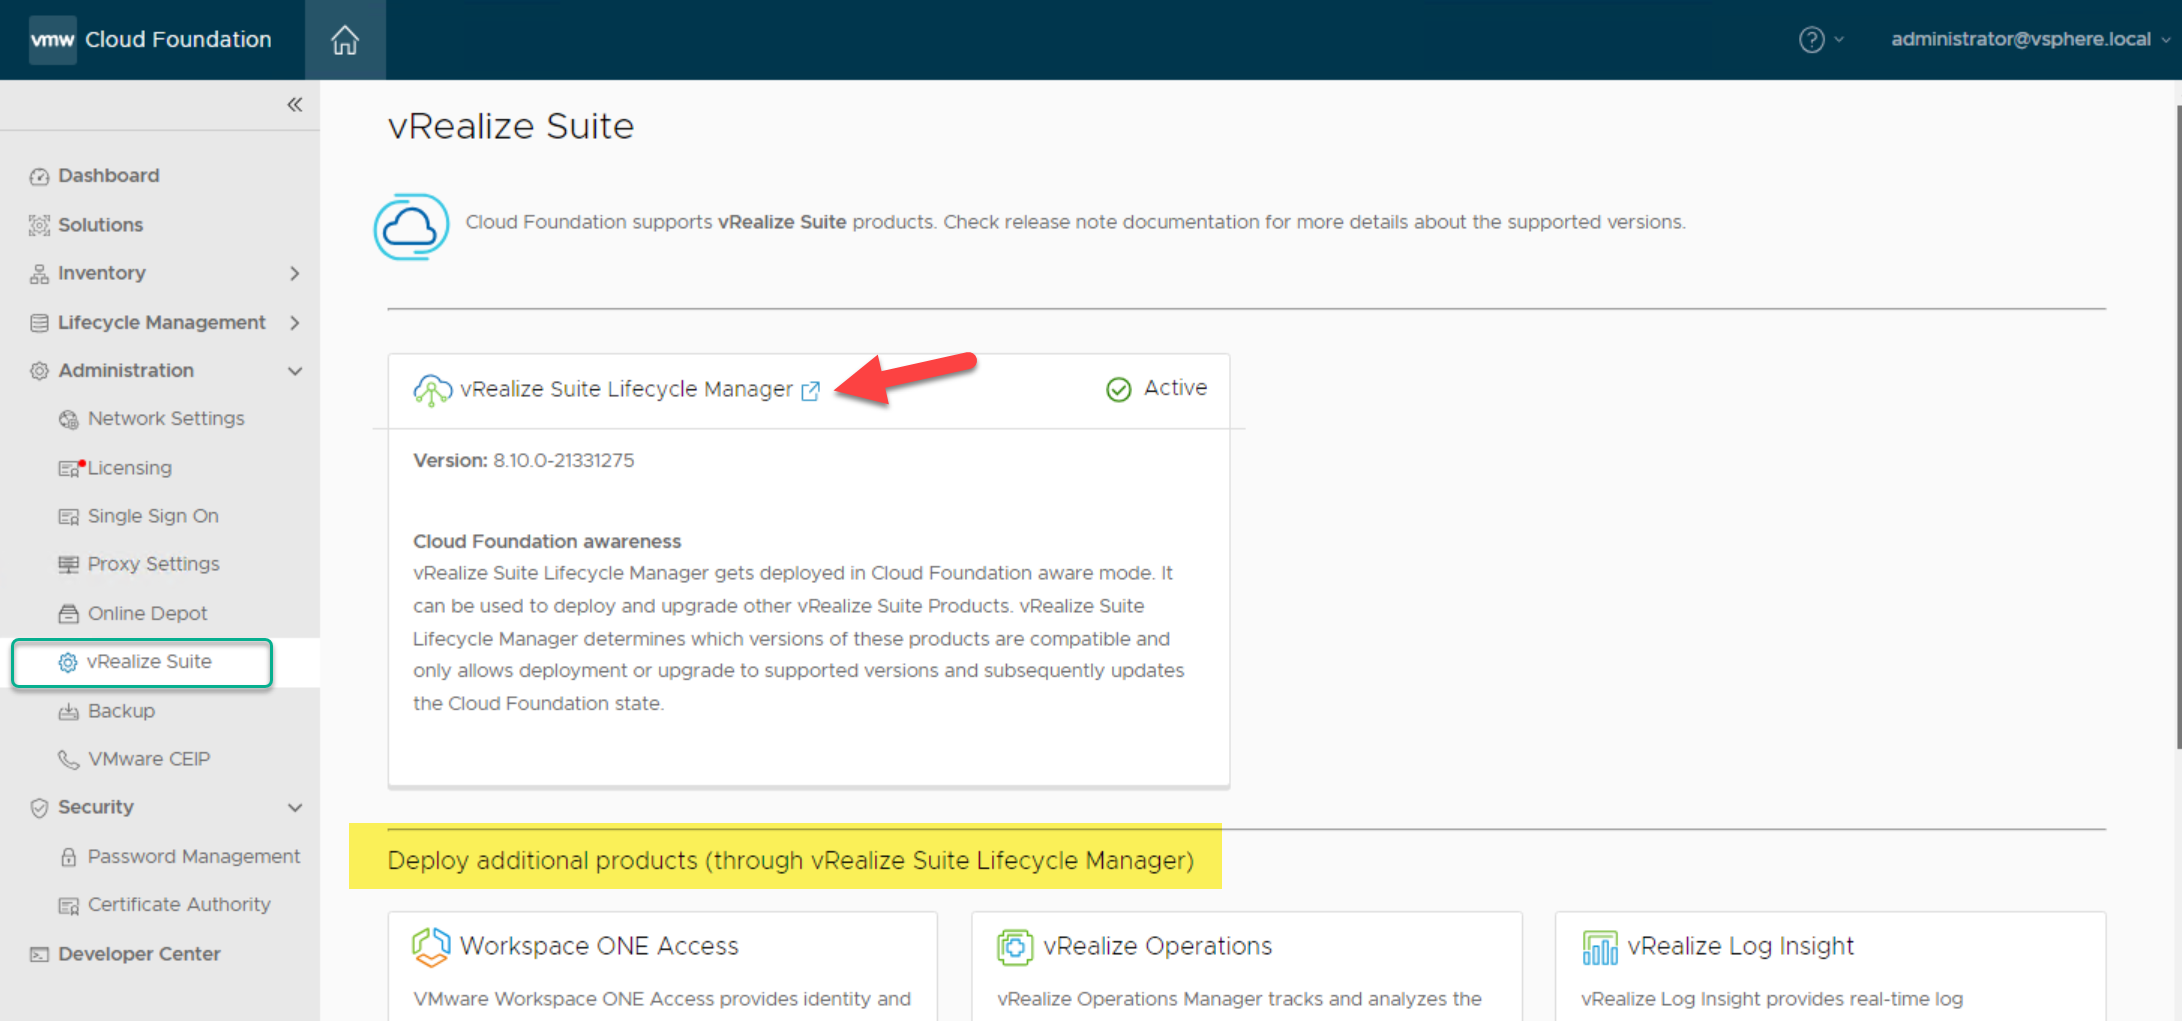
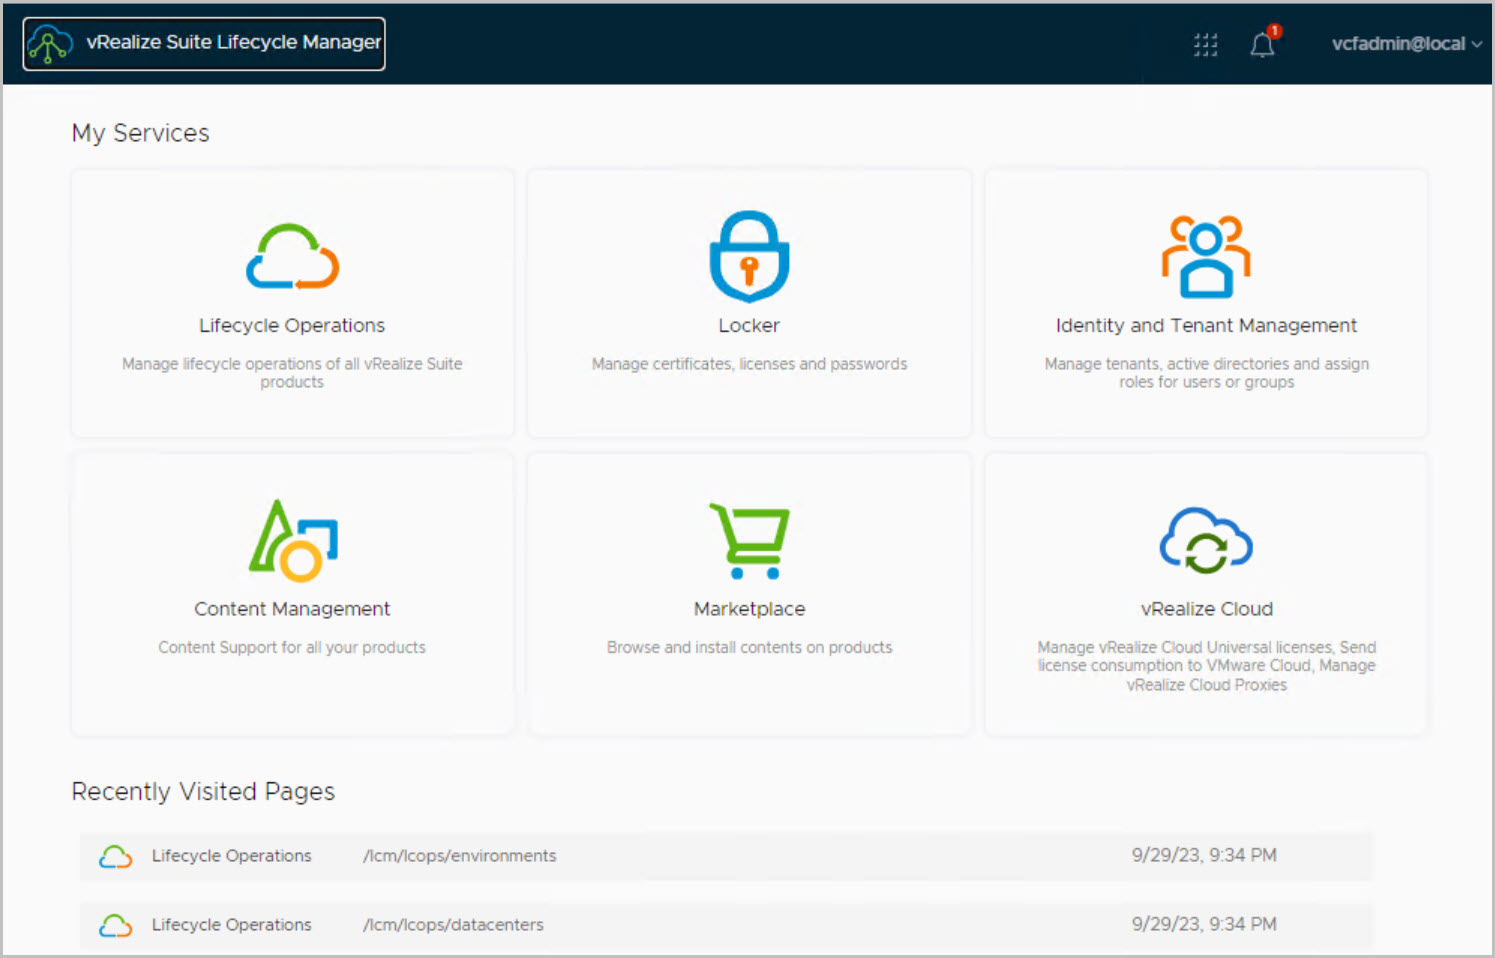
On successful completion of the vRSLCM deployment task it is now possible to log into vRSLCM console via SDDC Manager, navigate to Administration->vRealize Suite->vRealize Suite Lifecycle Manager and click the lick vRealize Suite Lifecycle Manager link to launch:
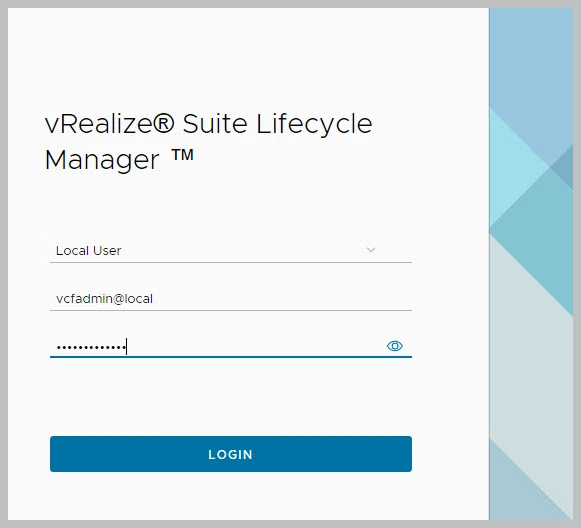
Enter the System Admin password provided for the install:
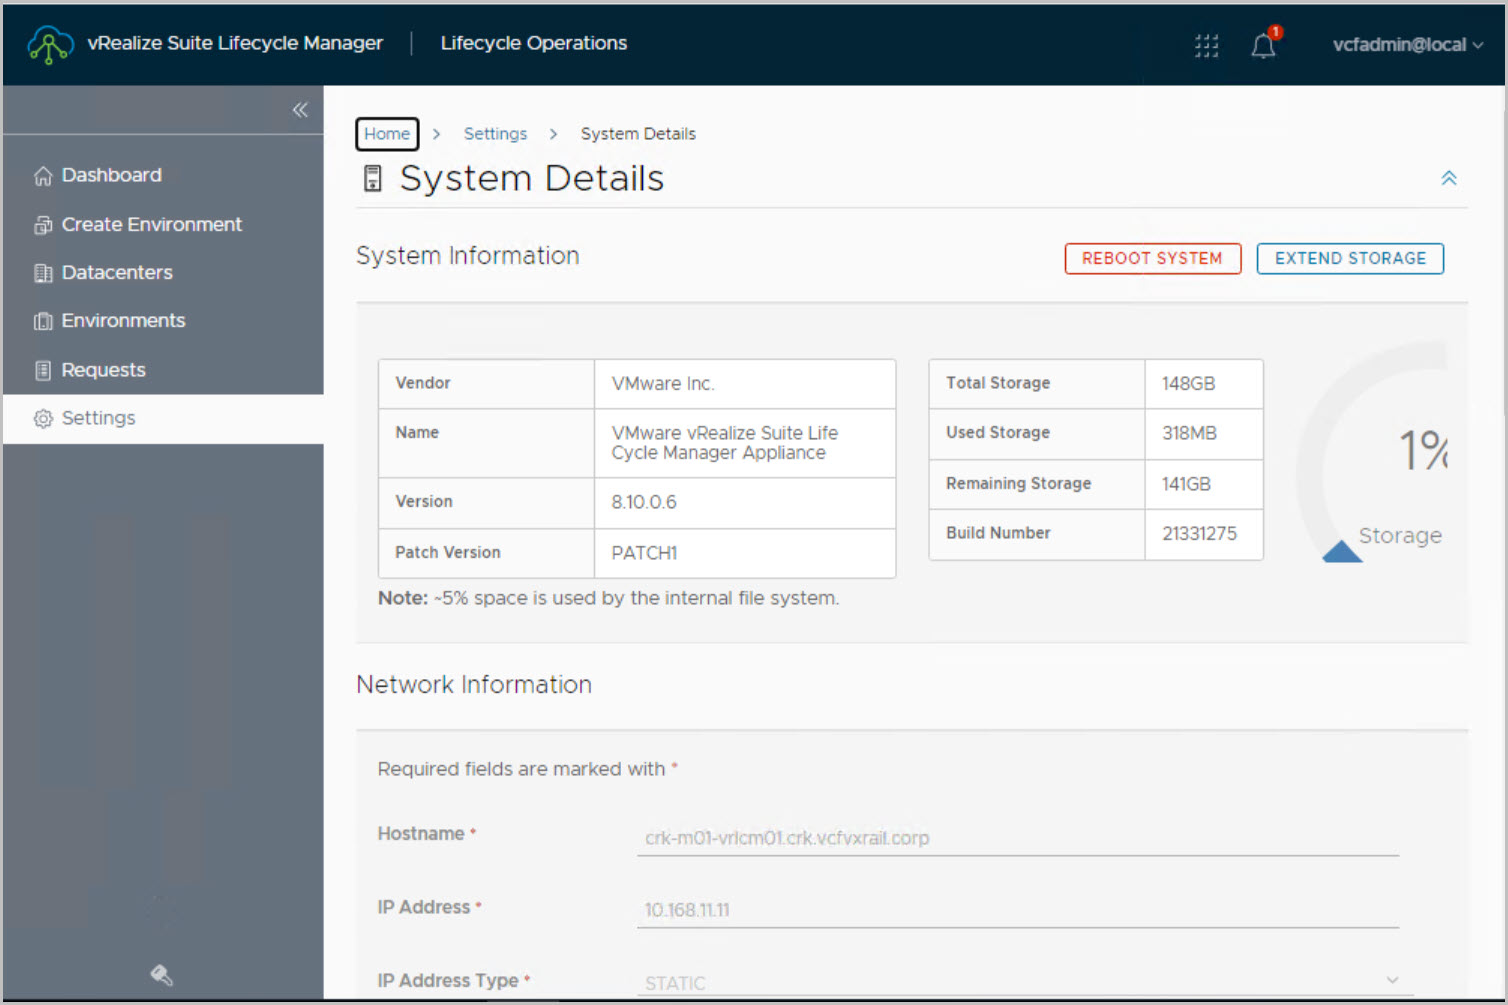
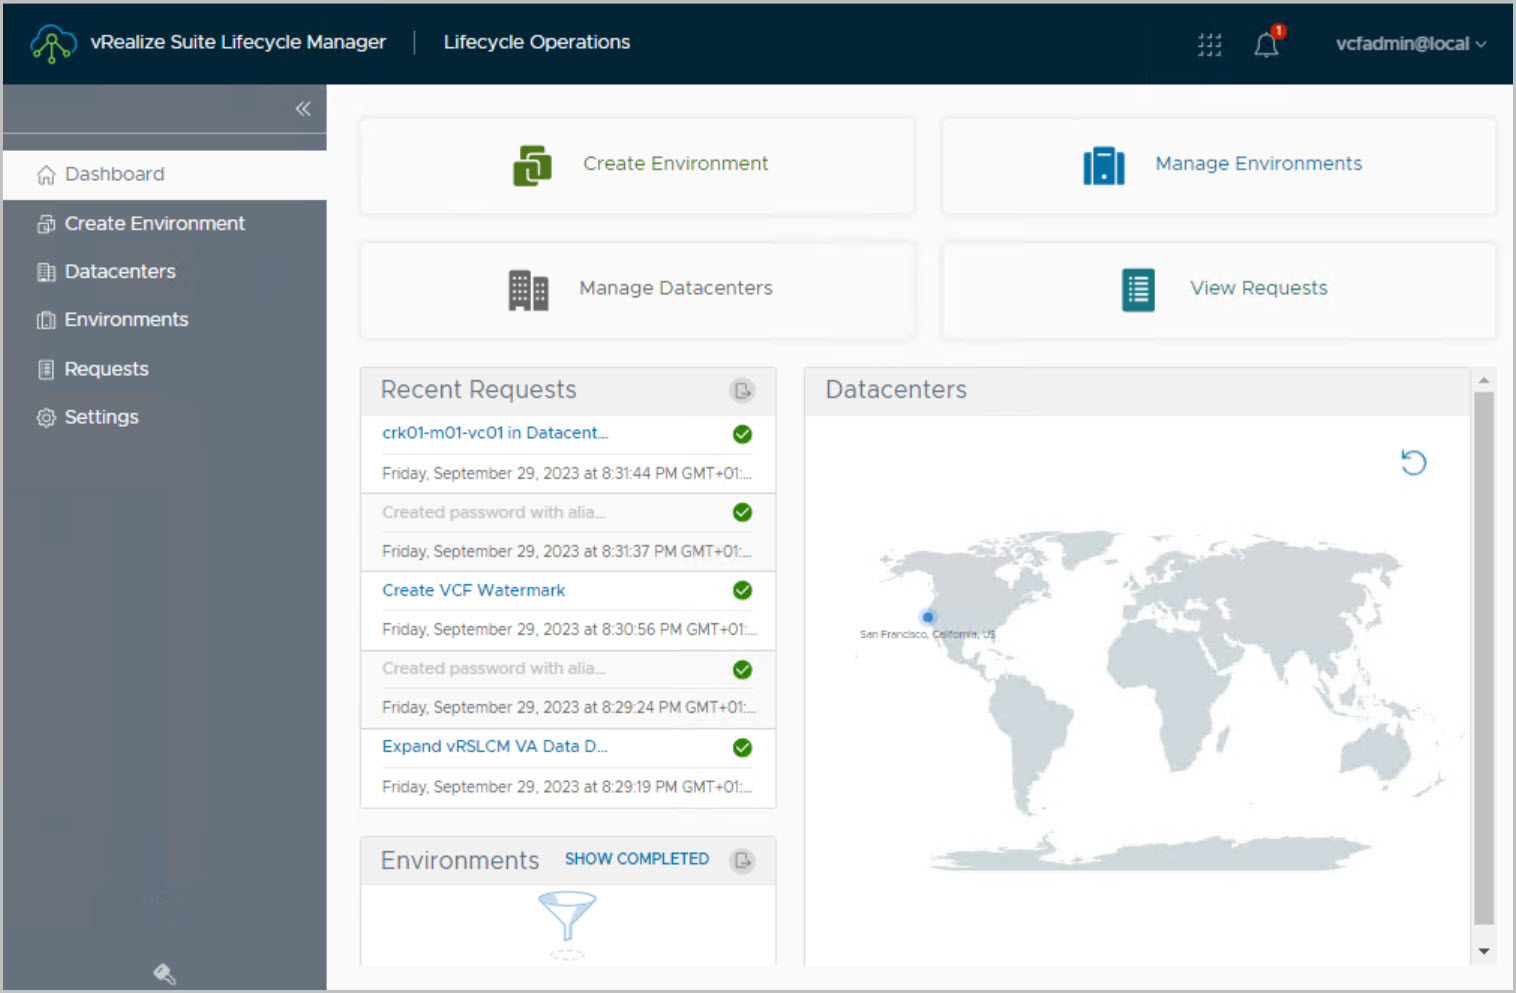
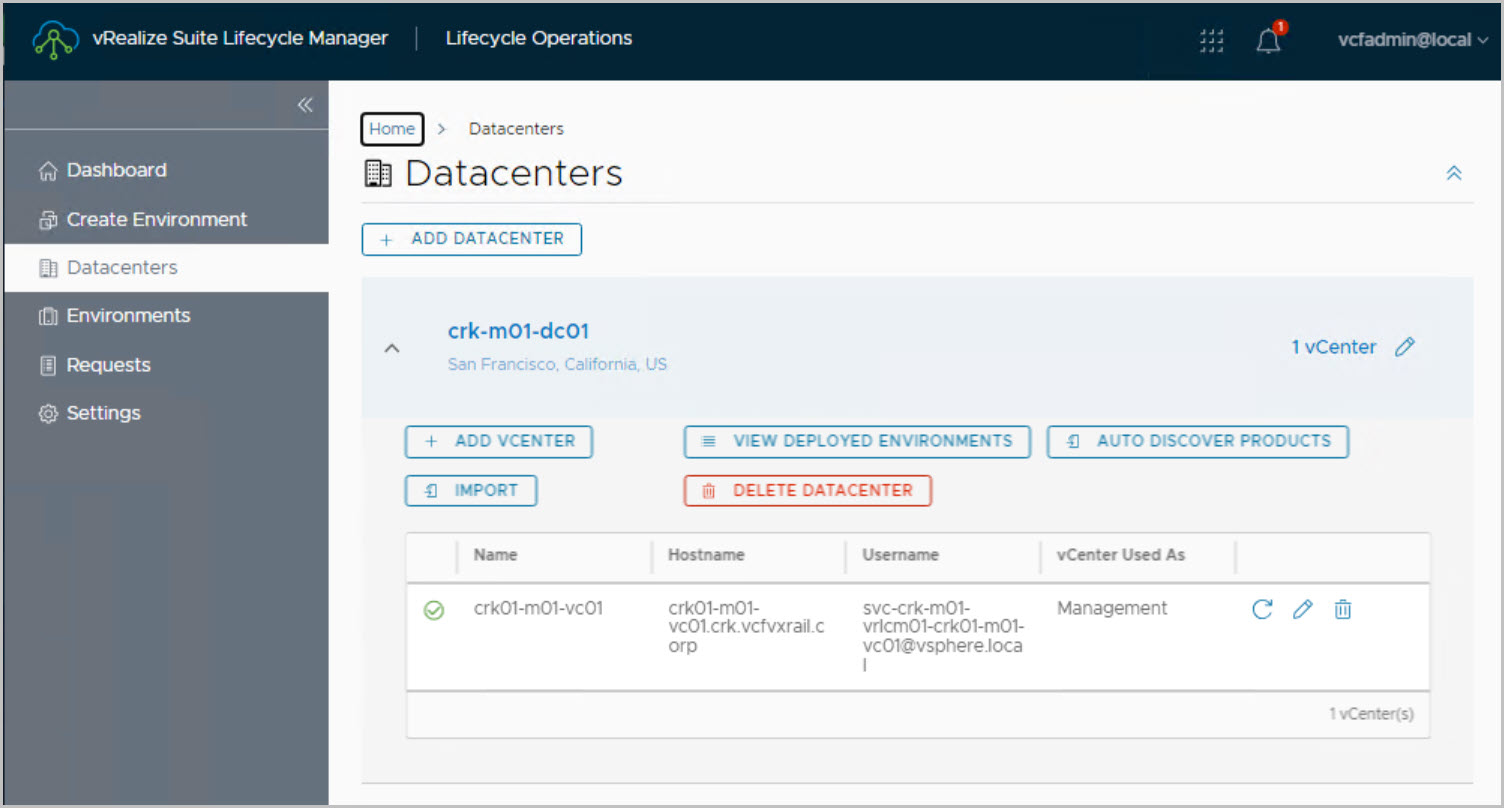
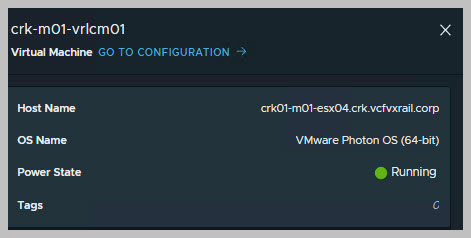
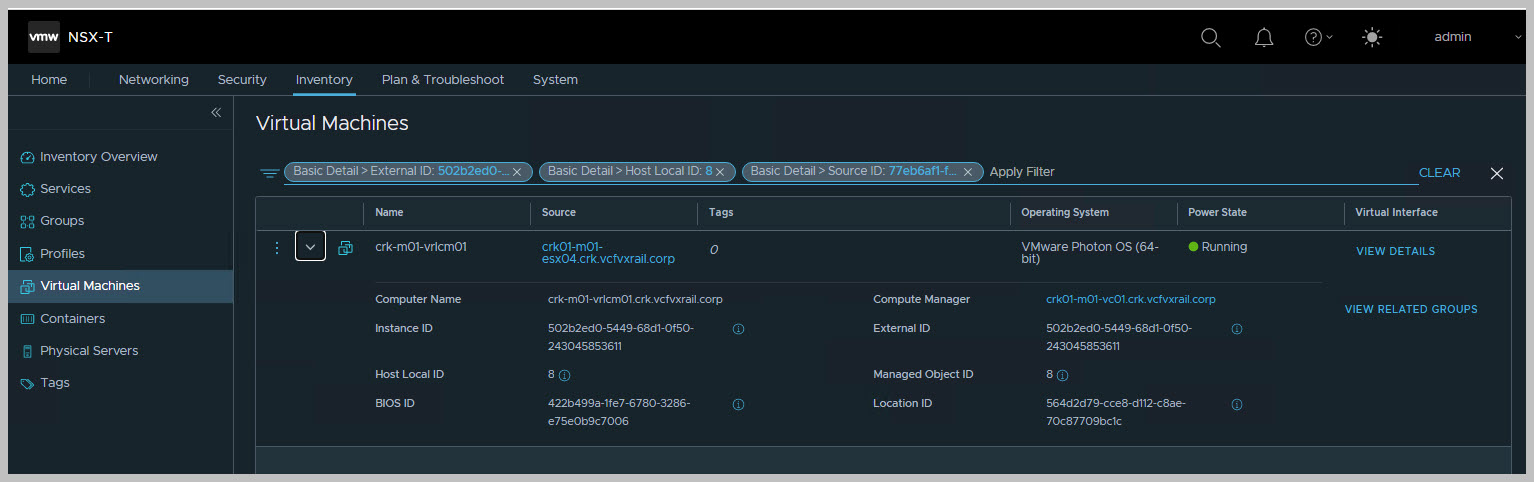
The vRSLCM console opens and from here we can see the config and imports applied as part of the SDDC Mgr deployed vRSLCM:
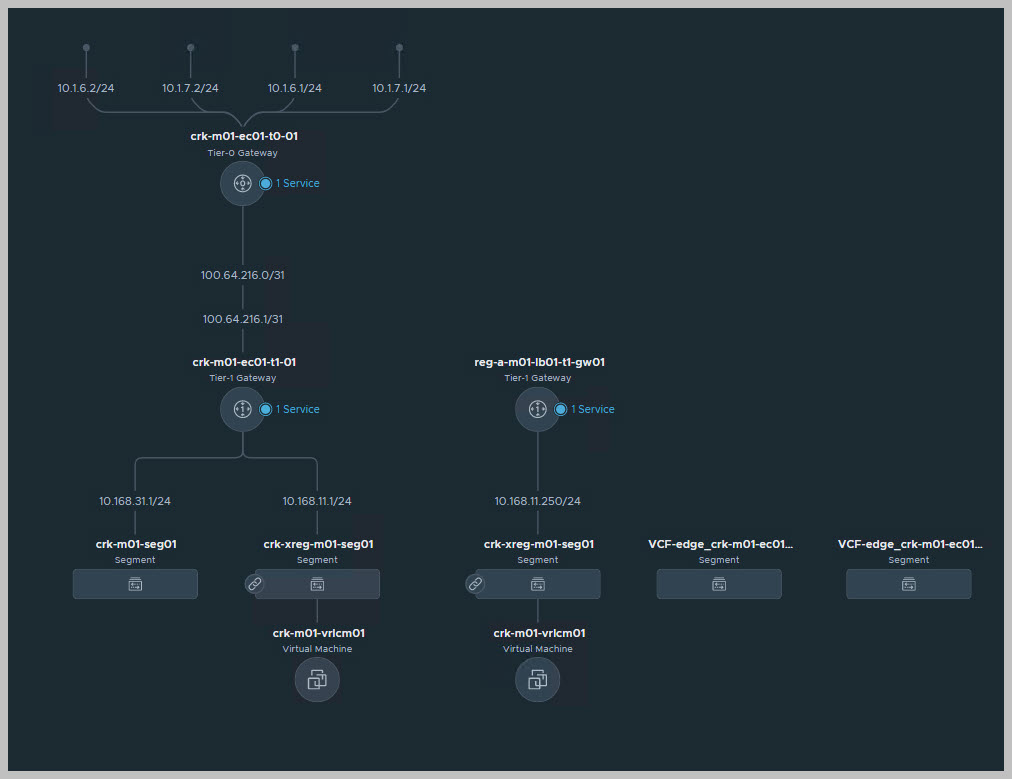
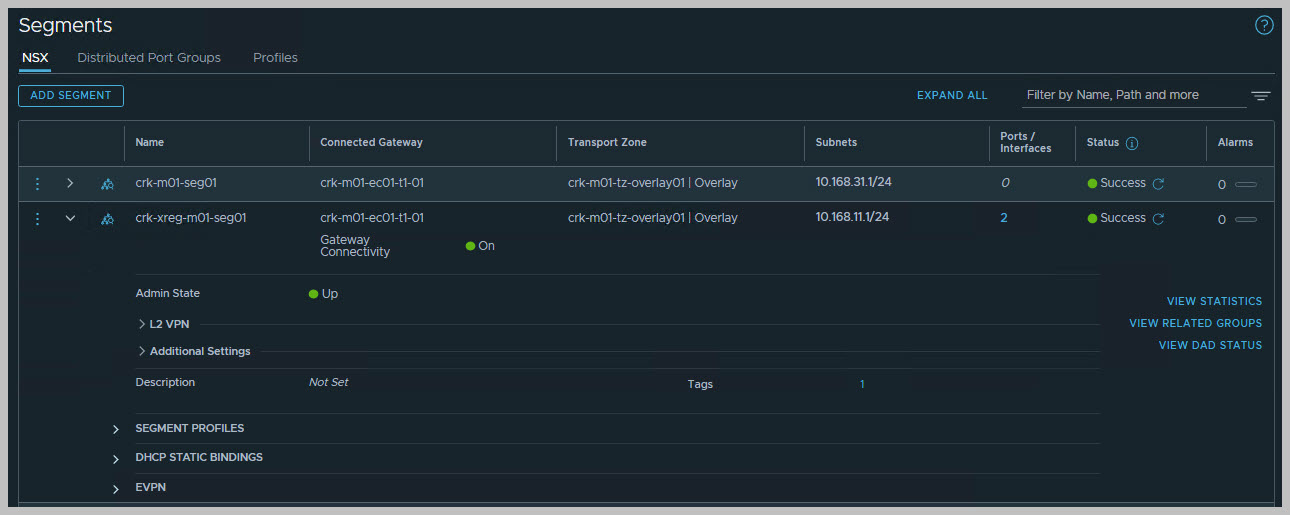
Network topology view from NSX-T manager UI details the Application Virtual Network including the two NSX-T Edge virtual appliances in the management workload domain to support upstream connectivity for the AVN (the 2 edges are hosting the T0&1 G/W’s):
Using powershell VCF Module to retrieve info:
Once vRealize Suite Lifecycle Manager is deployed in the management domain, it can then be used to deploy the vRealize suite of software on the Cloud Foundation on VxRail instance.
Useful Reference:
Planning Guide—VMware Cloud Foundation 5.x on VxRail
vRealize Suite Lifecycle Manager in VMware Cloud Foundation mode
Note: this is an example for reference only please use the installation procedures provided by DELL/VMware.
Thanks for reading!