Note: this is an example for reference only please use the VxRail ‘External vCenter’ installation procedures provided by Dell EMC.
The following will require an understanding of the VVD on VxRAIL design for which all associated documentation can be found here:
VMware Validated Design 4.2 on VxRail Deployment Guides
This post details how to install a VxRail appliance leveraging an external vCenter server, for example this is the case when you wish to deploy a VVD on VxRail solution where the second VxRail instance used for the Shared Edge and Compute Domain (Workload Domain) requires the use of an external vCenter (vCenter is deployed on the Management Domain VxRail Appliance). This process is strictly for the workload domain and differs from the procedure used to deploy the first Management Domain VxRail Appliance. For more information on the architecture of VVD on VxRail please check out this cool lightboard video from Jason:
VVD for SDDC on VxRail Lightboard Overview
To begin you will need to have the Shared Edge and Compute Domain (Workload Domain) vCenter deployed on the management VxRAIL Appliance.
You will note from the architecture that the two Platform Services Controllers(PSC) as part of the VVD on VxRail design are load balanced and leveraged by both the Management Domain vCenter and the Shared Edge & Compute Domain vCenter.
As per the Dell EMC procedures ensure that you have created a datacenter on the vCenter, all associated management network is in place and the VxRail Appliance ESXi hosts have a temp IP address set on the management network being used.
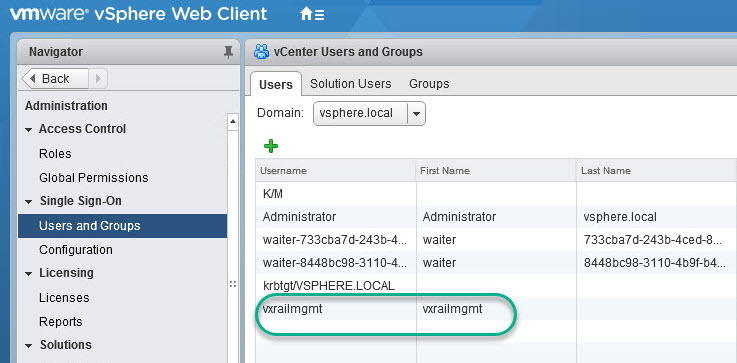
One of the pre-reqs to installing the Workload Domain VxRail is to create a VxRail Manager account on the external vCenter. Simply add the new user with no requirement to assign any group or role associated with this user:
- Create all relevant ESXi and VxRAIL manager DNS entries on AD/DNS server.
- Verify the customer DNS server can resolve all VxRail ESXi hostnames prior to deployment using nslookup.
Each VxRail ESXi node requires 4 static IP addresses (Ext. Mgmt, vSAN, vMotion & iDRAC). Login to each of the VxRAIL Appliance ESXi hosts DCUI via the iDRAC console and ensure to set the following:
- Check NIC status
- Enable SSH
- Enable SHELL
- IP address (temp IP on same subnet as VxRAIL Manager)
- VLAN.
- DNS.
- HOSTNAME.
- Enter the console (ALT+F1) and change the VLAN ID for the “Management Network” and “VM Network” as per PEQ. e.g (VLAN 100):
- esxcli network vswitch standard portgroup list
- esxcli network vswitch standard portgroup set -p “Management Network” -v 100
- esxcli network vswitch standard portgroup set -p “VM Network” -v 100
- Restart loudmouth on each ESXi host: /etc/init.d/loudmouth restart
- Exit Console (ALT+F2).
- Ensure date is in sync across ESXi hosts, vCSA & PSC.
- ESXi set date and time:
- esxcli system time set -d 19 -H 12 -m 30 -M 04 -y 2018
- vCSA & PSC/VxRail Manager – view & set date and time:
- # date
- # date -s “19 APR 2018 12:30:00”
- Check if VxRail Manager VM is running (needs to run on the first host in cluster):
Another useful reference post by @JeremyMerrill: Getting Ready to Install a VxRail
Set VxRail Manager IP
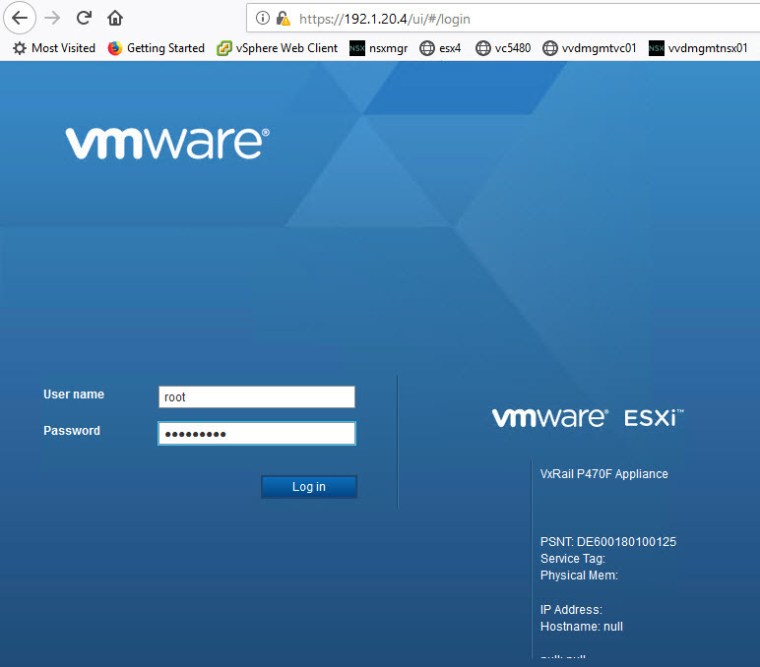
In this example I login to the first ESXi host on the VxRAIL(set a temp Mgmt IP address in order to access ESXi console) open the VxRAIL Manager VM console and login as root user:
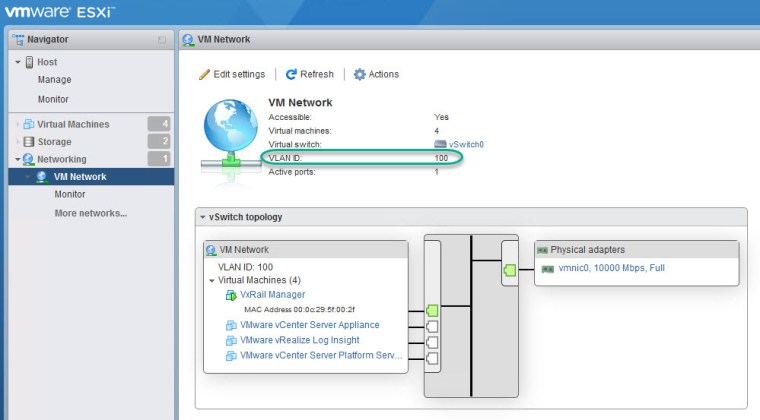
Ensure the VM Network reflects your mgmt network config:
Open VM Console: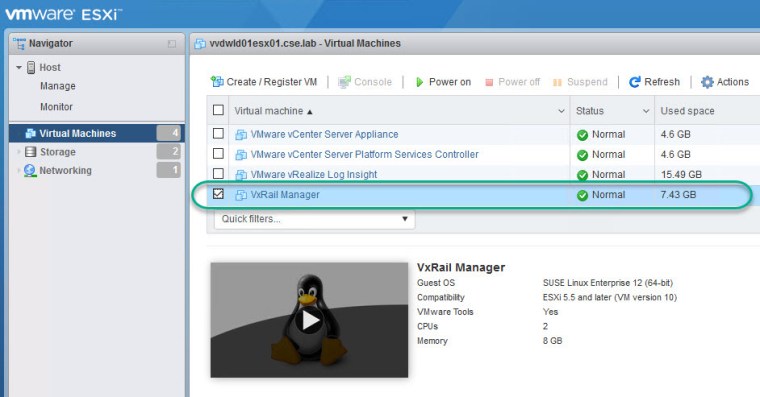
Login as root user: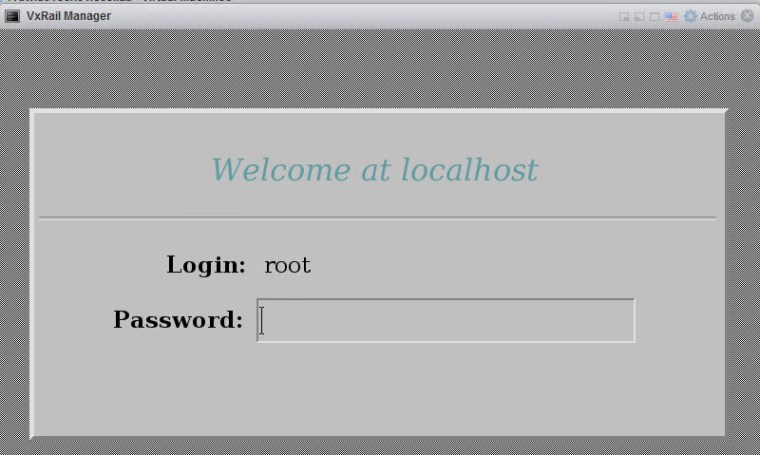
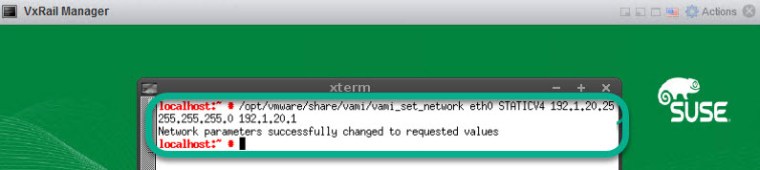
Once logged in open the xterm console and use the command below to set the static IP and default gateway address for the VxRAIL Manager VM, in this example I use IP 192.1.20.25:
/opt/vmware/share/vami/vami_set_network eth0 STATICV4 192.1.20.25 255.255.255.0 192.1.20.1
Useful VxRail Mgr Host Detection Commands (Loudmouth Queries)
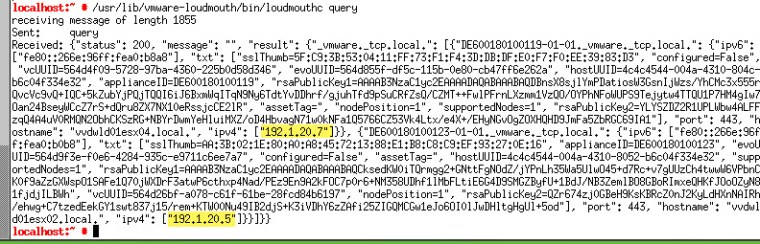
VxRAIL manager needs to be on the same management subnet as the ESXi hosts being deployed & configured in order for host detection. Here are some useful commands to run from the VxRAIL mgr console to t/shoot host detection leveraging loudmouth query cmds:
/usr/lib/vmware-loudmouth/bin/loudmouthc query
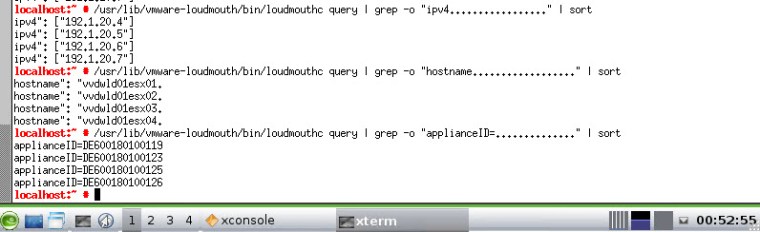
Using |grep to display the IP, hostnames and Appliance IDs of the VxRAIL hosts:
/usr/lib/vmware-loudmouth/bin/loudmouthc query | grep -o ‘ipv4……………..’ | sort
/usr/lib/vmware-loudmouth/bin/loudmouthc query | grep -o ‘applianceID=……………..’ | sort
/usr/lib/vmware-loudmouth/bin/loudmouthc query | grep -o ‘hostname……………..’ | sort
Restart the loudmouth service on ESXi hosts:
/etc/init.d/loudmouth restart
Reset the ESXi mgmt IP to DHCP.
Configure VxRail (Step-By-Step)
Browse to the VxRail Manager IP address which in this example is https://192.1.20.25, VxRail Welcome screen is displayed, click on ‘Get Started’ and accept the EULA:
The Expected Nodes screen is displayed next for which all the associated VxRail hosts should get detected by VxRail Manager, wait a few minutes for detection. Click the confirm box and ‘next’:
 In this example we chose the interactive method ‘Step-by-step’ interface (you can also leverage the JSON file if you have completed the Pre-installation Site Checklist or Pre-Engagement Qualifier (PEQ)):
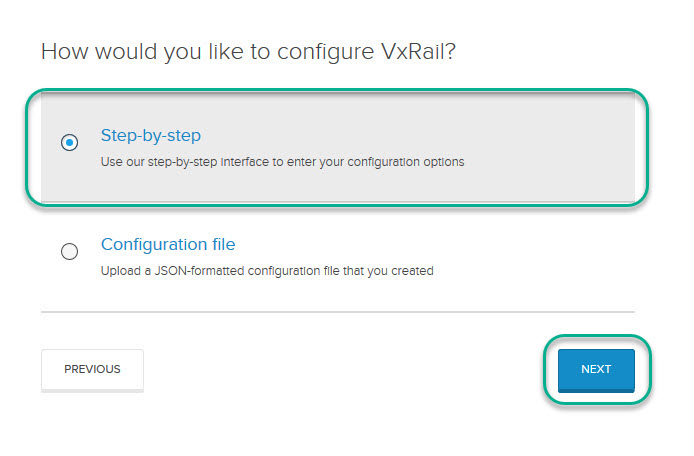
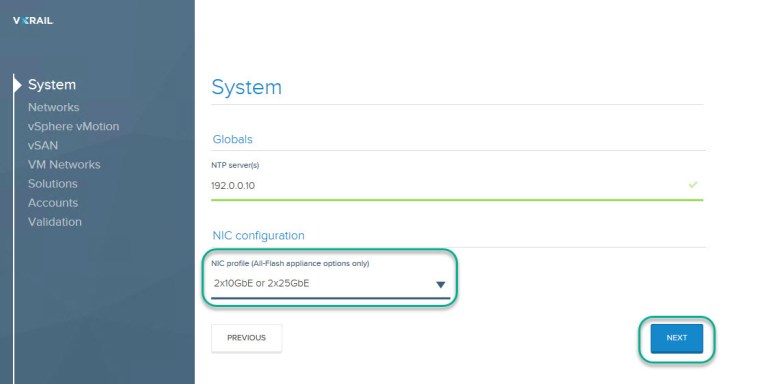
- Enter NTP Server(s) & choose your appropriate NIC configuration:
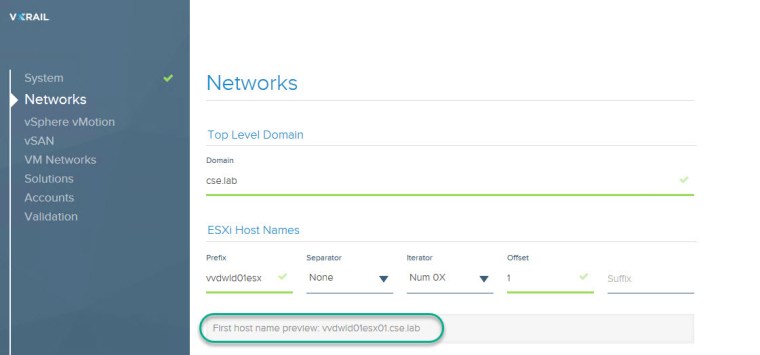
- Networks settings: Top level domain & ESXi Host Names (ESXi hostname prefix, Separator, Iterator, Offset, and Suffix). In this example the first hostname will result in vvdwld01esx01.cse.lab and the second vvdwld01esx02.cse.lab etc..
- Enter the start and ending IP addresses used for the ESXi hosts (these must be contiguous).
- Chose the join existing vCenter Server option and enter the required vCenter details along with the management user created earlier vxrailmgmt@vsphere.local
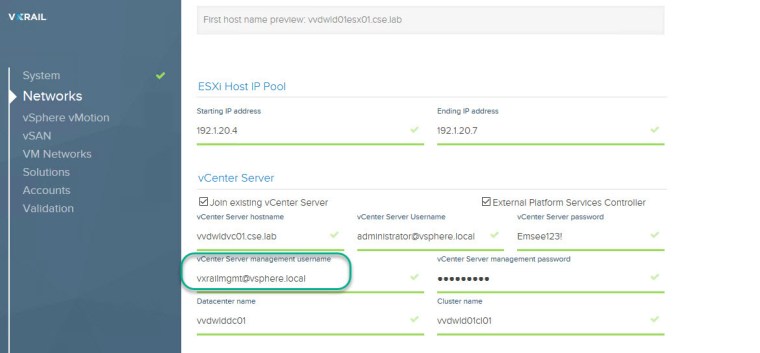
- For the PSC enter the load balanced FQDN.
- Enter the VxRail Manager hostname and VxRail Manager IP address

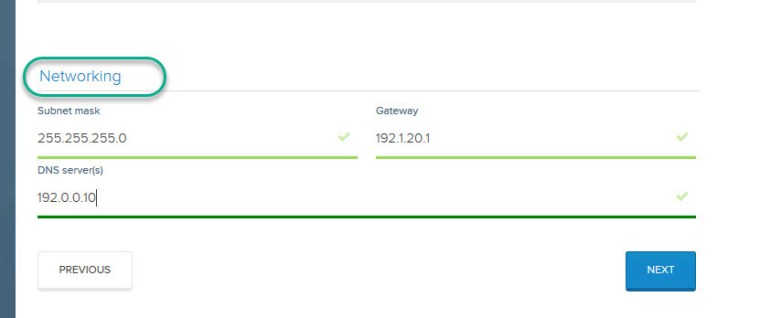
- Enter the subnet mask, gateway IP and external DNS Server(s):
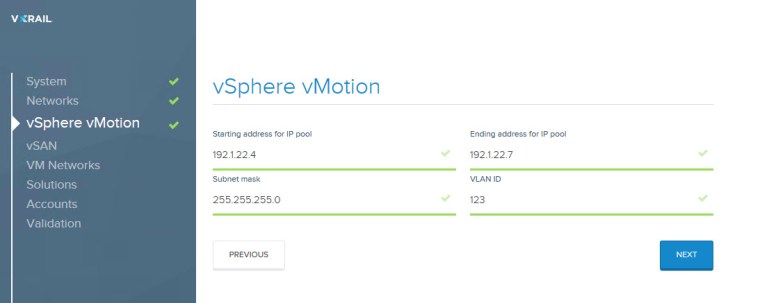
- Enter IP subnet details & VLAN ID to be used for the vMotion network (again these IP addresses must be contiguous):
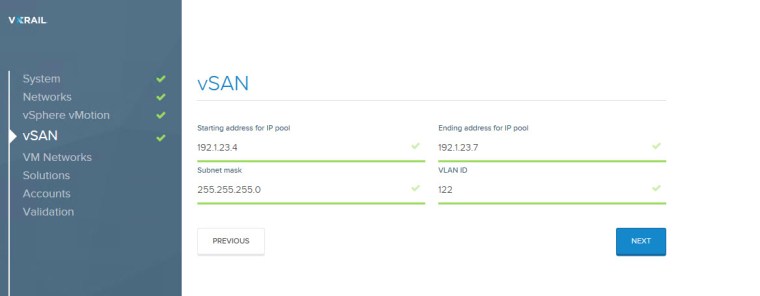
- Enter IP subnet details & VLAN ID to be used for the vSAN network (again these IP addresses must be contiguous):
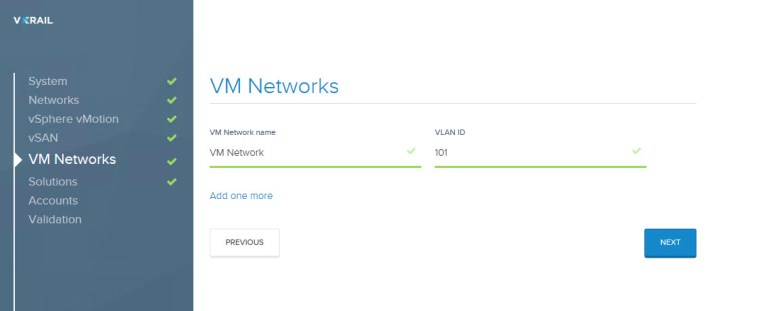
- Enter VLAN ID to be used for the VM network:
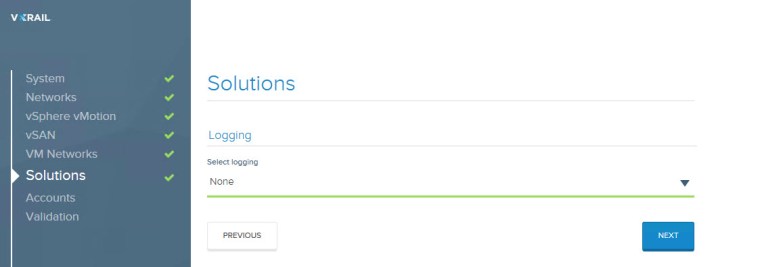
- Choose ‘None’ for the logging option (this will be deployed later as part of the VVD installation):
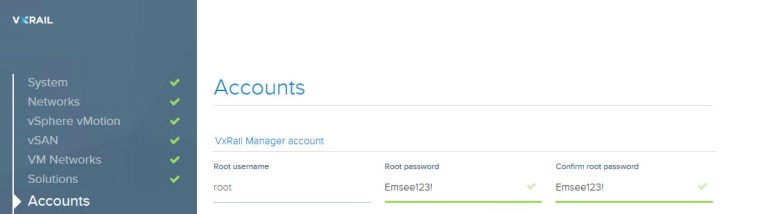
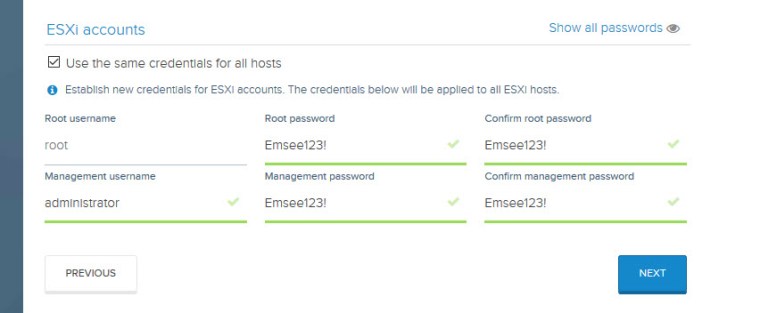
- Enter account info for VxRail Manager & ESXi hosts:
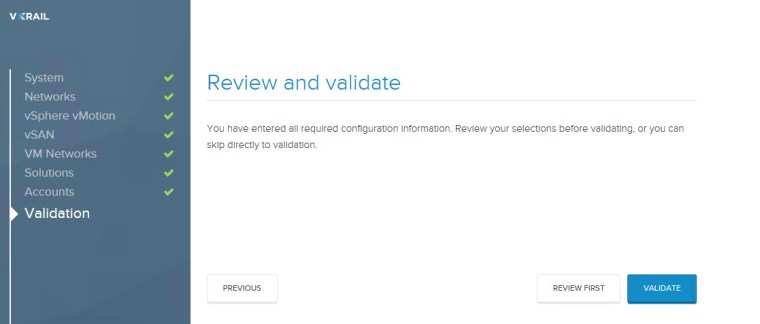
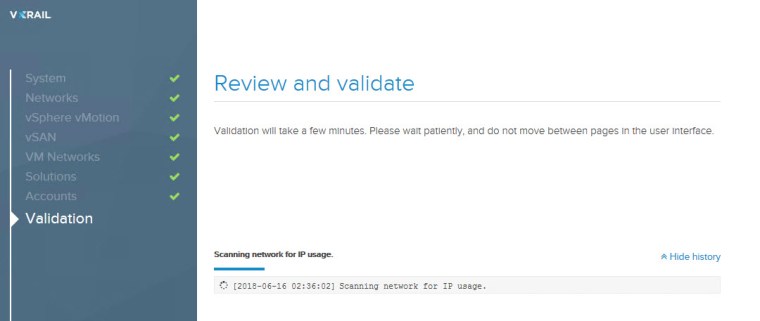
- Click on Validate in order to perform the require pre-install checks:

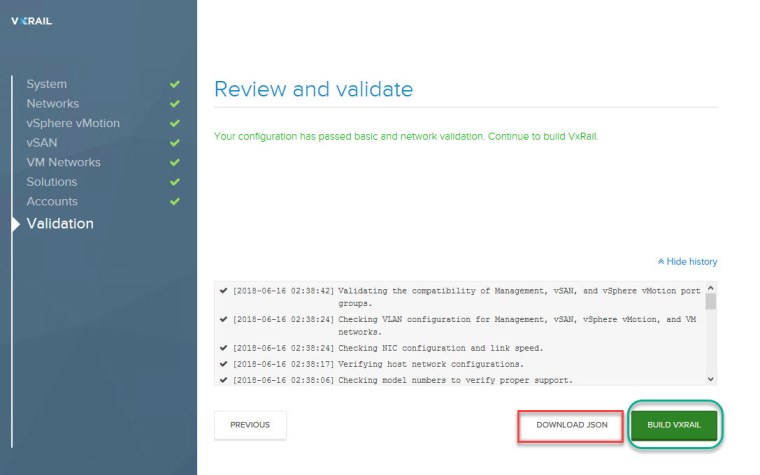
- Once validation completes successfully, click ‘DOWNLOAD JSON’ and save the JSON file in the event of a future rebuild/reference!
- Click ‘BUILD VXRAIL’
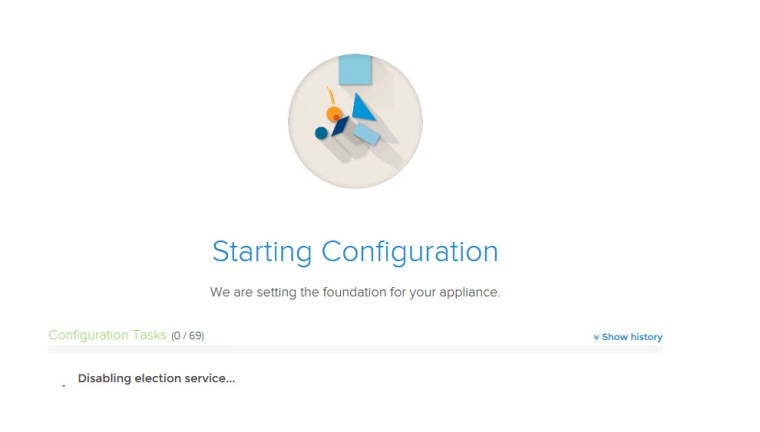
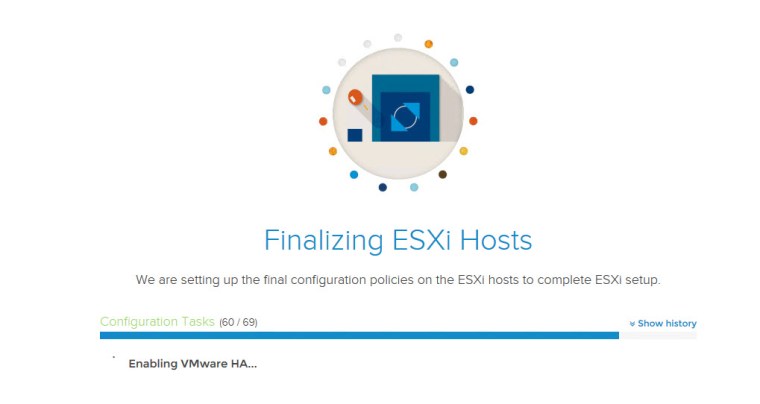
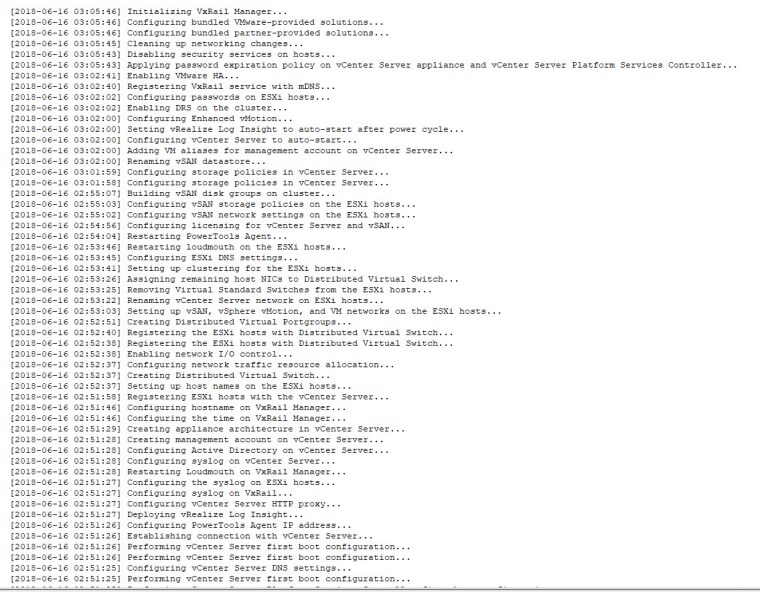
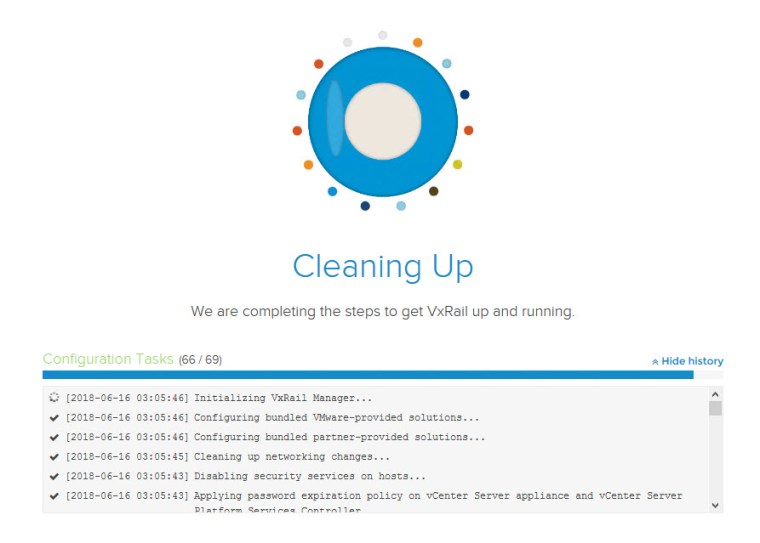
- VxRail appliance configuration and build has completed successfully ‘Hooray’!

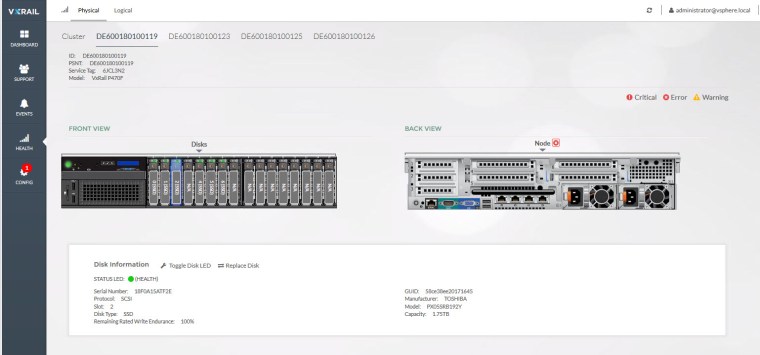
After a successful completion of the VxRail deployment, connect to VxRail Manager by clicking on ‘MANAGE VXRAIL’ and confirm the health status of the VxRail cluster. :
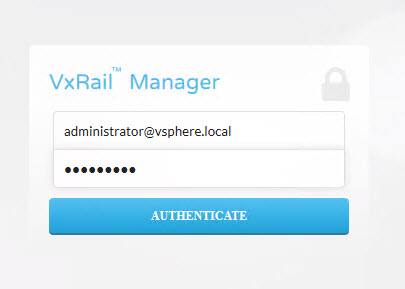

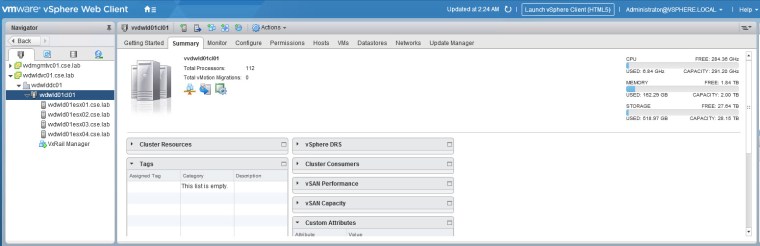
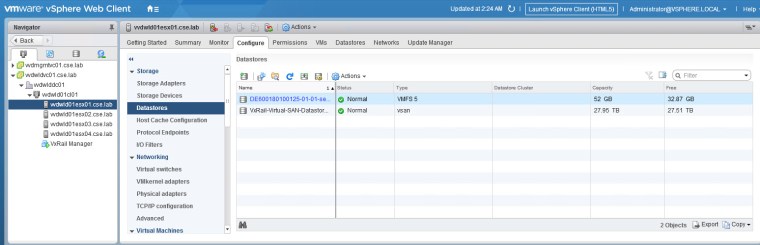
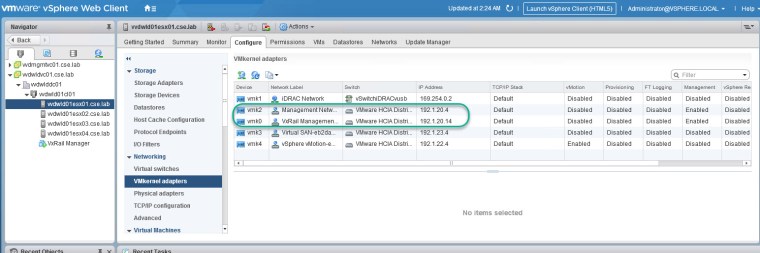
Logging into vCenter & validating configuration is accurate:
More VVD on VxRail posts to follow….. hope this was of use!
Thanks for reading!


Great post! Thanks! one more question: is there any command to get VxRail Cluster name/id ?
Thanks Iryna. You can view the cluster ID from within the VxRail Mgr GUI, navigate to Health->Physical and Cluster ID is listed there. Does that help?
Thanks for your reply, David. But UI is not my case. I need to get that value via ssh. Do you know any command that could give this information?
One method is SSH to vCenter, open RUBY console, cd to computers and ls will return cluster names. More detail here: https://davidring.ie/2019/03/26/vmware-vsan-viewing-disk-capacity-rvc/