This post details the wizard driven installation steps to install ViPR Controller and configure for a VMAX AFA system.
Recommendation when deploying on a vSphere cluster is to deploy the ViPR Controller on a minimal of a 3 node ESXi DRS cluster, and to set an anti-affinity rule among the
ViPR Controller nodes to, “Separate Virtual Machines,” on available ESXi nodes.
Begin by downloading the ViPR Controller packages from support.emc.com

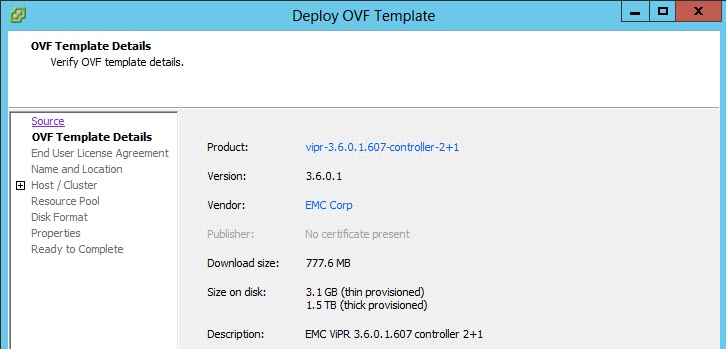
This ova will deploy three VMs in a 2+1 redundant fashion allowing for the failure of a single controller without affecting availability. There is also a 3+2 ova available.
From vSphere client/web chose option to Deploy OVF Template a browse to the downloaded OVF: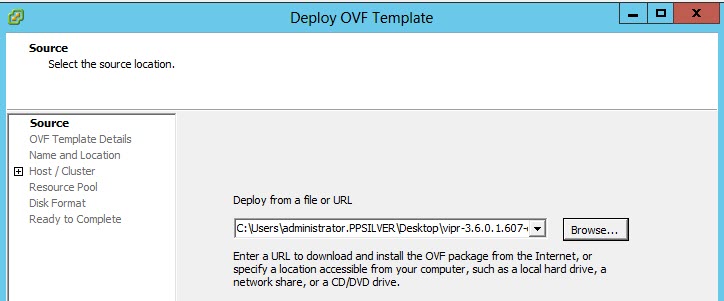
Provide a name for the appliance:
Select the ESXi cluster to host the ViPR Controllers: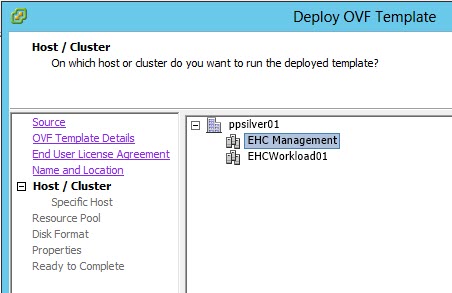
Select a resource pool if necessary: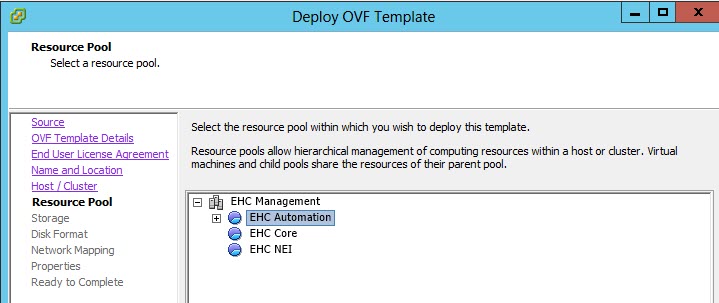
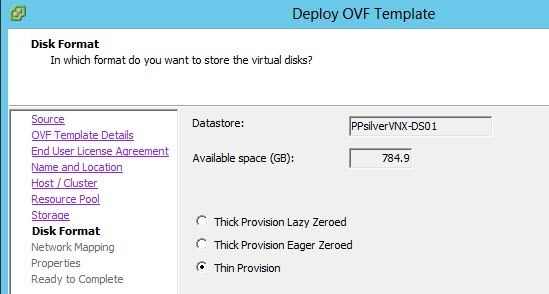
Select datastore:
This is a lab so I selected Thin (Thick Provision Eager Zeroed is recommended for production):
Map source network to your desired destination network: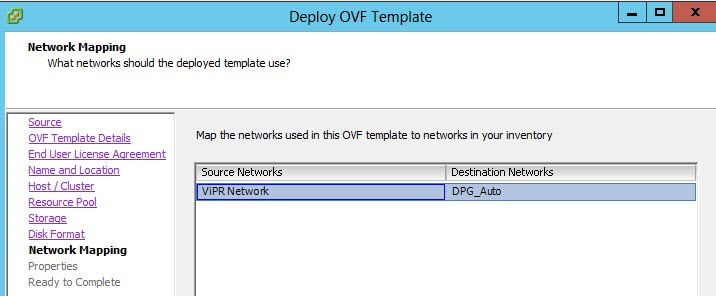
Enter the required IP info:
Review and click finish: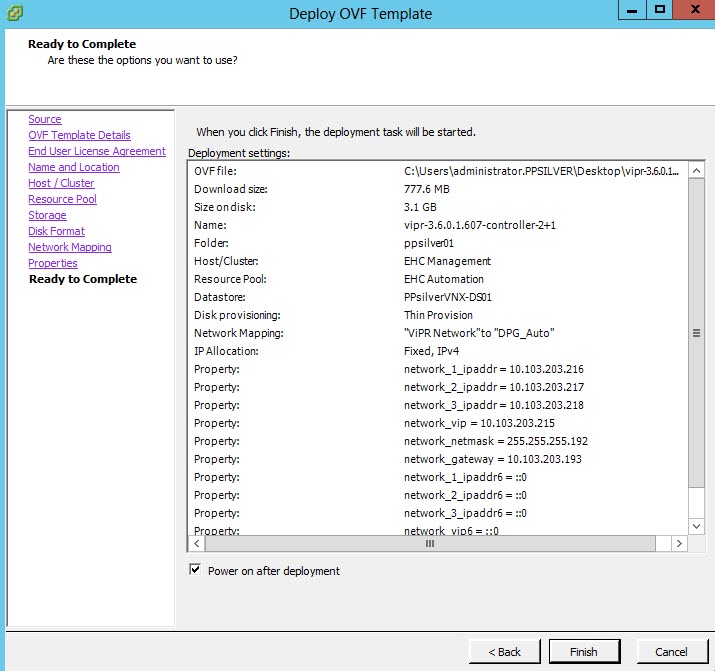
View from the vSphere client post deployment, ensure the vAPP is powered on:
Wait approx 10mins after powering on and then Login to the ViPR Web UI via the public virtual IP address:

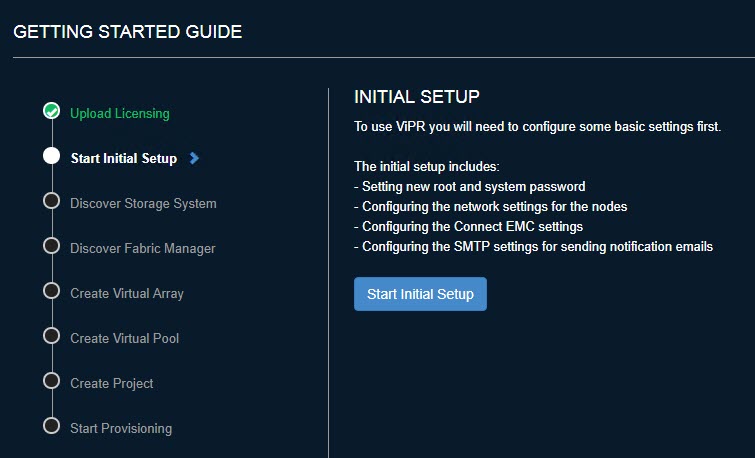
Wizard begins after initial login, begin by uploading your license:
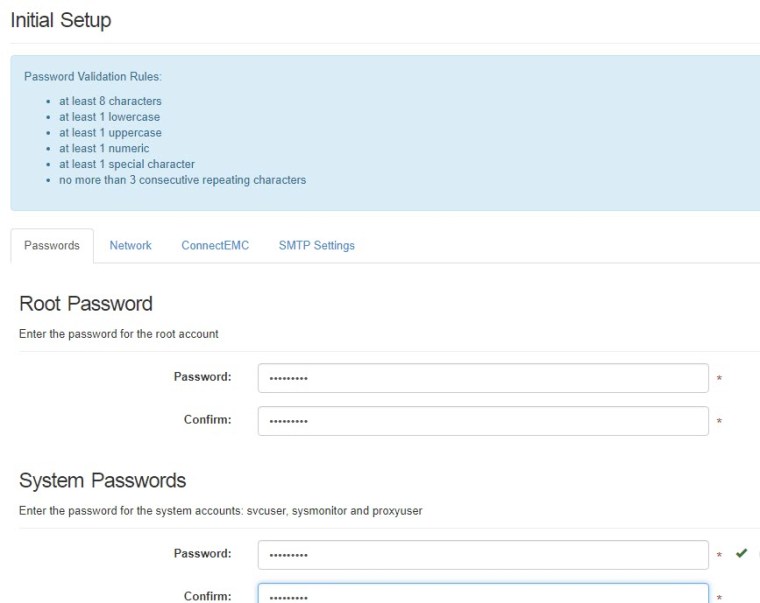
Enter root password:
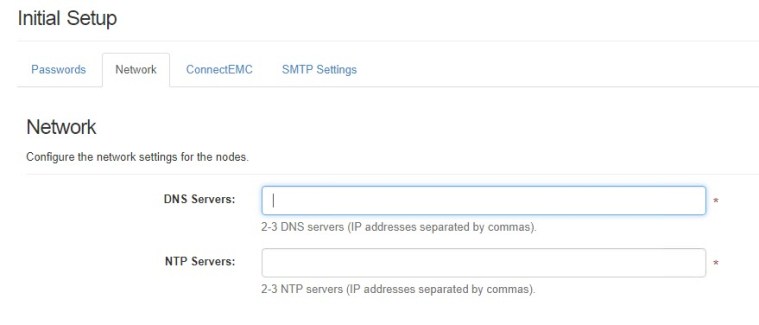
Enter DNS & NTP server details:
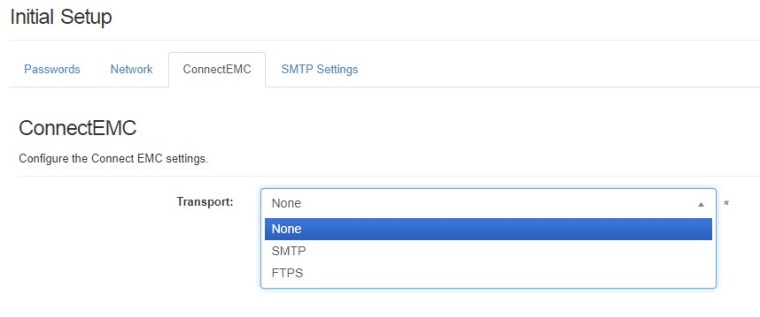
Enter SMTP server details:

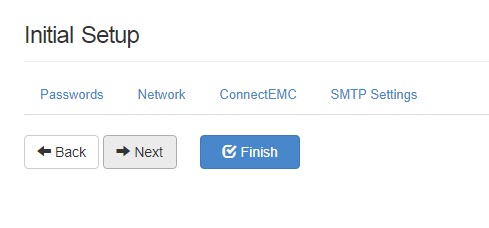
Click Finish – ViPR Controller services restart, allow approx 10mins:
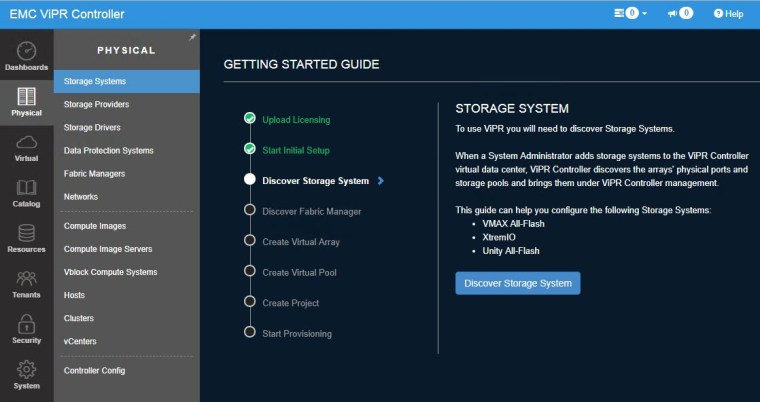
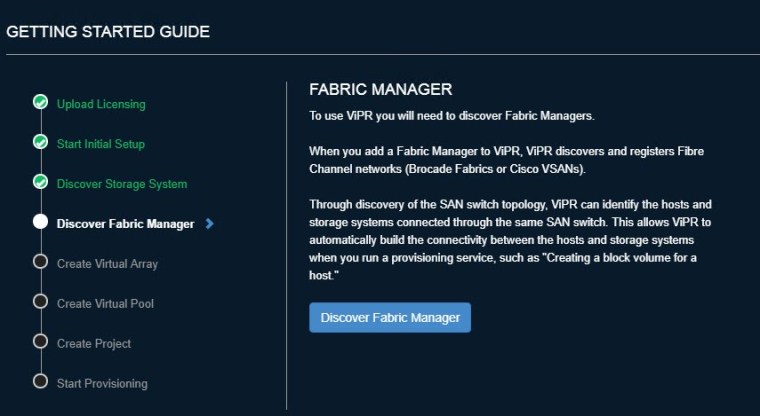
Next step is to configure your storage system, the Wizard accommodates VMAX AFA, Unity AFA and XtremIO. Click Guide Me:

Click Discover Storage System:
Choose VMAX, enter SMI-S and authentication details:

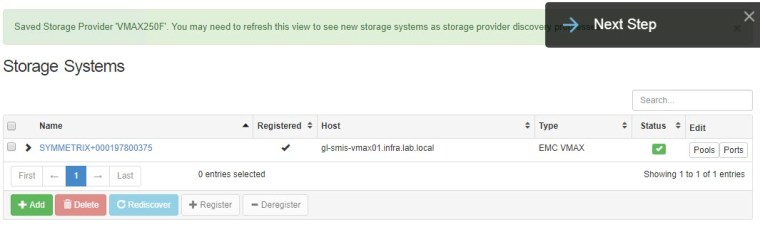
Storage system added successfully:
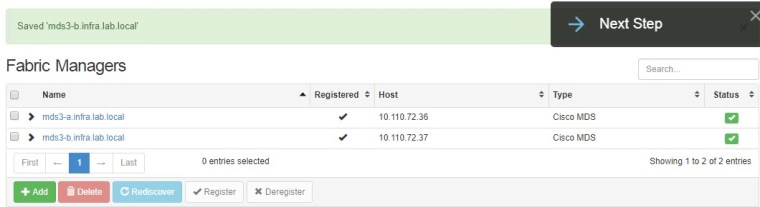
Next click Discover Fabric Manager in order to enter the Cisco MDS details:
Enter MDS and authentication details:

Repeat for second MDS switch:
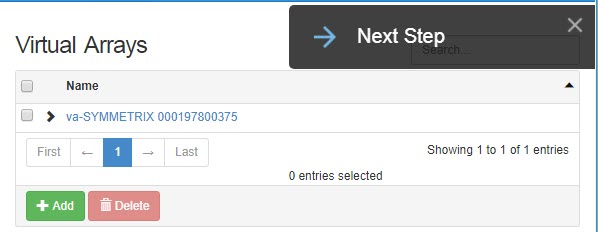
Next click Create Virtual Array:

Choose option for a 1×1 Mapping:

Virtual Array created:
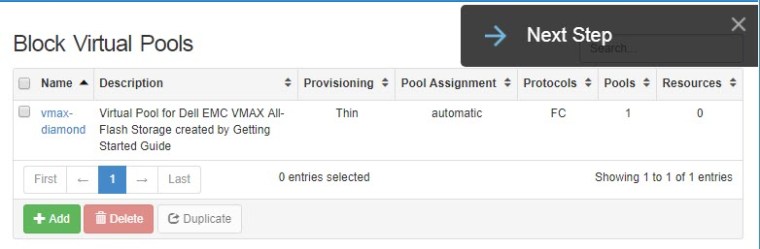
Next click Create Virtual Pool:

VMAX AFA has a single SRP which results in a single Virtual Pool:
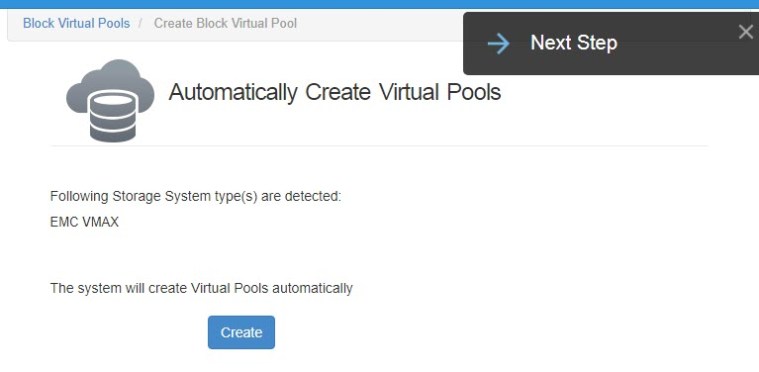
Virtual Pool automatically created based on VMAX AFA characteristics:
Create a ViPR Project:

Enter a name for the project:

Project created:

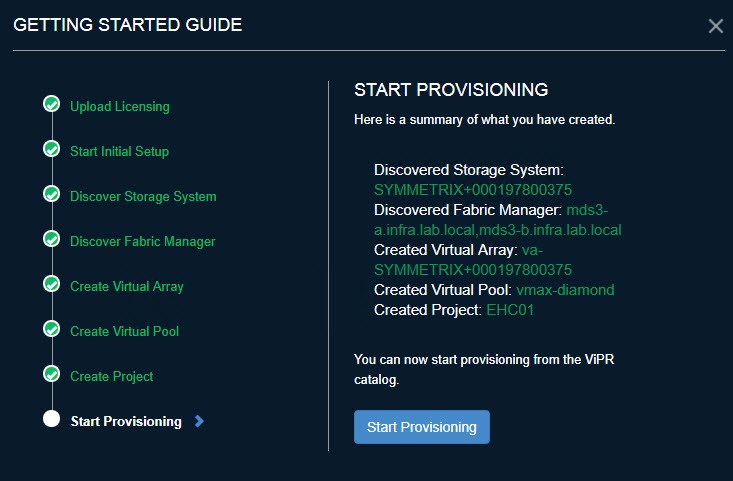
Begin provisioning:
Enter volume details:
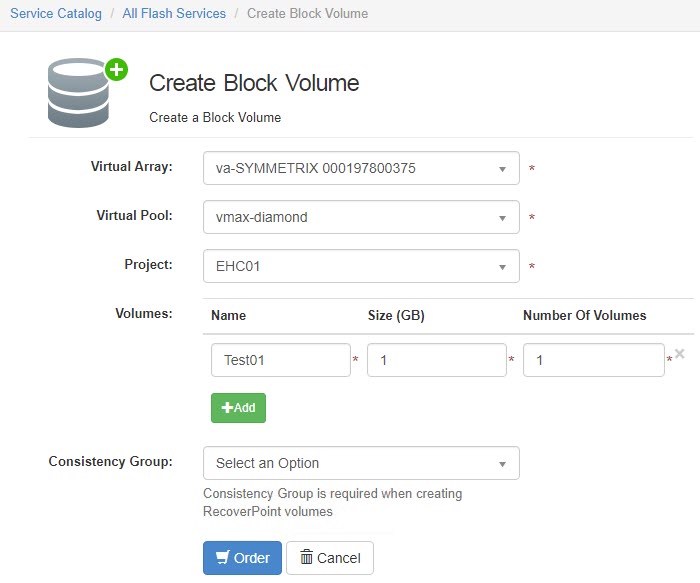
Test Volume successfully created:


