Storage
EMC VNX – Replacing a Failed Disk and Updating Firmware
Replacing a Disk in a VNX is quite a simple task if the correct procedure is followed (Discover the failed drive BED naviseccli -h SP_IP faults -list). In this post […]
Virtualization & Storage

Replacing a Disk in a VNX is quite a simple task if the correct procedure is followed (Discover the failed drive BED naviseccli -h SP_IP faults -list). In this post […]
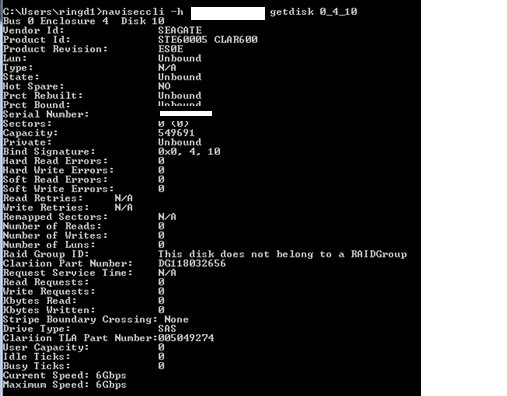
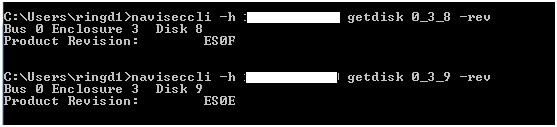
Replacing a Disk in a VNX is quite a simple task if the correct procedure is followed (Discover the failed drive BED naviseccli -h SP_IP faults -list). In this post I will guide you through the process and provide a quick insight as to what happens under the hood. Firstly I insert the replacement disk in a free slot and run the getdisk command to ensure no data resides on the disk and also verify the firmware level on the disk:
Next I will run the zerodisk command with the getzeromark option, it returns an 8-digit number that is the address on the disk above which all the sectors are zeroed. This would be the expected initial zeromark for this disk and therefore no user data resides on this disk:

As an example of a disk with data written, here is a disk with a zero mark of the last LUN bound:

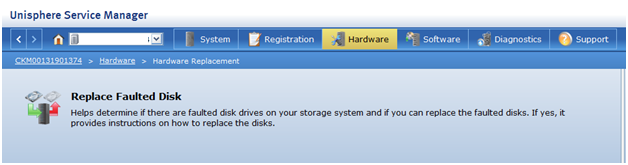
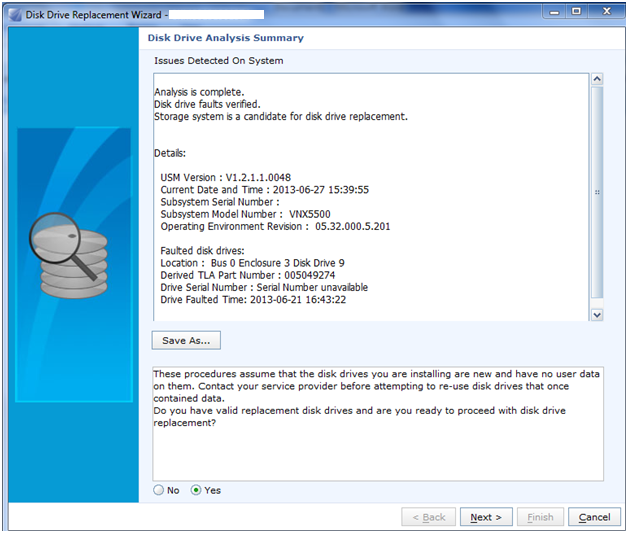
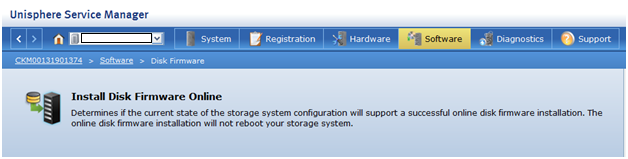
Unisphere Service Manager will be used to replace the drive and update the firmware.
1. Start USM
2. From the System screen, select Hardware > Hardware Replacement > Replace Faulted Disk.
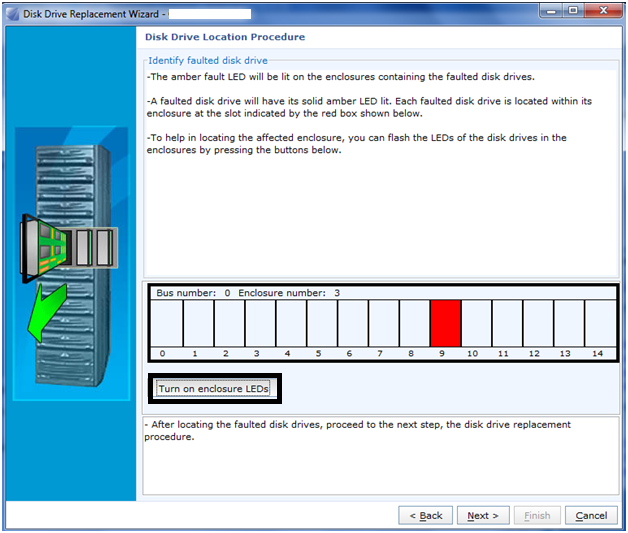
3. Follow the instructions that appear.
As this Disk is part of a Storage POOL we can see the rebuild occurring on the private Raid Group’s internal LUN’s:
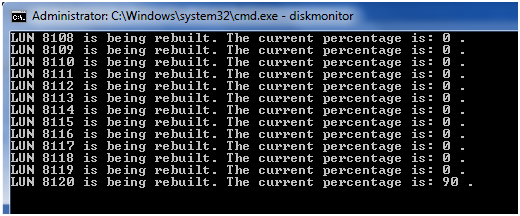
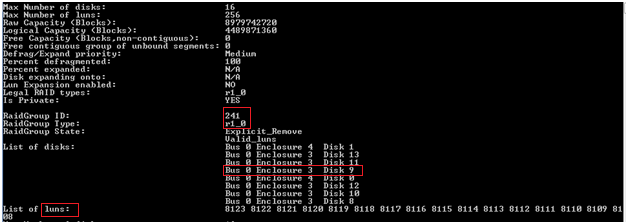
From the output in the image below you can get a clearer picture of the Raid Group ‘RG241’ (RAID 10) that the failed disk is part of, the disks that make up the RG and also how the internal LUNs are carved up. Here we have 16 private LUNs 8108-8123 which make up the base structure for a Private Raid Group (4+4 R10) which would be part of a larger Storage Pool:
From Unisphere “Storage Pool” properties we can see that data is being equalized from a hot spare and is being copied onto the replacement disk:

From the SP logs you can check the Hot spare that was in use and also view the rebuild status. Running a naviseccli getdisk –hs is another method of determining HS in use.
Firmware Upgrade
Once the rebuild has completed a F/W upgrade of the new disk can be executed.
As can be seen from getdisk –rev the new disk is one rev behind:
You may also use Powershell to check the disk firmware revision:
naviseccli -h SP_IP getdisk 0_3_8 | select-string “Product Revision:”
Again using USM to carry out the upgrade:

Or using NaviCLI firmware option:
naviseccli -h SP_IP -user username -password password -scope 0 firmware filename -d B_E_D,B_E_D,……


Is it possible to keep the existing disk sled and replace just the drive when a disk fails in a VNX? That’s exactly what I’ve done, but the array is not recognizing a new disk has been installed. The LEDs for the disk are solid amber and green. The replacement disk is the same type, speed, manufacturer, but the model is different because the original model had been discontinued.
You cannot use a generic drive. Drives to be installed into an EMC array must be purchased from EMC or an EMC reseller because the drives are formatted at the factory specifically for use in EMC arrays. Without that formatting, the drive will not be recognized by an EMC array.
Ernie
Correct, thanks for highlighting Ernie.
we bought a drive, not from EMC or reseller. do we have any way of getting the drive to been seen by the array? right now when I put in the new Drive our EMC VNXE3200 will see that a drive is taken out and then put back in but it still shows the SN of the old drive that is not even in the system anymore.
We have Version 3.0.1.3513260 and I don’t see the Hardware > Hardware Replacement > Replace Faulted Disk anywhere…
Hi Tim, I advise you open a support case with Dell EMC. Thanks
yea, they only help if you have an active maintenance agreement…