Note: this is an example for reference only please use the VxRail installation procedures & services provided by Dell. This is the second in a series of posts covering VCF On […]
Note: this is an example for reference only please use the VxRail installation procedures & services provided by Dell.
This is the second in a series of posts covering VCF On VxRail 4.2. The following detailed post provides an example walkthrough covering the process of deploying a VI Workload Domain with a second VDS dedicated to NSX-T traffic:
Versions used in this example are VCF 4.2 & VxRail 7.0.131. Release Notes:
The end result of this example build is that of a single site VCF on VxRail solution including a single NSX-T VI Workload Domain (thanks to @HeagaSteve for the architectural diagram):
Multi-VDS
As of VCF 4.0.1 there is now an option to deploy a second VDS to support NSX-T traffic. This traffic separation option is available for both the Management (via Input XLS ‘vSphere Distributed Switch Profile’) and VI WLD (utilizing a script). This second VDS is owned and managed by VCF. This example will showcase the deployment of a second VDS as part of an NSX-T based VI WLD deployment. For the VxRail bring-up 2 pNICs from the NDC will be selected followed by selecting 2 pNICs from the PCIe card for the dedicated NSX-T VDS during the SDDC process of adding a VxRail cluster to a VI WLD. The following diagram (kudos Cathal Prendeville) depicts the end result; 1x System VDS, 1x NSX-T VDS, 4 pNICs:
vSphere Distributed Switch = Two (2) / Physical NICs = Four (4)
Primary vDS – cork-vi01-cl01-vds01 (Created by VxRail Manager) – System Traffic (Management, vSAN, vMotion) e.g. vmnic0,vmnic1
Secondary vDS – cork-vi01-cl01-nsxt-vds01 (Created by SDDC Manager .py script) – Overlay Traffic (Host, Edge and Uplinks) e.g. vmnic4,vmnic5
SDDC Manager – Pre-Reqs
Ensure to complete the following from within SDDC Manager UI:
Licensing details entered correctly
Repository logins authenticated successfully
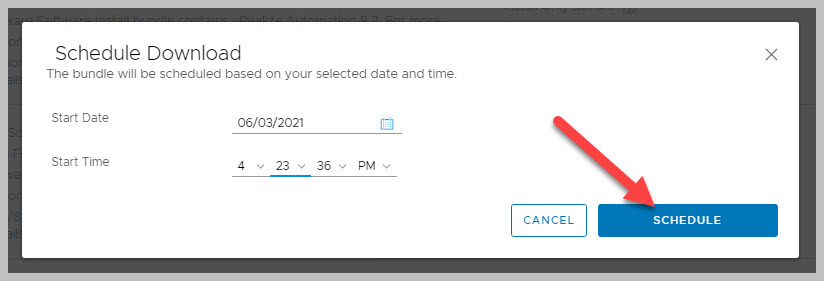
Download NSX-T Manager bundle
SDDC Manager – Create VI WLD
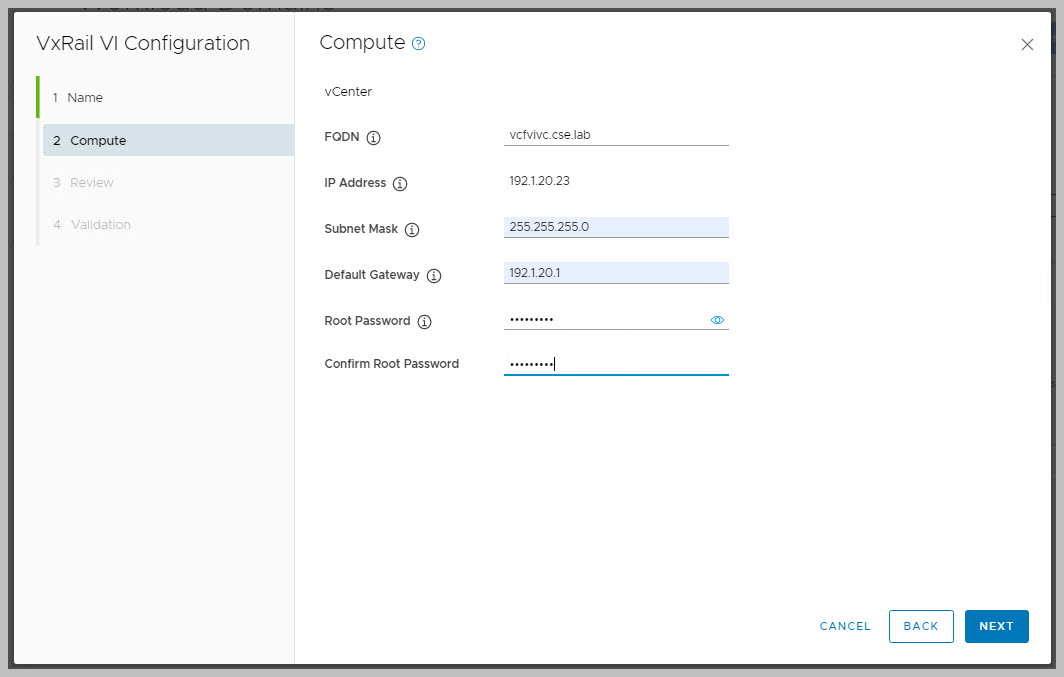
The following input values are required as per the process of creating a VI WLD from the SDDC Manager UI:
VI WLD Name
DC Name
vCenter Fully Qualified Domain Name (FQDN)
vCenter IP address, netmask and gateway
Root Password
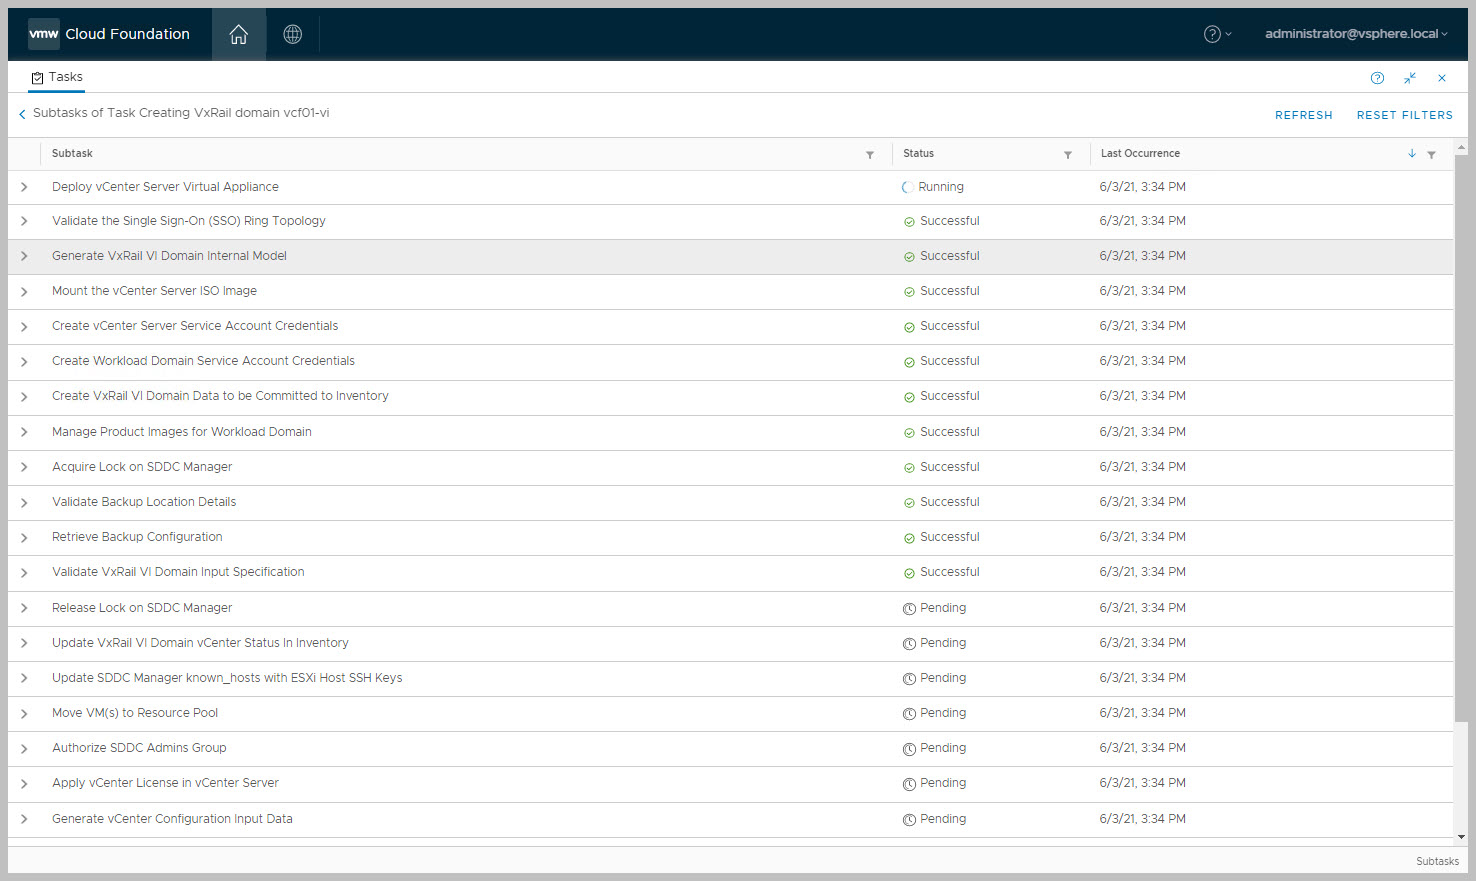
After the task of creating the VI WLD completes you will notice the WLD appears to be in an ‘Activating’ state, this is to be expected at this juncture.
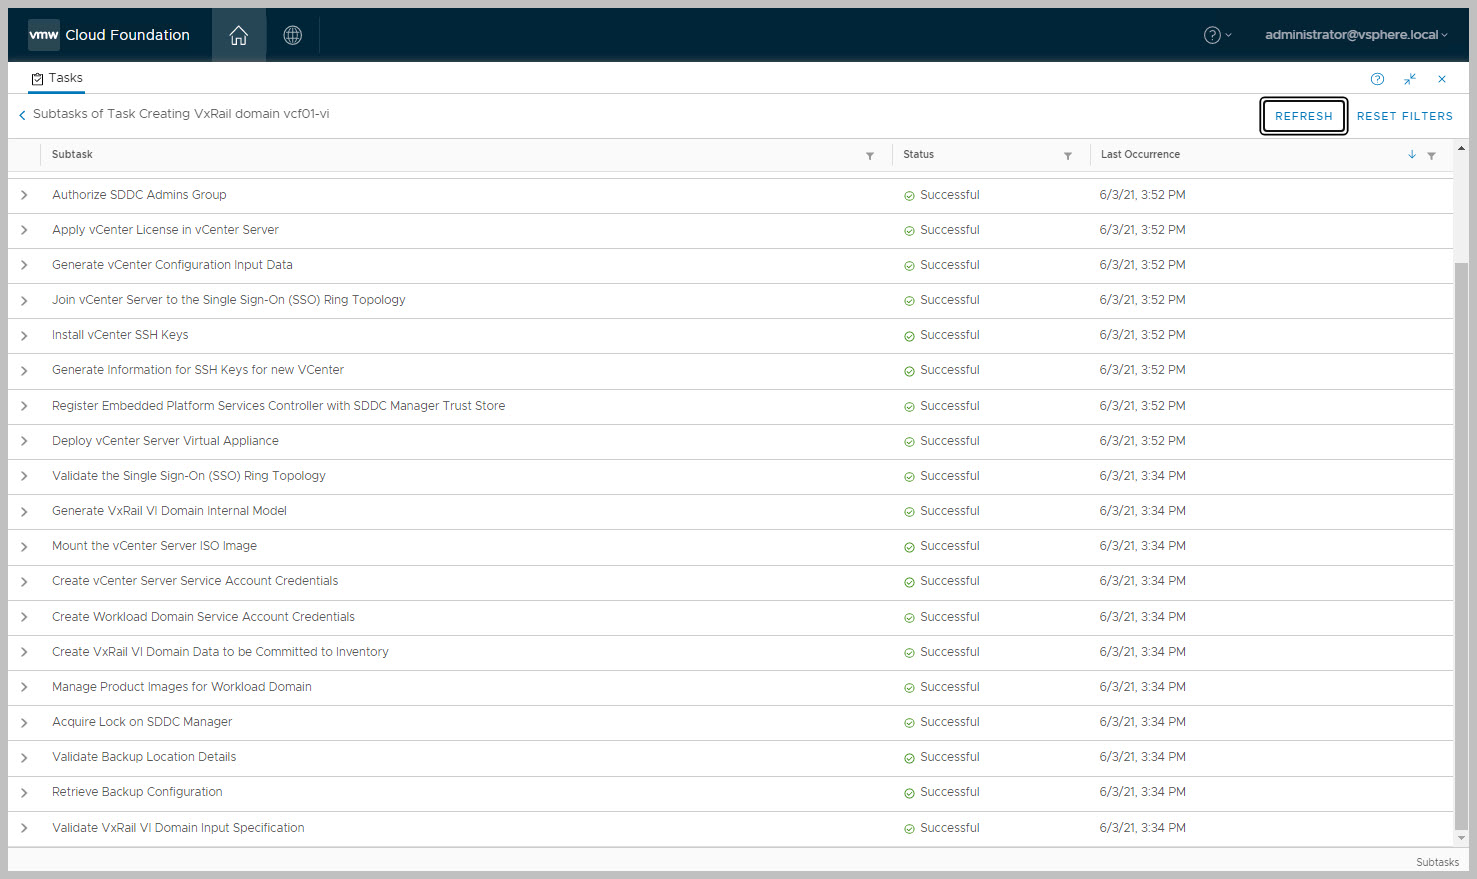
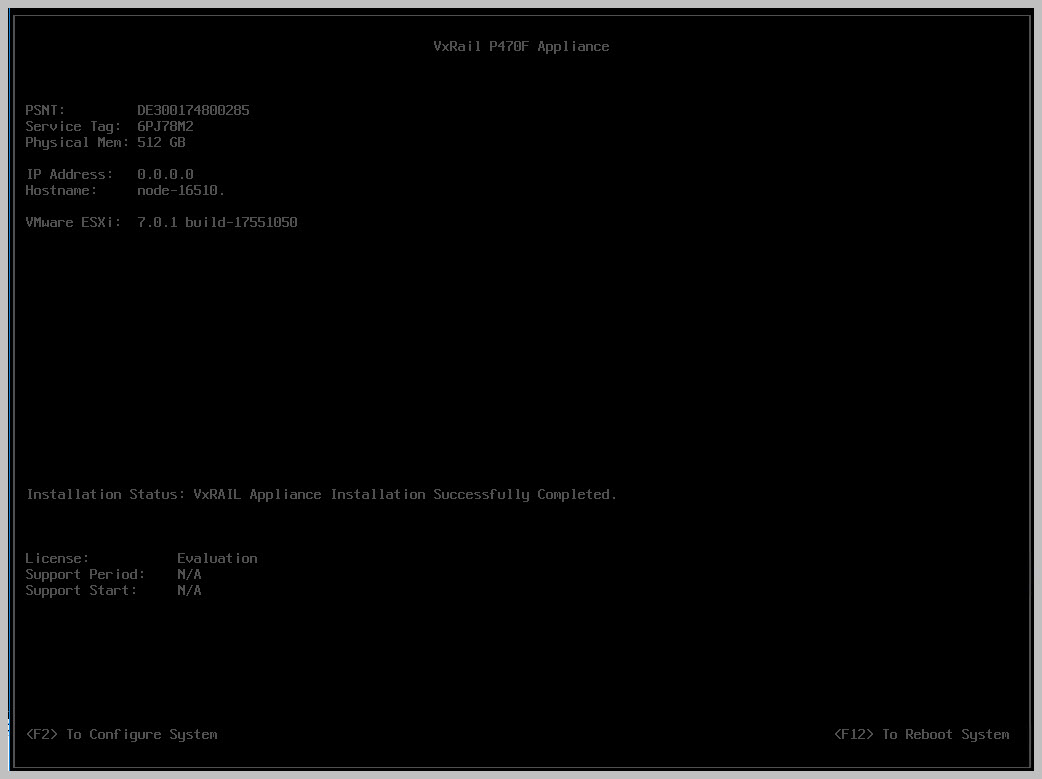
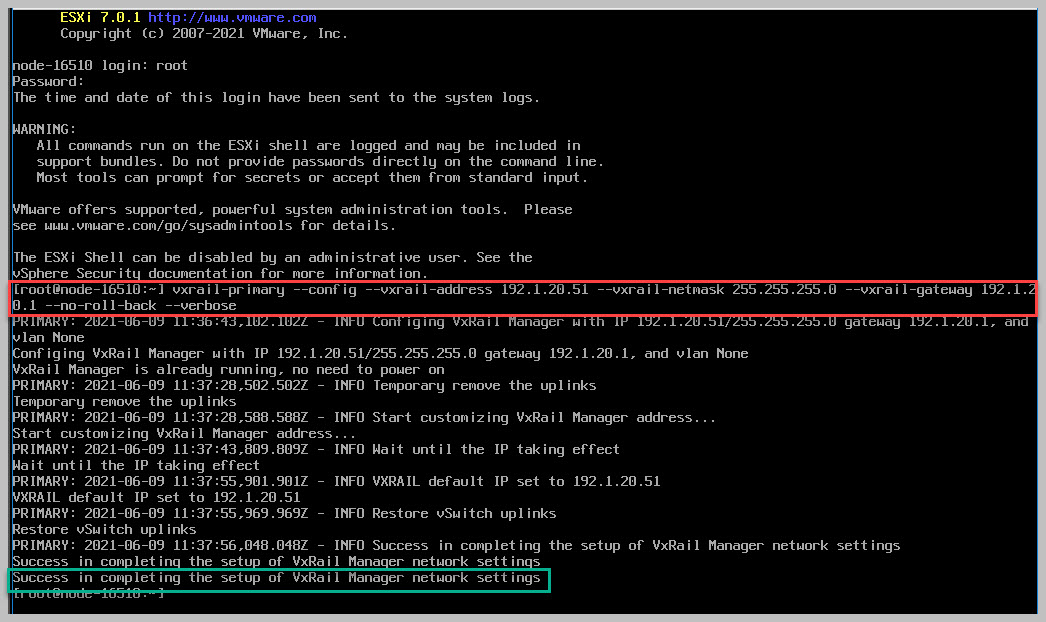
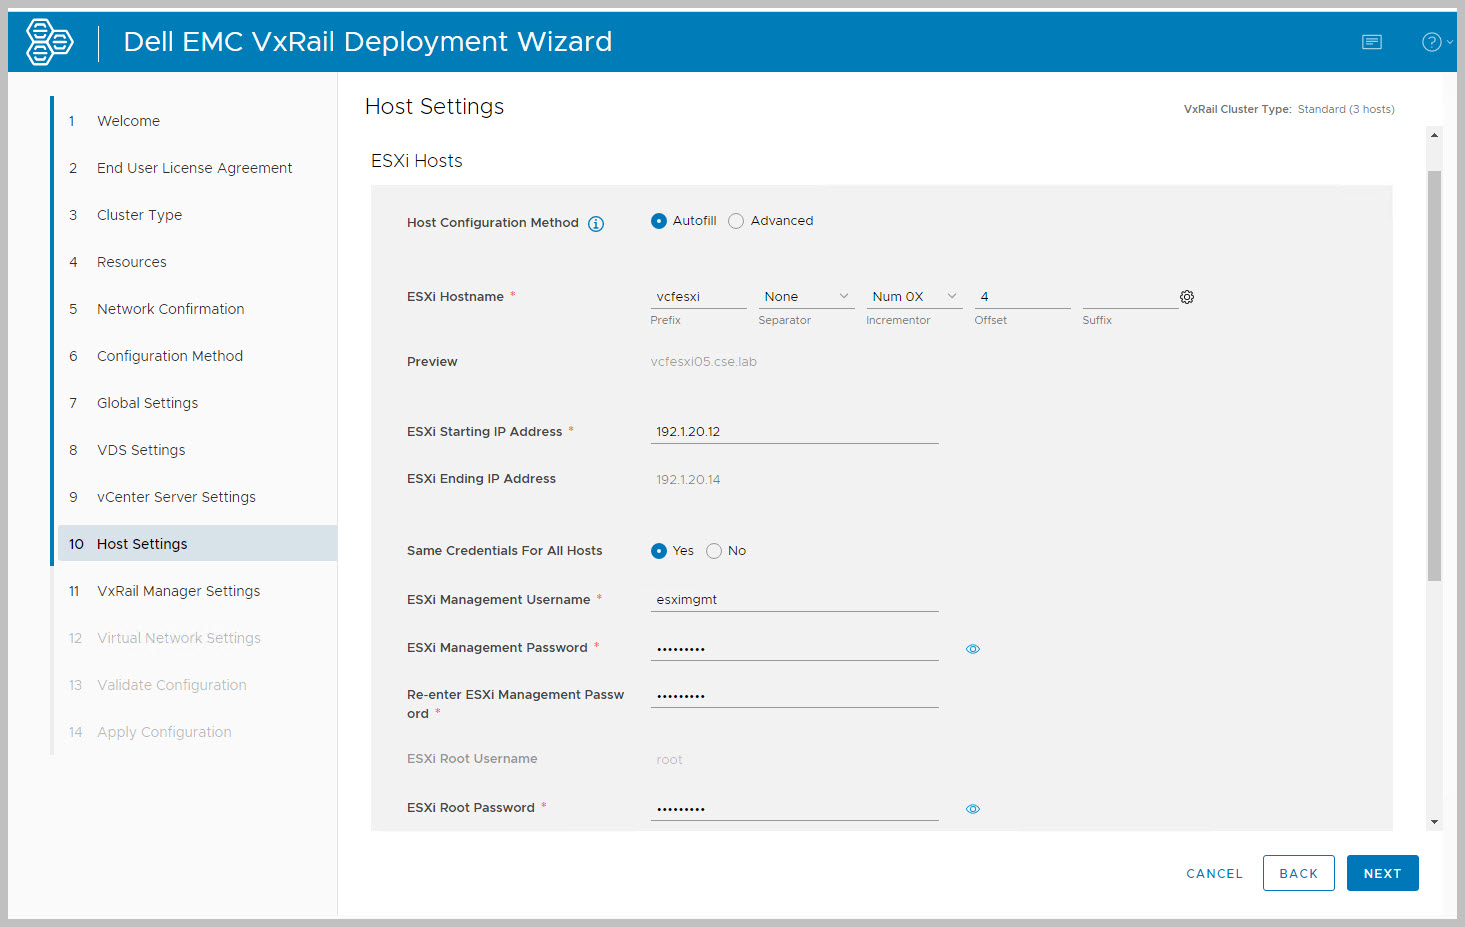
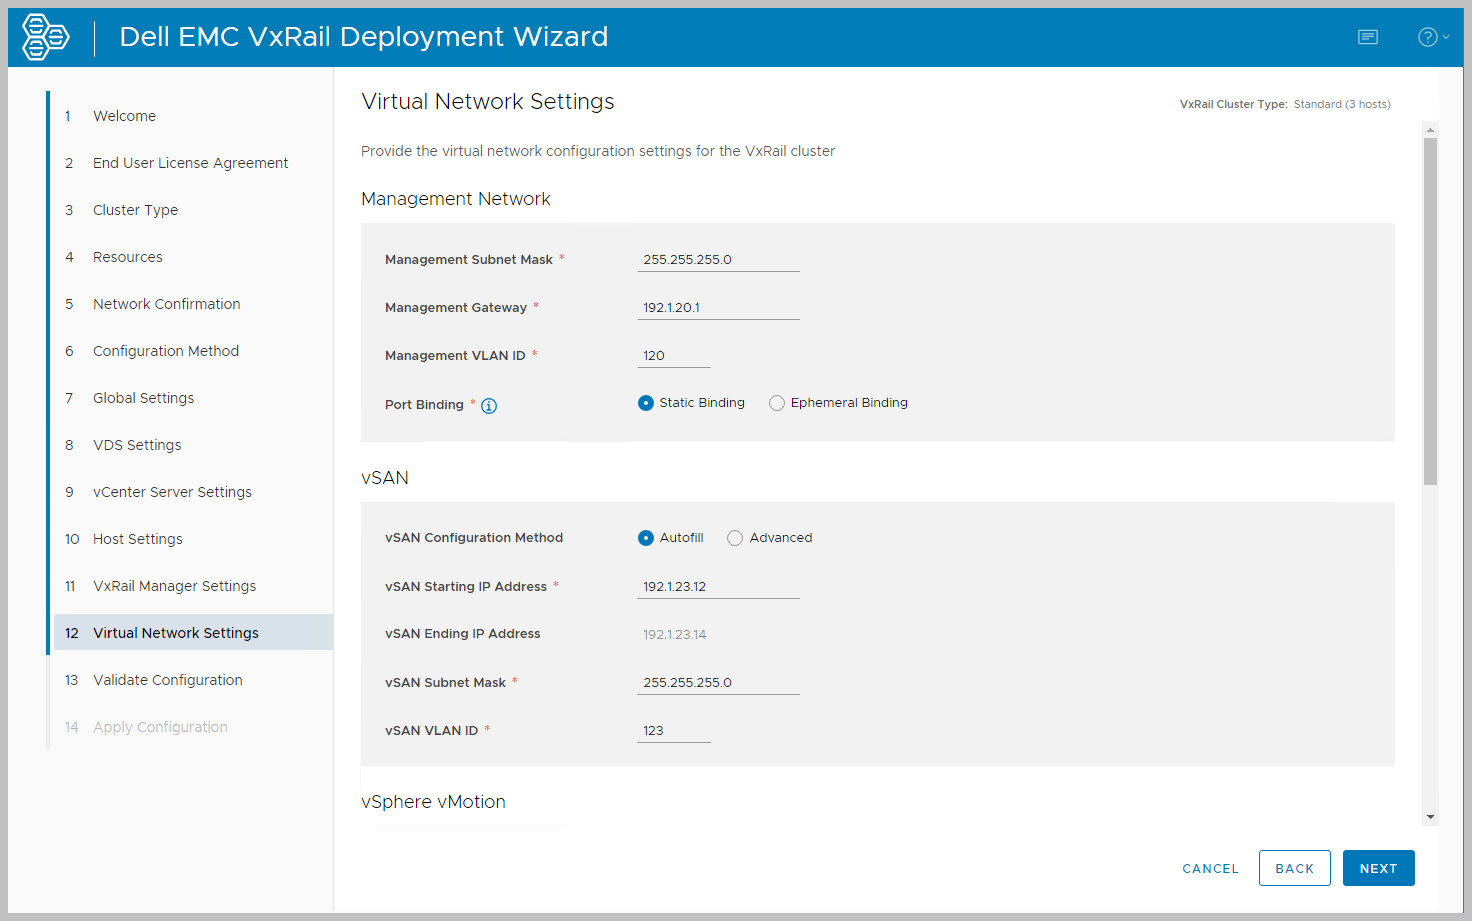
VxRail Cluster Deployment
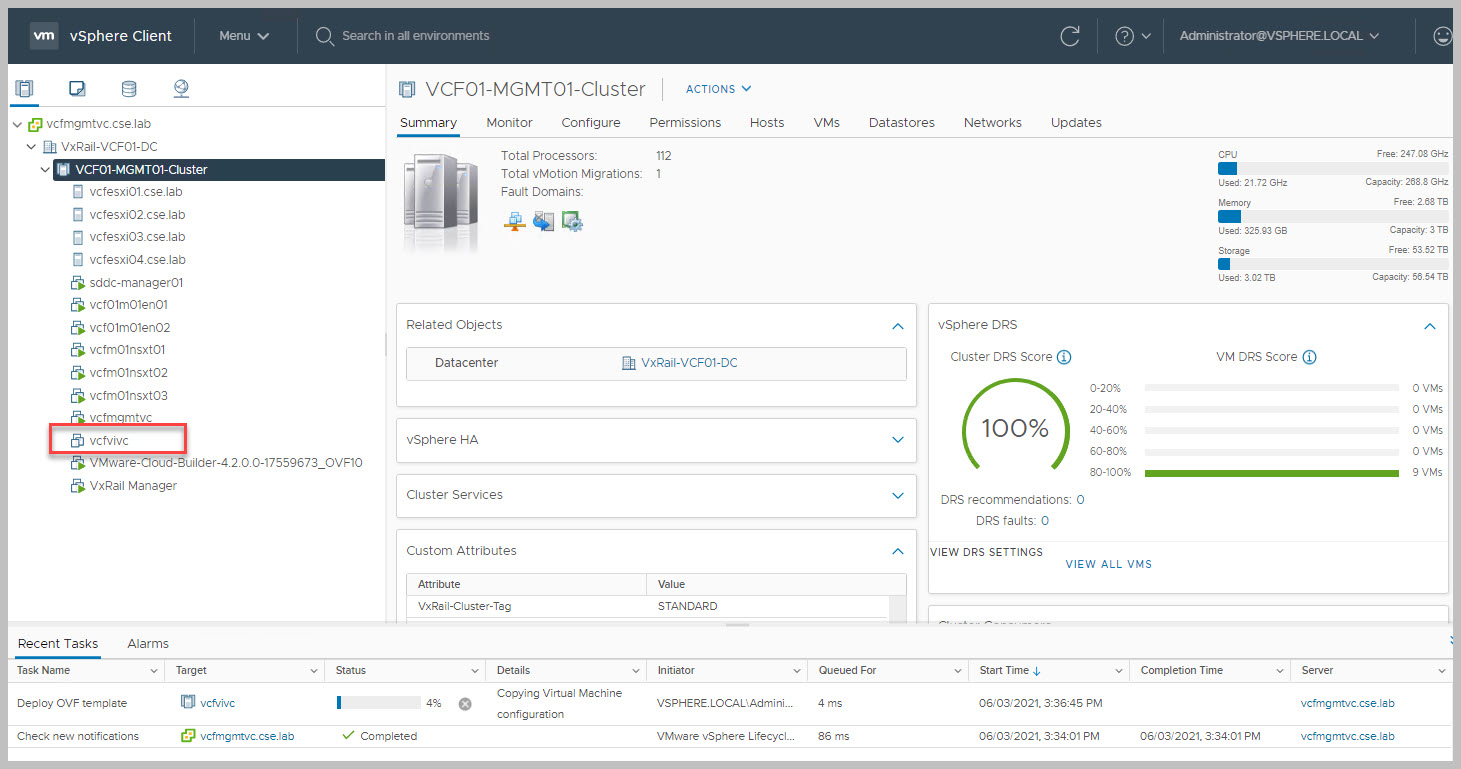
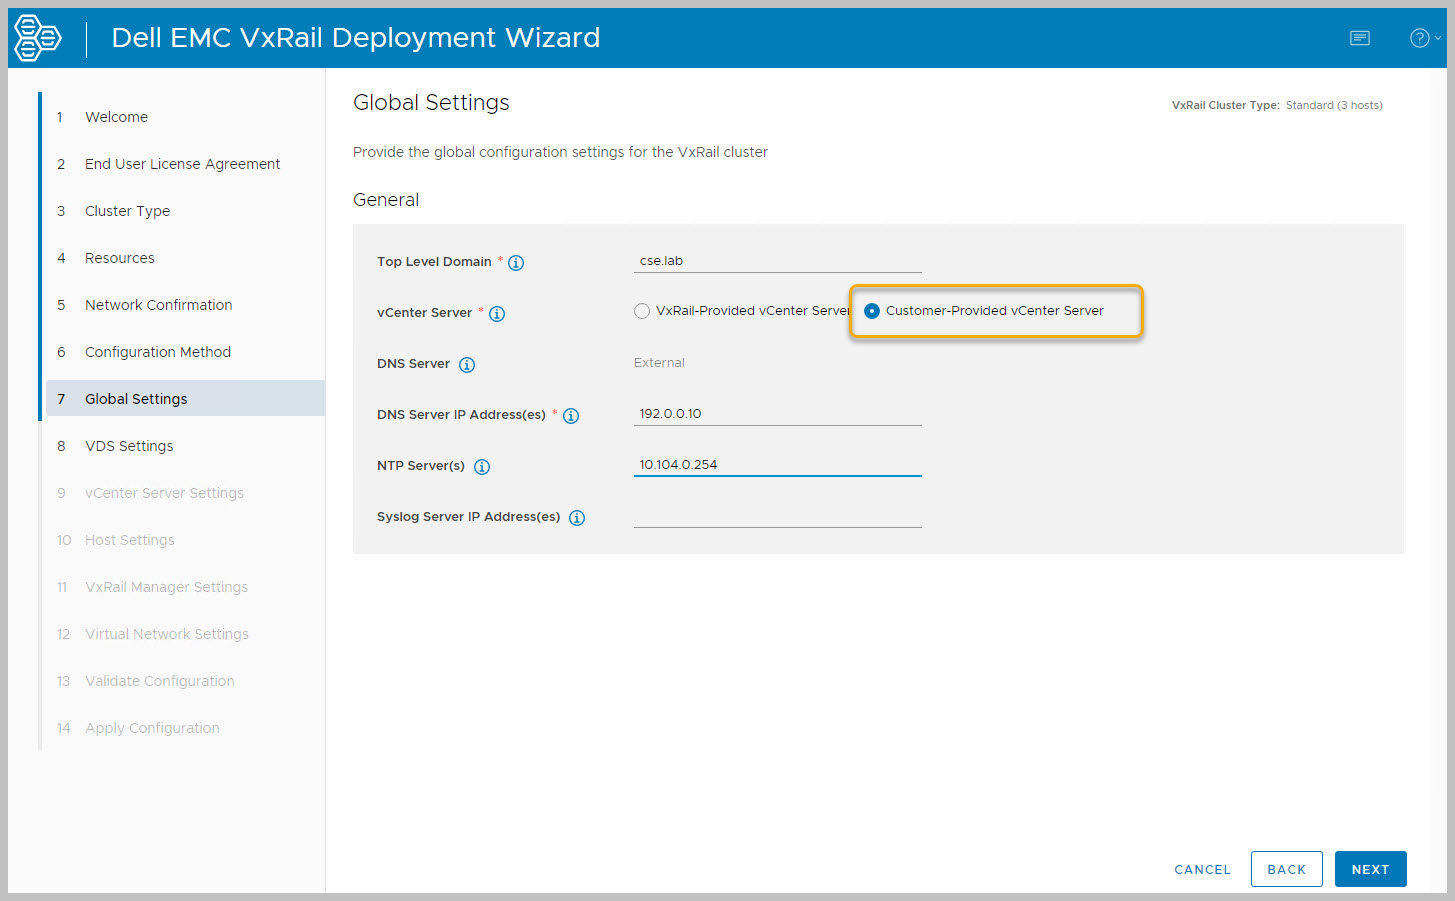
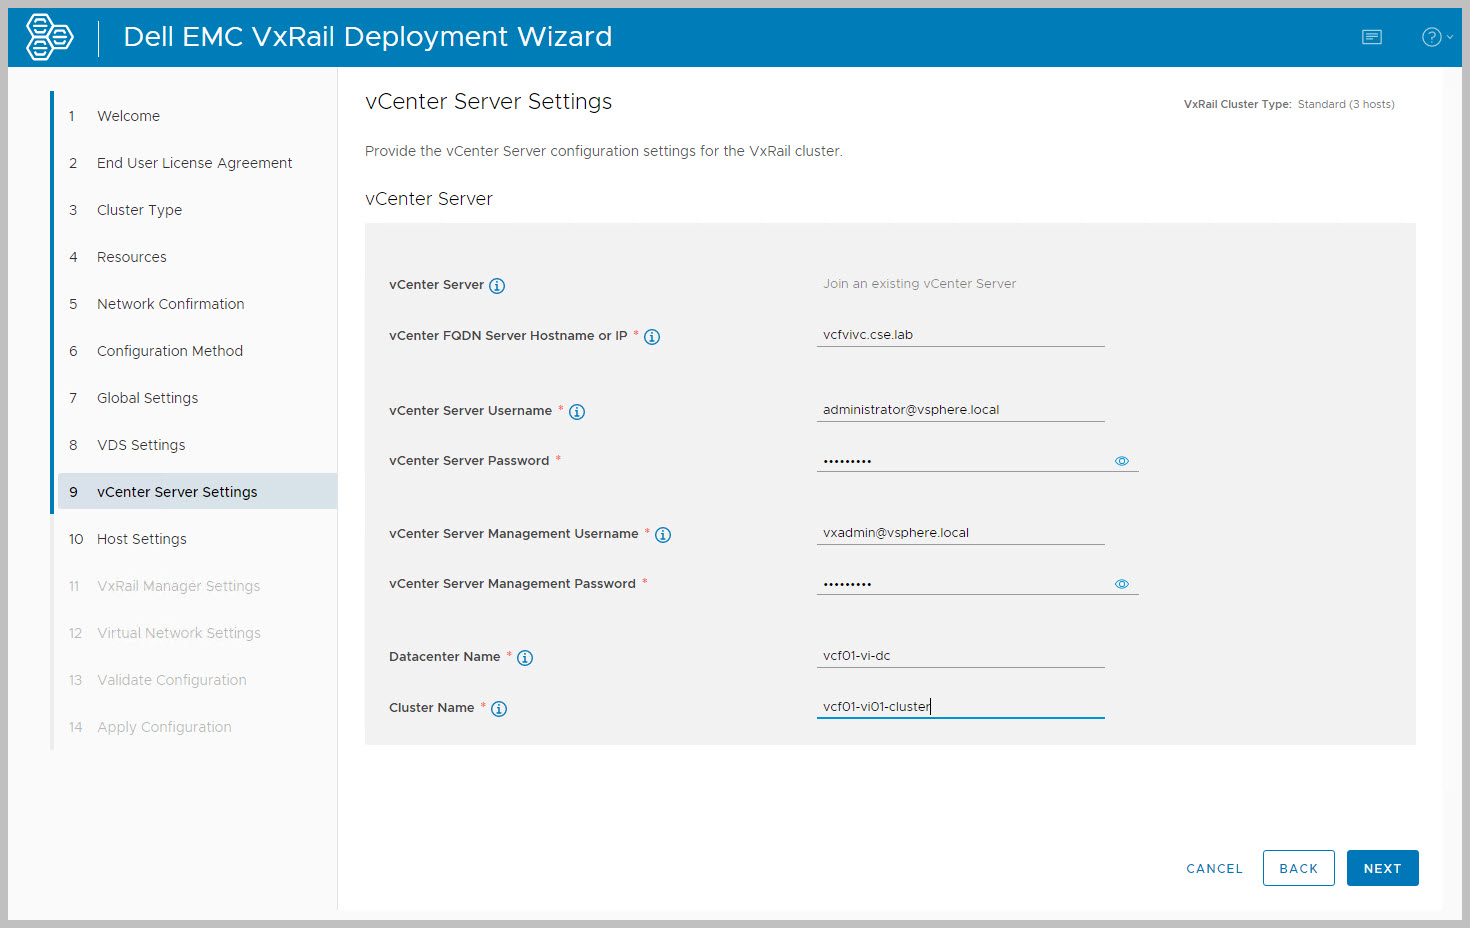
The VxRail bring-up of the VI WLD Cluster is similar to a standard VxRail bring-up with EXTERNAL vCenter being deployed by SDDC Manager as per above. Tasks include:
Create a VxRail Management account from VC UI
VxRail VI WLD cluster bring-up
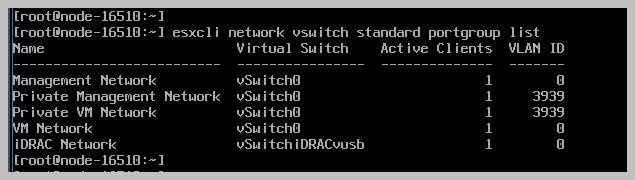
Rename VDS, vSAN
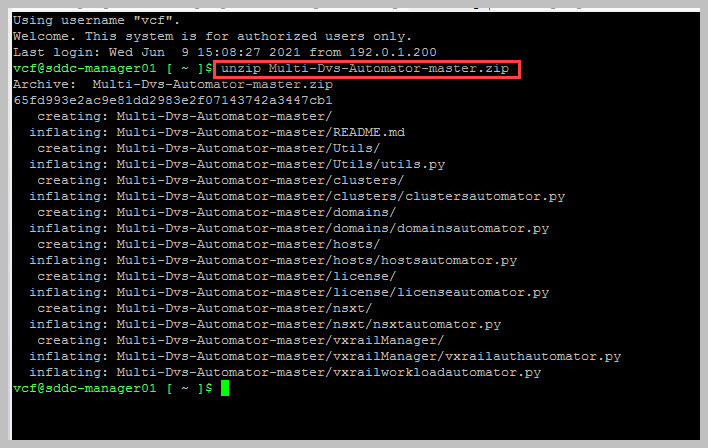
SDDC Manager – Multi-DVS Script
Begin by downloading the multi-dvs python script from within the SDDC Manager UI ‘Developer Center’, followed by using SCP to copy the script over to SDDC Manager /home/vcf/ directory and then performing an unzip action:
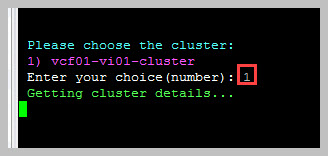
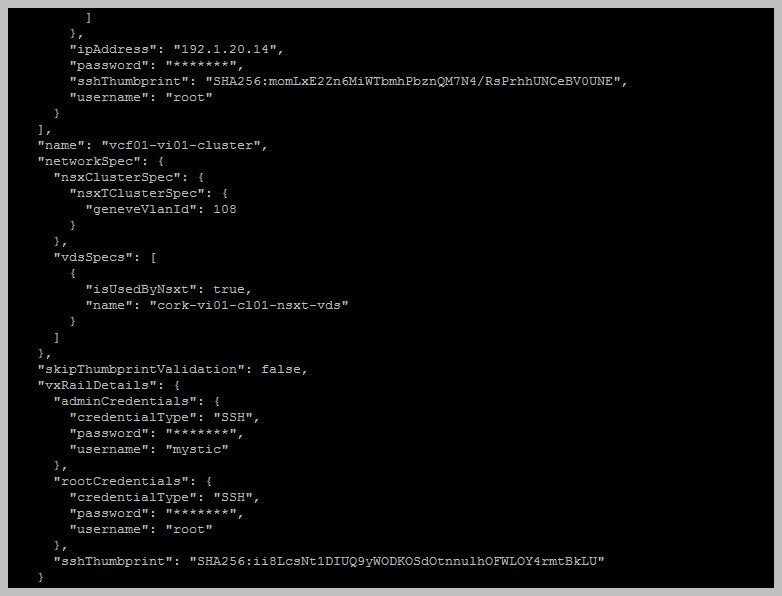
Next execute the python scrip from within the SDDC Manager terminal entering the required SSO Creds:
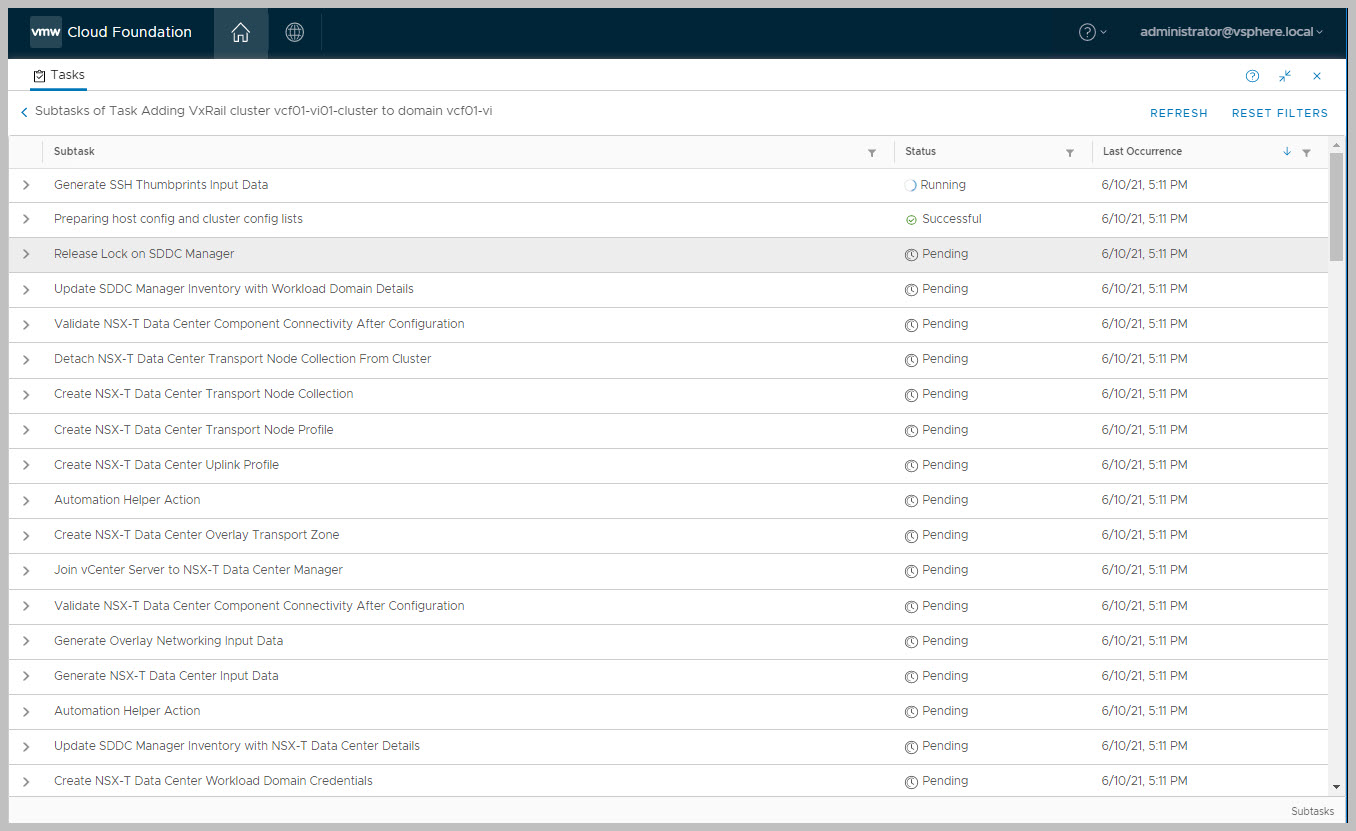
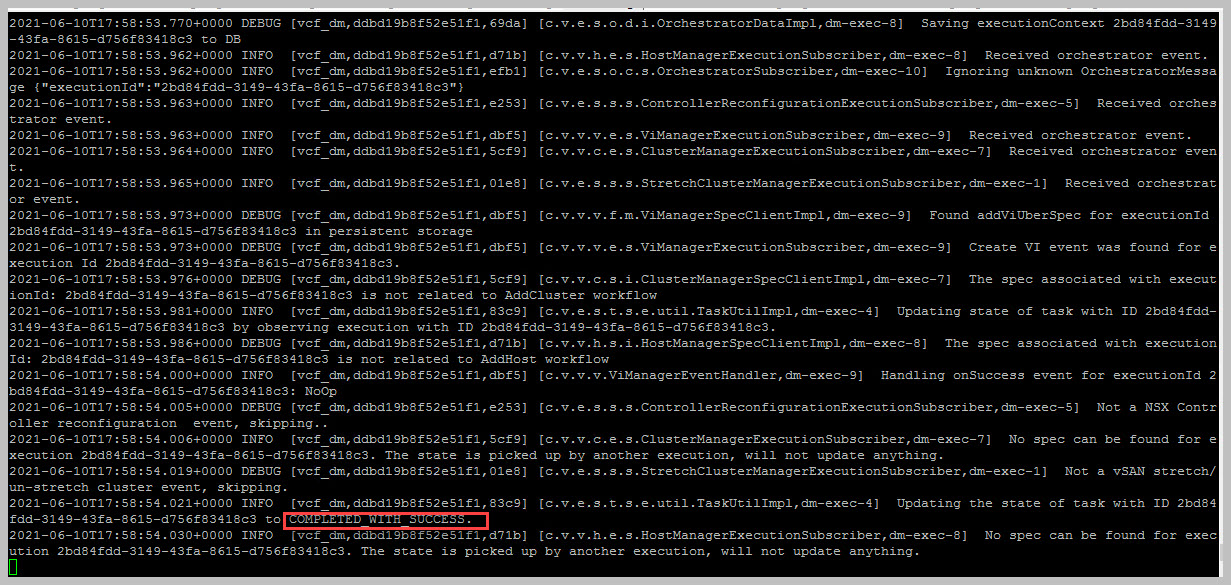
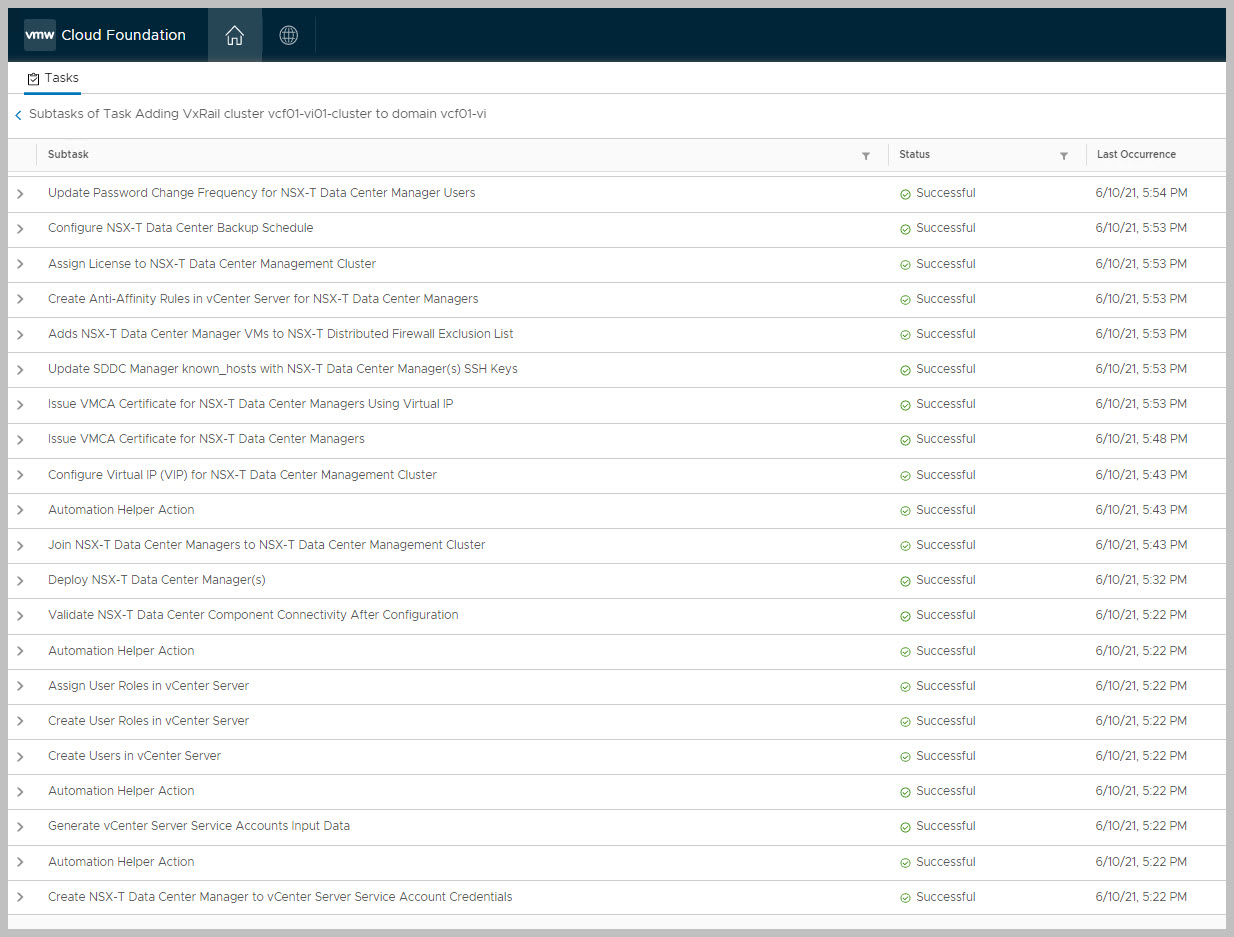
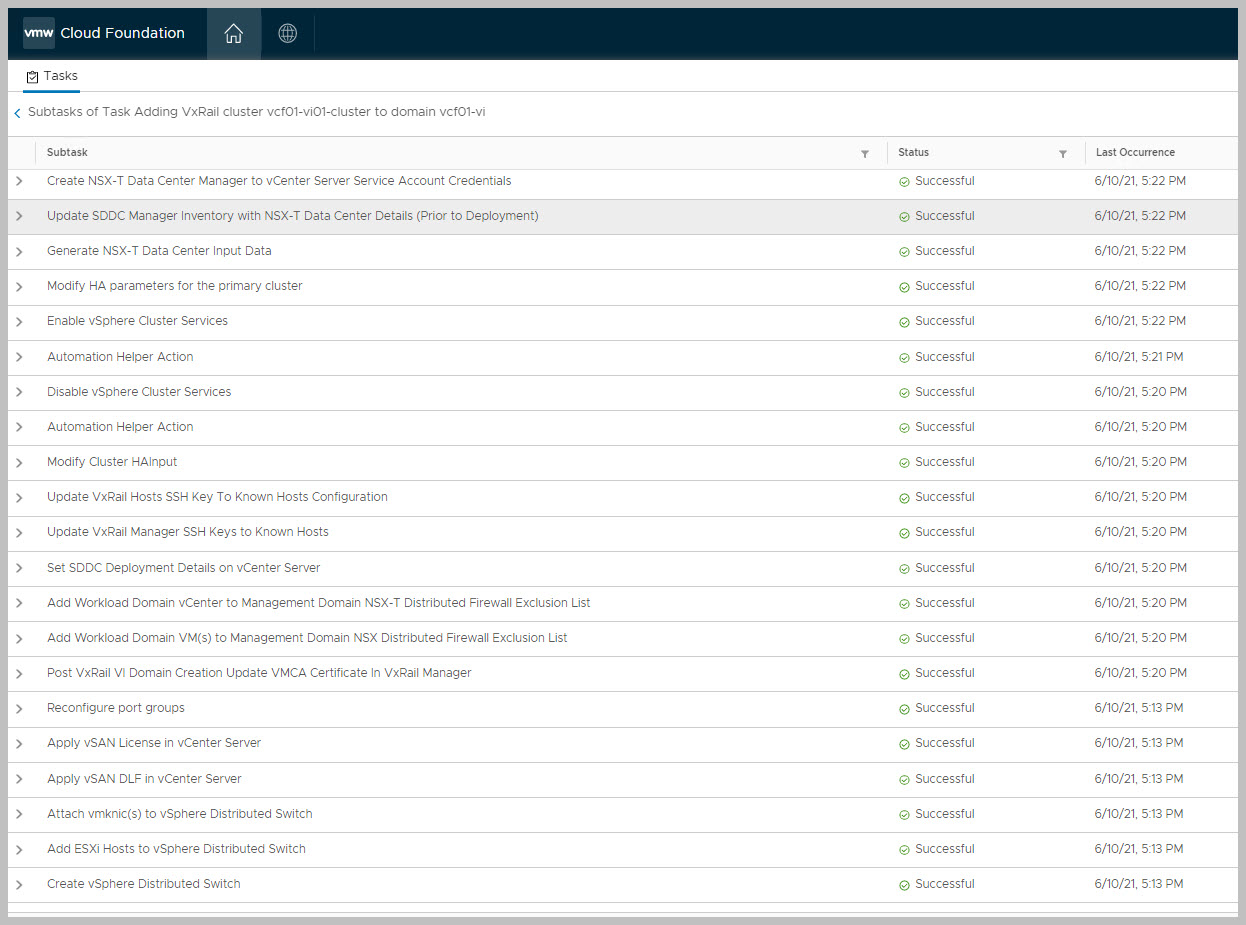
Now follow the prompts to enter all the required details for an NSX-T VI WLD deployment, which includes validation and execution with success and monitoring via SDDC UI and cli:
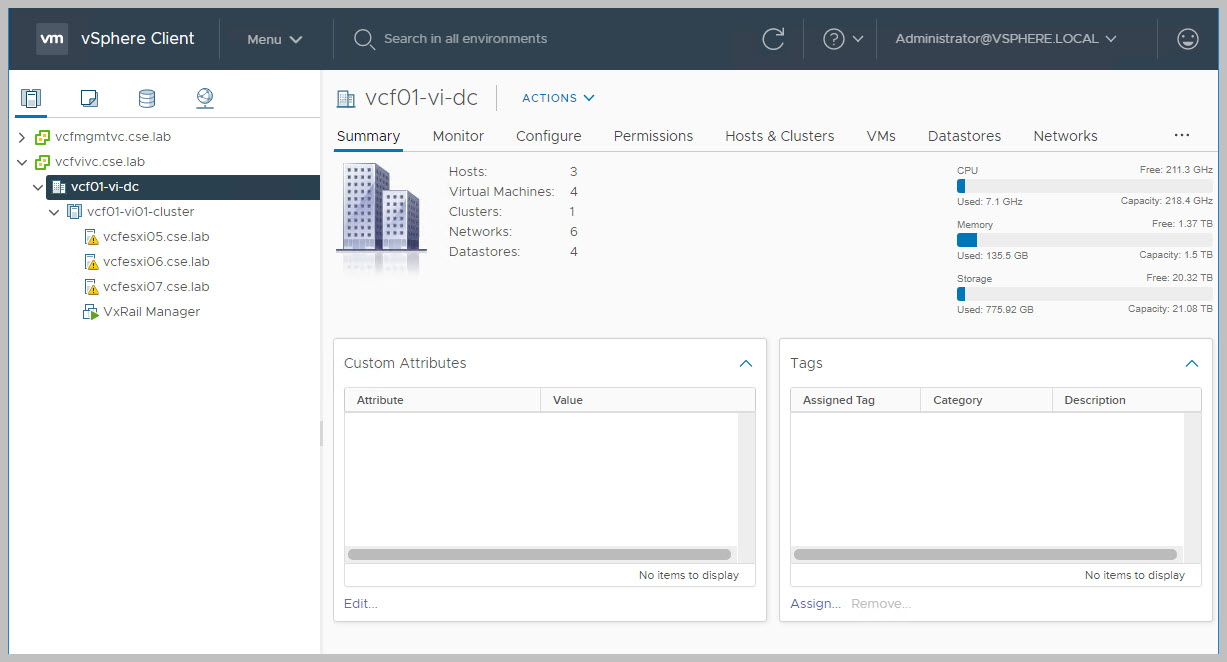
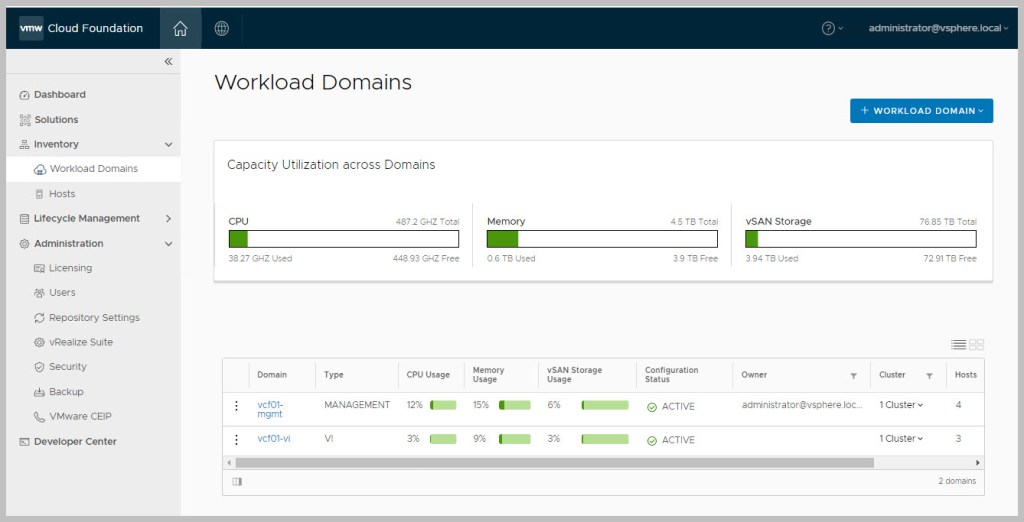
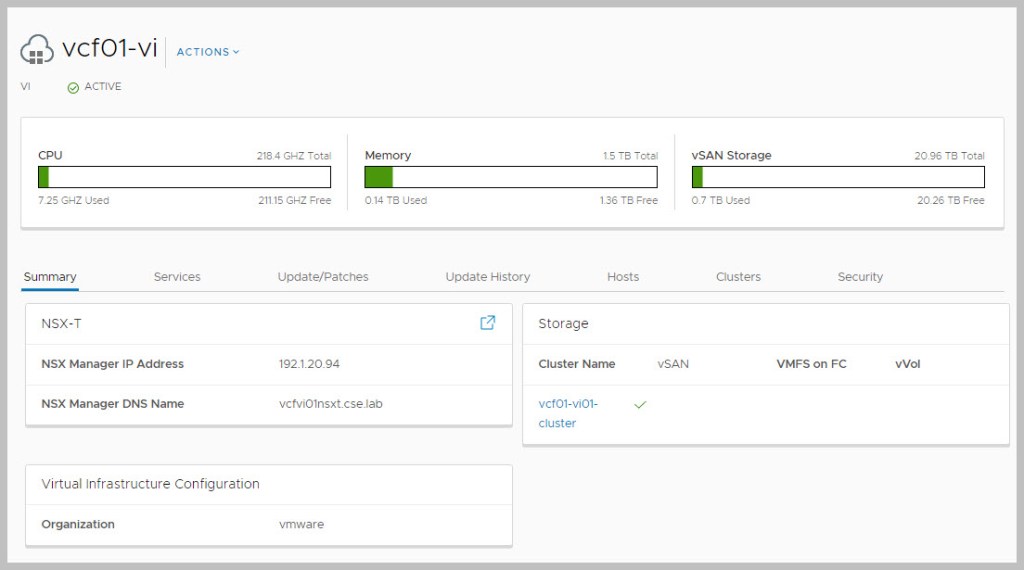
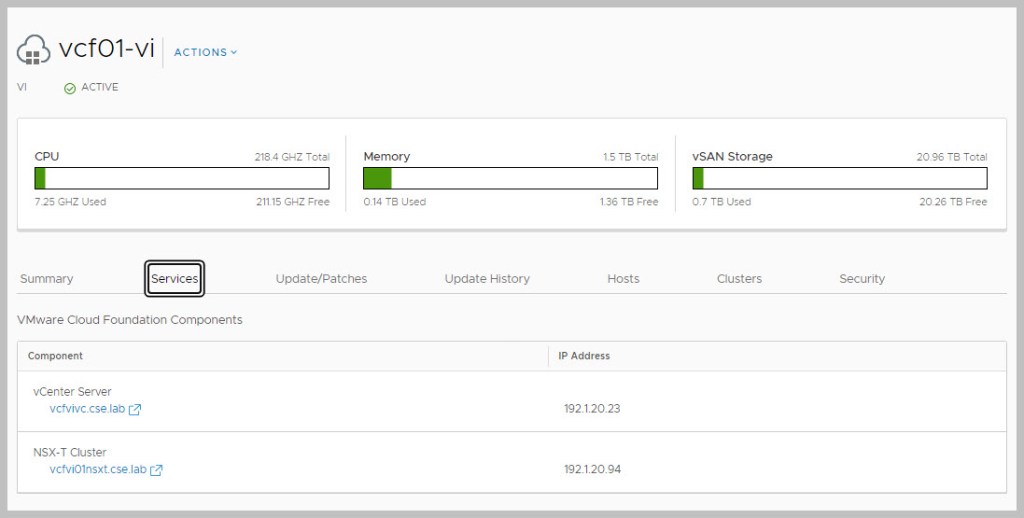
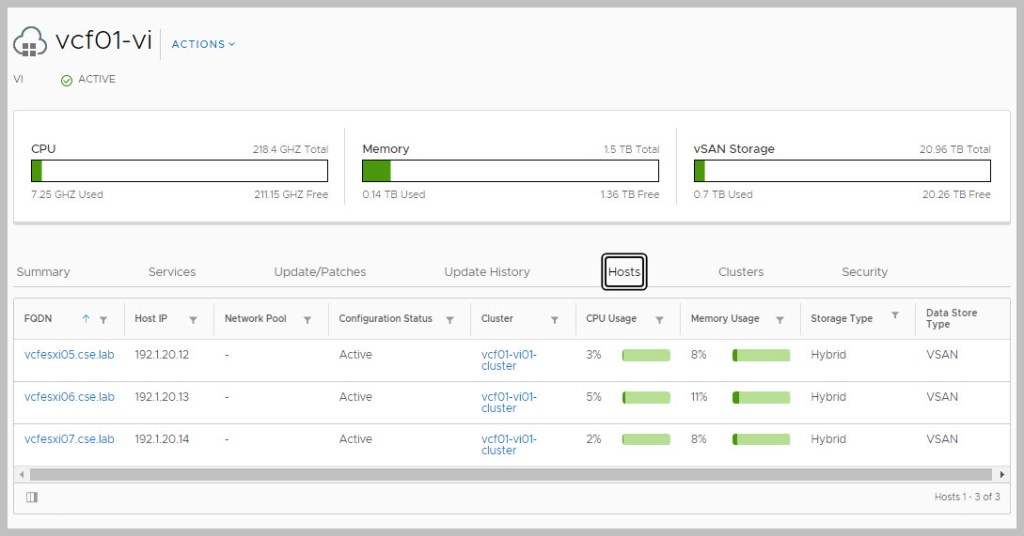
The NSX-T VI WLD is now deployed and active:
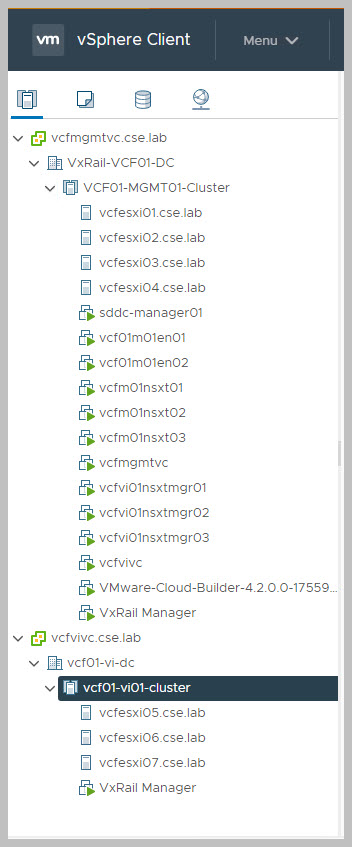
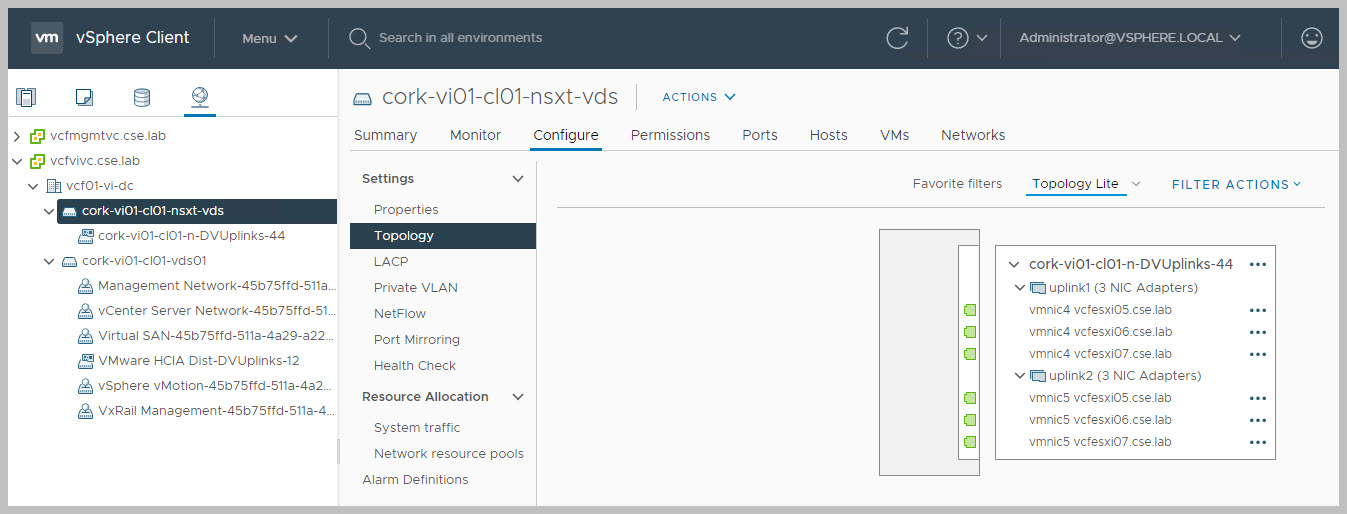
Form vCenter we can now see the 2x VDS architecture:
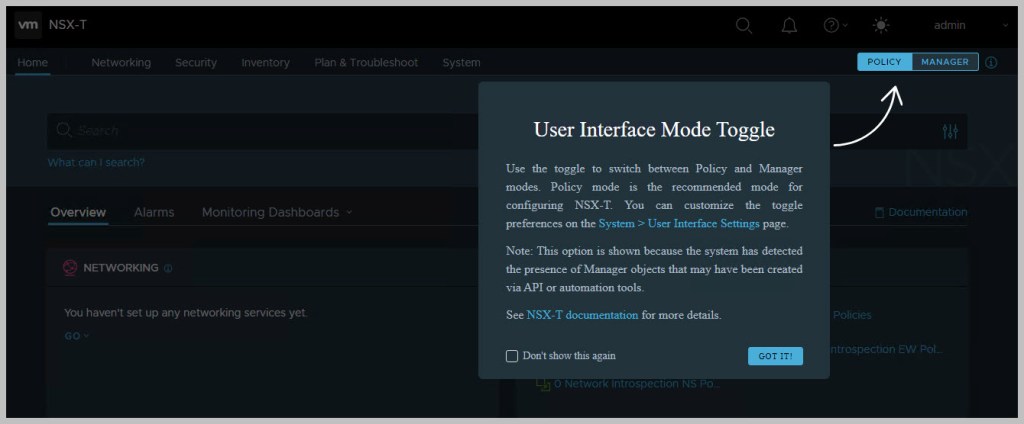
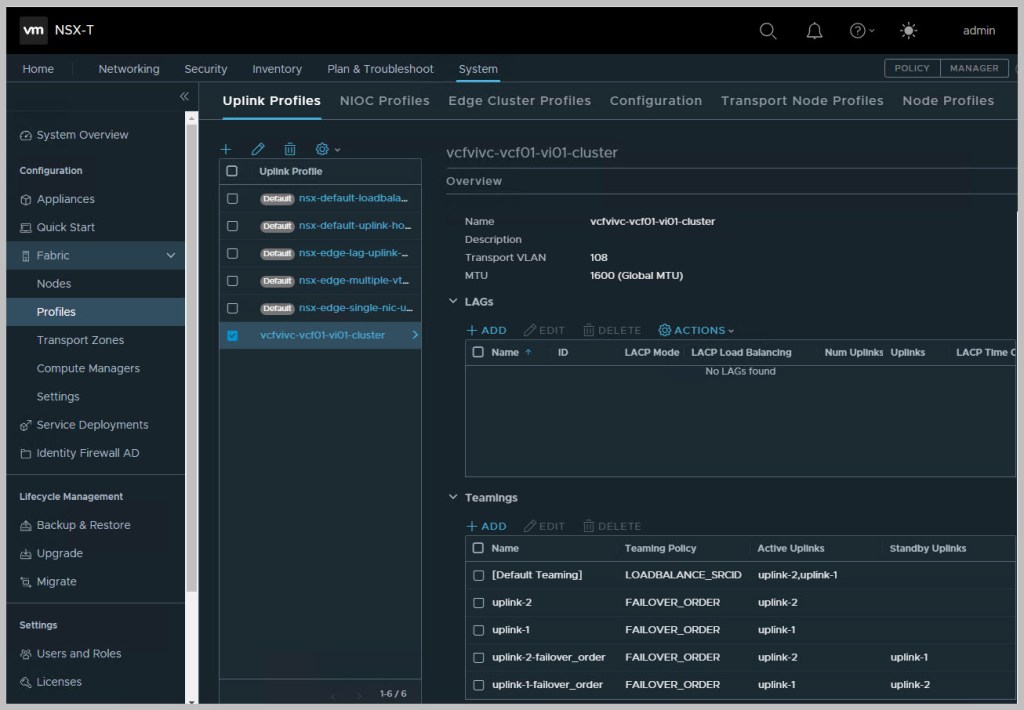
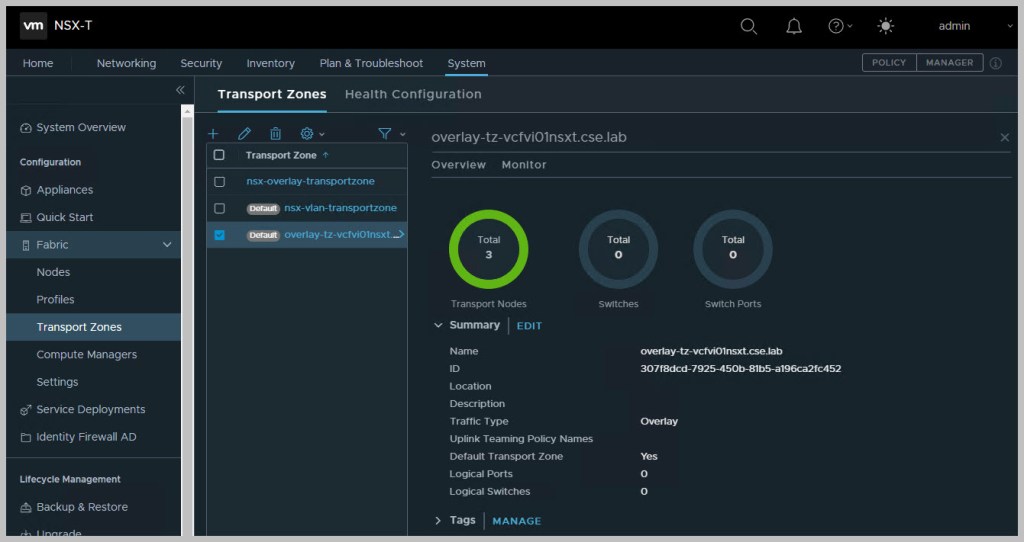
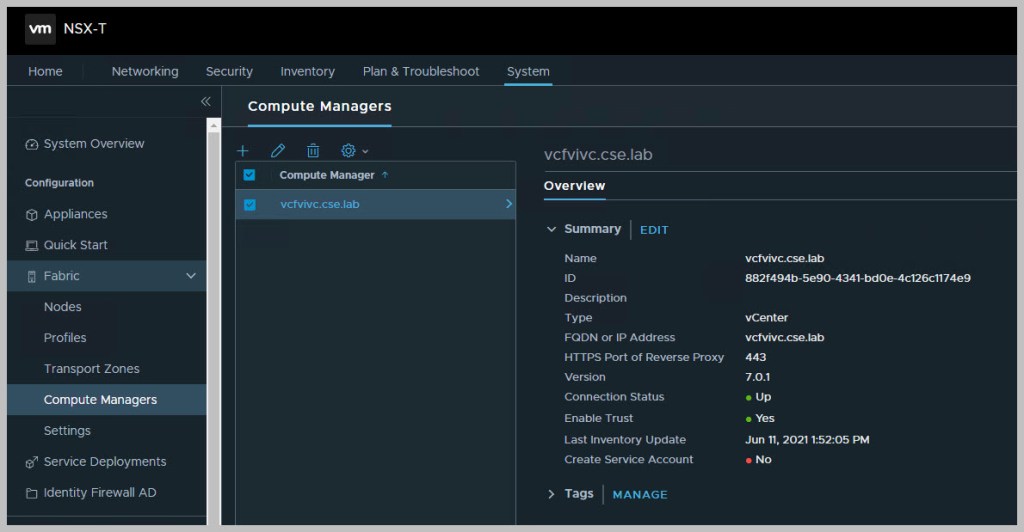
Finally logging into NSX-T Manager we can review the details of the deployment:
In Part3 I will walkthrough the deployment of an NSX-T Edge Cluster.
Note: this is an example for reference only please use the VxRail installation procedures provided by Dell EMC.


1 Comment »