vRealize Automation 7.1 – Create a Service & Entitlement (Part 5)
1. Create a ‘vSphere’ Machine Blueprint
VMware Machine Blueprint Definition: A blueprint that contains a machine component specifies the workflow used to provision a machine and includes information such as CPU, memory, and storage. Machine blueprints specify the workflow used to provision a machine and include additional provisioning information such as the locations of required disk images or virtualization platform objects. Blueprints also specify policies such as the lease period and can include networking and security components such as security groups, policies, or tags. Blueprints can be specific to a business group or shared among groups in a tenant, depending on the entitlements that are configured for the published blueprint. More detail on Blueprints here.
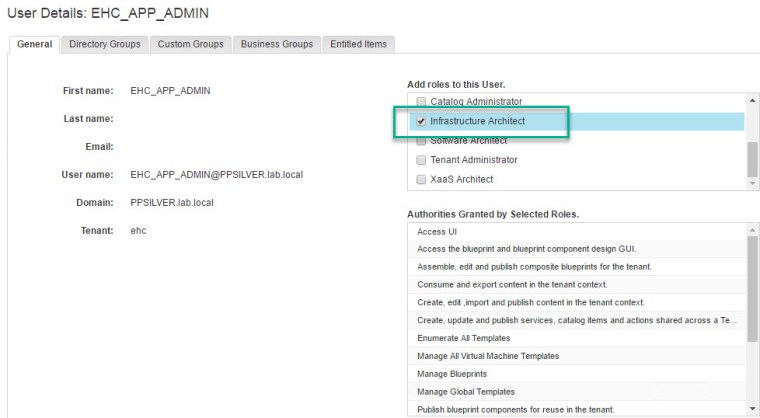
To create the Blueprint Login as a user who has the ‘Infrastructure Architect’ role assigned (Machine Blueprint capabilities):

Navigate to ‘Design->Blueprints’ and click ‘New’:

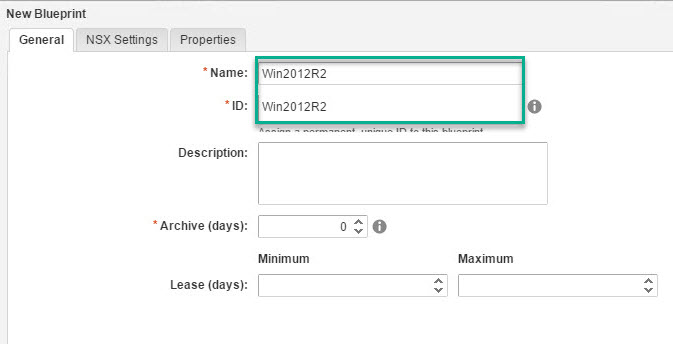
Enter a ‘Name’ & ‘ID’ for the new blueprint:
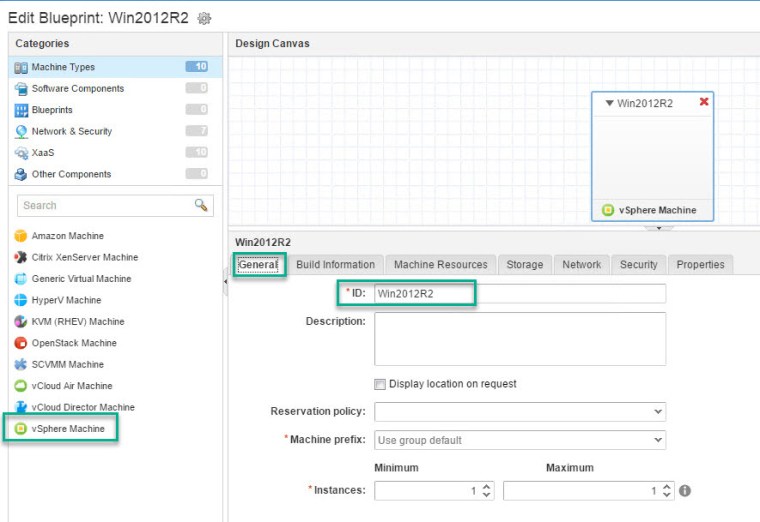
Click ‘Machine Types’ select ‘vSphere Machine’ and drag to the canvas:
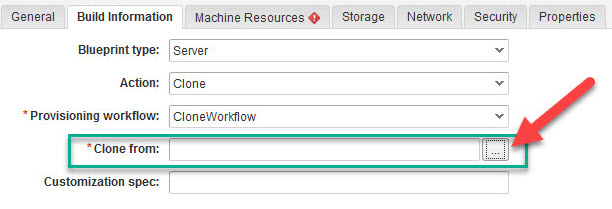
In the build info tab chose the relevant options and click on the ‘clone from’ ellipsis:
Select the appropriate template:

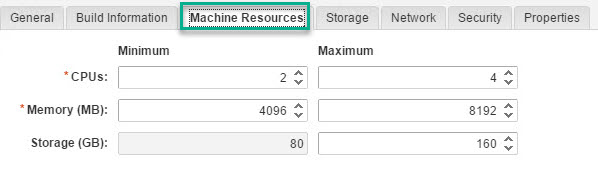
Chose the allowed ‘Min’ and ‘Max’ specs, these will be the allowed specifications for a user to choose when provisioning a new virtual machine from the catalog:
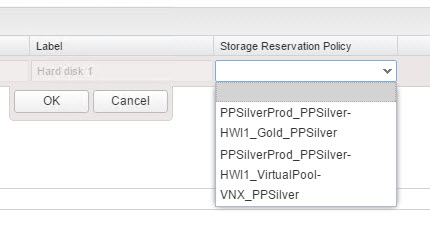
Set the VM disk configuration:

You may also set the ‘Storage Reservation Policy’ for the blueprint, this dictates the storage type used for each virtual disk, by selecting the check box ‘Allow users to see and change storage reservation policies’ it allows business group user to reconfigure the storage policies when provisioning a new VM:

After you click ‘finish’ select the new blueprint and click ‘Publish’:

Published Blueprint!:

The blueprint is now published as a catalog item, the next step will show how to configure this catalog item in order to make it available to users in the service catalog.
2. Configure the New Catalog Item
The following steps show how to customize the new catalog item with an appropriate icon, add the blueprint to the catalog service ‘Windows Servers’ (created in the previous post), change the catalog item status to ‘active’ and display the entitlements inherited from the catalog service.
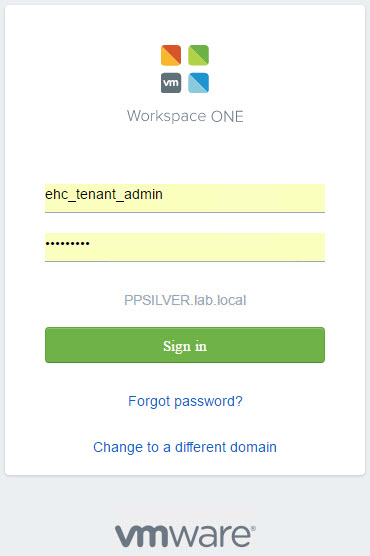
Login as a Tenant Admin or a user that holds the Catalog Admin role:
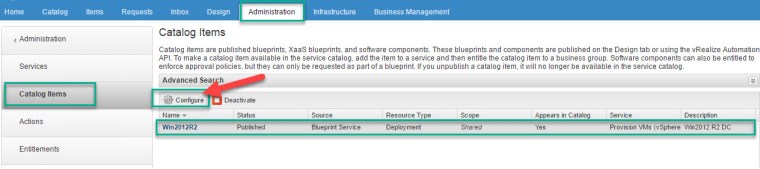
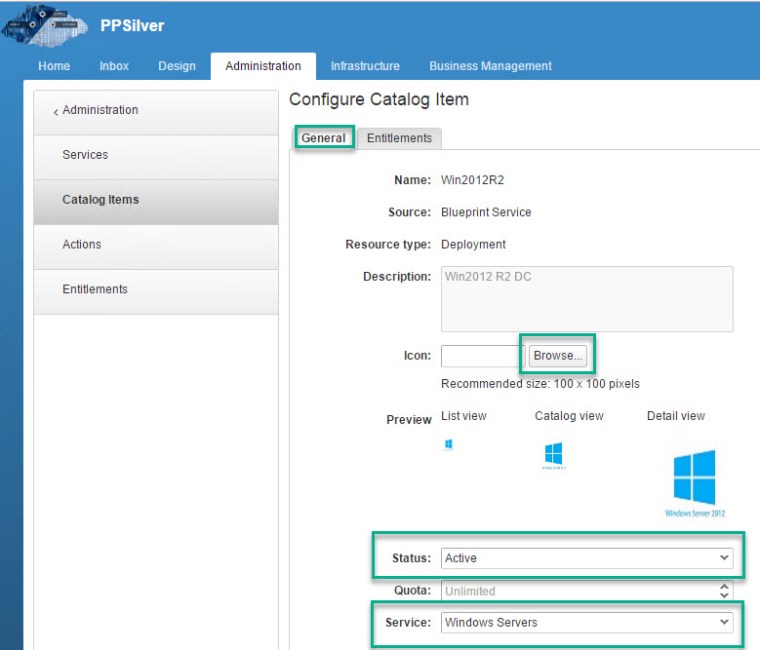
Navigate to ‘Administration->Catalog Management->Catalog Items’ click on the new item and click ‘configure’:
Next click ‘Browse’ and replace with an appropriate image for the catalog item (supported image file types are GIF, JPG, and PNG), set the status to active and choose the catalog service:
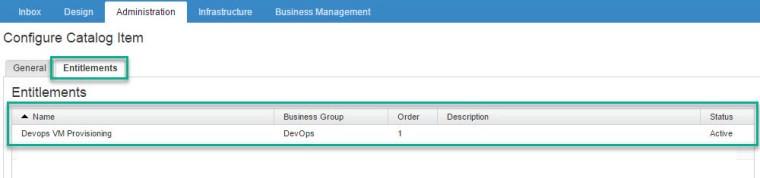
The entire service category has entitlements set per previous post, which entitles all of the catalog items in that service, including items that are added to the service after you create the entitlement:
Catalog Item configuration completed! Next to login as an entitled user e.g ‘devops_user’ and provision the first VM from the service catalog ‘ppsilver-win001’
3. Provision the first Virtual Machine:
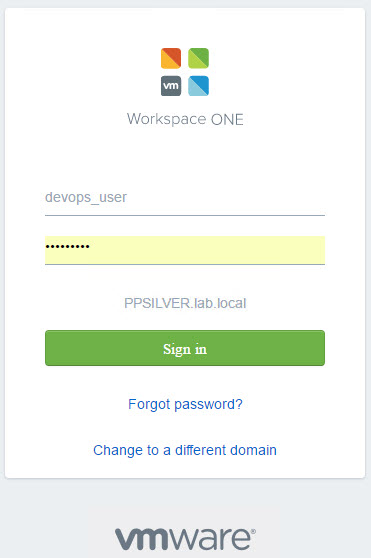
Login as an entitled user ‘devops_user’:
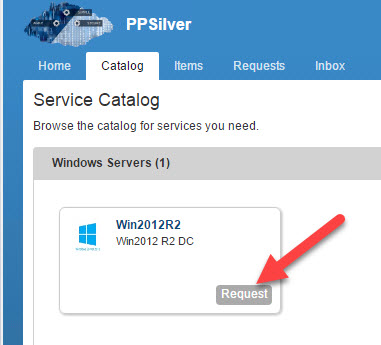
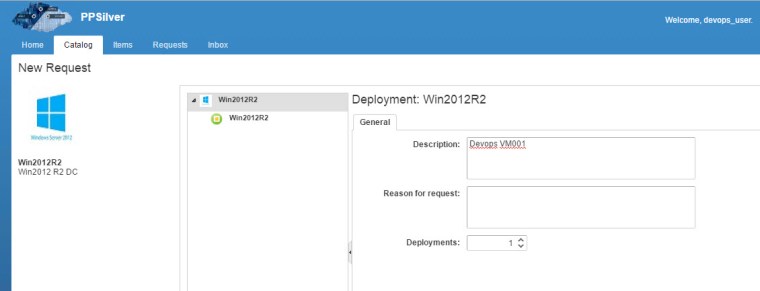
Request VM ‘Win2012R2’ from the service catalog:
Provide a description:
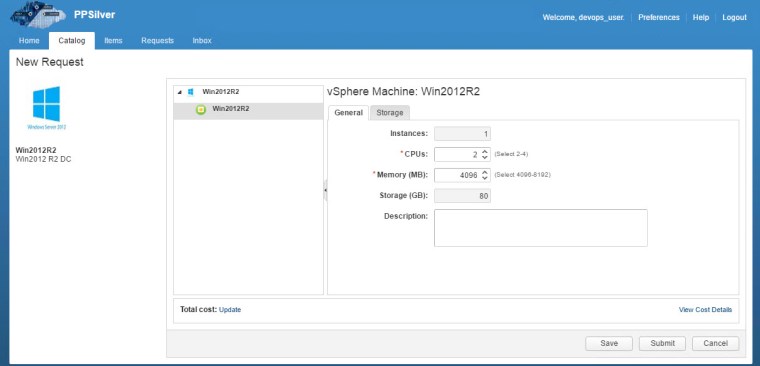
Choose your CPU & Memory counts.
Note: the min and max options are stated in ‘(select ..)’.
Click ‘Submit’:

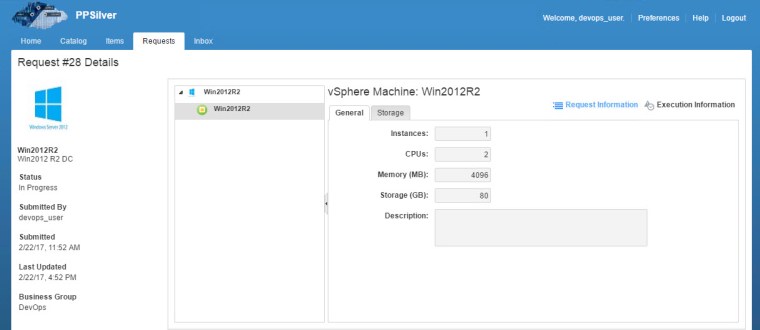
Monitor the progress:

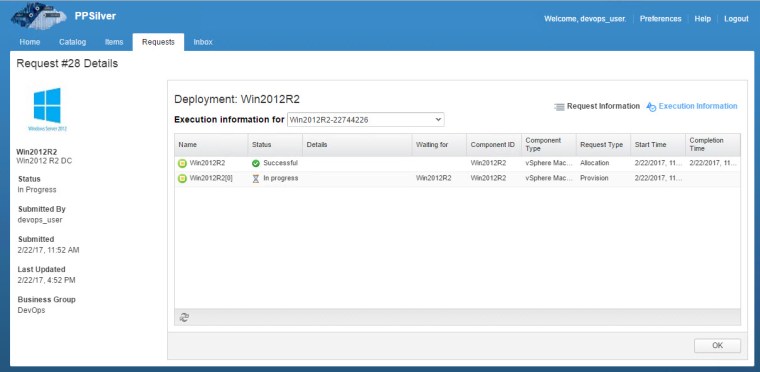

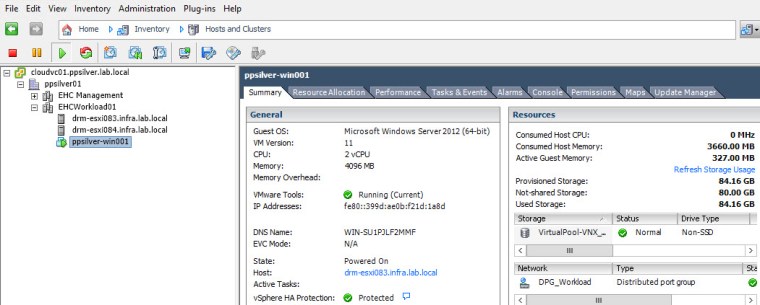
First VM successfuly provisioned!:


how to do these all in rest api?