VxRail
VxRail 7.0 – Install Notes
For VxRail 4.7 please see earlier post: VxRail 4.7 – Install Notes Note: this is an example for reference only please use the VxRail installation procedures provided by Dell EMC. […]
Virtualization & Storage

For VxRail 4.7 please see earlier post: VxRail 4.7 – Install Notes Note: this is an example for reference only please use the VxRail installation procedures provided by Dell EMC. […]
For VxRail 4.7 please see earlier post:
Note: this is an example for reference only please use the VxRail installation procedures provided by Dell EMC.
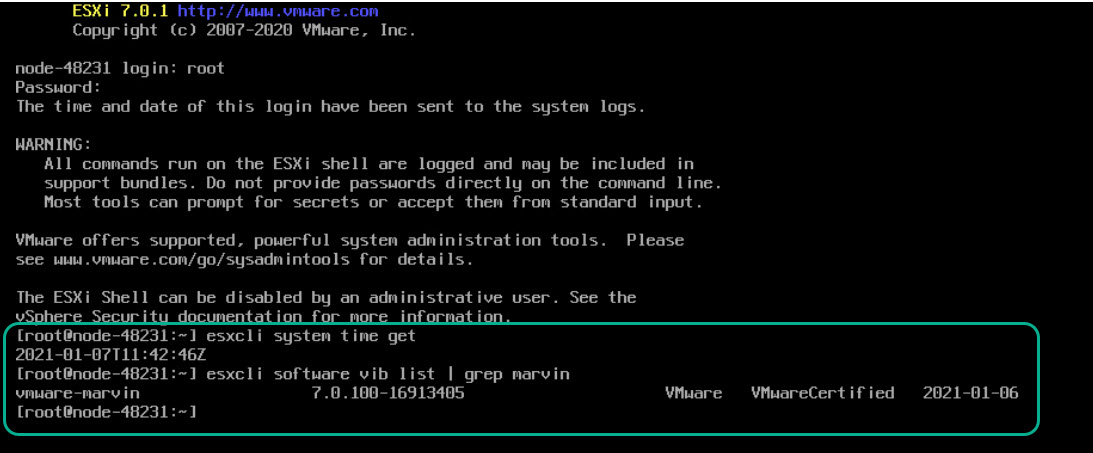
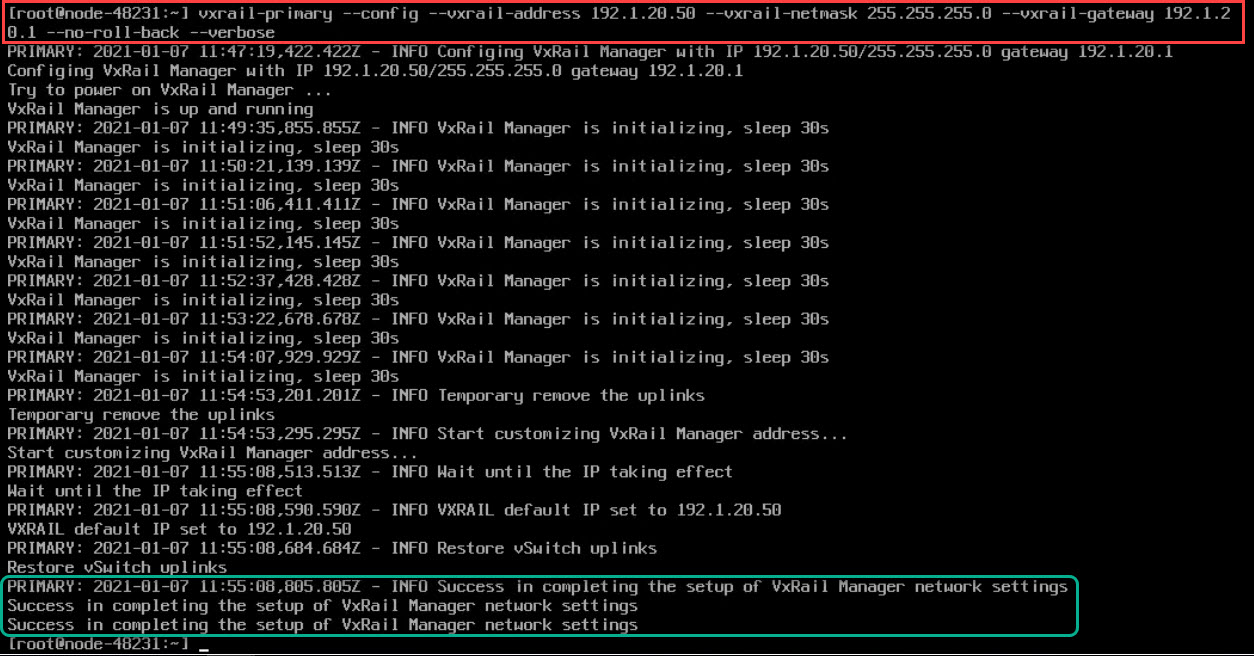
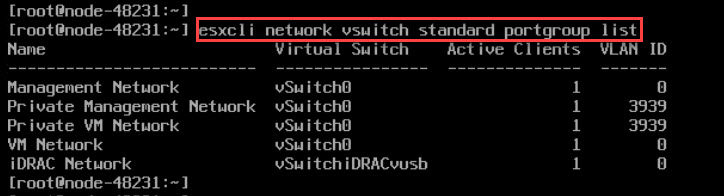
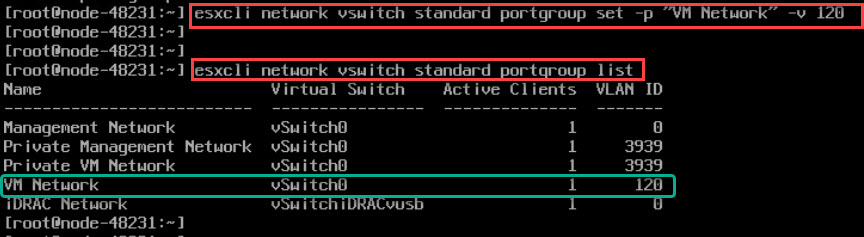
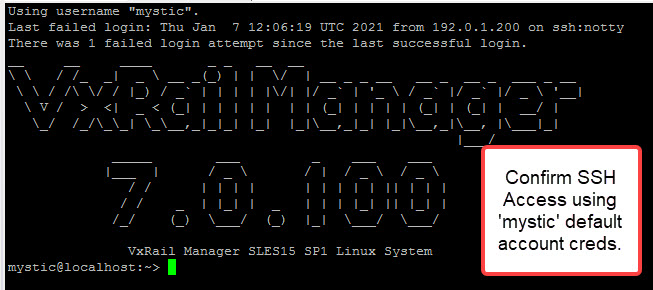
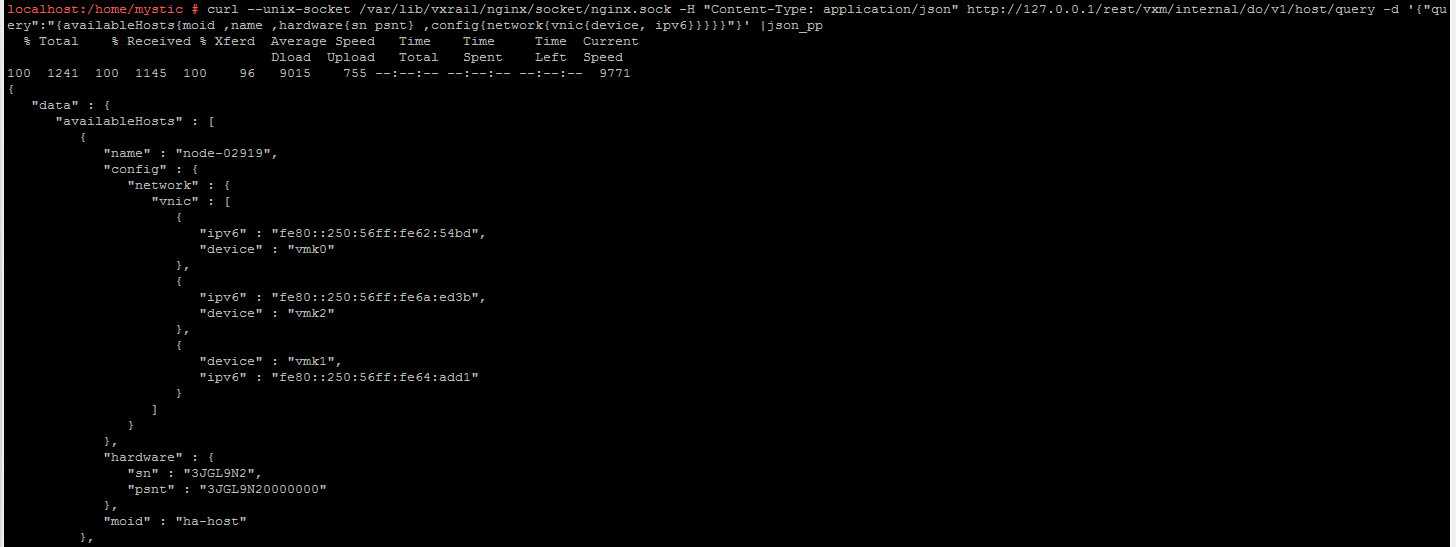
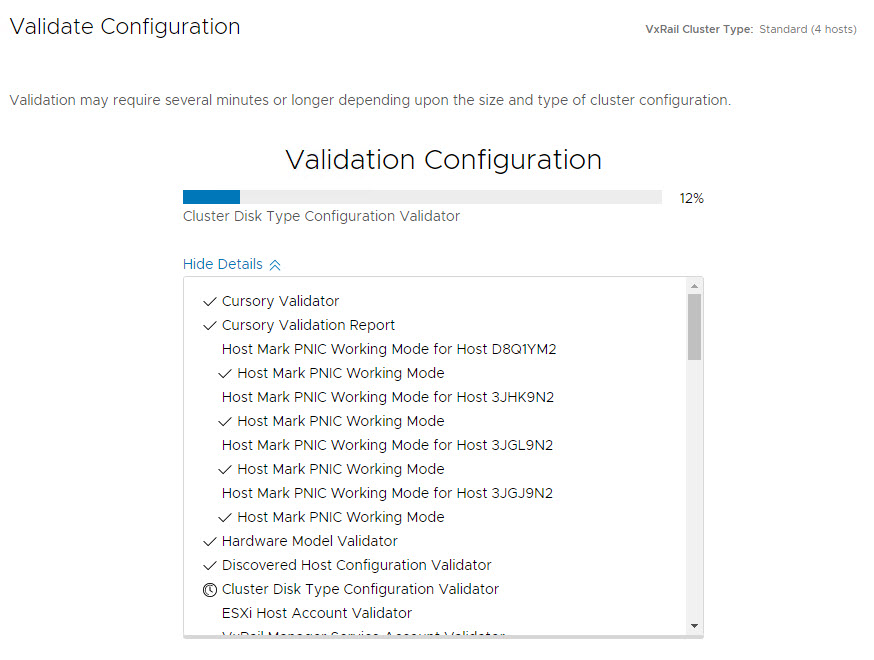
esxcli software vib list | grep marvinvxrail-primary --config --vxrail-address 192.1.20.50 --vxrail-netmask 255.255.255.0 --vxrail-gateway 192.1.20.1 --no-roll-back --verboseesxcli vm process listesxcli network vswitch standard portgroup listesxcli network vswitch standard portgroup set -p "VM Network" -v 120/etc/init.d/loudmouth restartsystemctl restart vmware-loudmouthCheck that VxRail Manager can discover available ESXi hosts; login to the VxRail Manager vm via SSH and run the following commands:
/usr/lib/vmware-loudmouth/bin/loudmouthc query | grep -o "applianceID=..............." | sort/usr/lib/vmware-loudmouth/bin/loudmouthc query | egrep -o "EMC........-..|..............-..-.." | sed 's/ {"//g' | sortcurl --unix-socket /var/lib/vxrail/nginx/socket/nginx.sock -H "Content-Type: application/json" http://127.0.0.1/rest/vxm/internal/do/v1/host/query -d '{"query":"{availableHosts{moid ,name ,hardware{sn psnt} ,config{network{vnic{device, ipv6}}}}}"}' |json_ppesxcli network nic list esxcli network vswitch standard list
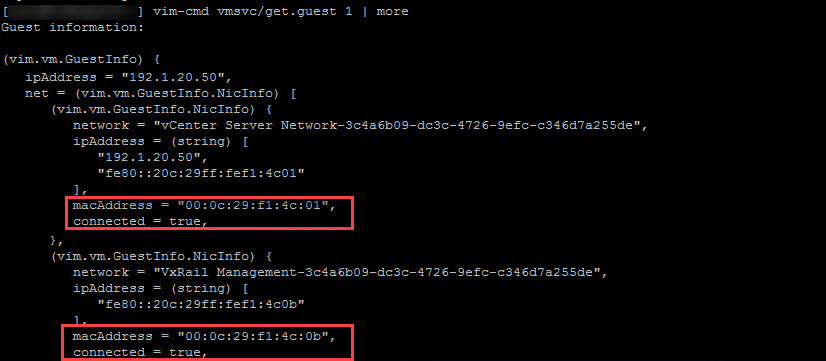
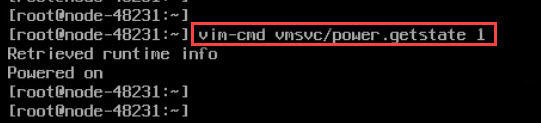
vim-cmd vmsvc/get.guest vmid | moreshow mac-address-table!
interface Vlan 120
ip address 192.1.20.1/24
tagged TenGigabitEthernet 1/1-1/32
no shutdown
!
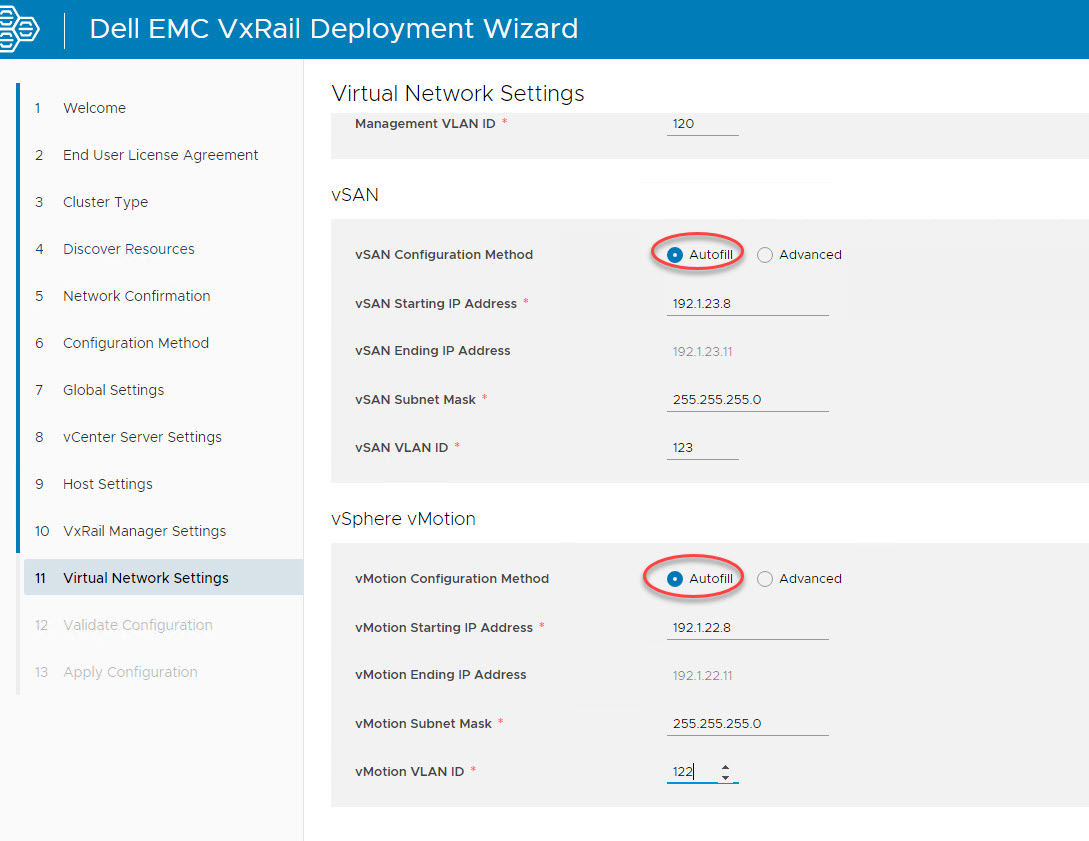
interface Vlan 122
ip address 192.1.22.1/24
tagged TenGigabitEthernet 1/1-1/32
no shutdown
!
interface Vlan 123
ip address 192.1.23.1/24
tagged TenGigabitEthernet 1/1-1/32
no shutdown
!
interface Vlan 3939
no ip address
tagged TenGigabitEthernet 1/1-1/32
no shutdown
!
Note On Cabling: For VxRail nodes with RJ45 NICs use Cat 6 or higher Ethernet cables. In the case of nodes with SFP+, SFP28, or QSFP28 NICs for Twinax connectivity use supported Twinax Direct-Attach-Copper cables with SFP+, SFP28, or QSFP28 connectors and in the case of FC use supported fiber cables SFP+, SFP28, QSFP28 optical transceivers.
VxRail Software used in this example: 7.0.100 build 16850804
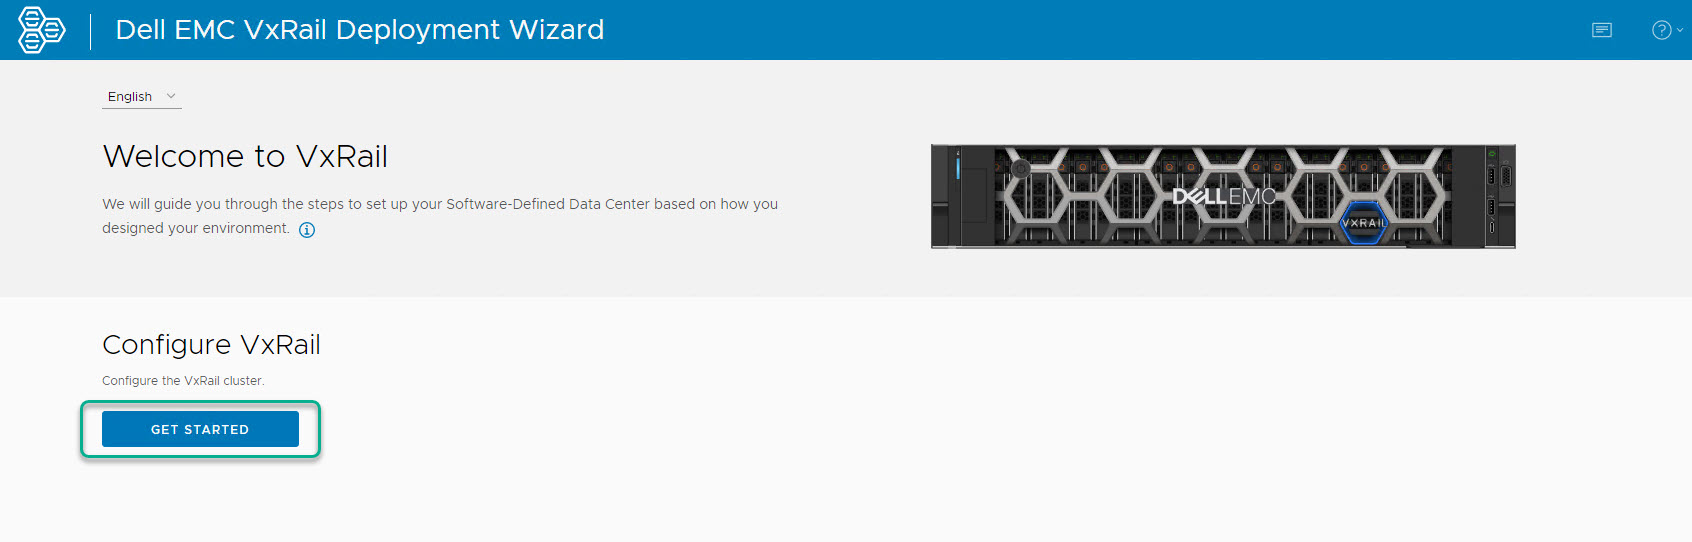
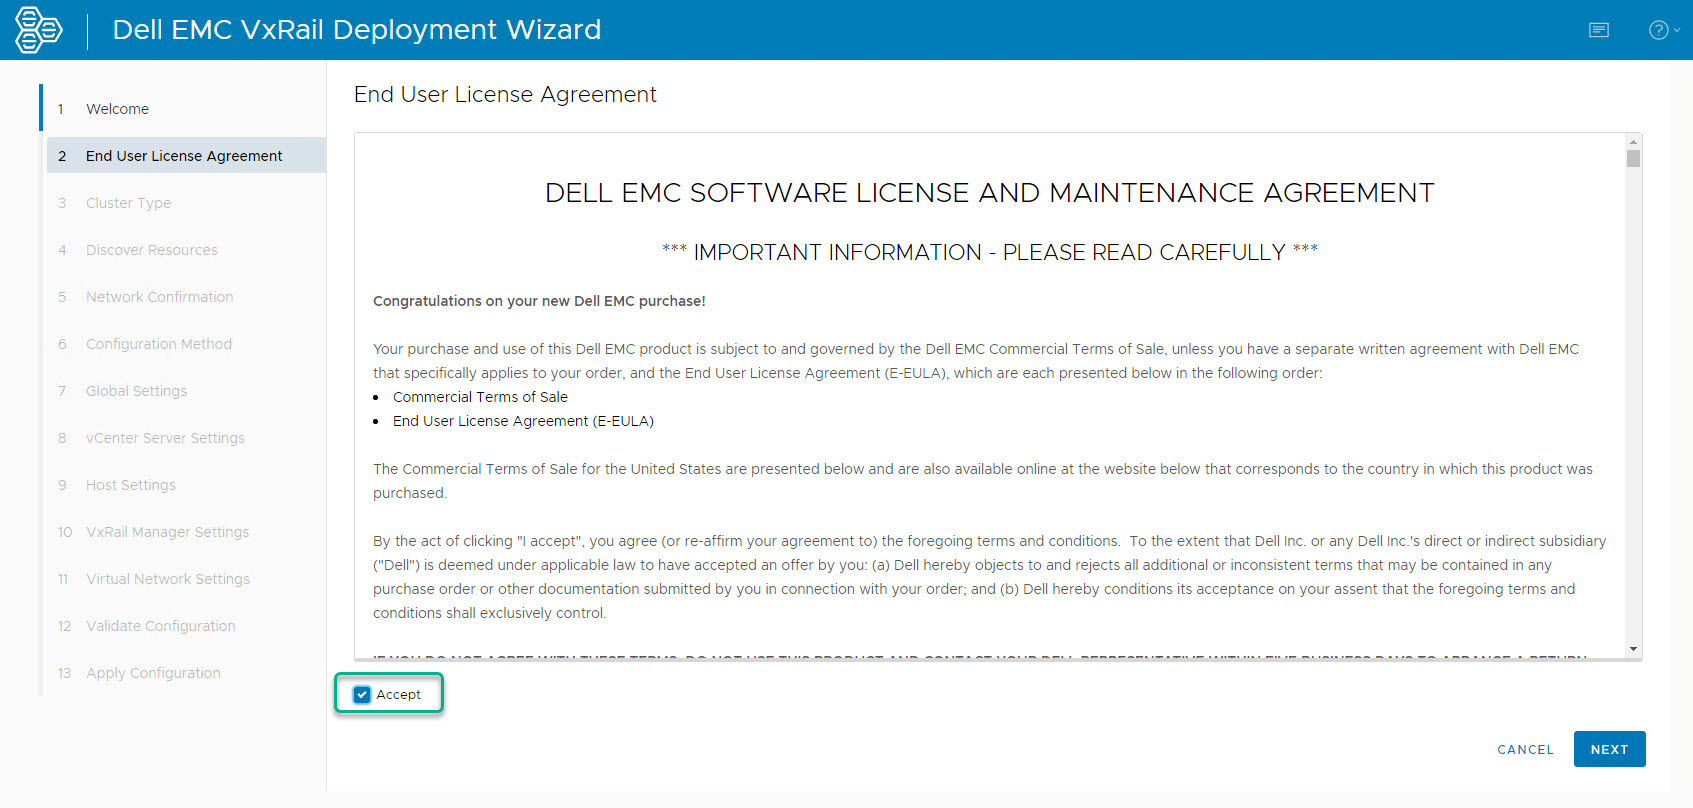
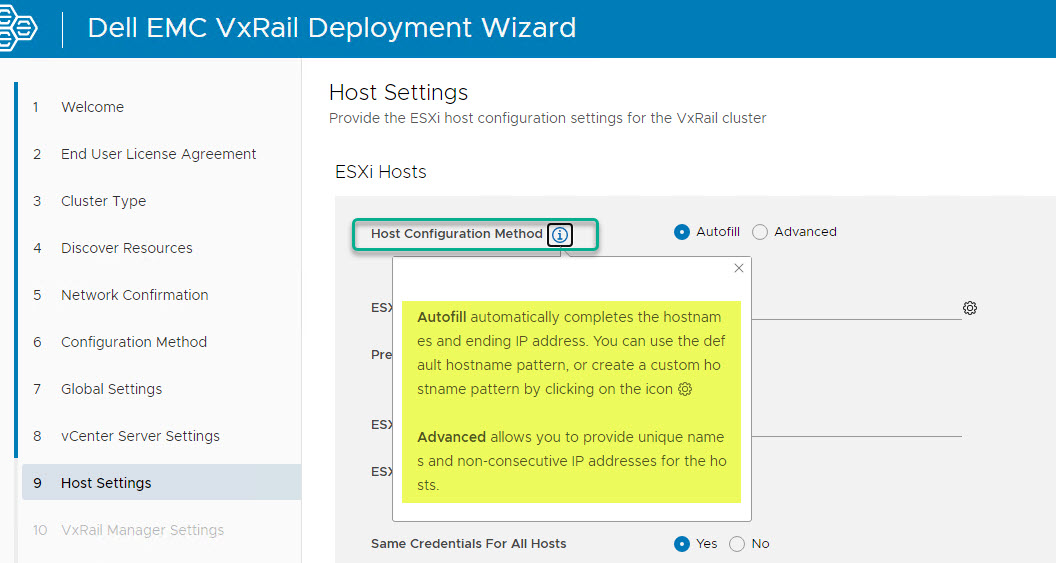
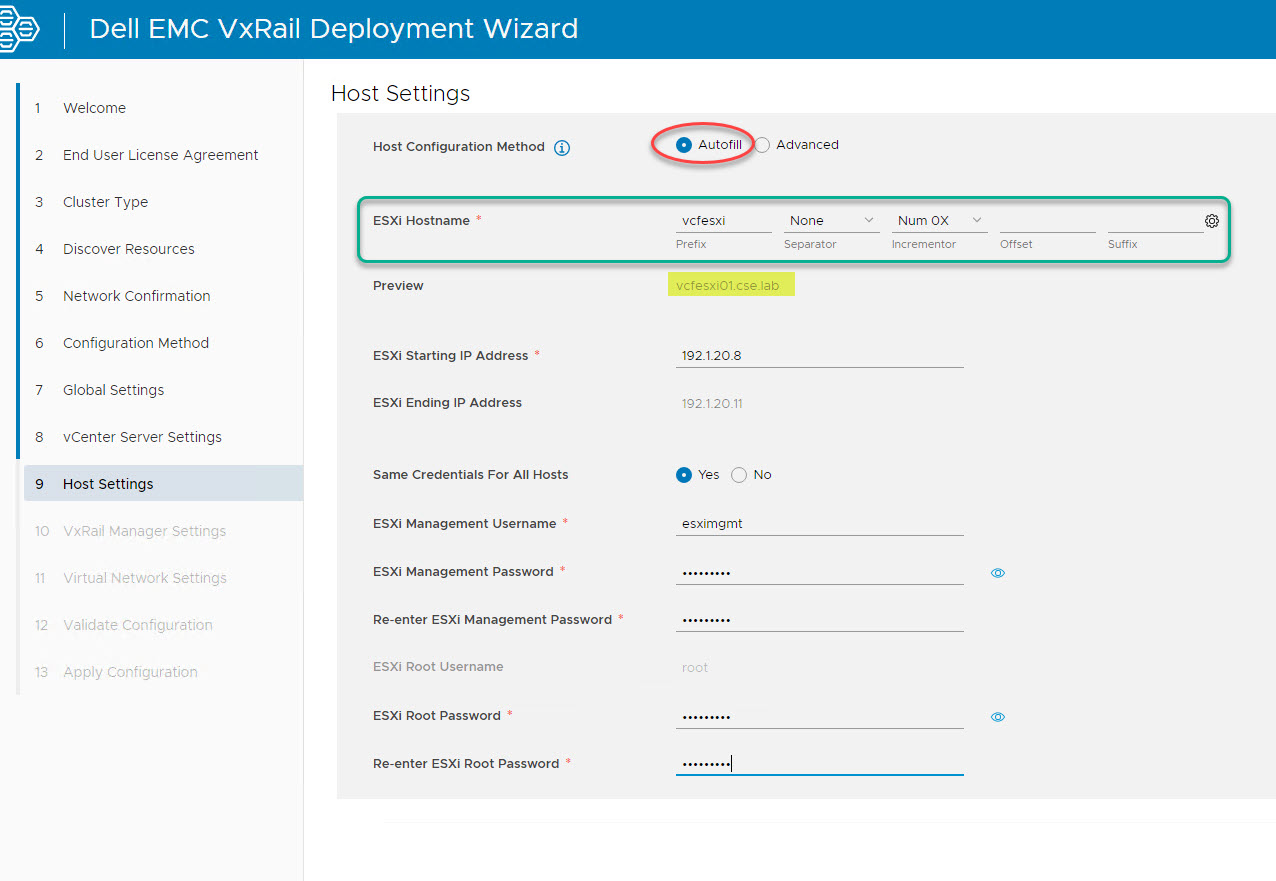
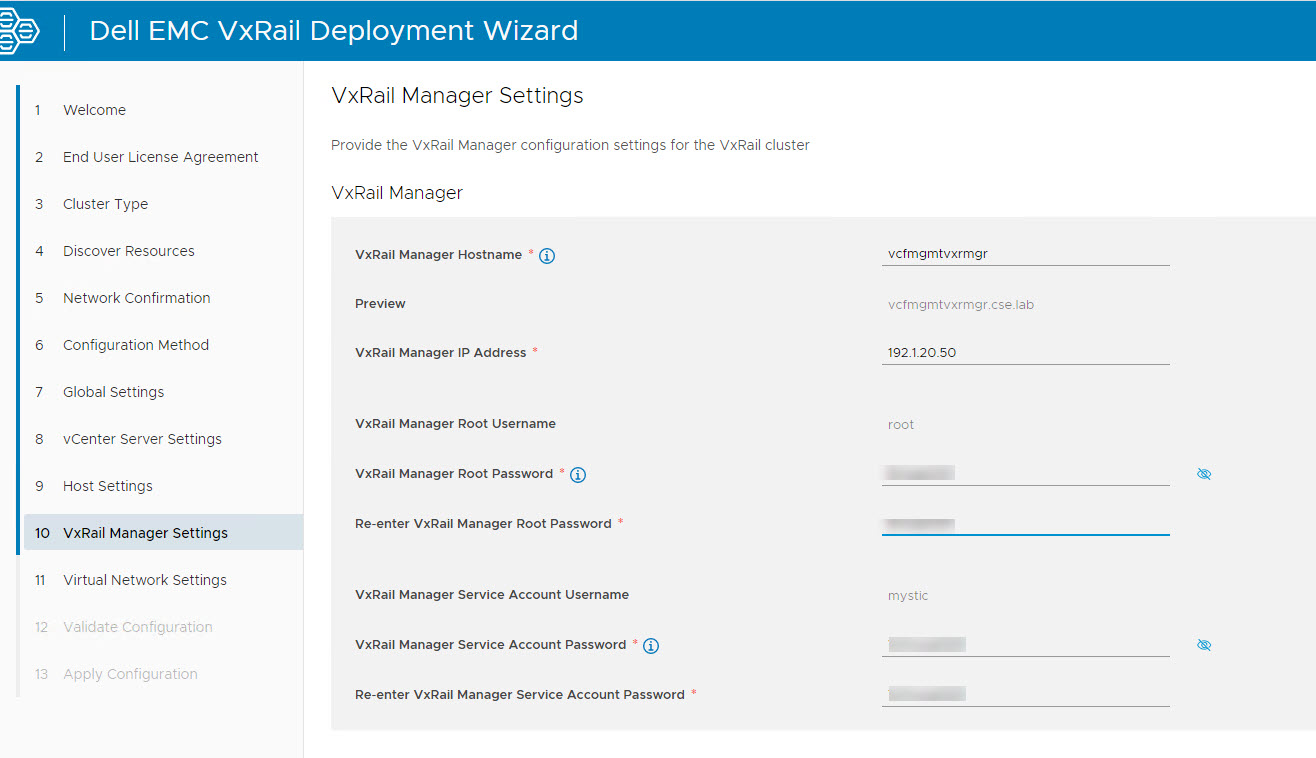
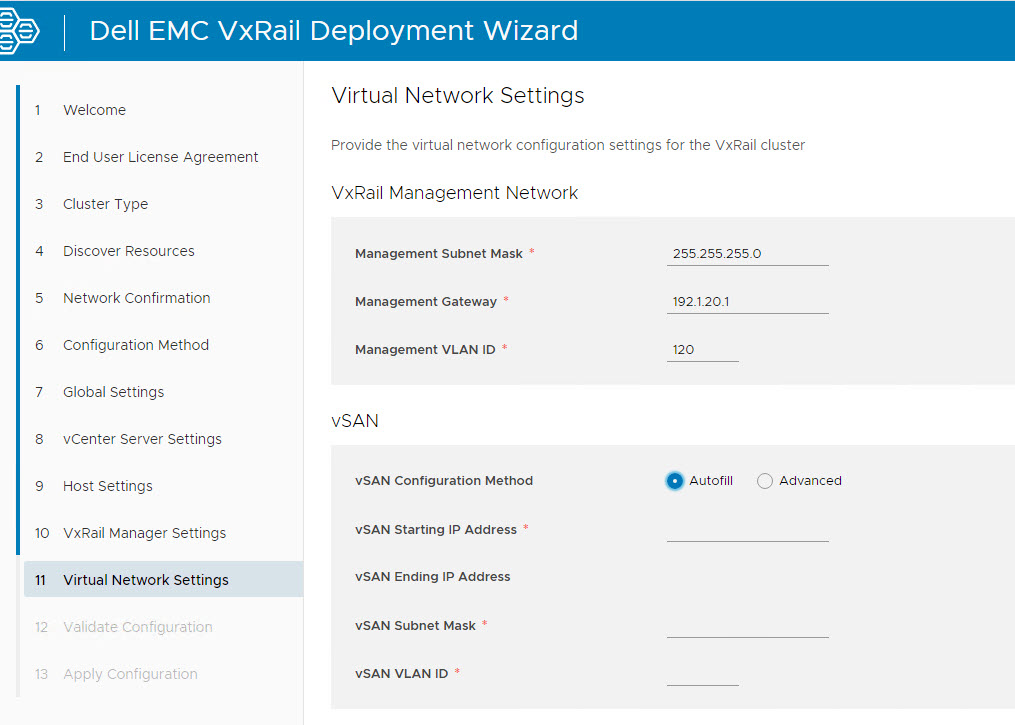
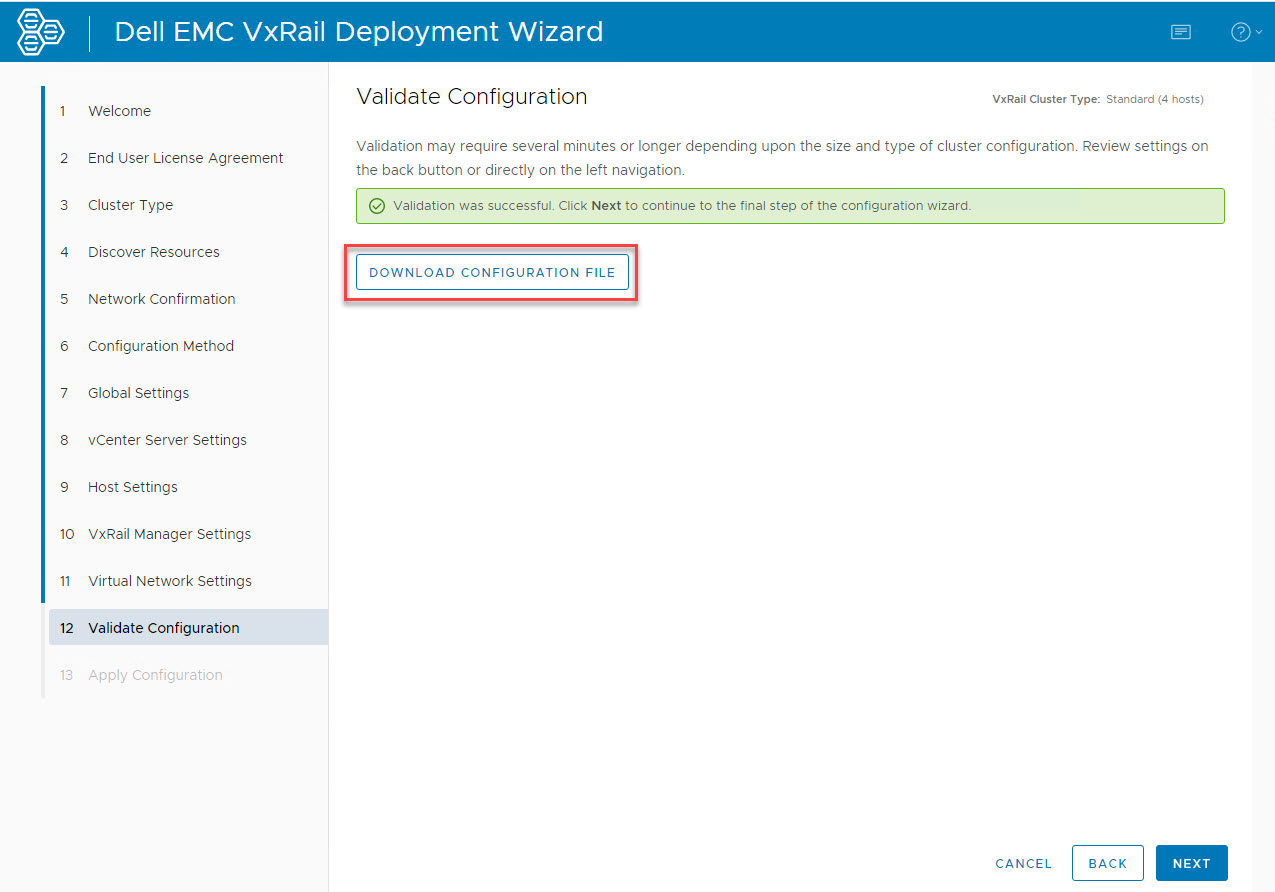
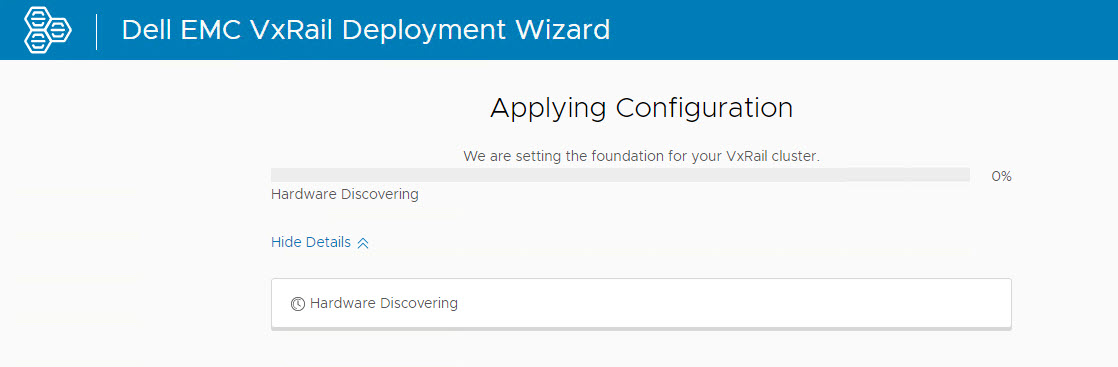
Browse to the VxRail Manager IP address which in this example is https://192.1.20.50, VxRail Welcome screen is displayed, click on ‘Get Started’ and accept the EULA:
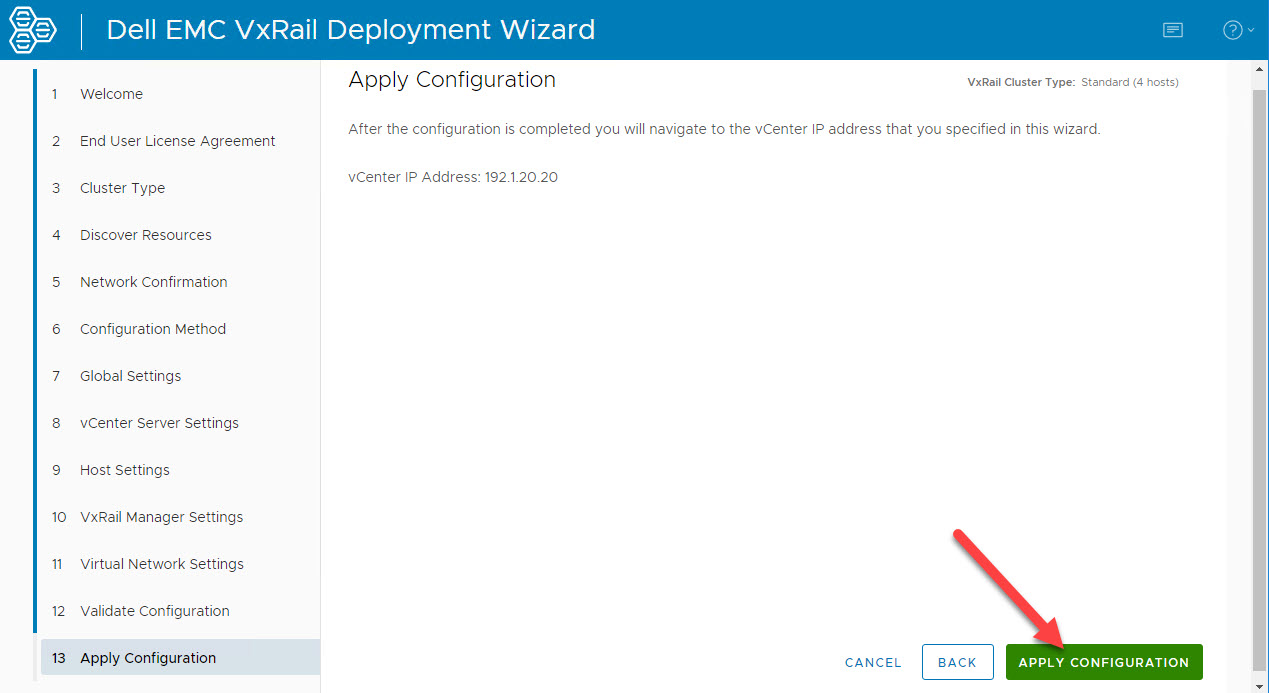
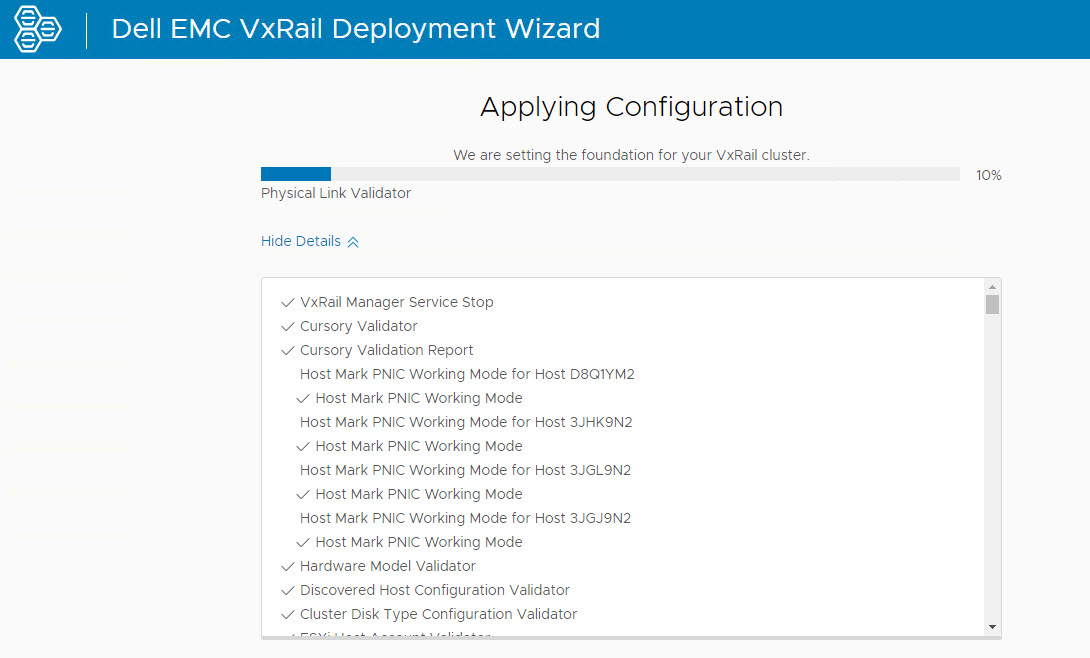
CURL Command to monitor install progress from VxRail Manager SSH console:
curl -kX GET --user administrator@vsphere.local https://127.0.0.1/rest/vxm/v1/system/initialize/status | python3 -m json.tool
Another Day1 monitoring option includes leveraging the built-in Swagger UI:

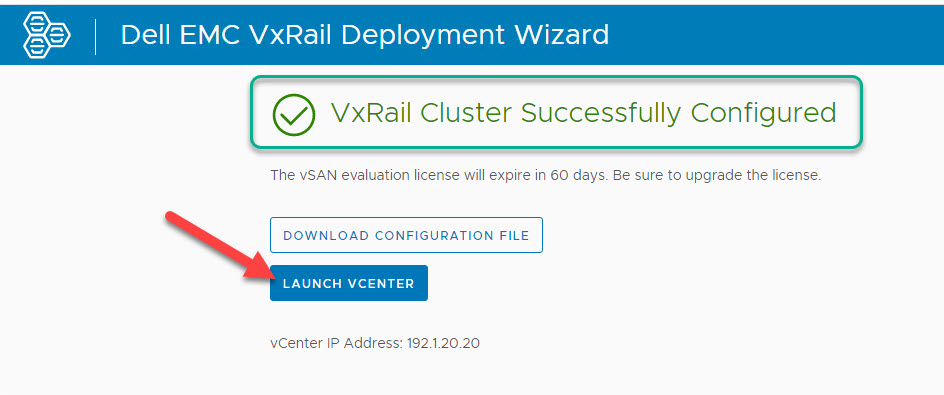
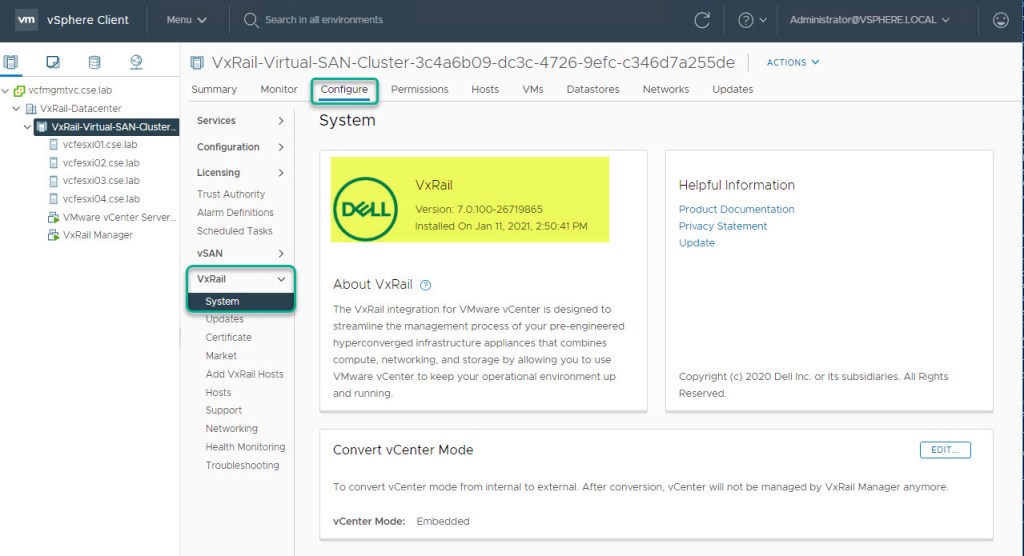
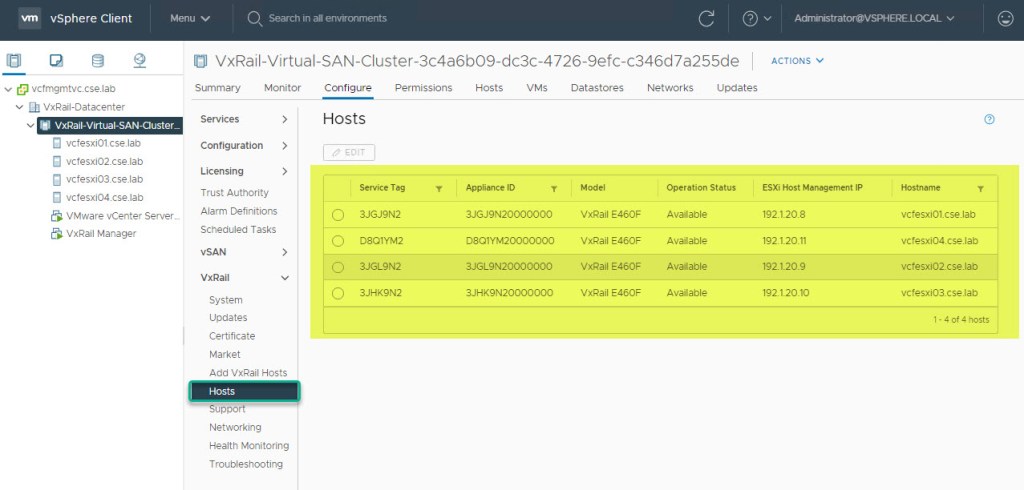
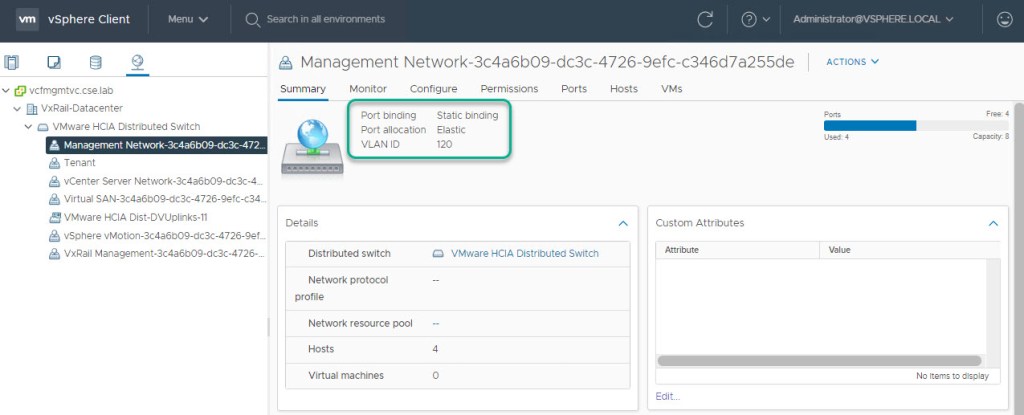
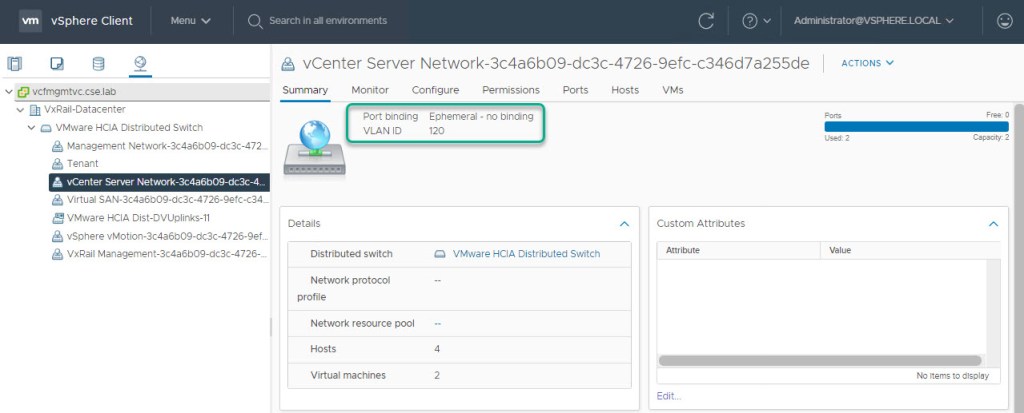
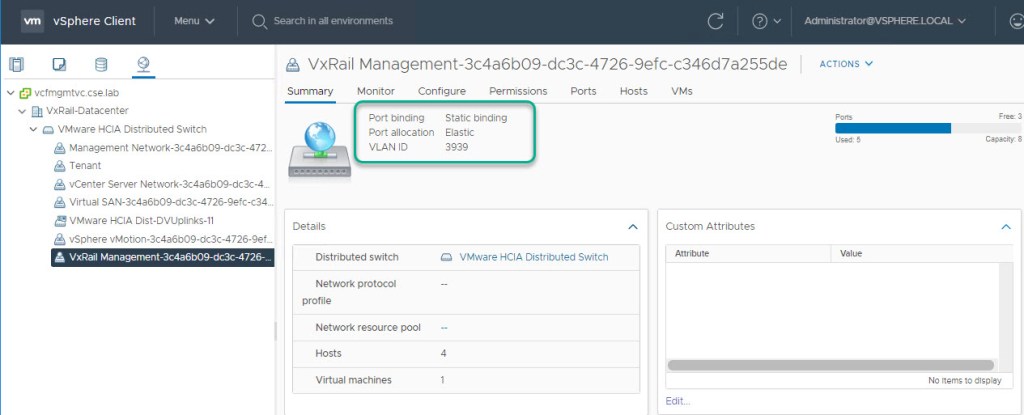
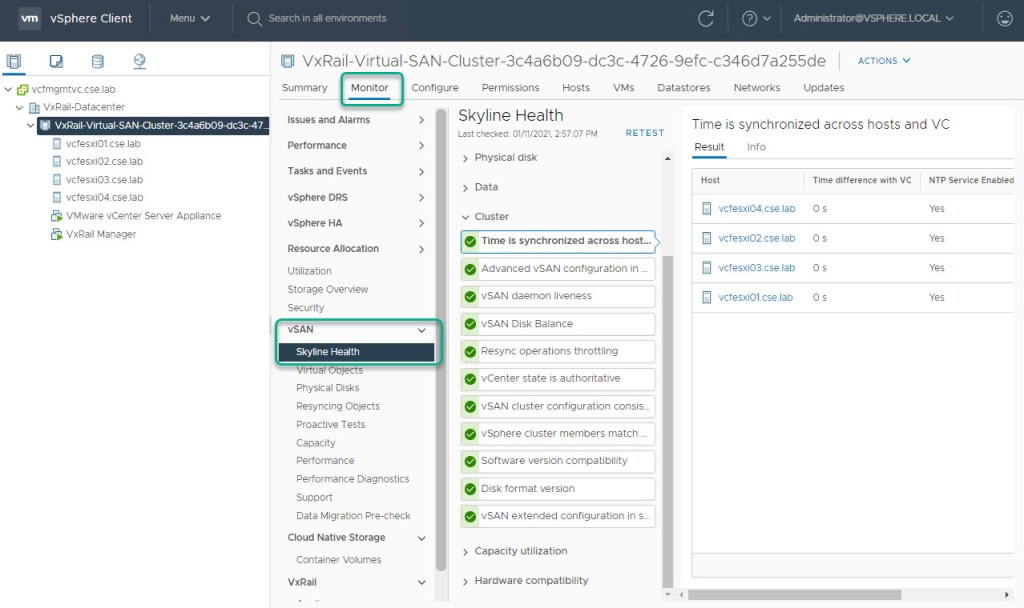
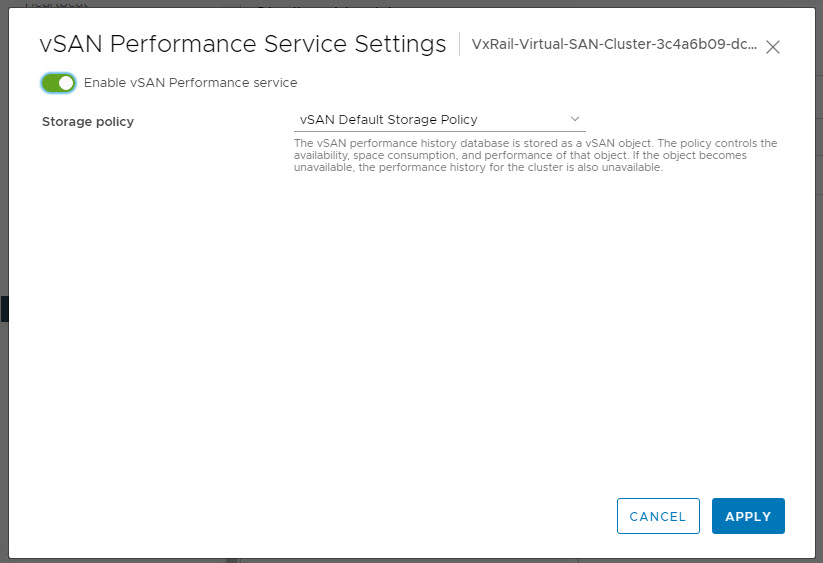
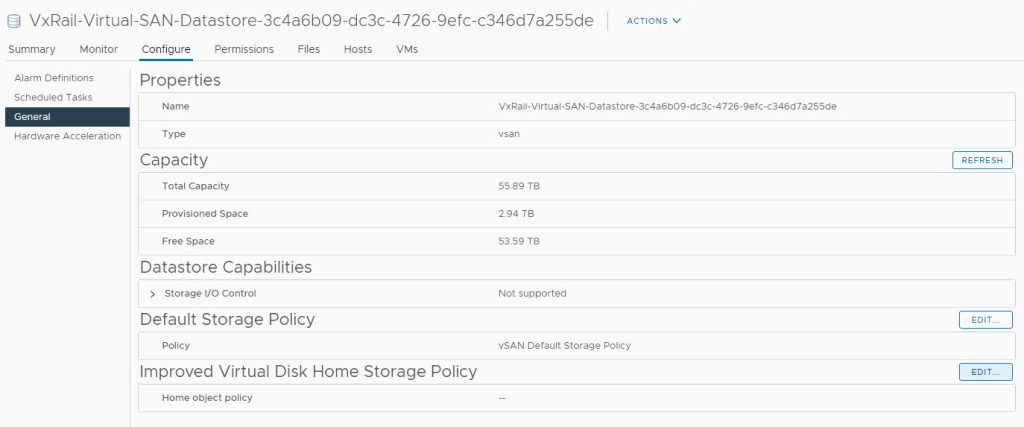
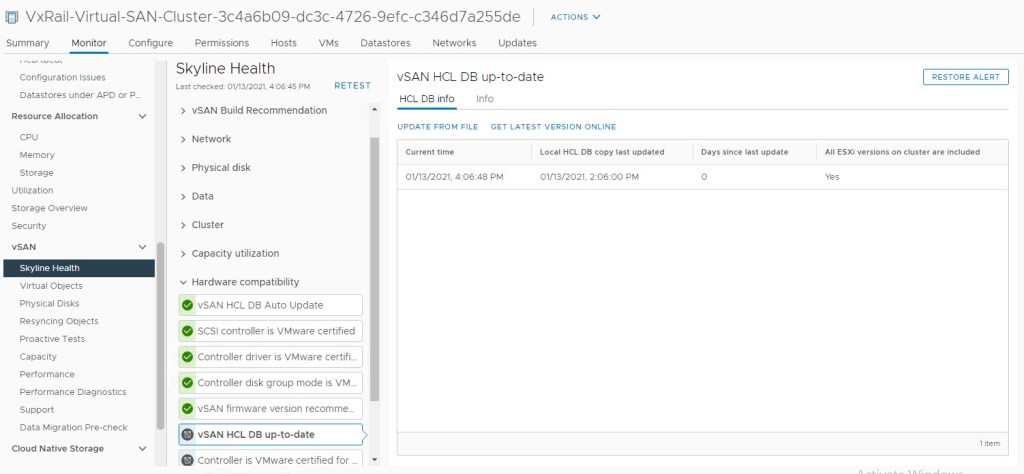
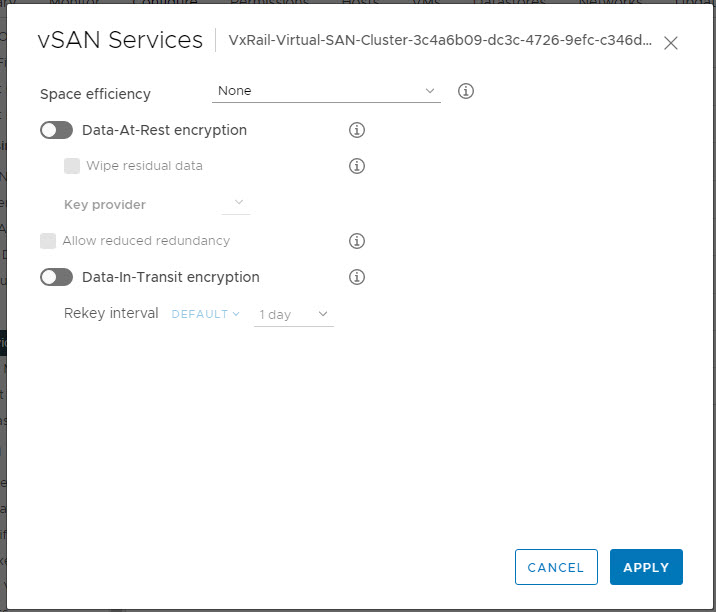
Here are some quick checks after a successful bring-up of VxRail. These checks are confirmed by logging into vCenter Server HTML client:
Monitor VxRail dayone.log , short.term.log & firstboot.log:
cd /var/log/microservice_log/
# cat dayone.log
# tail -f dayone.log
# tail -f dayone.log | grep ERROR
# tail -n 100 dayone.log
# more dayone.log
Confirm DNS entries in resolv.conf & DB:
cat /etc/resolv.conf
curl -X GET --unix-socket /var/lib/vxrail/nginx/socket/nginx.sock http://localhost/rest/vxm/internal/configservice/v1/configuration/keys/system_dns -H "accept: application/json" -H "Content-Type: application/json"
NTP Validation:
timeout 2 bash -c "</dev/udp/10.104.0.254/123"; echo $?
Returns 0
In terms of viewing a “Configuration complete!” equivalent in the logs the string is :/var/log/microservice_log # cat dayone.log | grep "notify {'level': 'workflow', 'state': 'COMPLETED', 'progress': 100}"


Thanks for sharing your knowledge and experience. I will follow your notes at the next implementation.