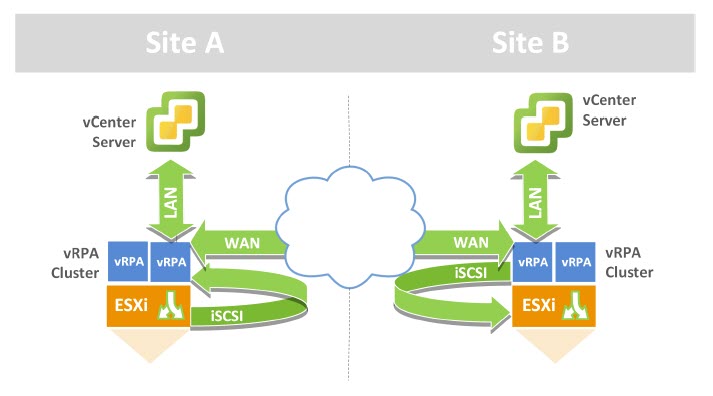
Each ESXi Host in a vSphere cluster hosting the RP4VM vRPA’s (virtual appliances running on ESXi hosts) require the iSCSI channel to allow communication between the ESXi hosts kernel embedded I/O splitter and the vRPA’s, utilizing an iSCSI software adapter running on the ESXi hosts. Thus a software iSCSI adapter and associated VMkernel ports need to be configured on every ESXi node hosting the RP4VM vRPA’s.
This post provides an example of the iSCSI configuration required when using a VMware vSphere distributed switch (VDS). This example displays how to configure the iSCSI settings required for RP4VM via the vSphere web client.
The below steps provide an example on how to create additional port groups on a VDS, create the VMkernel adapters, add the software iSCSI adapter and bind the VMkernel Port Groups to the ESXi iSCSI Adapter along with associated config such as MTU and uplink order.
Note: An upcoming release of RP4VM 5.X introduces a new TCP/IP based communication path for the splitter, which will eliminate the need to configure the iSCSI based software initiator (More on this later).
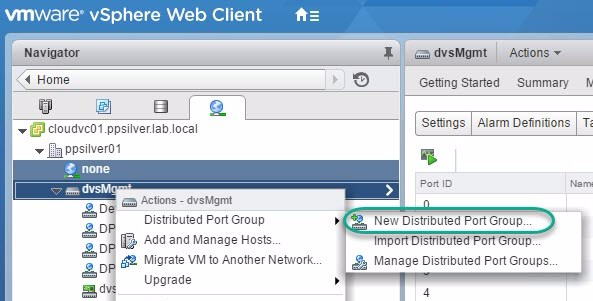
Create Distributed Port Groups on VDS
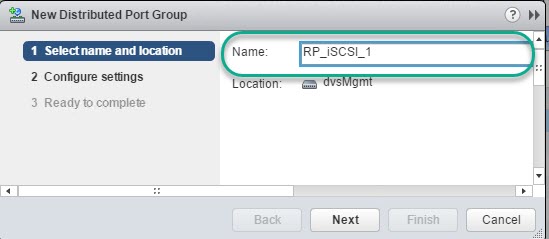
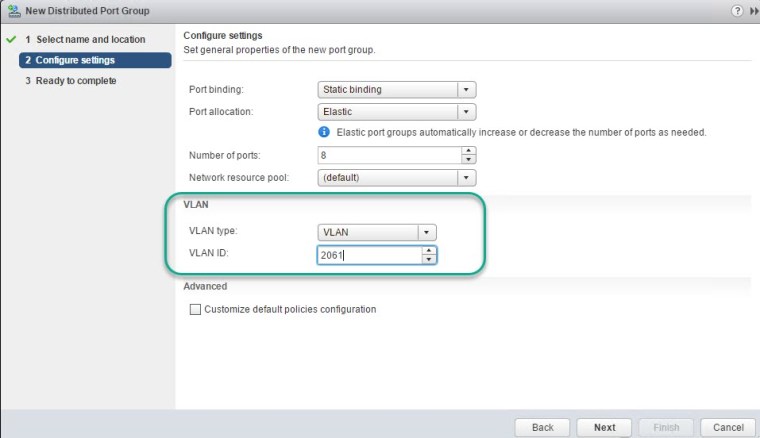
The following steps detail how to create two DPG’s on a VDS to support RP4VM iSCSI communications.
Configure Port Group Failover
The following steps detail the iSCSI Port Groups failover order configuration:
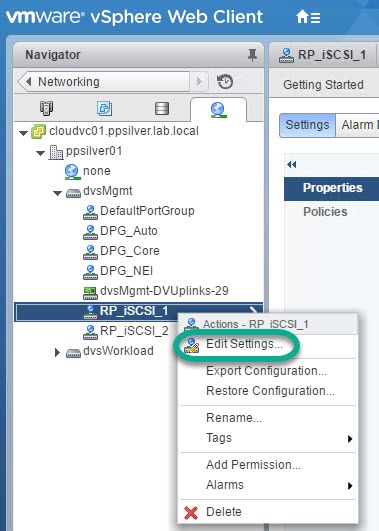
- Select RP_iSCSI_1 and select Edit Settings.
2.
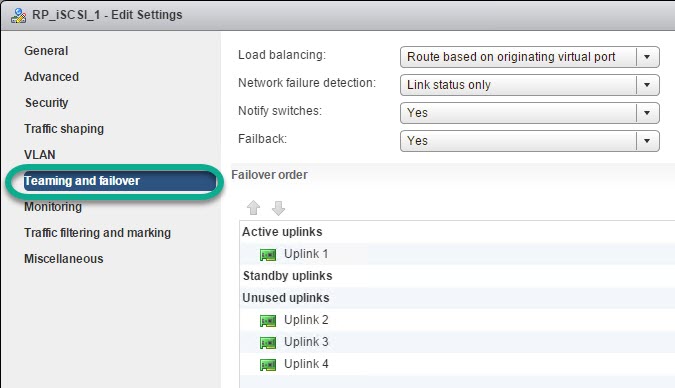
‘Teaming and failover’ order config (Repeat for the second PG e.g
‘RP_iSCSI_2’). Ensure that additional network adapters that might be connected to the VMkernel port are designated as unused adapters. iSCSI binding is allowed if the VMKernel port is attached to only one active adapter in the port group while all other adapters are configured as unused.
Repeat for RP_iSCSI_2.
Configure the VDS MTU Setting
-
From the vSphere Web client click ‘Networking’.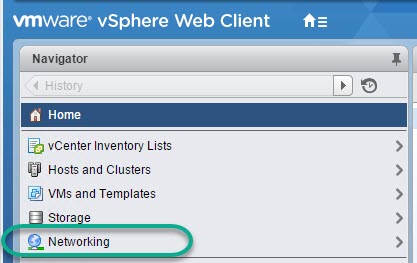
-
Right-click the distributed switch and chose ‘Settings’ -> ‘Edit Settings’.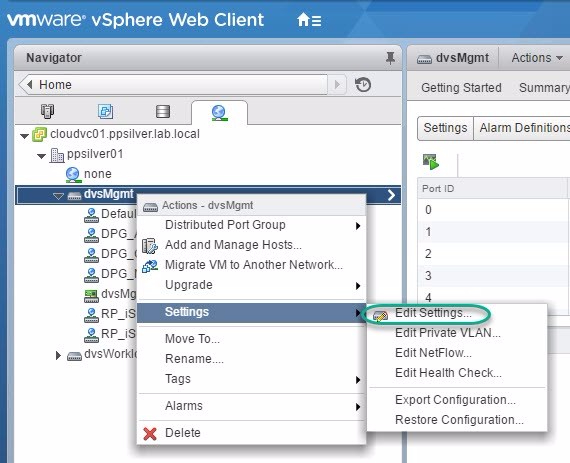
-
From the Advanced option enter an MTU value of 9000.
-
Click OK.
Create VMkernel Adapters on ESXi Hosts
Two VMkernel adapters will need to be created on each ESXi host in an RP4VM solution as follows:
-
Select an ESXi Host click ‘Manage’->‘Networking’->’VMkernel adapters’ and click ‘Add host networking’.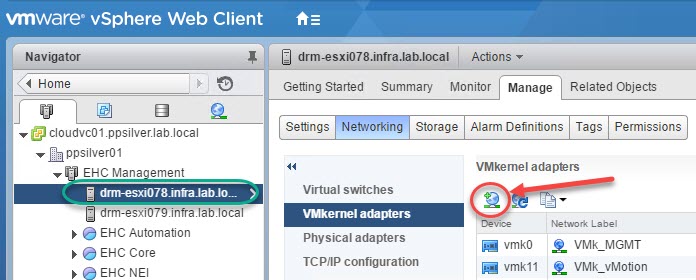
-
Select ‘VMkernel Network Adapter’ and click Next.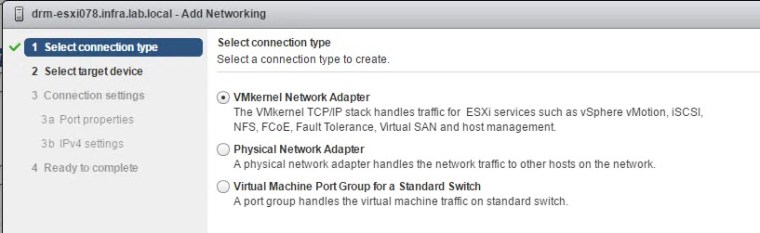
-
Click Browse and select the first port group ‘RP_iSCSI_1’ as per this example to bind the VMkernel port to.

-
Leave Port properties as default and click Next.
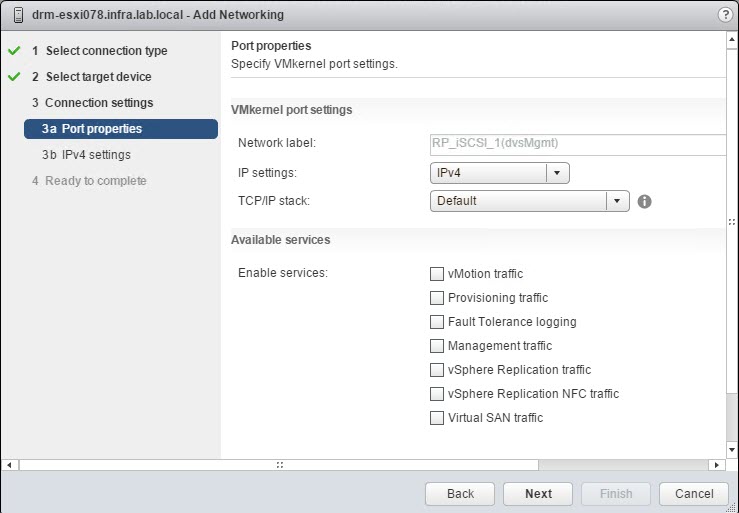 5. Select IPv4 and enter the assigned VMkernel IP address and subnet mask.
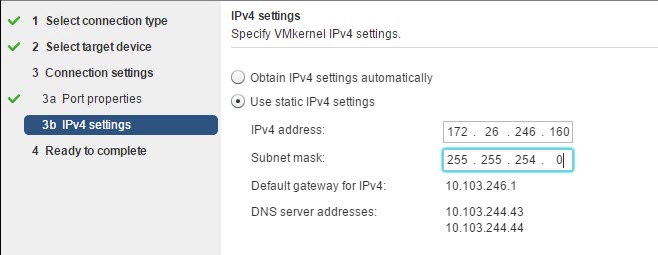 6. Review and click Finish (Repeat the same steps 1-6 to create the second VMkernel port).
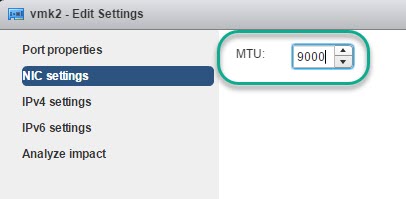
7. Click the pencil icon to modify the VMkernel Adapter and change the MTU value to 9000.
Create an iSCSI Software Storage Adapter on ESXi Hosts
-
From the vSphere Web Client select the ESXi Host and chose the ‘Manage’ tab.
-
From ‘Storage Adapters’ click the + and select ‘Software iSCSI adapter’.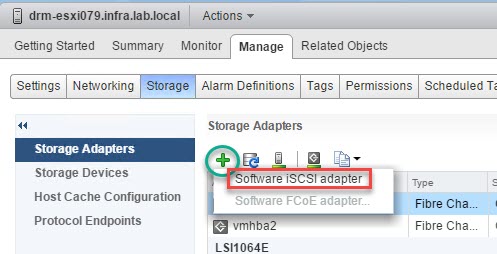
-
Click ‘OK’ to the warning.
Bind the VMkernel Port Groups to the ESXi iSCSI Adapter
-
From the vSphere Web Client select the ESXi Host and chose the ‘Manage’ tab.
-
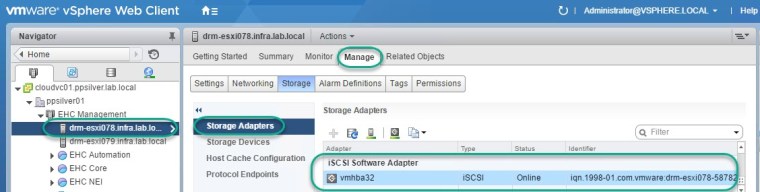
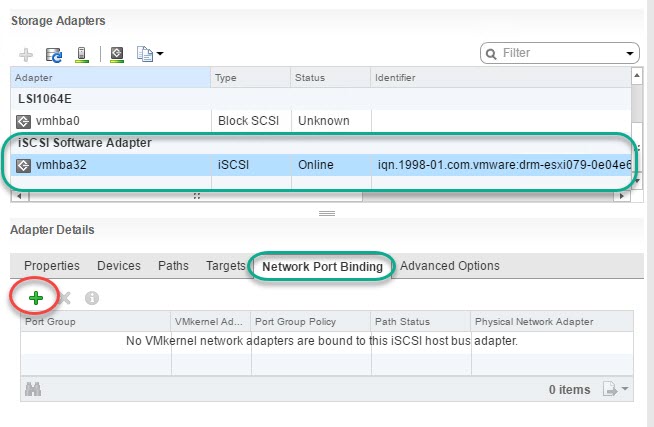
From ‘Storage Adapters’ select the newly created ‘Software iSCSI adapter’.
- Select the ‘Network Port Binding’ tab and click the + icon in order to add the required Port Groups.
4. Select the 2 Port Groups created earlier.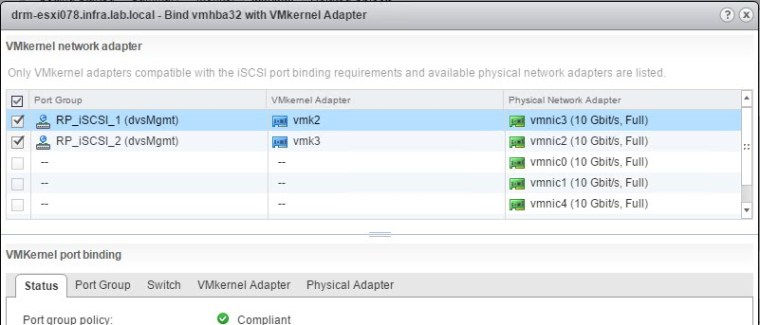
5. If prompted with a warning to rescan the adapter click OK. Two Port Groups RP_iSCSI_1 & RP_iSCSI_2 added: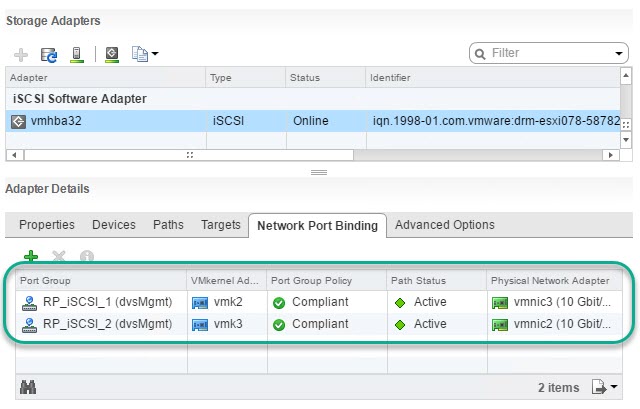 Repeat this procedure on each VMware ESXi host in the RP4VM solution.
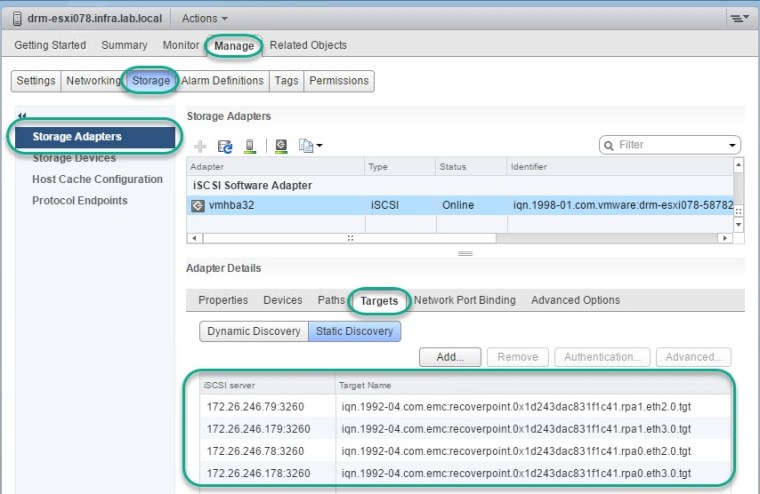
This completes the iSCSI config – next step is to deploy the vRPA OVA’s.
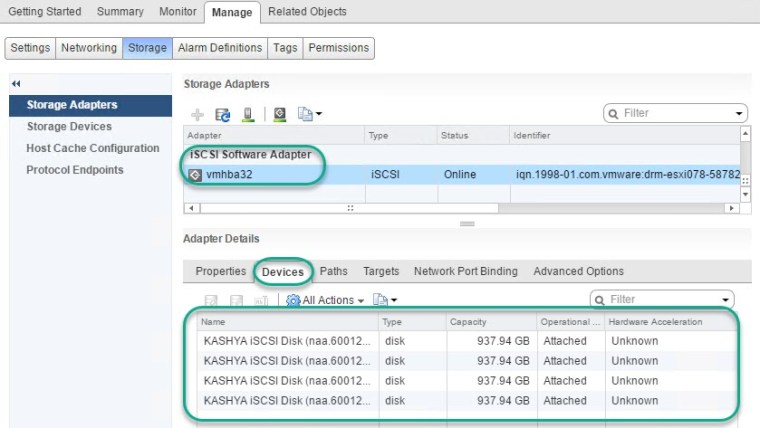
Once the vRPA’s have been deployed then you will see them appear as targets on the iSCSI adapter, example screen capture:

 Create a second distributed Port Group (RP_iSCSI_2 as per this example) following the above same steps.
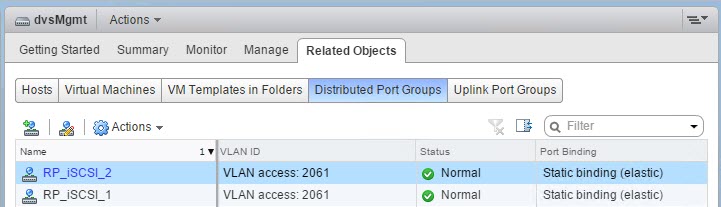


1 Comment »