vRealize Suite Lifecycle Manager (vRSLCM) v2.0 is a centralized way to manage the vRealize suite of products from a single pane of glass, allowing users to perform tasks such as installation, configuration, content management, integrated market place, upgrades, patching, certificate management, support matrix lookup among other admin tasks.. more details can be found here on the What’s New video for vRSLCM 2.0.
This post details how to import an existing brownfield installation of the vRealize Suite into vRSLCM 2.0, these products were originally deployed as per the VVD 4.3 architecture, namely:
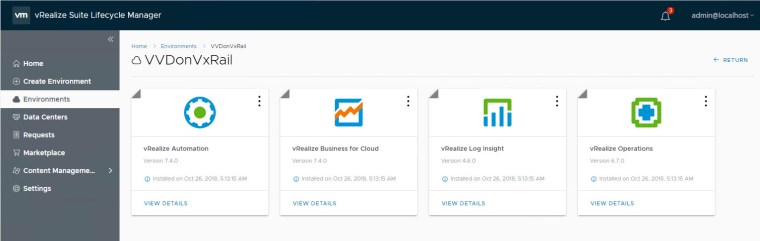
- vRealize Automation
- vRealize Operations
- vRealize Log Insight
- vRealize Business for Cloud
The following steps detail how to onboard these vRealize products into LCM, allowing the user to leverage all these management capabilities that come with vRSLCM 2.0.
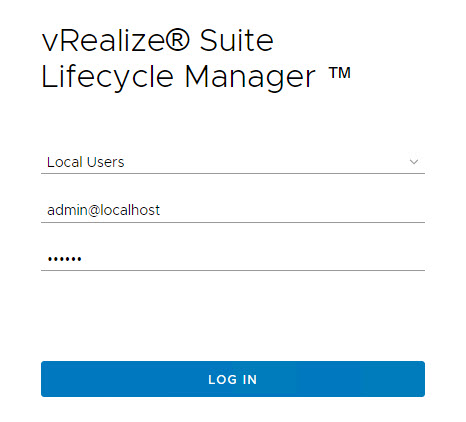
This example is based on logging into a newly deployed vRSLCM 2.0, begin by logging in with default username ‘admin@localhost’ and default password ‘vmware’:
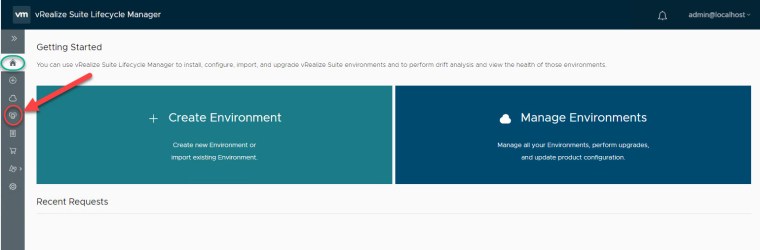
Once logged in click on ‘Data Centers’ from the left column:
Enter a name for your vRSLCM environment and choose your geographical location:

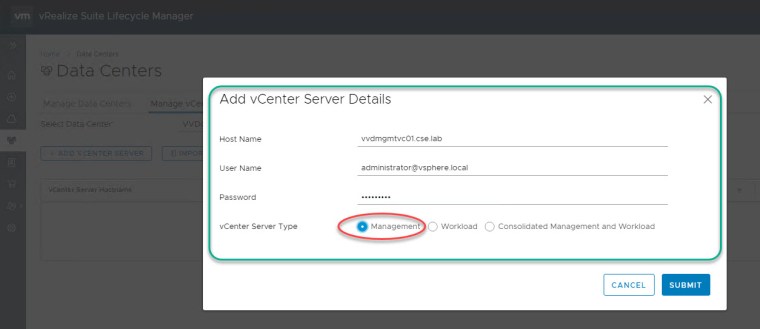
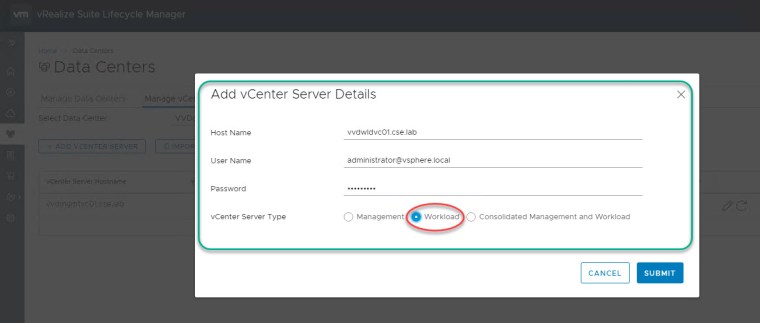
The following two screen captures display adding both a Management and Workload vCenter (based on VVD Standard architecture):
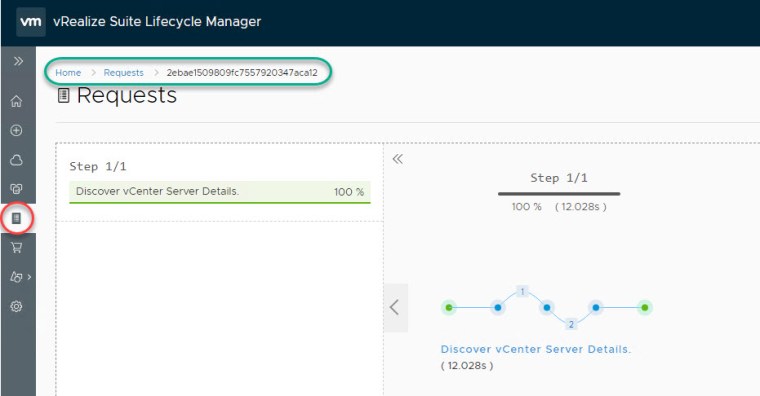
On the left column select ‘Requests’ to view the progress of adding these two vCenter servers:
Next click on ‘Create Environment’ – select the DC created earlier, enter an environment name, admin email and password, click next:
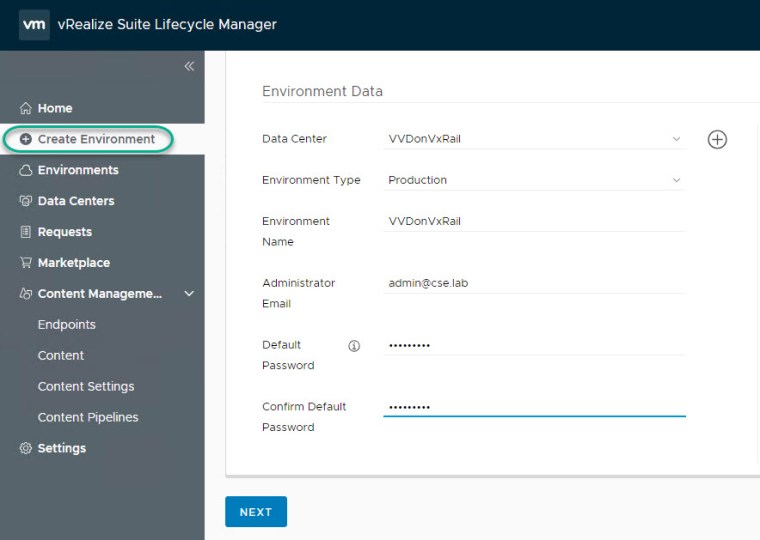
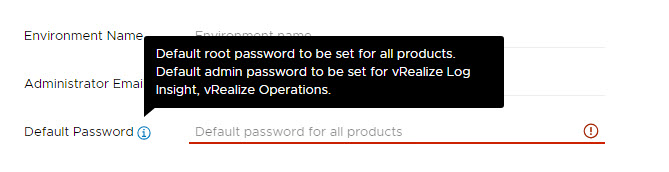
Note: Details on the usage of the password entered above:
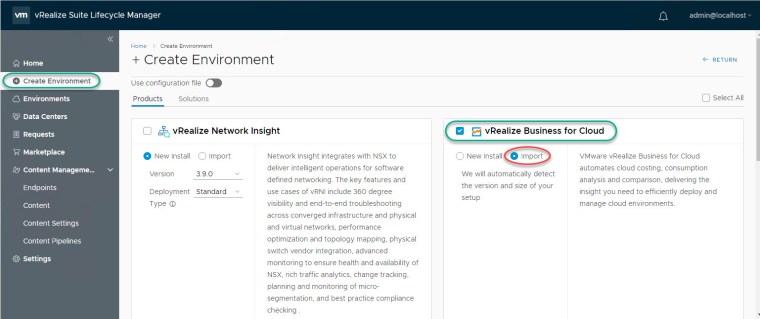
Select the required vRealize products and choose the import option for brownfield ingestion, click next:
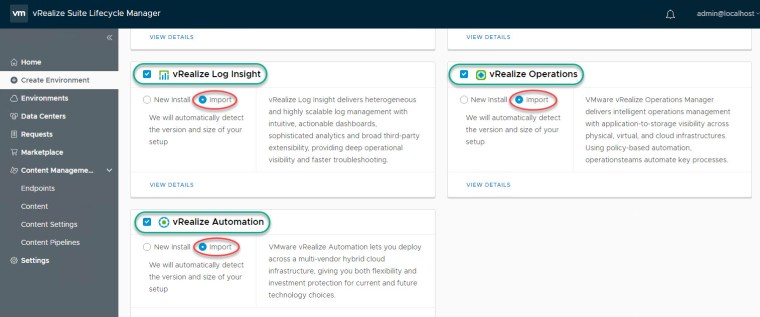
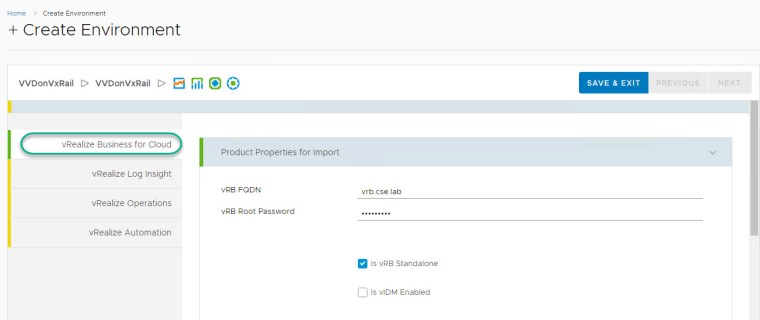
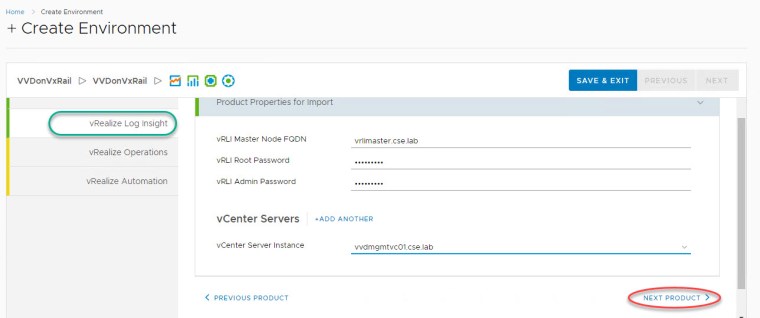
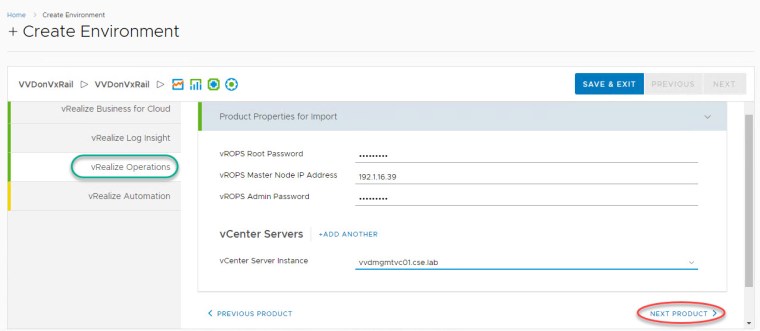
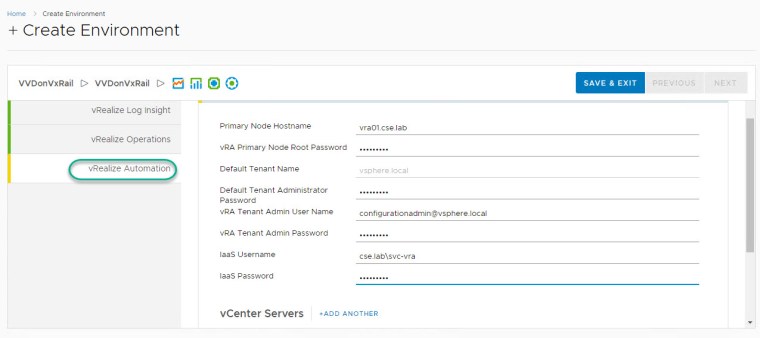
For each product enter the required details such as IP, hostnames, usernames and passwords etc.. you will notice with vRSLCM 2.0 it is much easier to import as you no longer have to provide all the infra, network, certificate and licensing details as were required in earlier versions of vRSLCM:
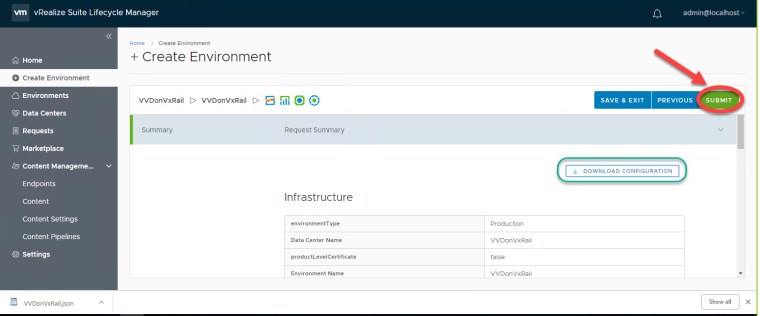
Once all the required entries are complete click on submit (you also have the option to ‘Download Configuration’, which is a json file containing all vRealize config details entered):
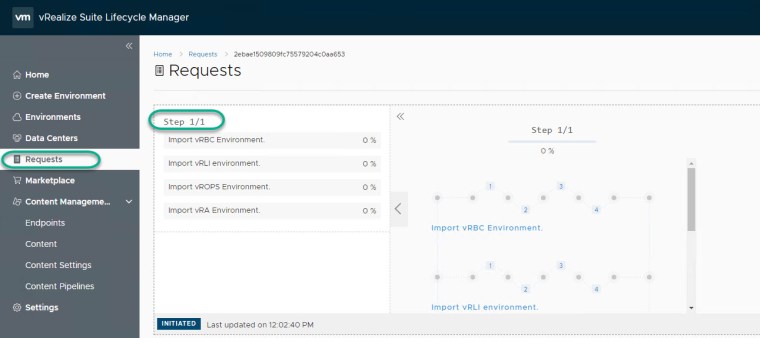
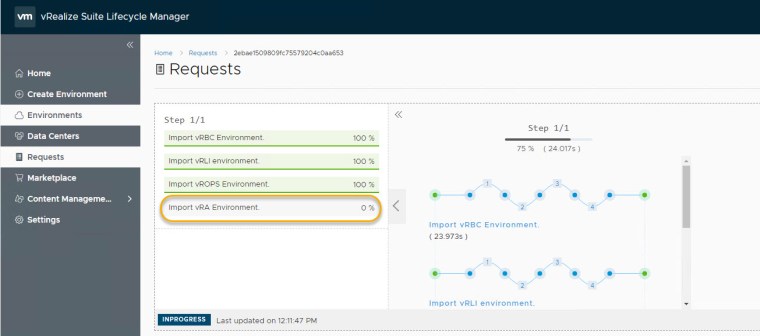
Navigate to the ‘Requests’ page to view progress of the import for each vRealize product:
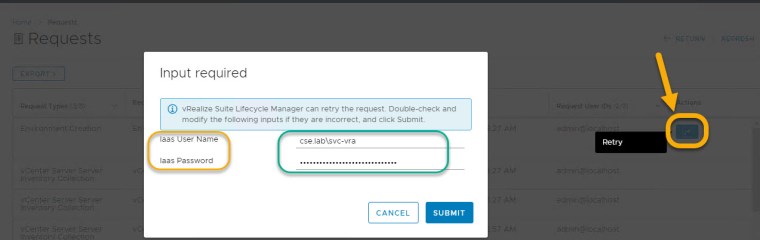
FAIL!: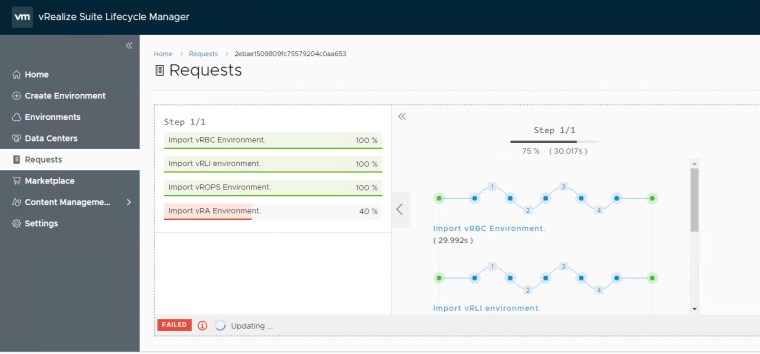
Clicking on the ‘Retry’ option from requests indicates that the IaaS username/password are the cause of the fail (quite intuitive)! Enter the correct user details and click ‘Submit’! and ‘Retry’ 🙂

Import Completes Successfully!:
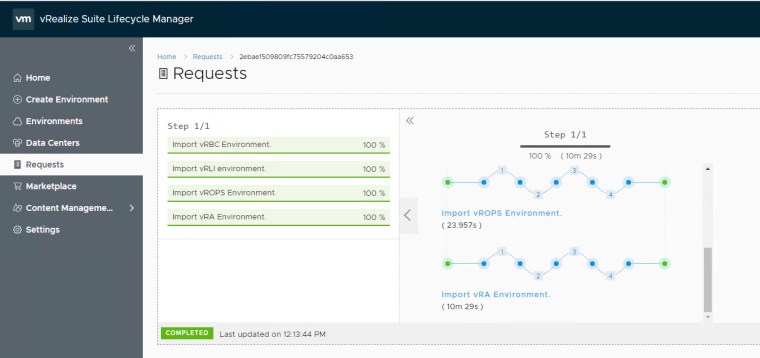
We now have a vRealize environment which can be managed by and avail of all the benefits that come with vRSLCM 2.0!
More posts on vRSLCM to follow..
The following is an excellent reference for gotchas associated with importing:
Acing the Brownfield Import in vRSLCM – Common Gotchas and ways to avoid them


