Uncategorized
Windows 2016 – Mount An NFS Share
Following steps detail how to mount an NFS share in Windows 2016. Note: The method uses mapping a network drive to Mount the NFS share. Begin by installing the NFS […]
Virtualization & Storage

Following steps detail how to mount an NFS share in Windows 2016. Note: The method uses mapping a network drive to Mount the NFS share. Begin by installing the NFS […]
Following steps detail how to mount an NFS share in Windows 2016.
Note: The method uses mapping a network drive to Mount the NFS share.
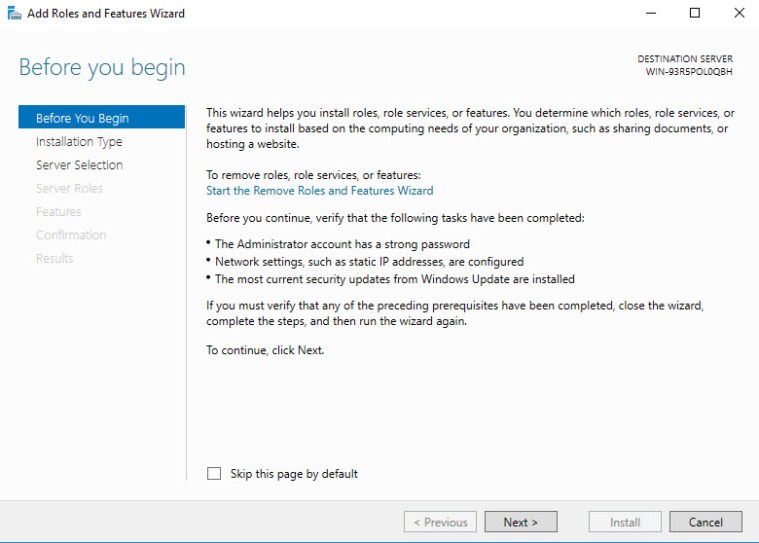
Begin by installing the NFS Client feature leveraging the ‘Add Roles and Features Wizard‘:
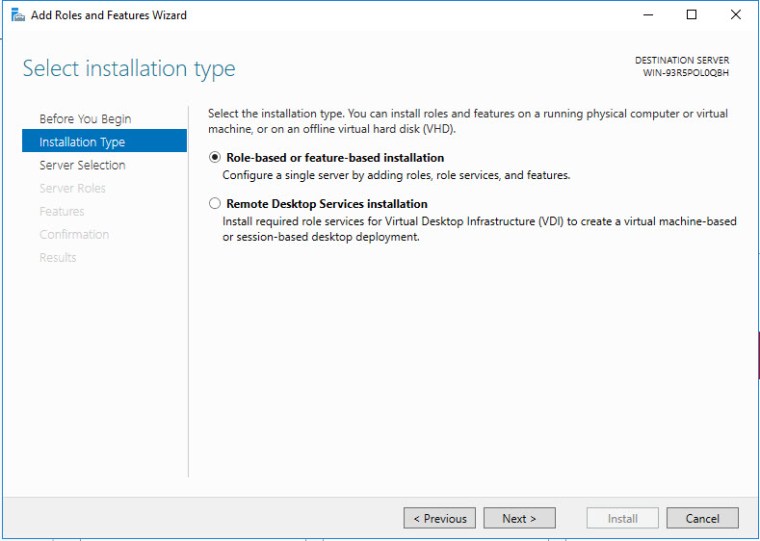
Chose ‘Role-based or feature-based installation‘:
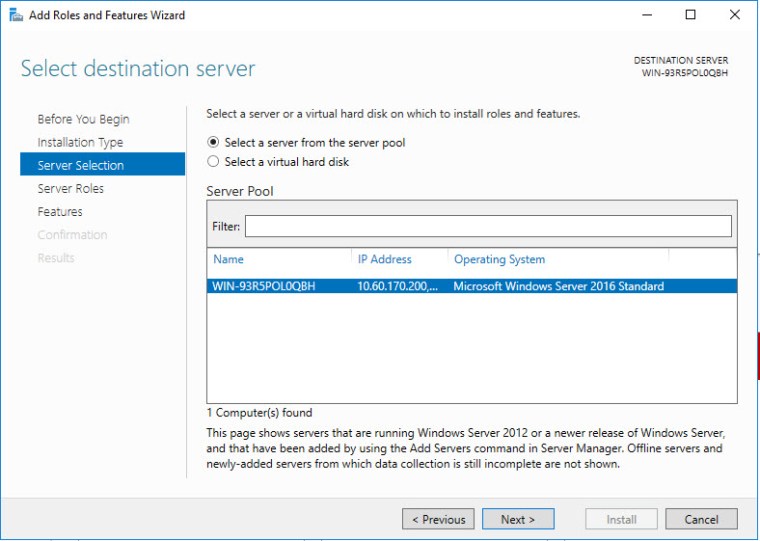
Select the server to install the NFS client on:
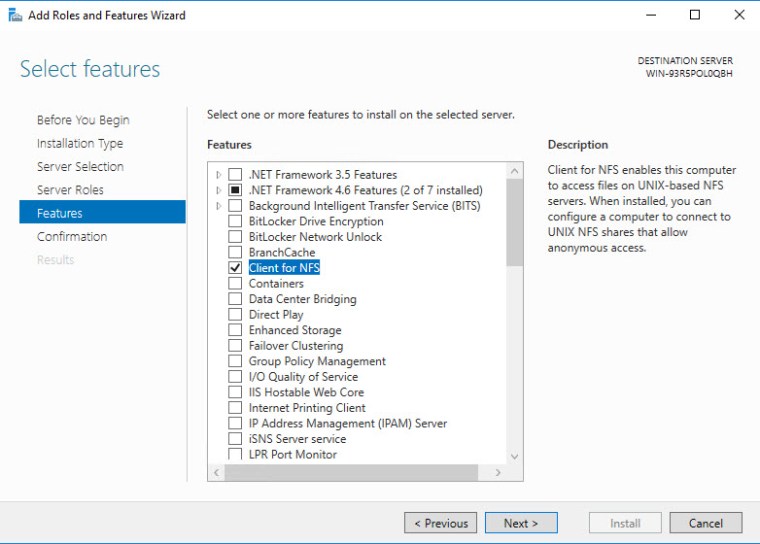
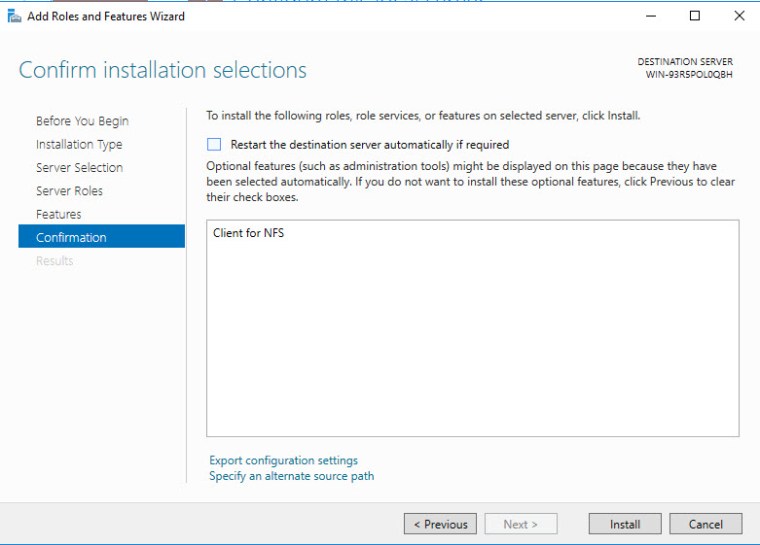
Chose the feature ‘Client for NFS‘:
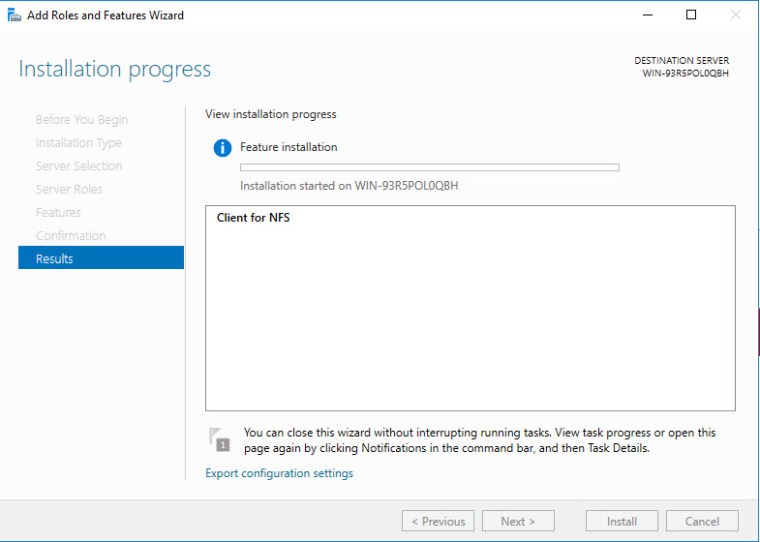
Click ‘Install‘:
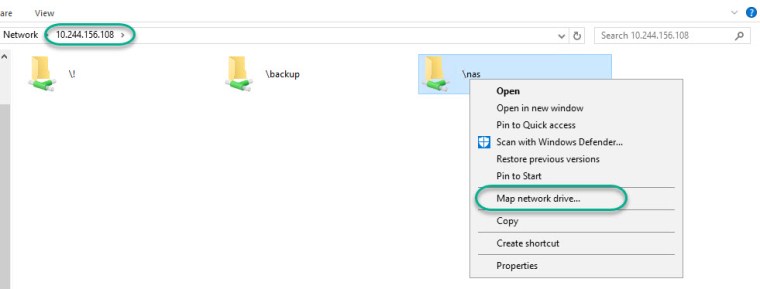
Once the NFS client has successfully installed then browse to the NFS using explorer, in this example our NFS server is 10.244.156.108. Right click your desired NFS share and chose to ‘Map network drive‘ :
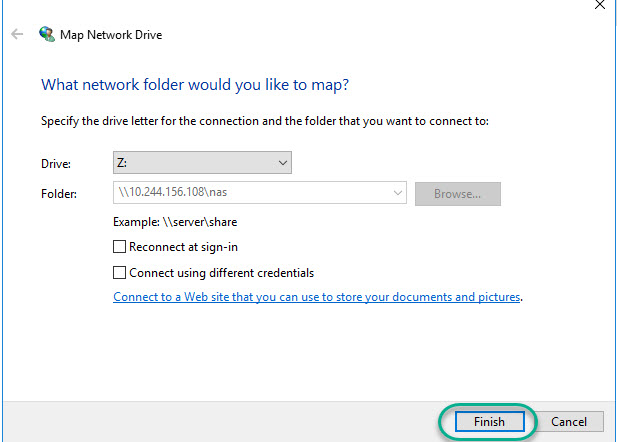
Click on ‘Finish’ and you are complete:
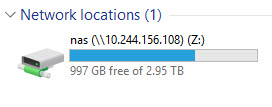
NFS share mounted successfully and mapped drive available under Network Locations:


Hello David. Can you tell me if I can leave this mount persistent or it become available for all logged user after a system boot ? Tks in advance.