PART 1 PART 2 PART 3 PART 4 PART 5 PART 6 PART 7 PART 8 This is the 4th in a series of posts covering VCF 5.2.1 On VxRail 8.0.310. The following post provides an example walkthrough covering the […]
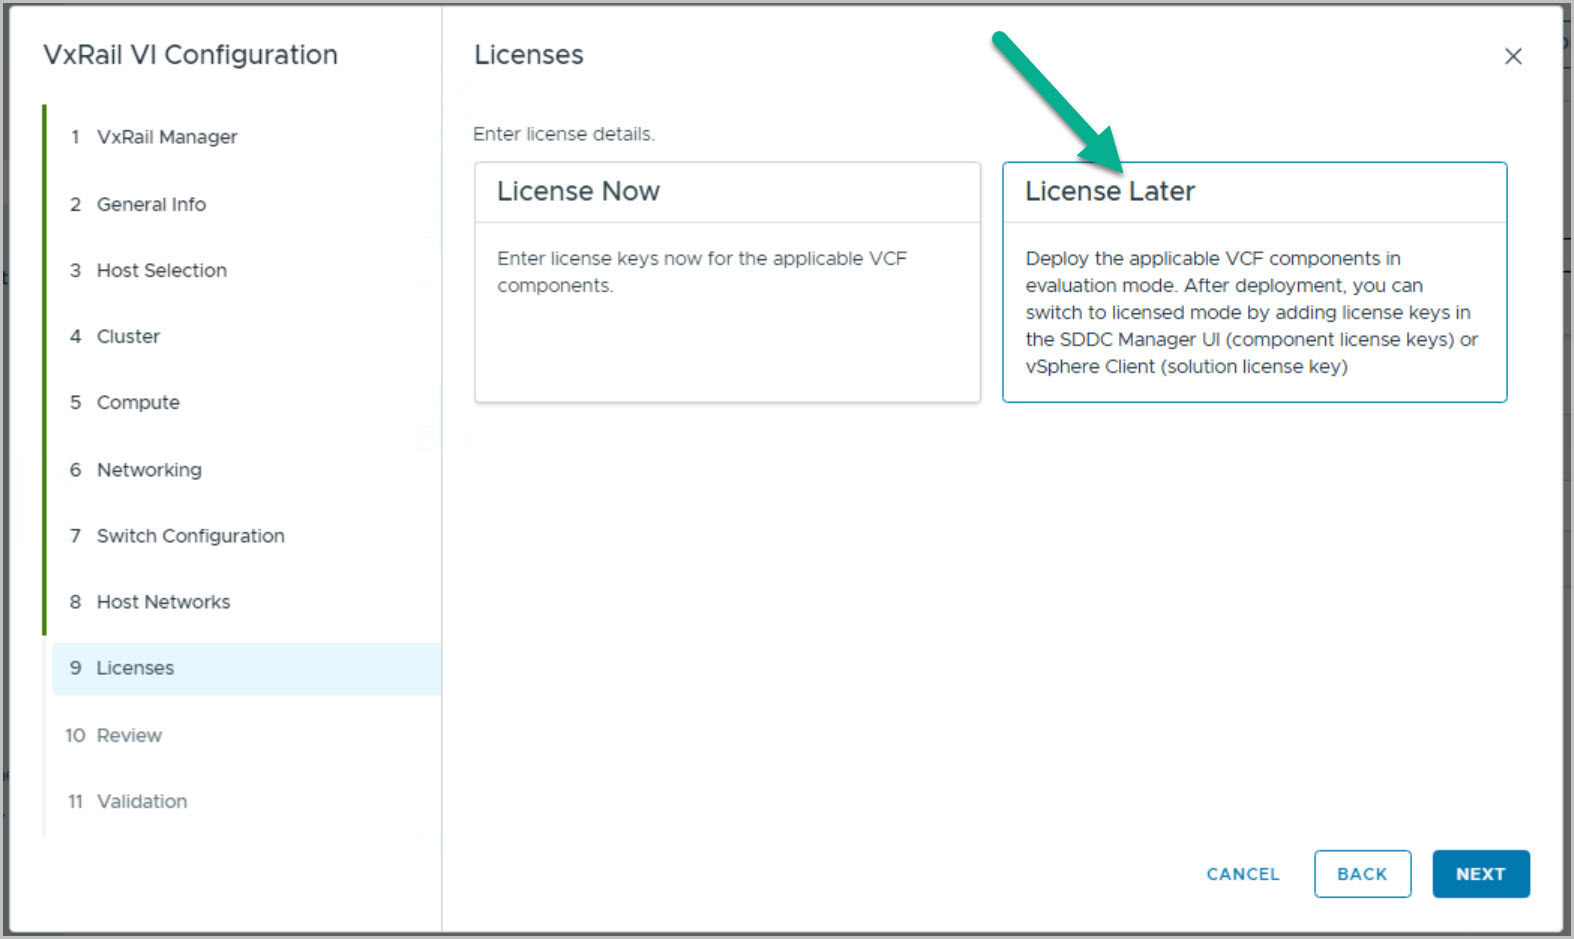
This is the 4th in a series of posts coveringVCF 5.2.1 On VxRail 8.0.310. The following post provides an example walkthrough covering the process of deploying a vLCM-based& isolated SSOVI Workload Domain using the UI for Workflow Optimization method. Also leveraging the new License Later feature.
Overall, these advancements in VCF on VxRail signify a step forward in simplifying and automating the management of hyper-converged infrastructure, enhancing both operational efficiency and infrastructure reliability.
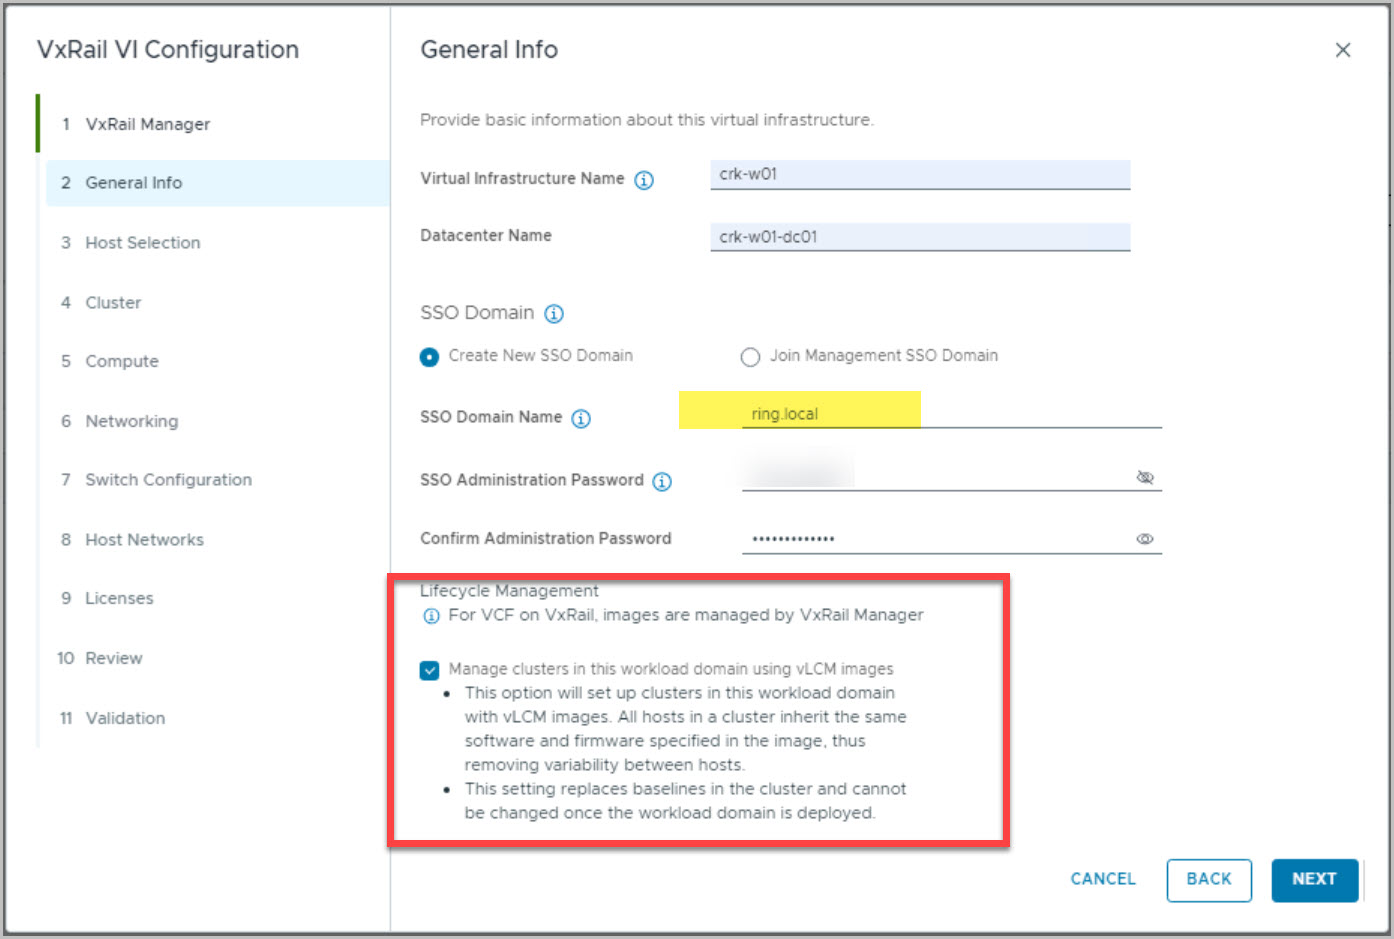
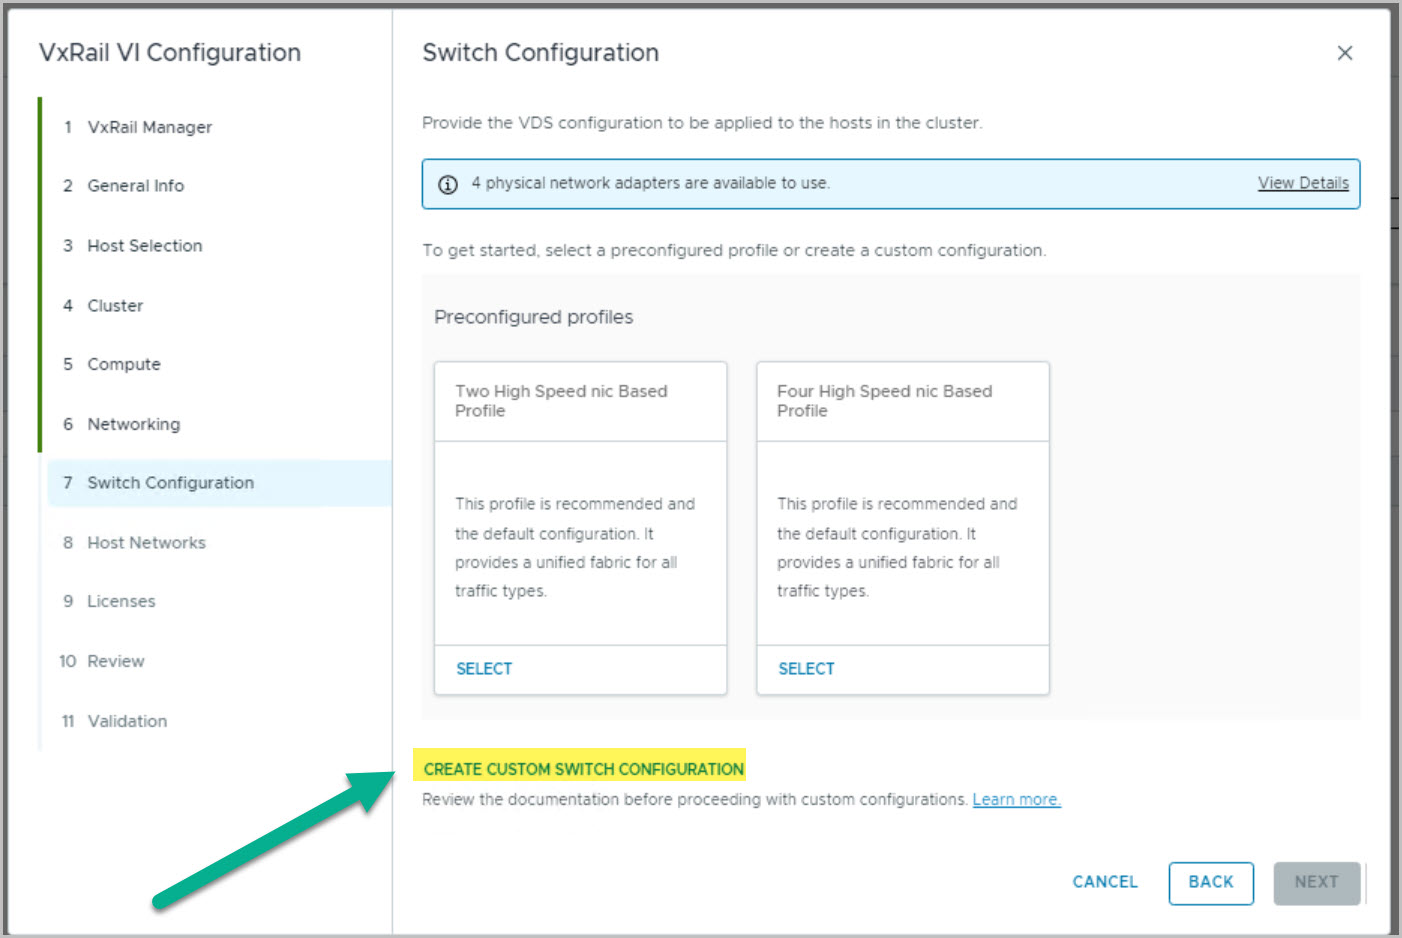
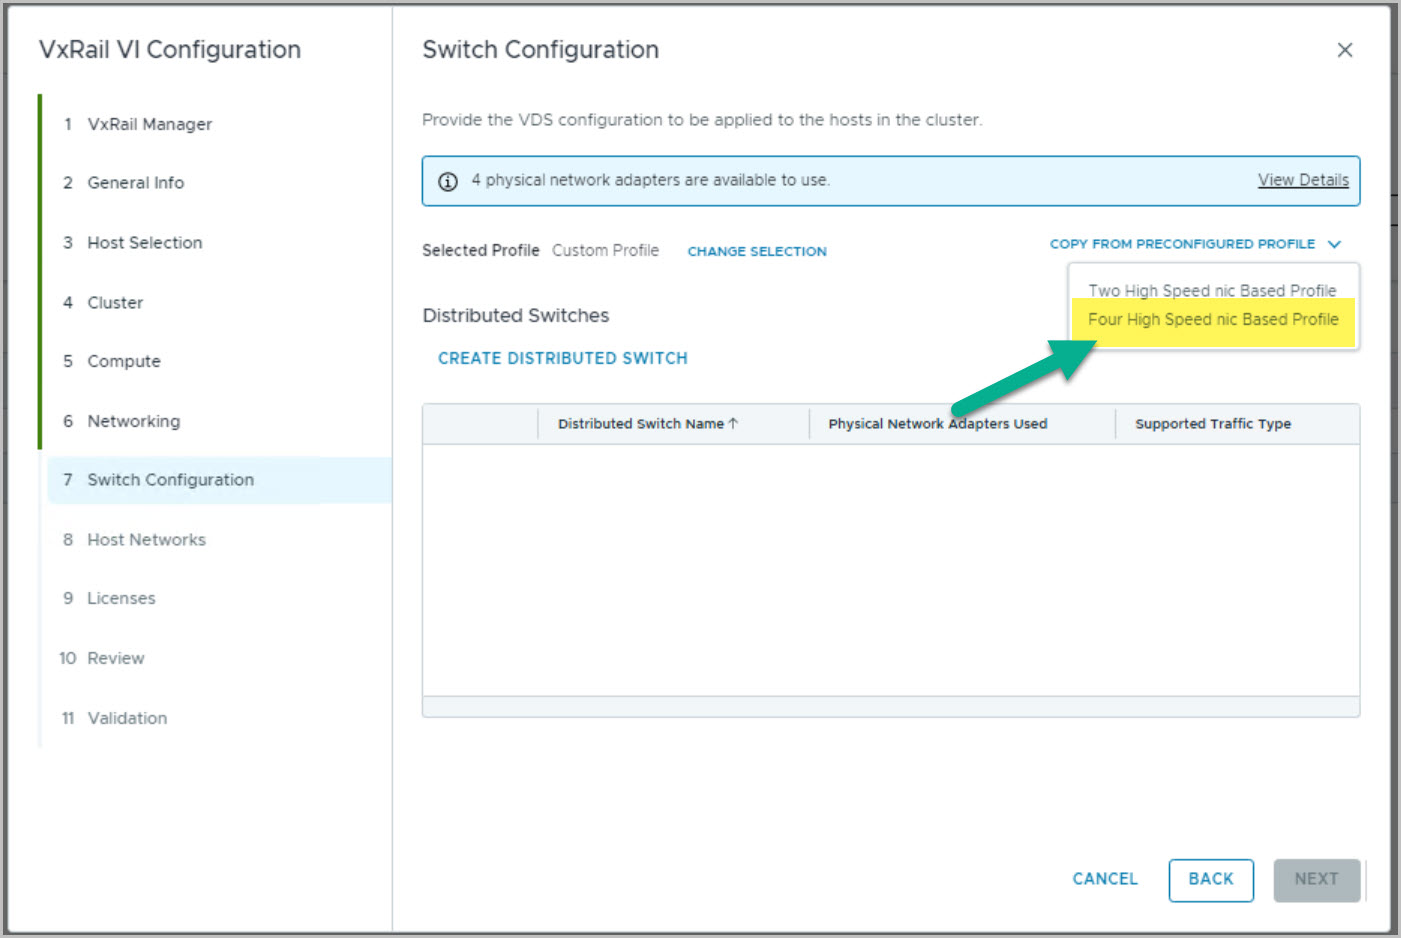
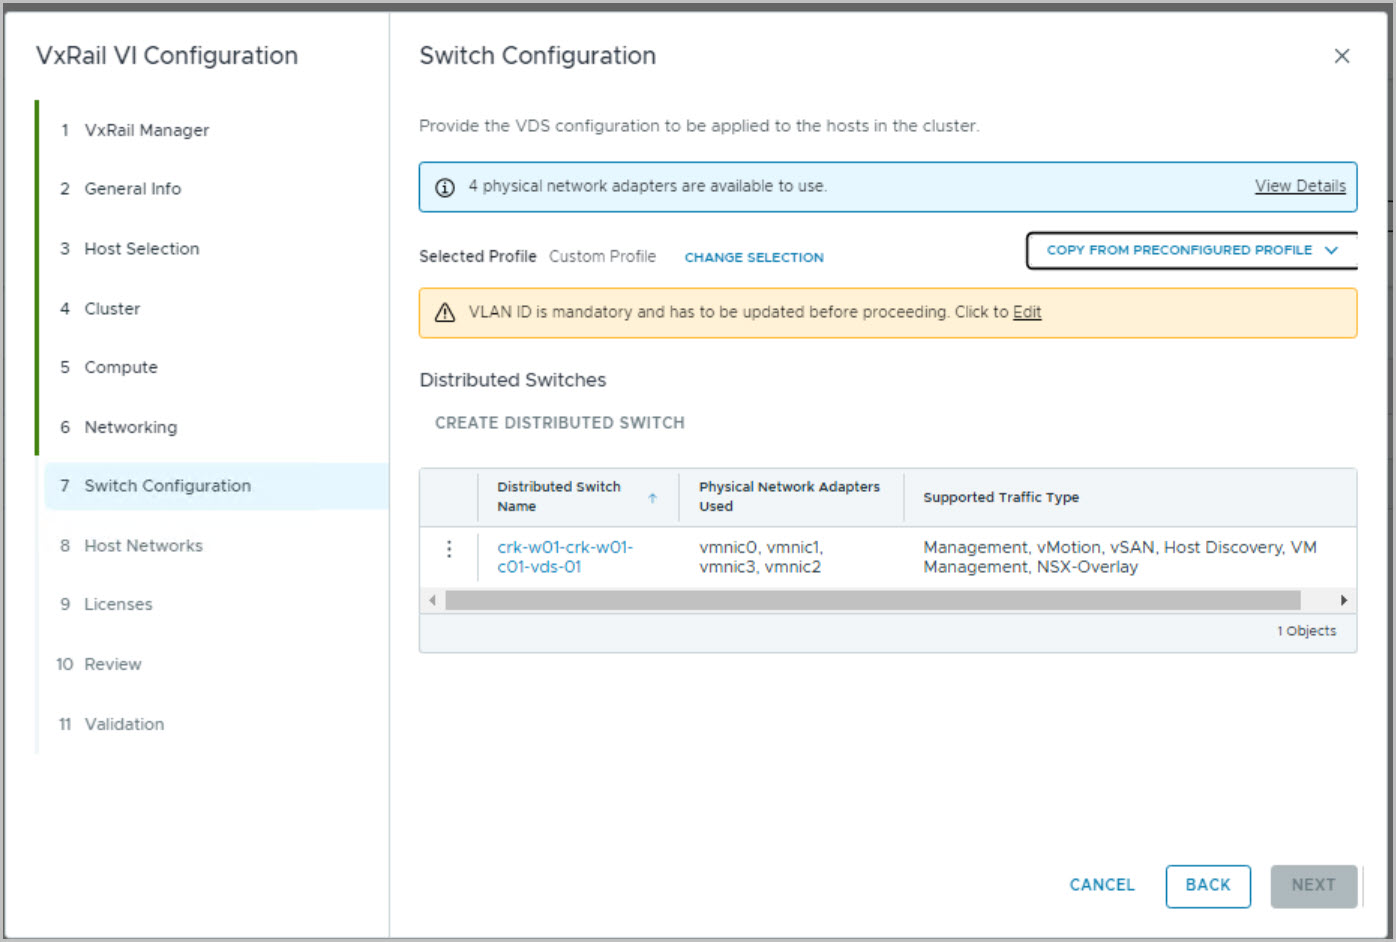
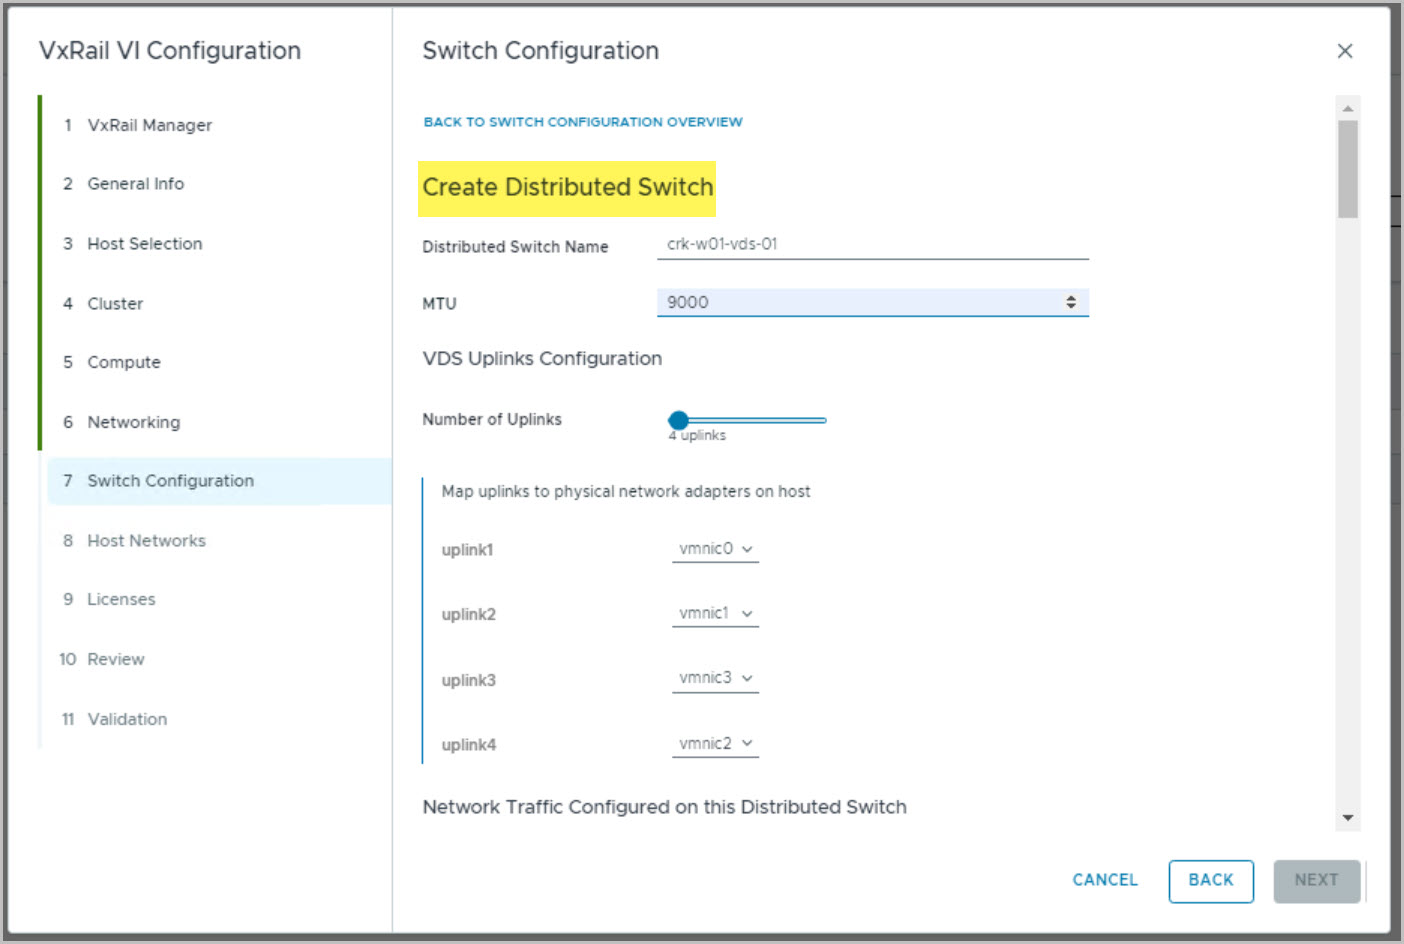
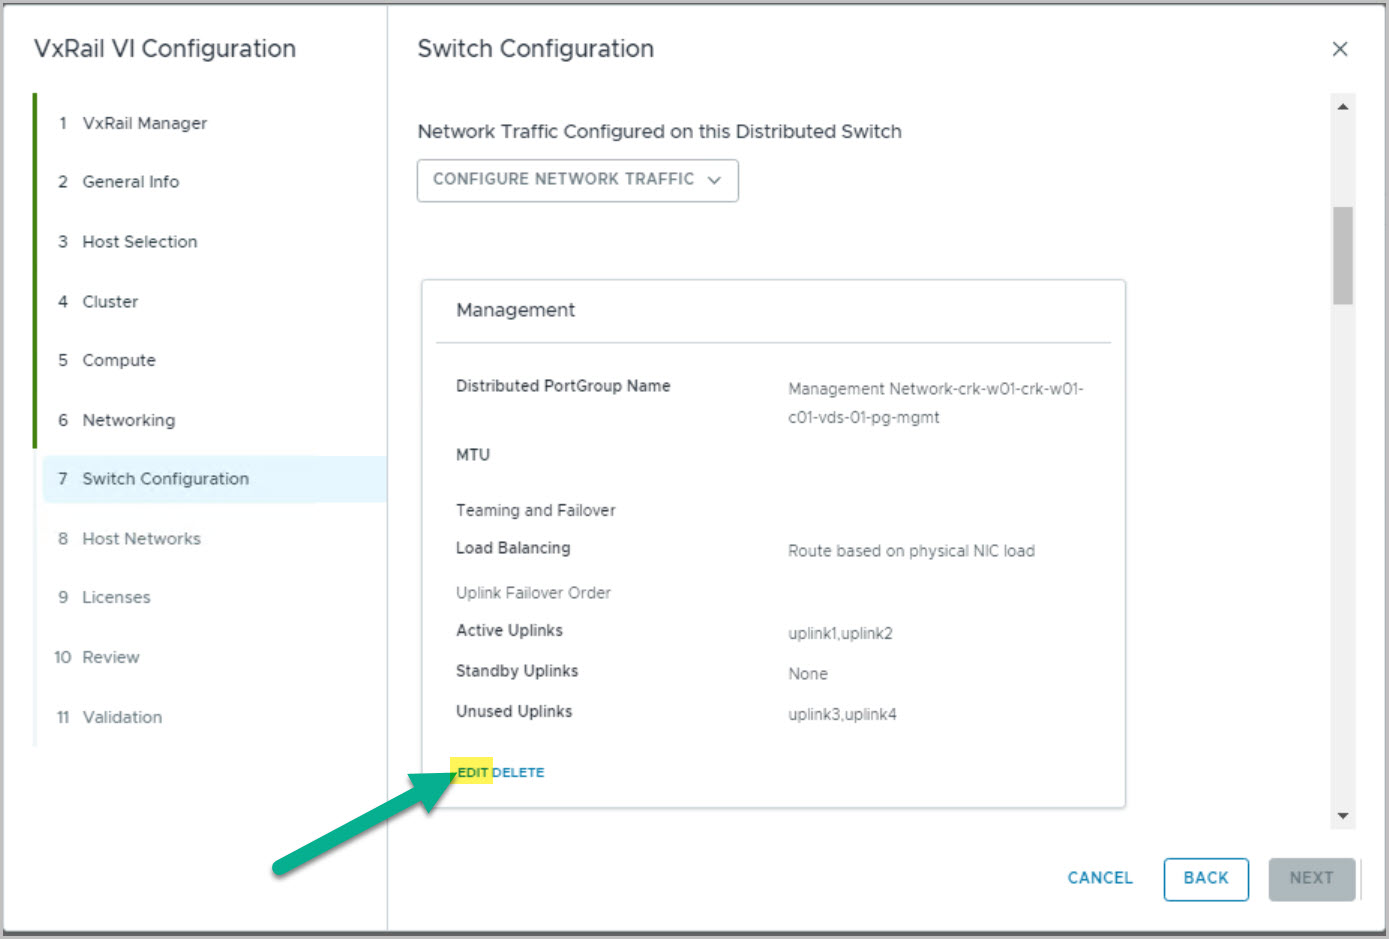
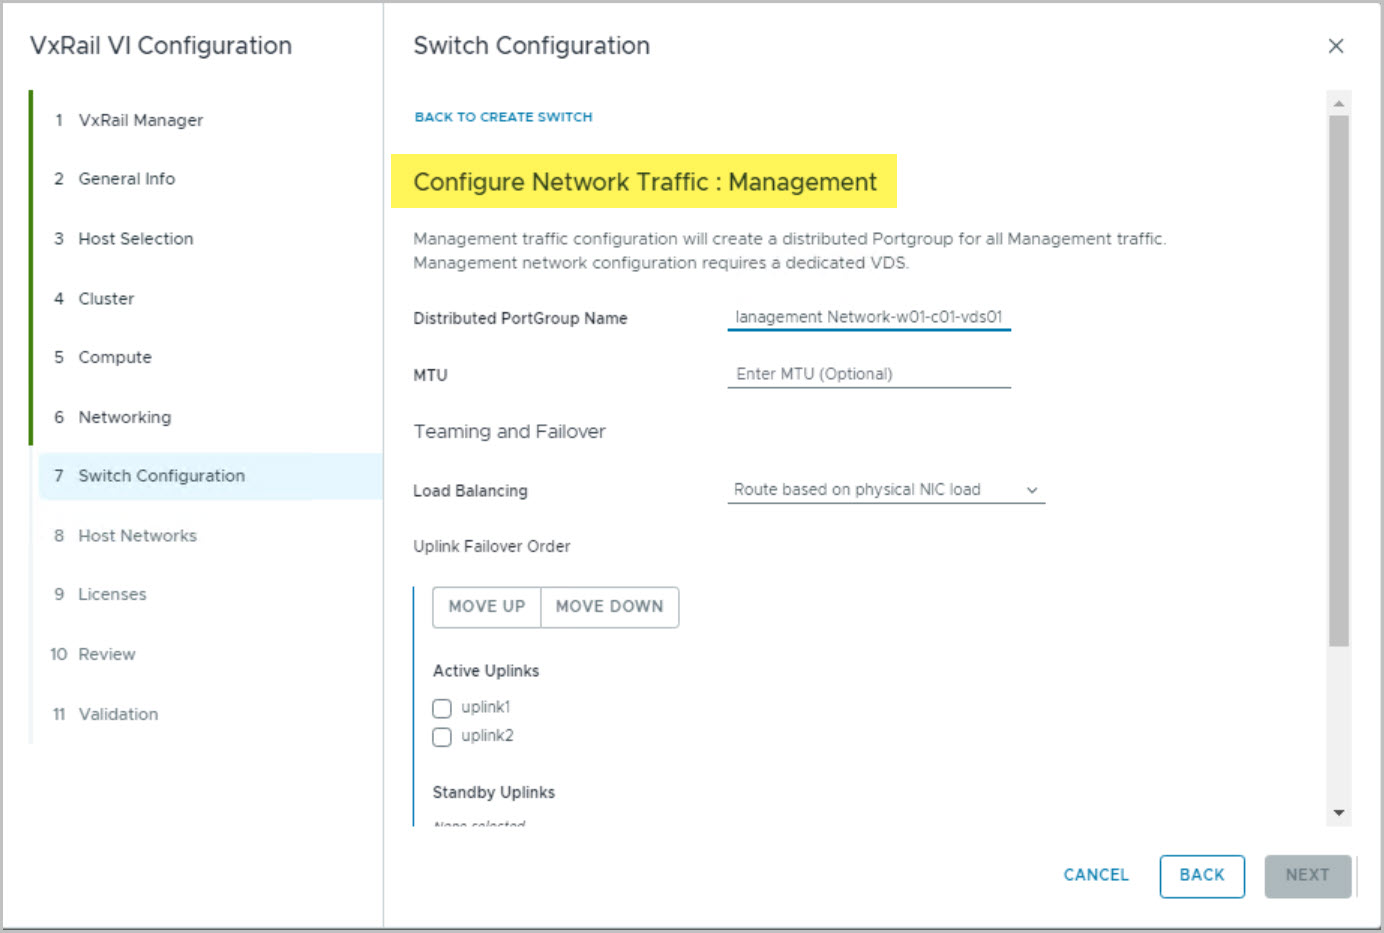
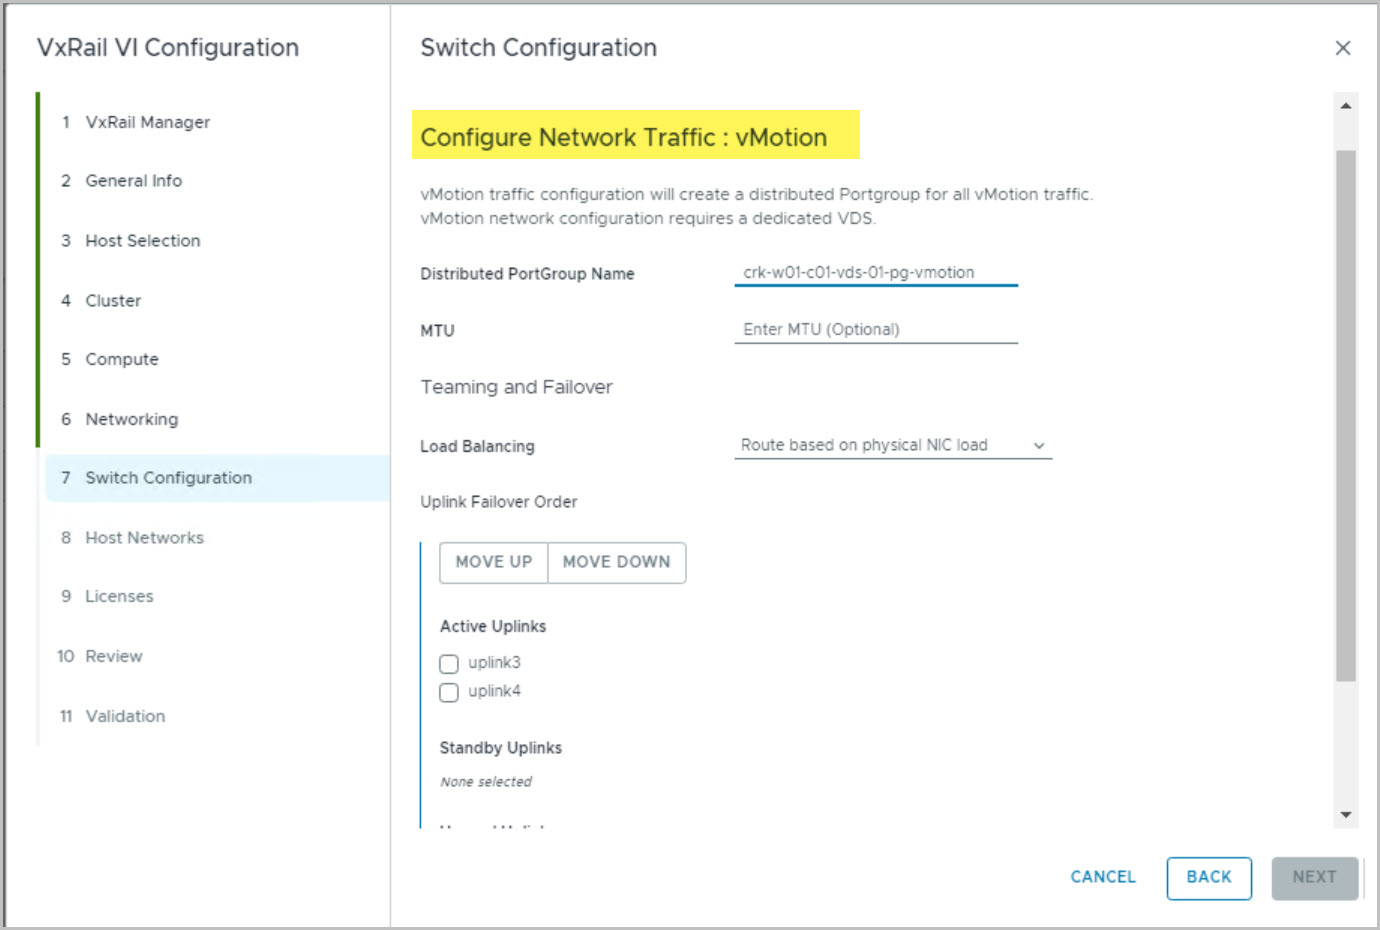
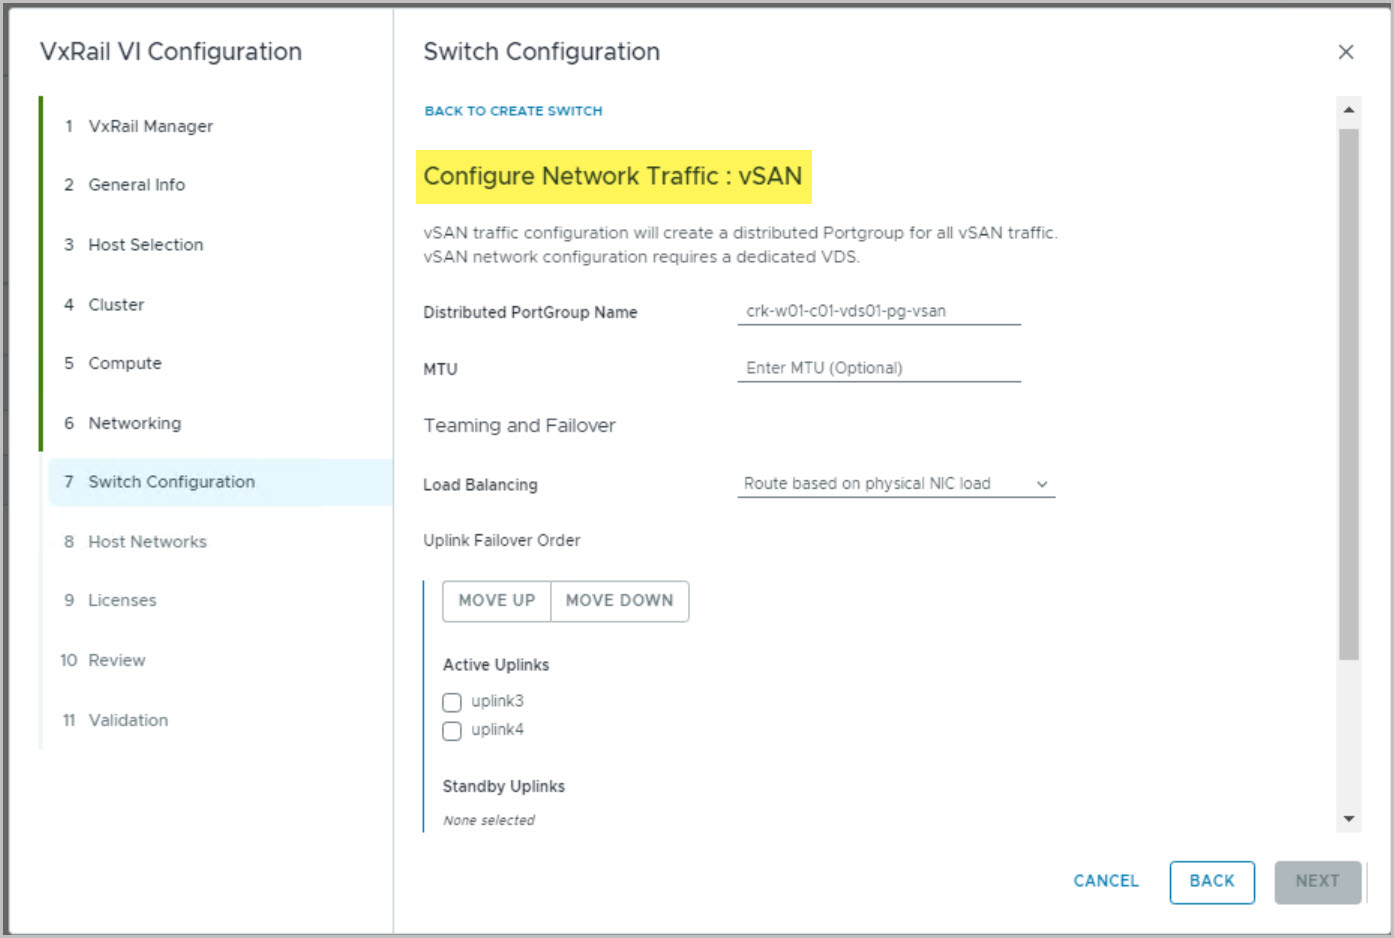
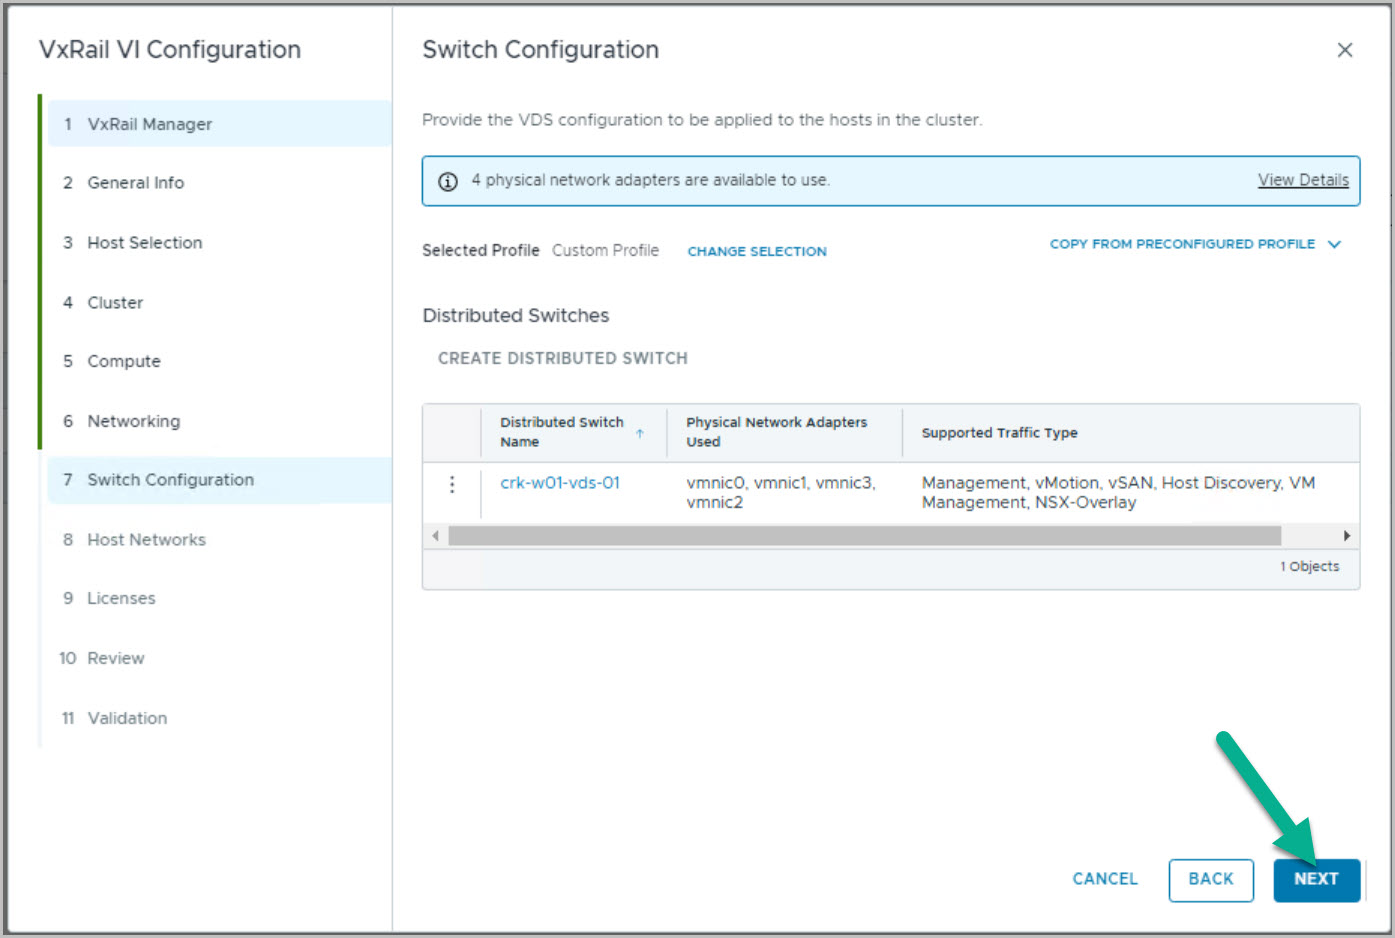
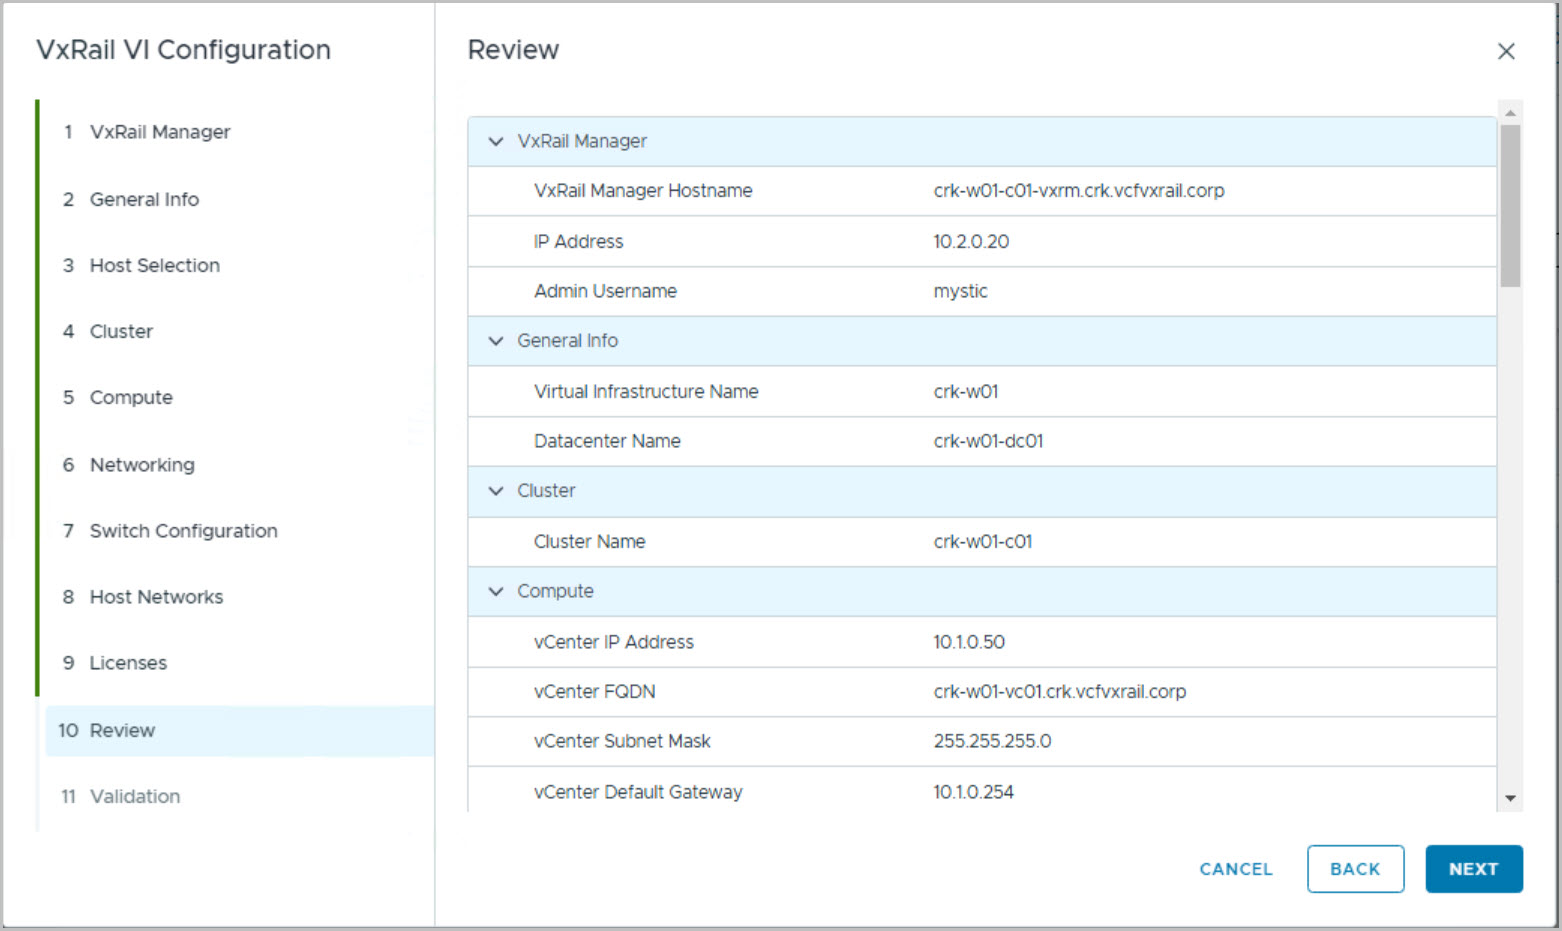
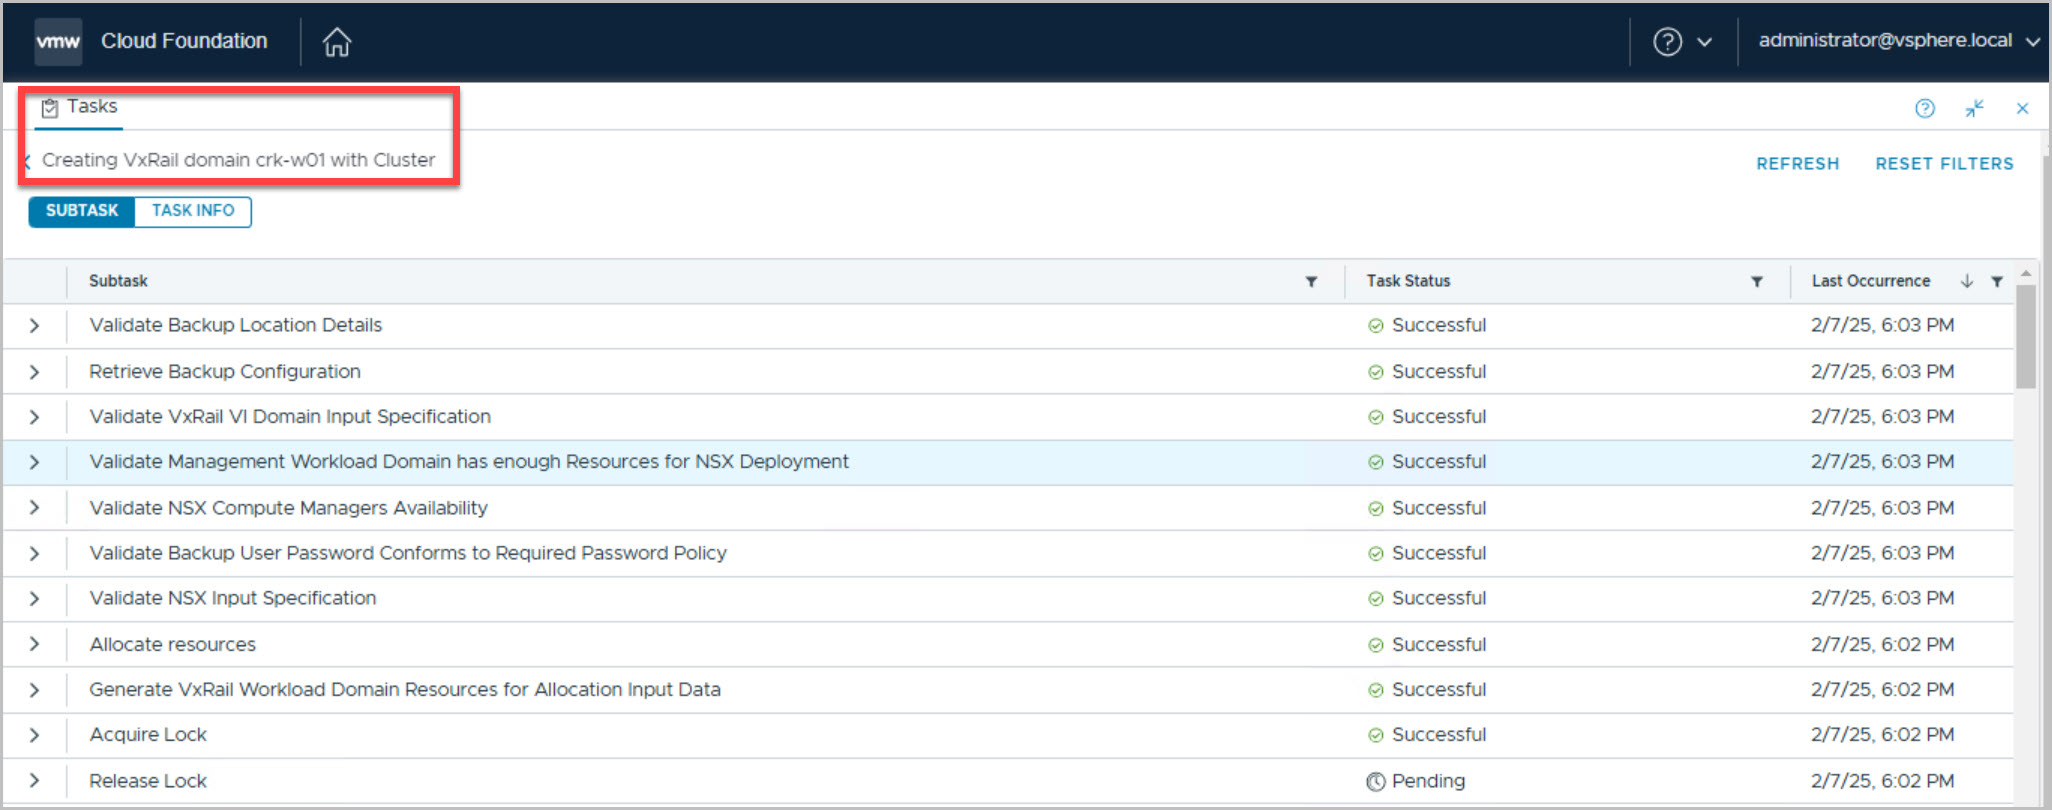
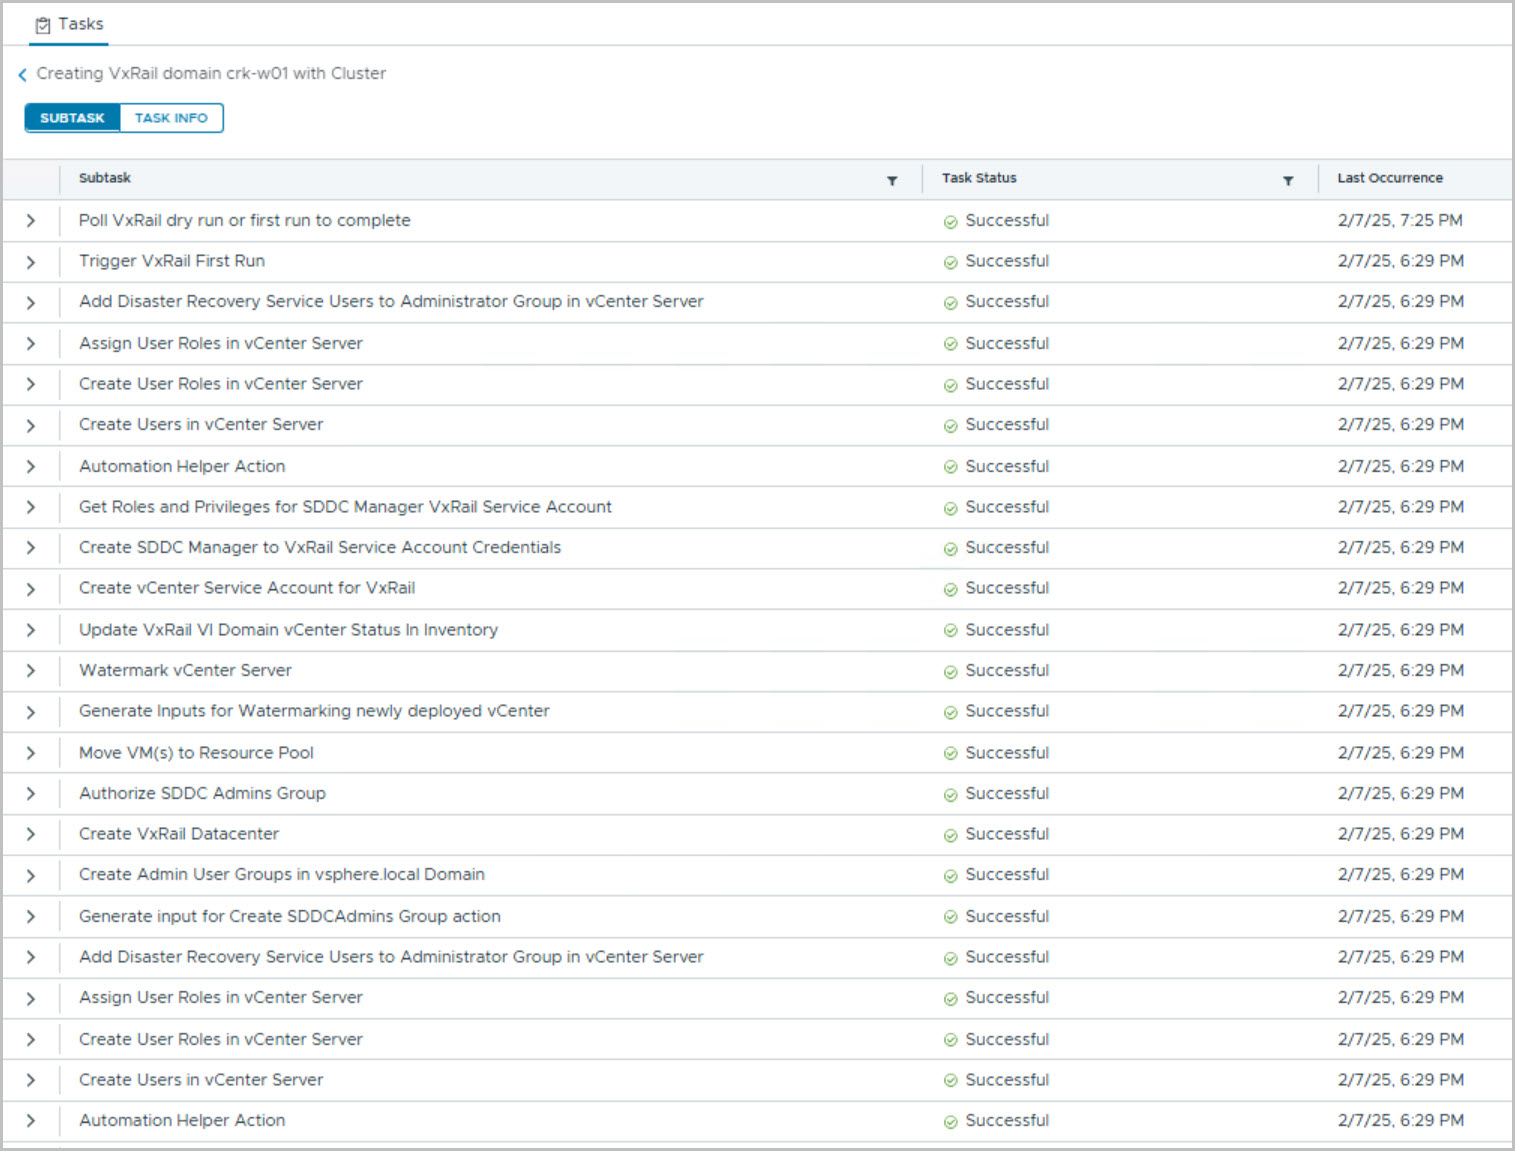
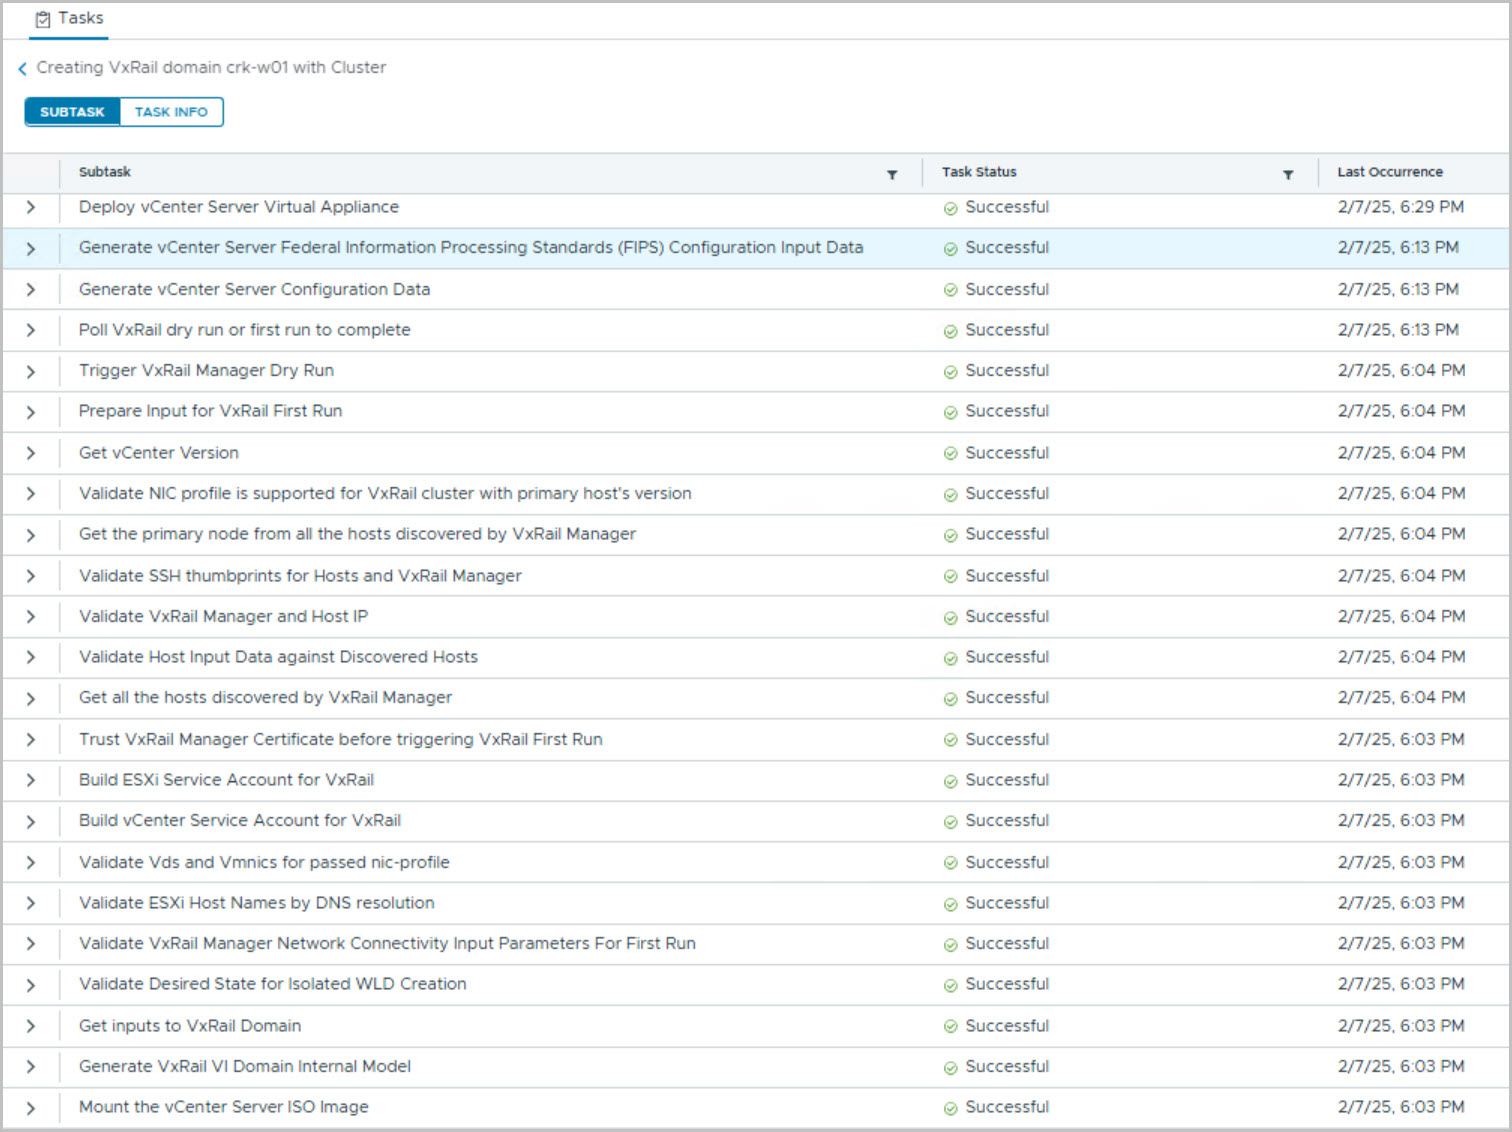
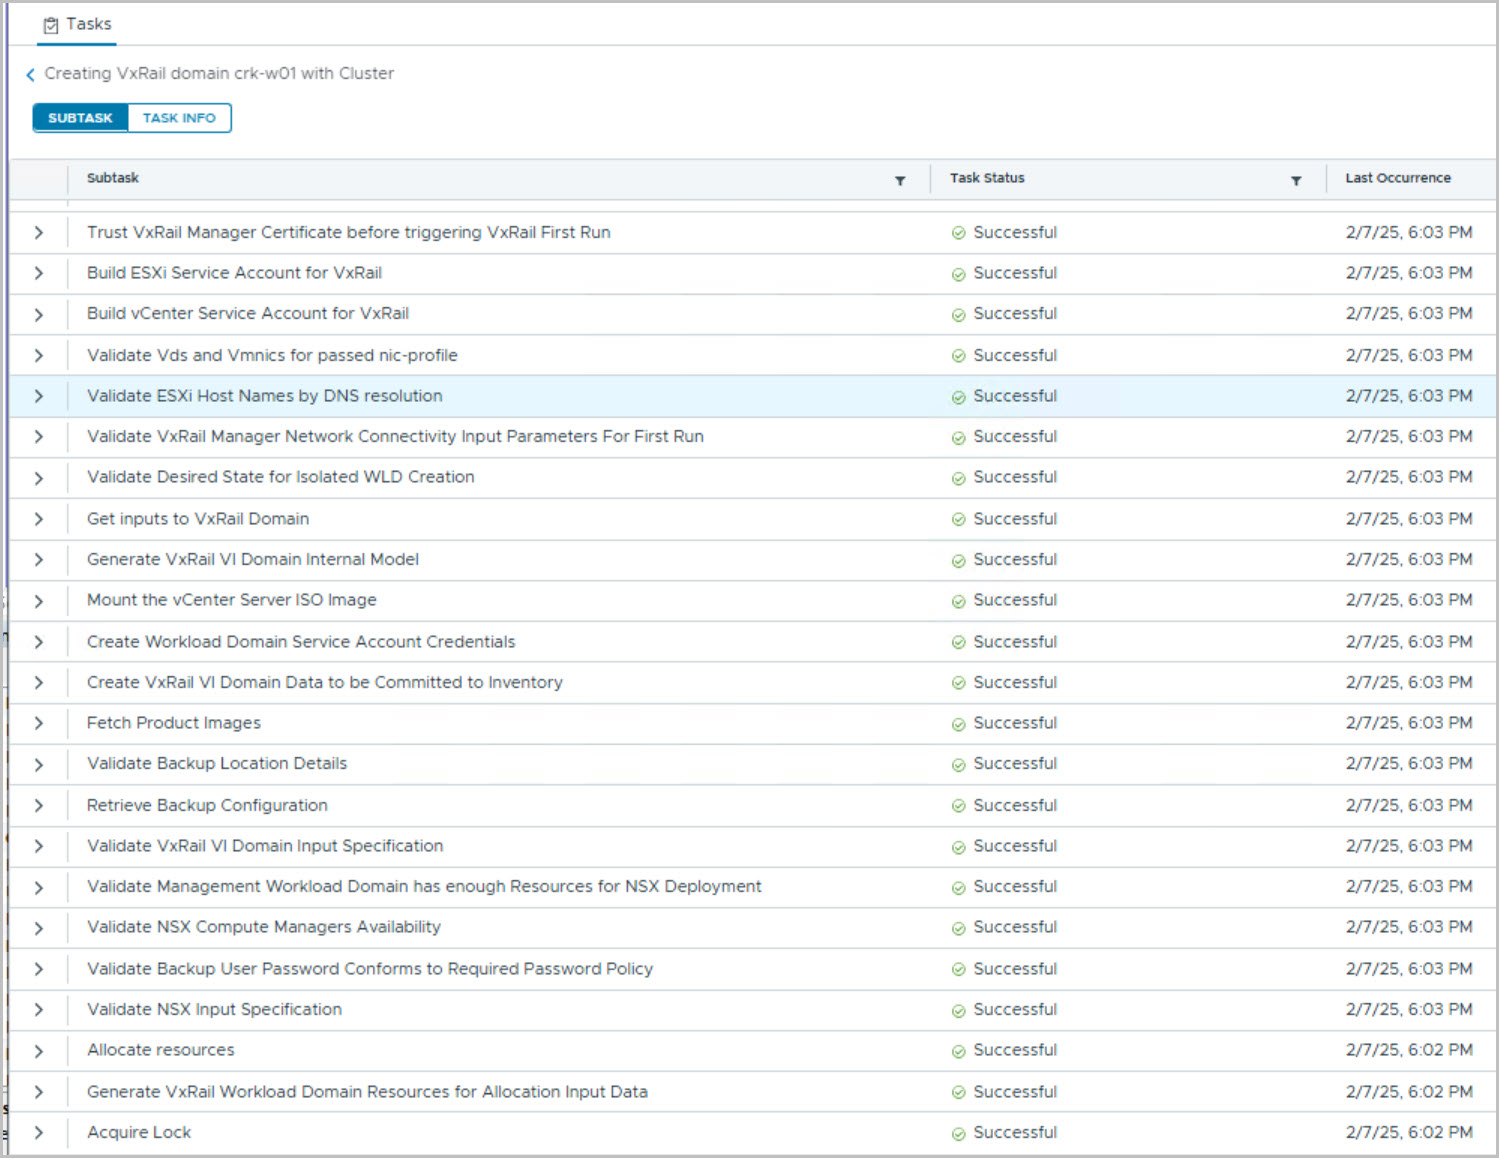
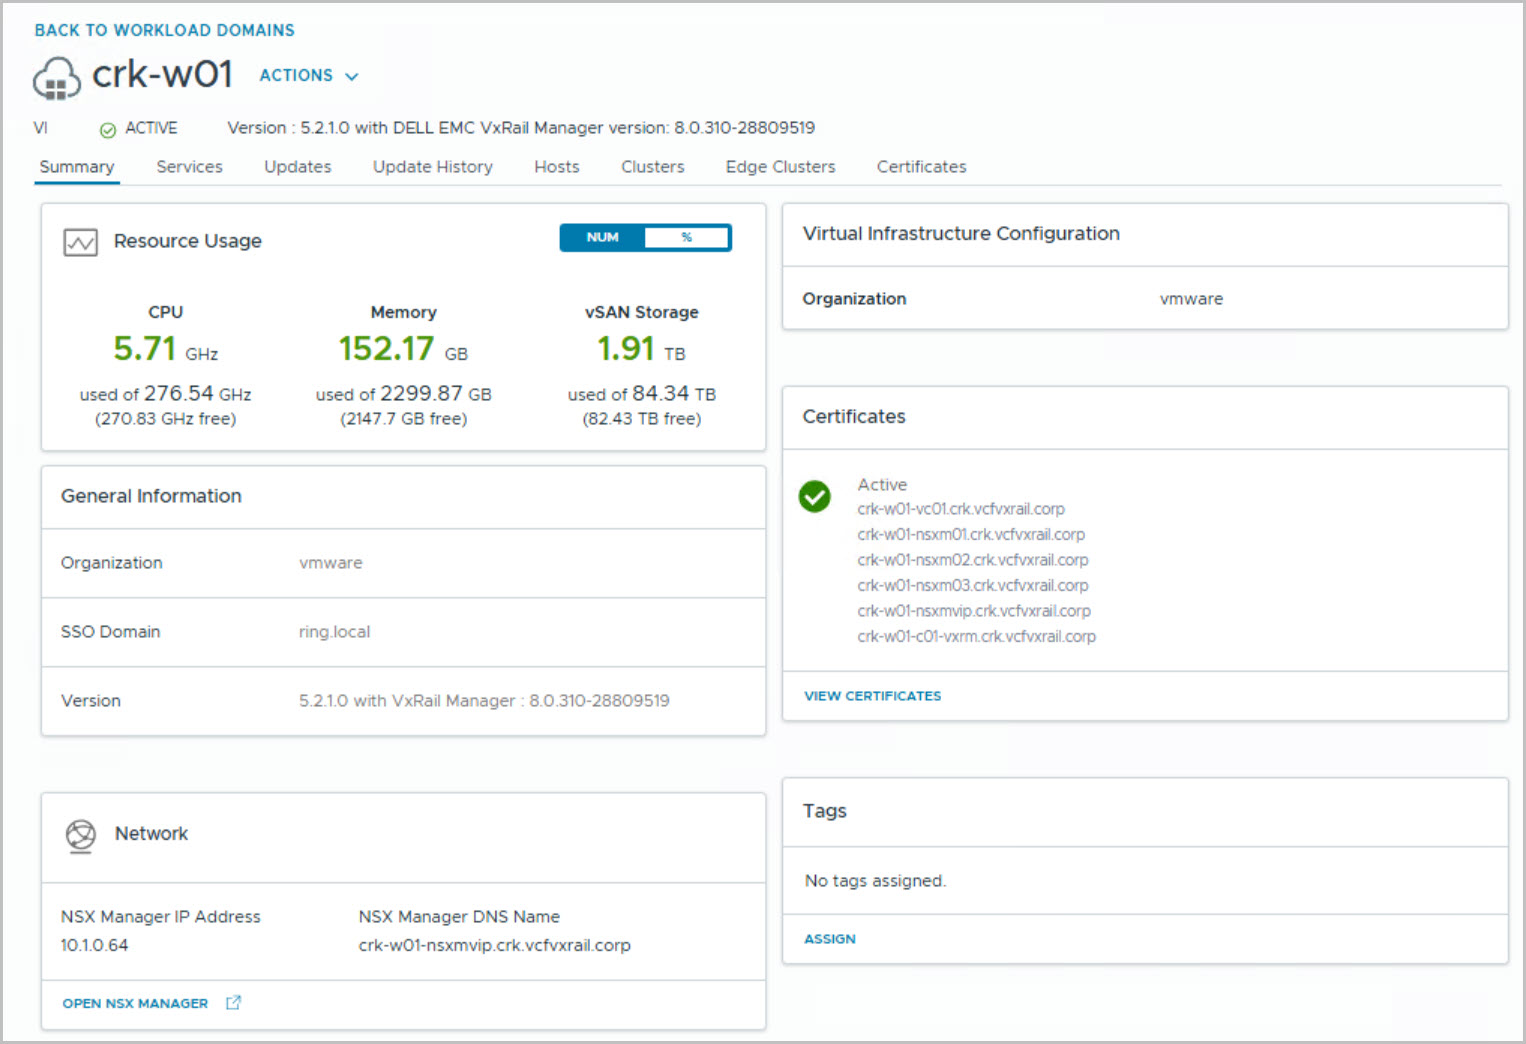
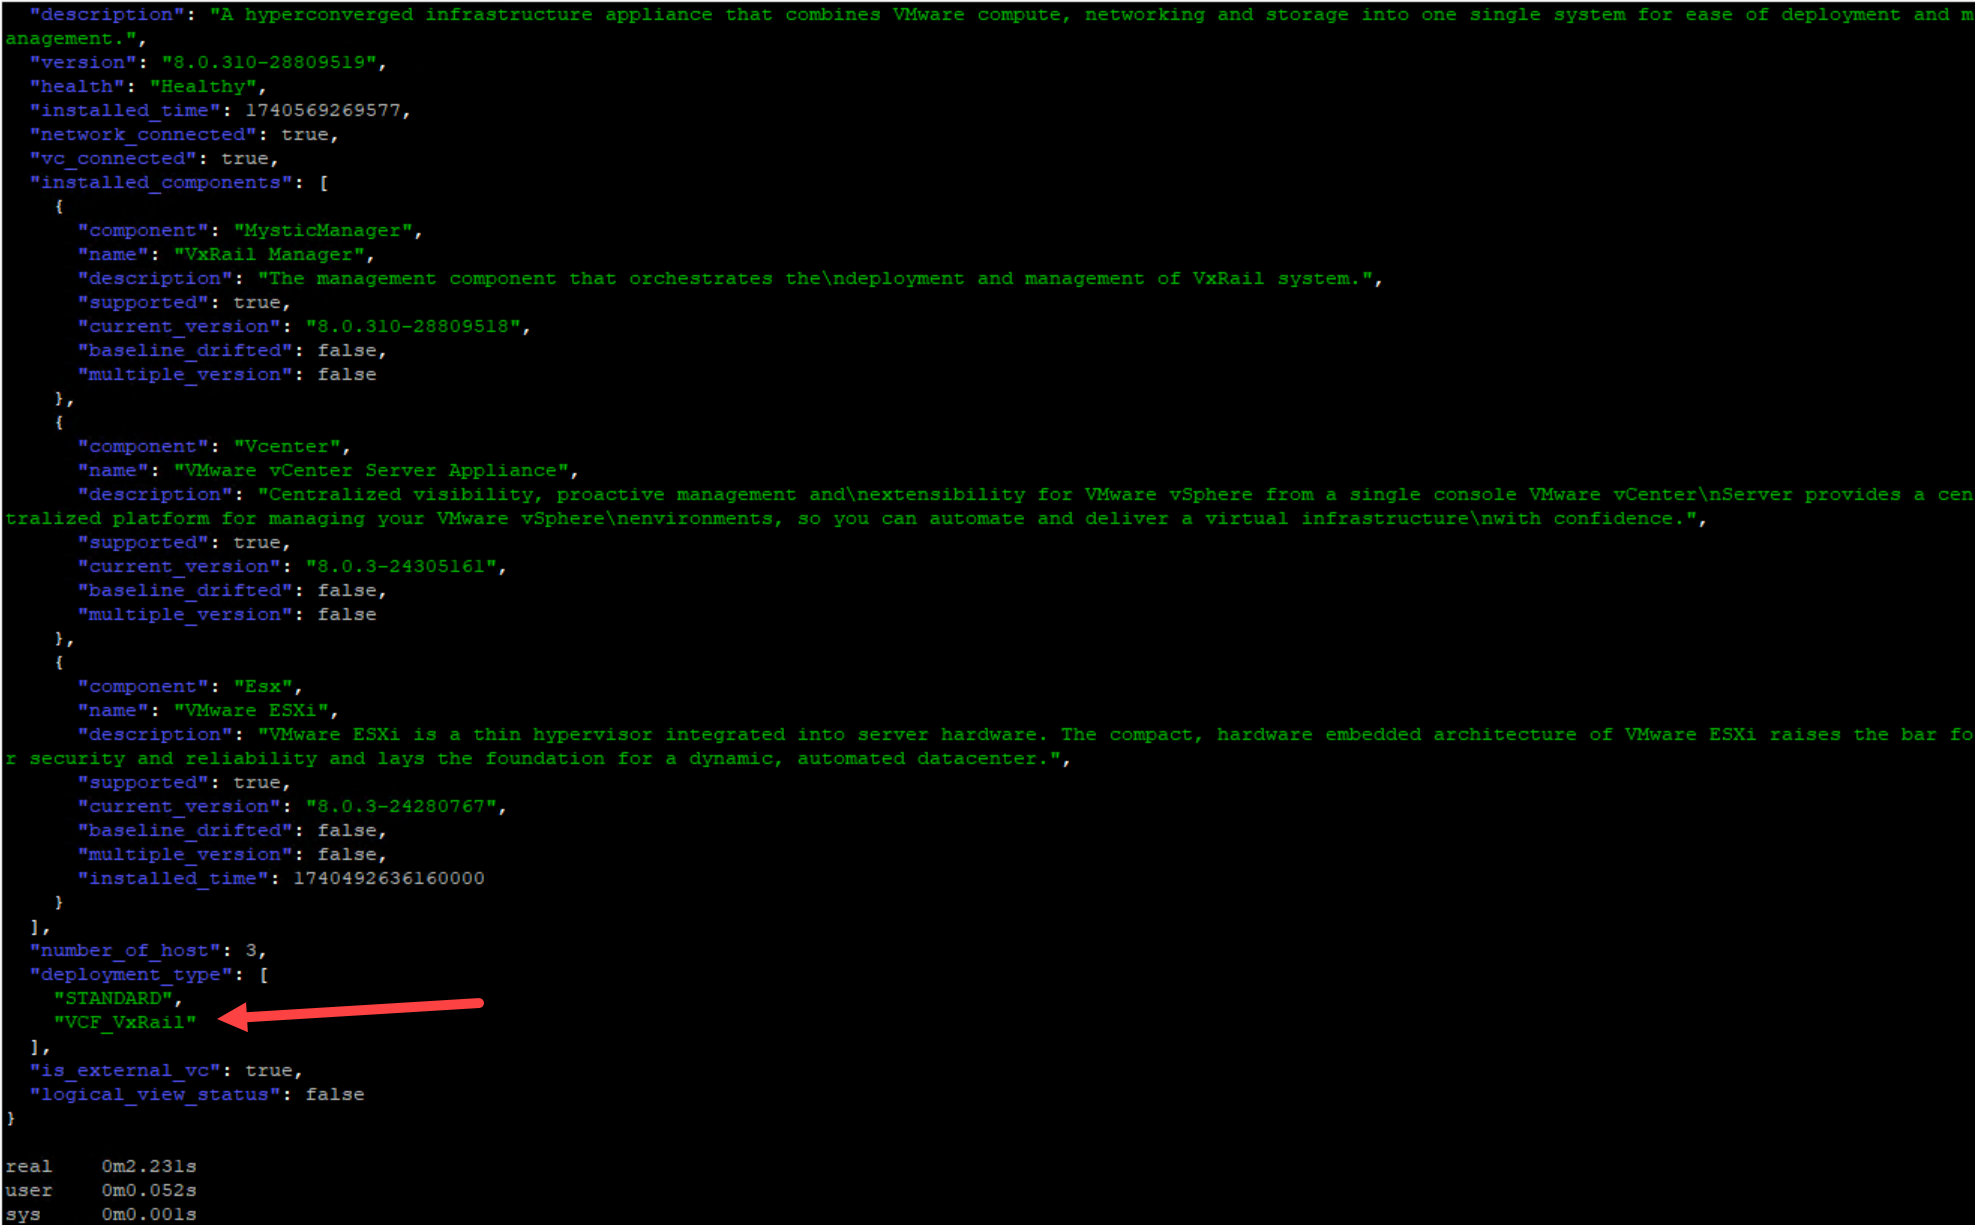
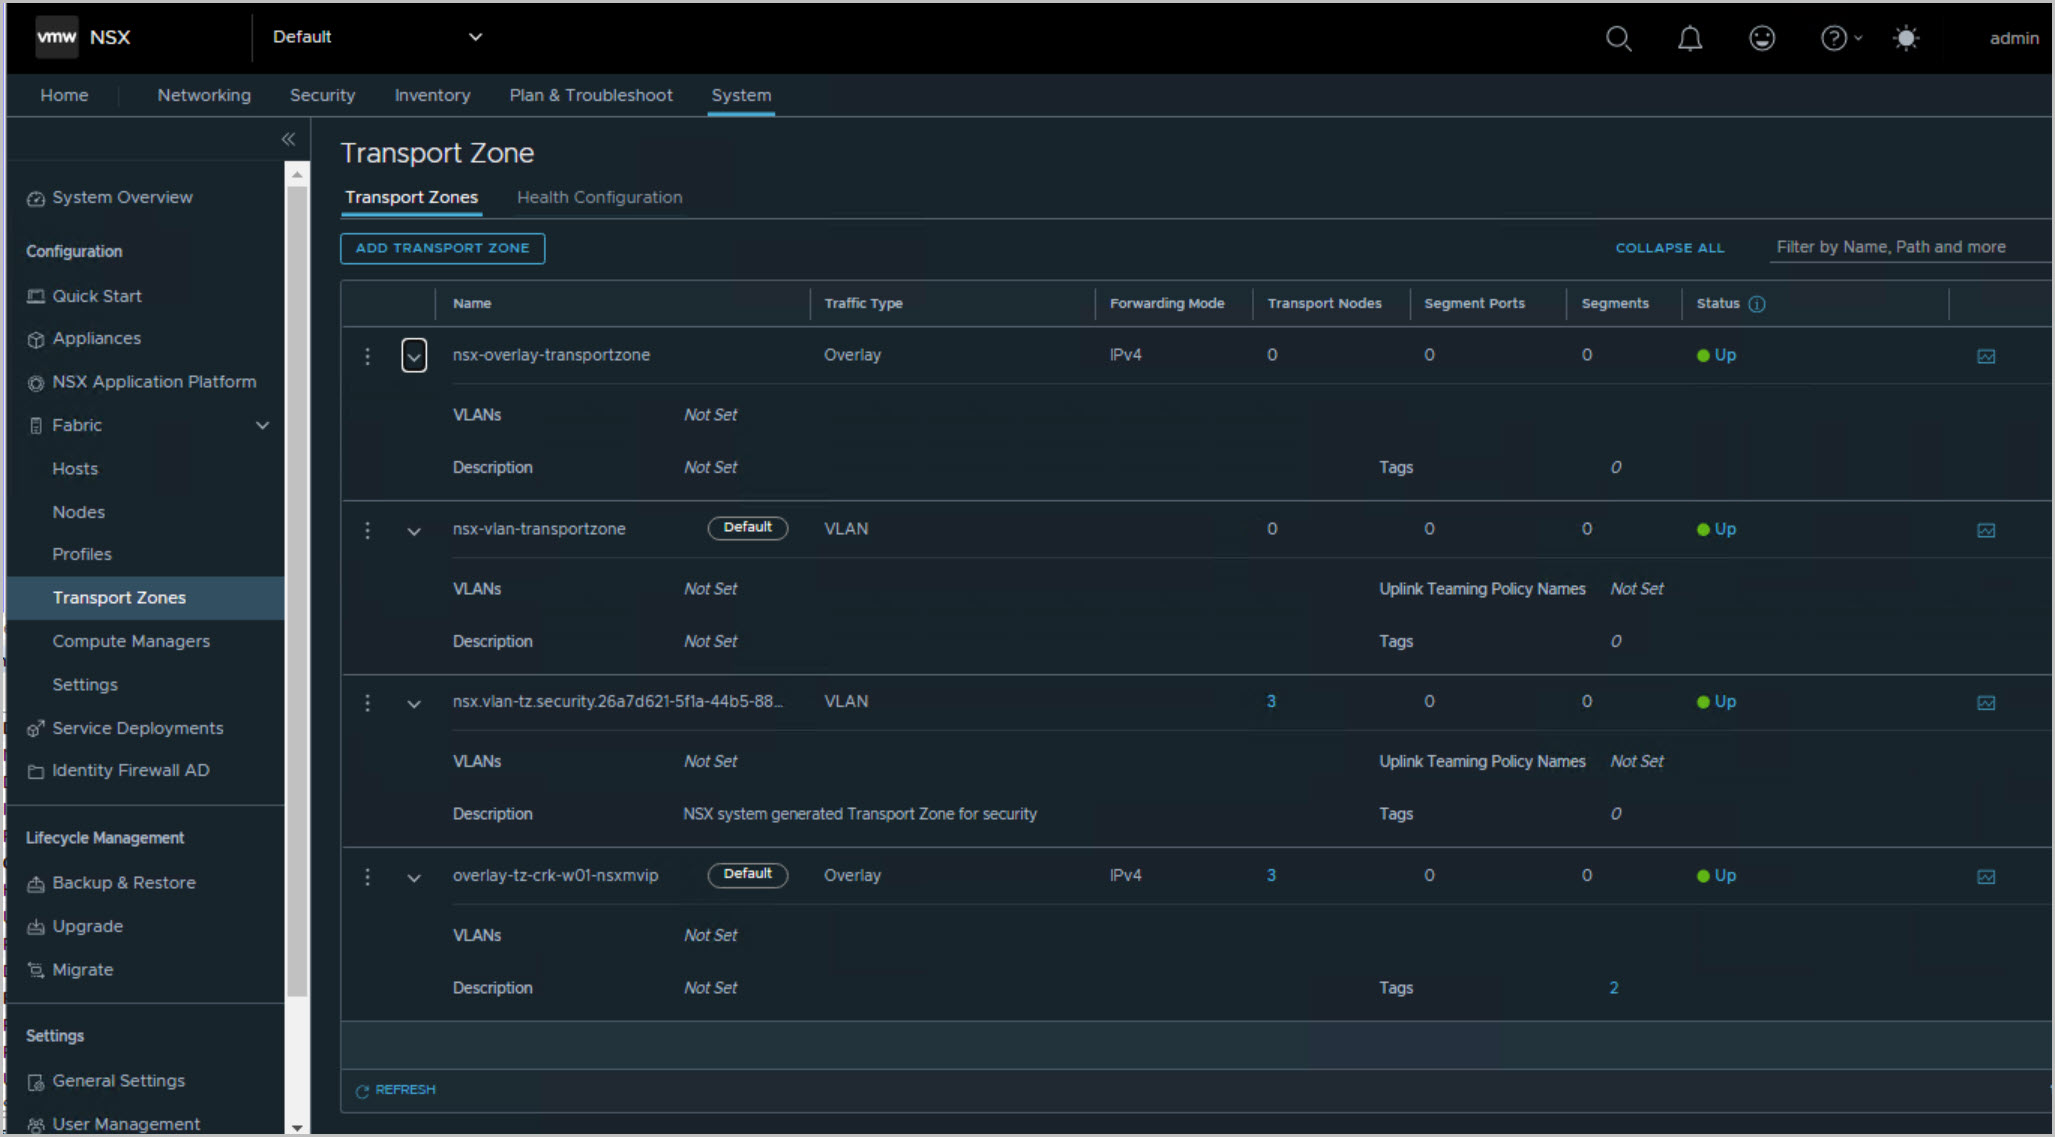
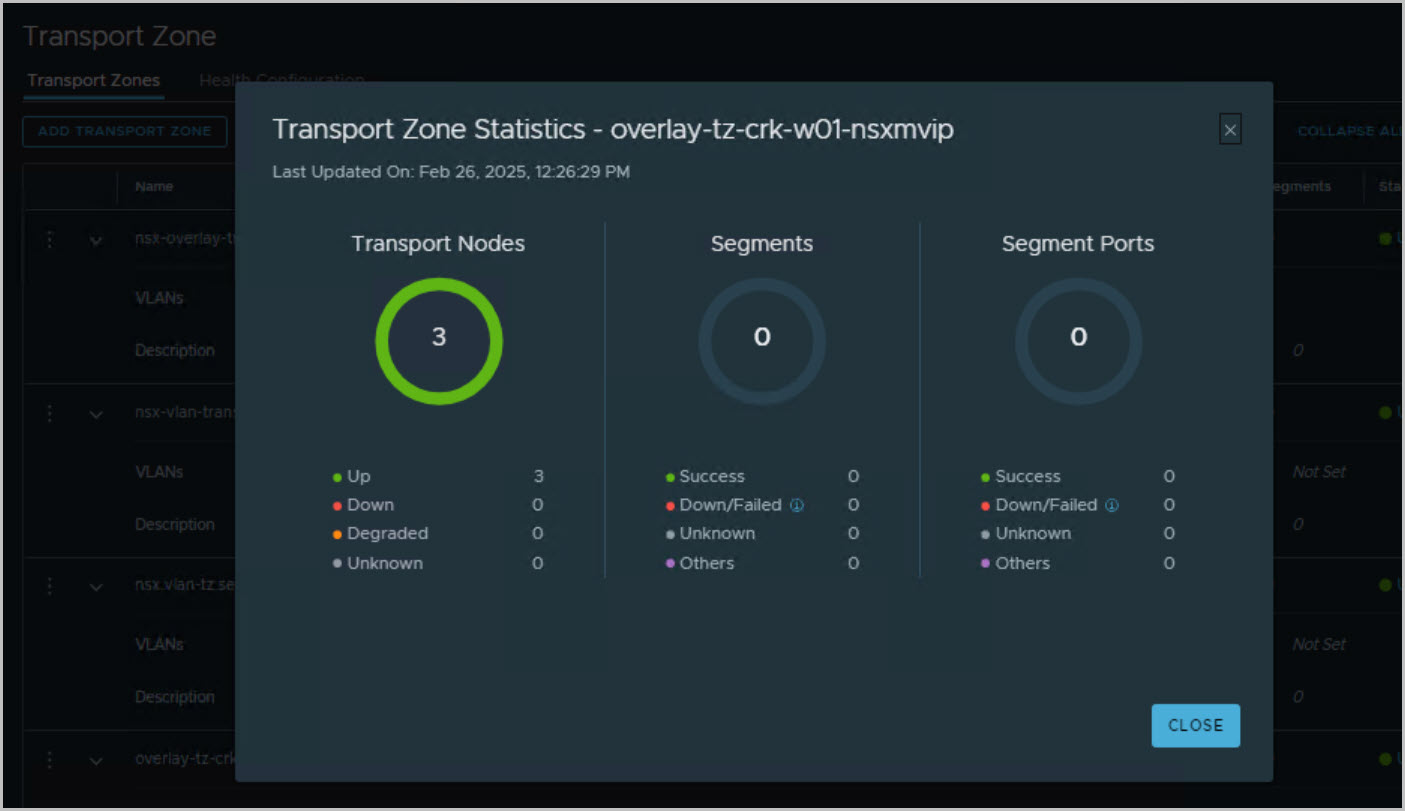
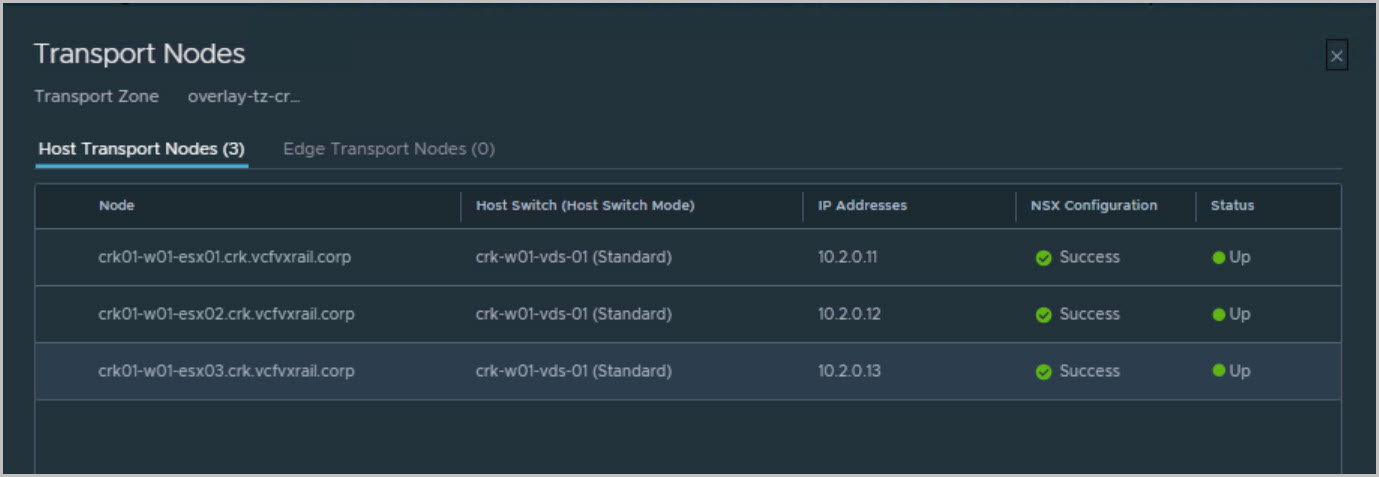
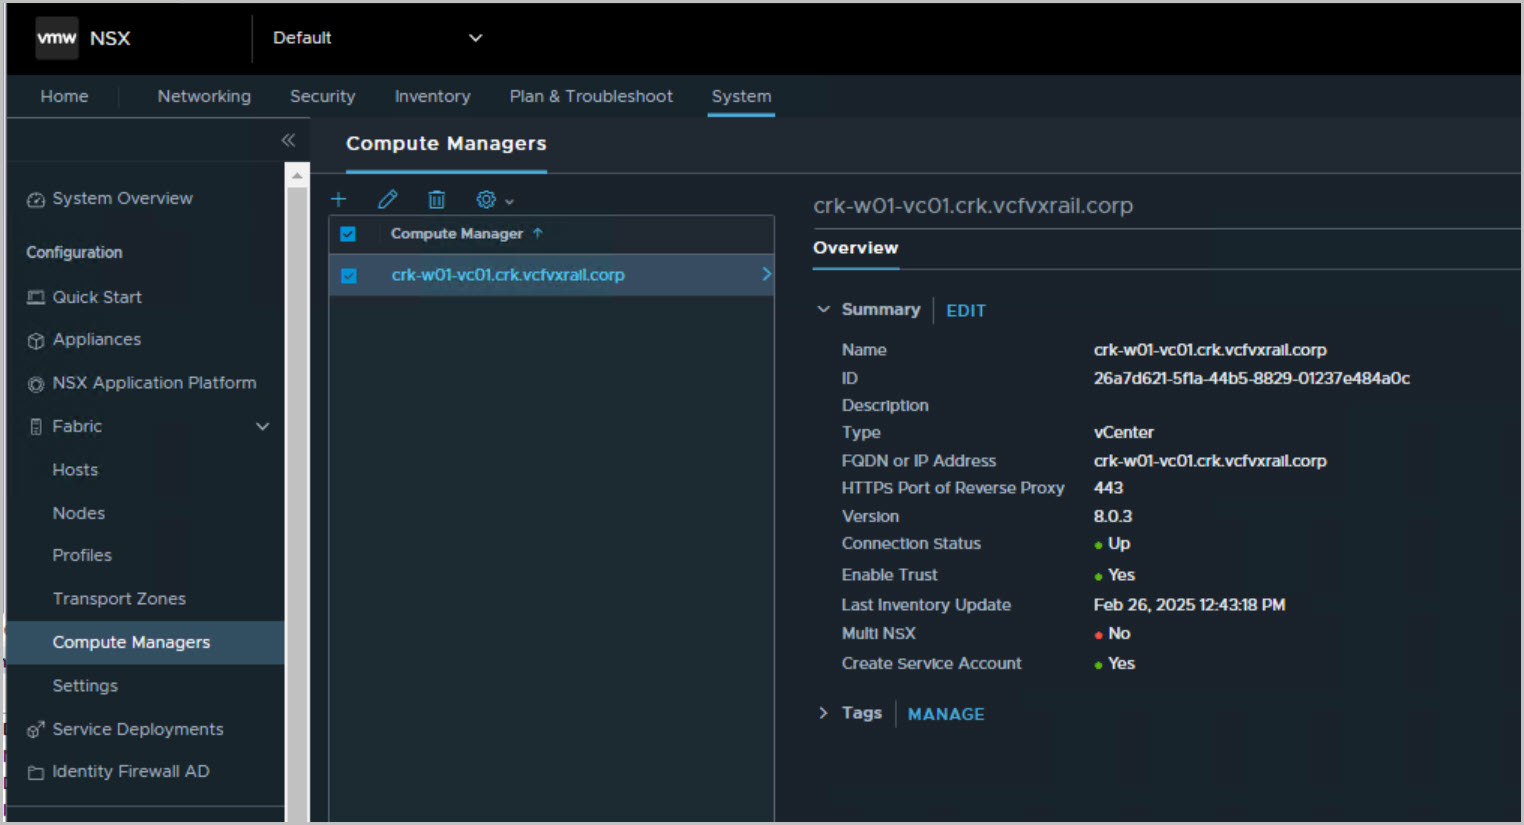
Users can create a vLCM-based workload domain (WLD) through either SDDC Manager using WFO UI or WFO API script method. The UI method is captured in the screenshot below showcasing enabling the checkbox: Manage clusters in this workload
You can view a list of prerequisites and an overview of the procedure on the VMware site here.
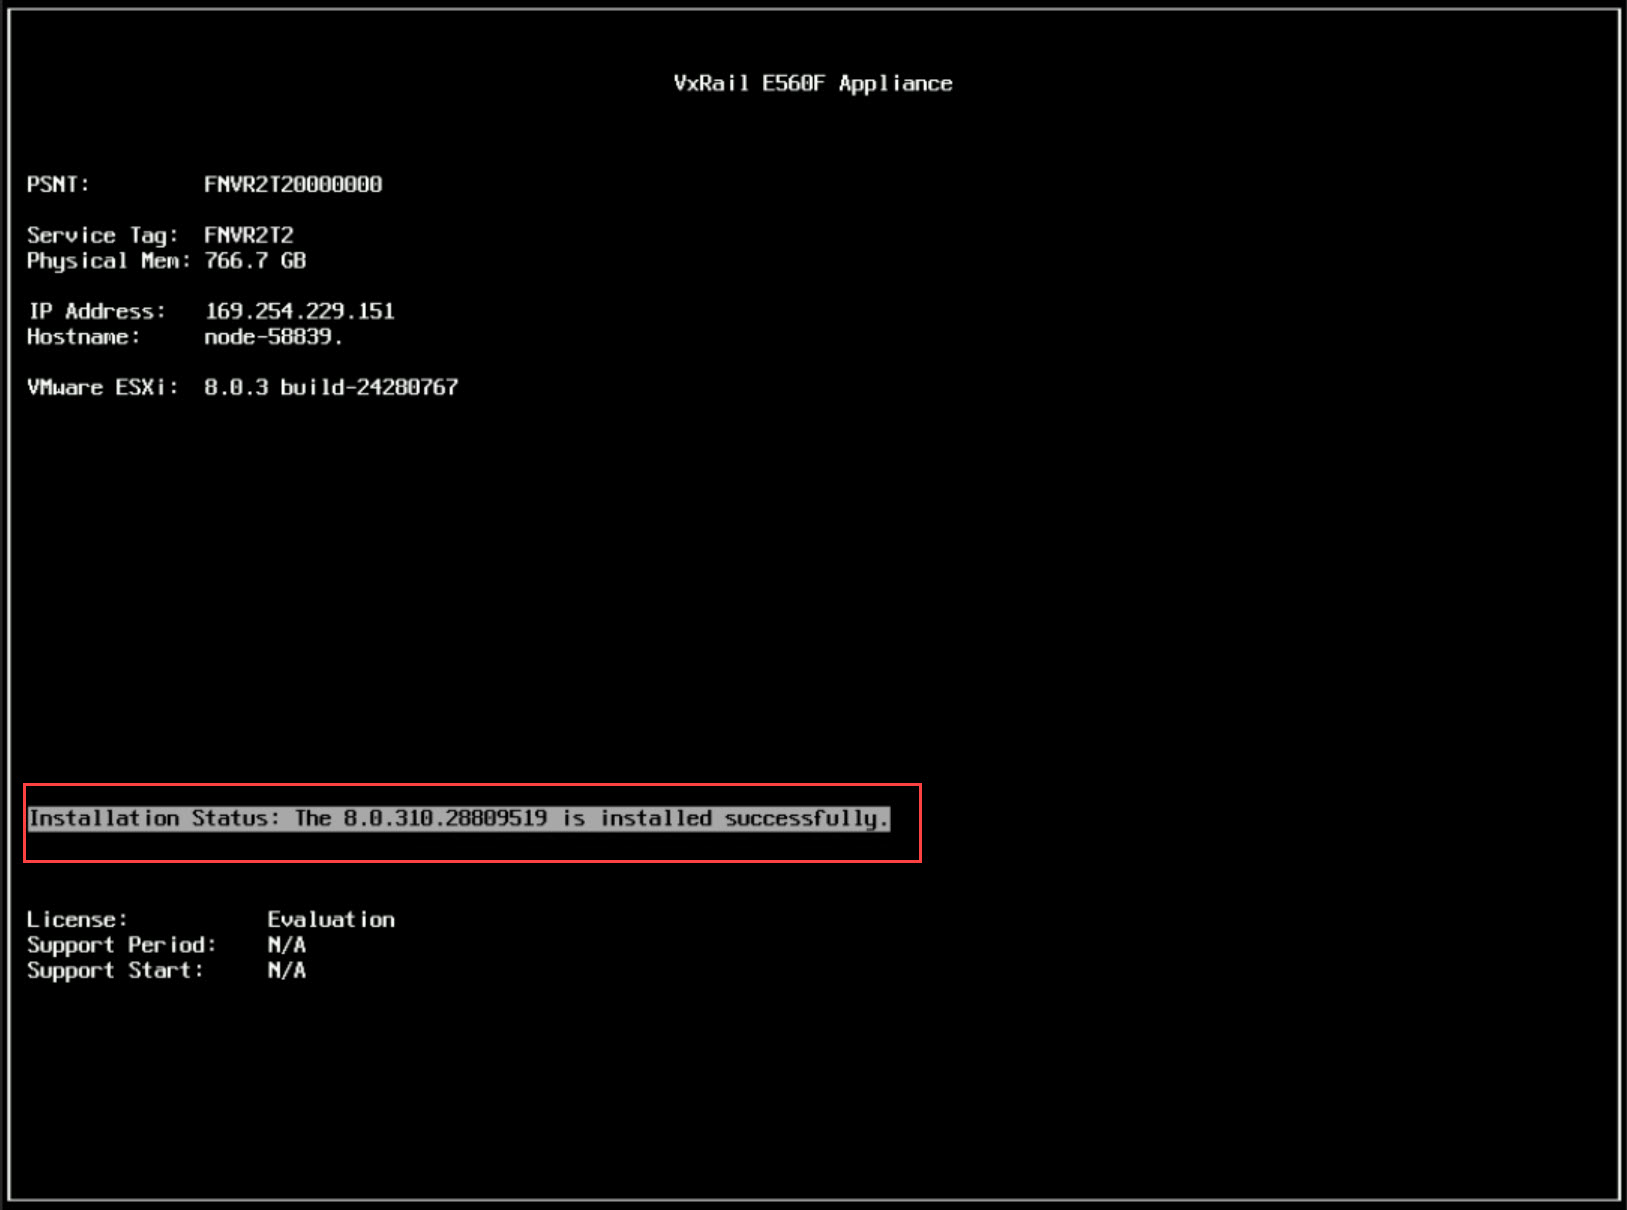
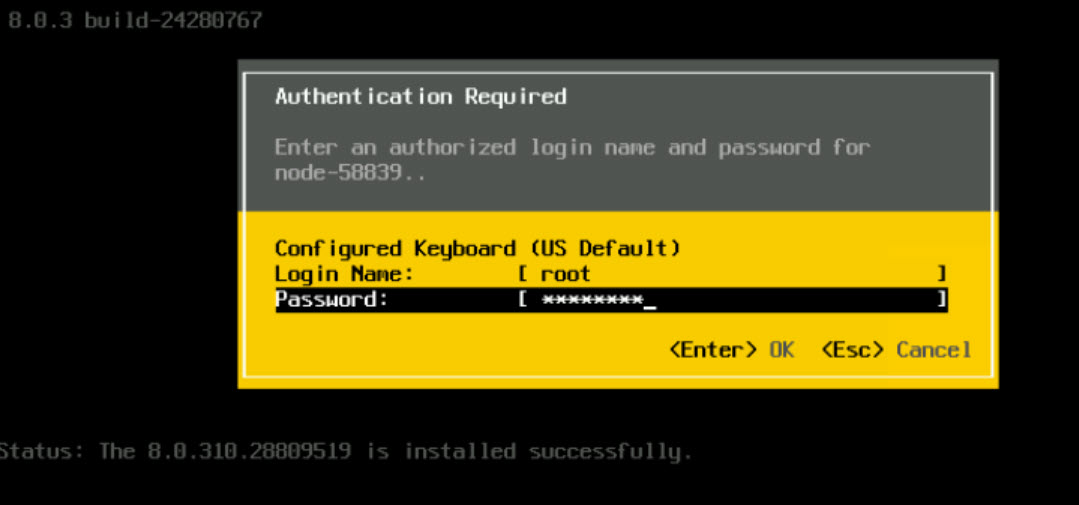
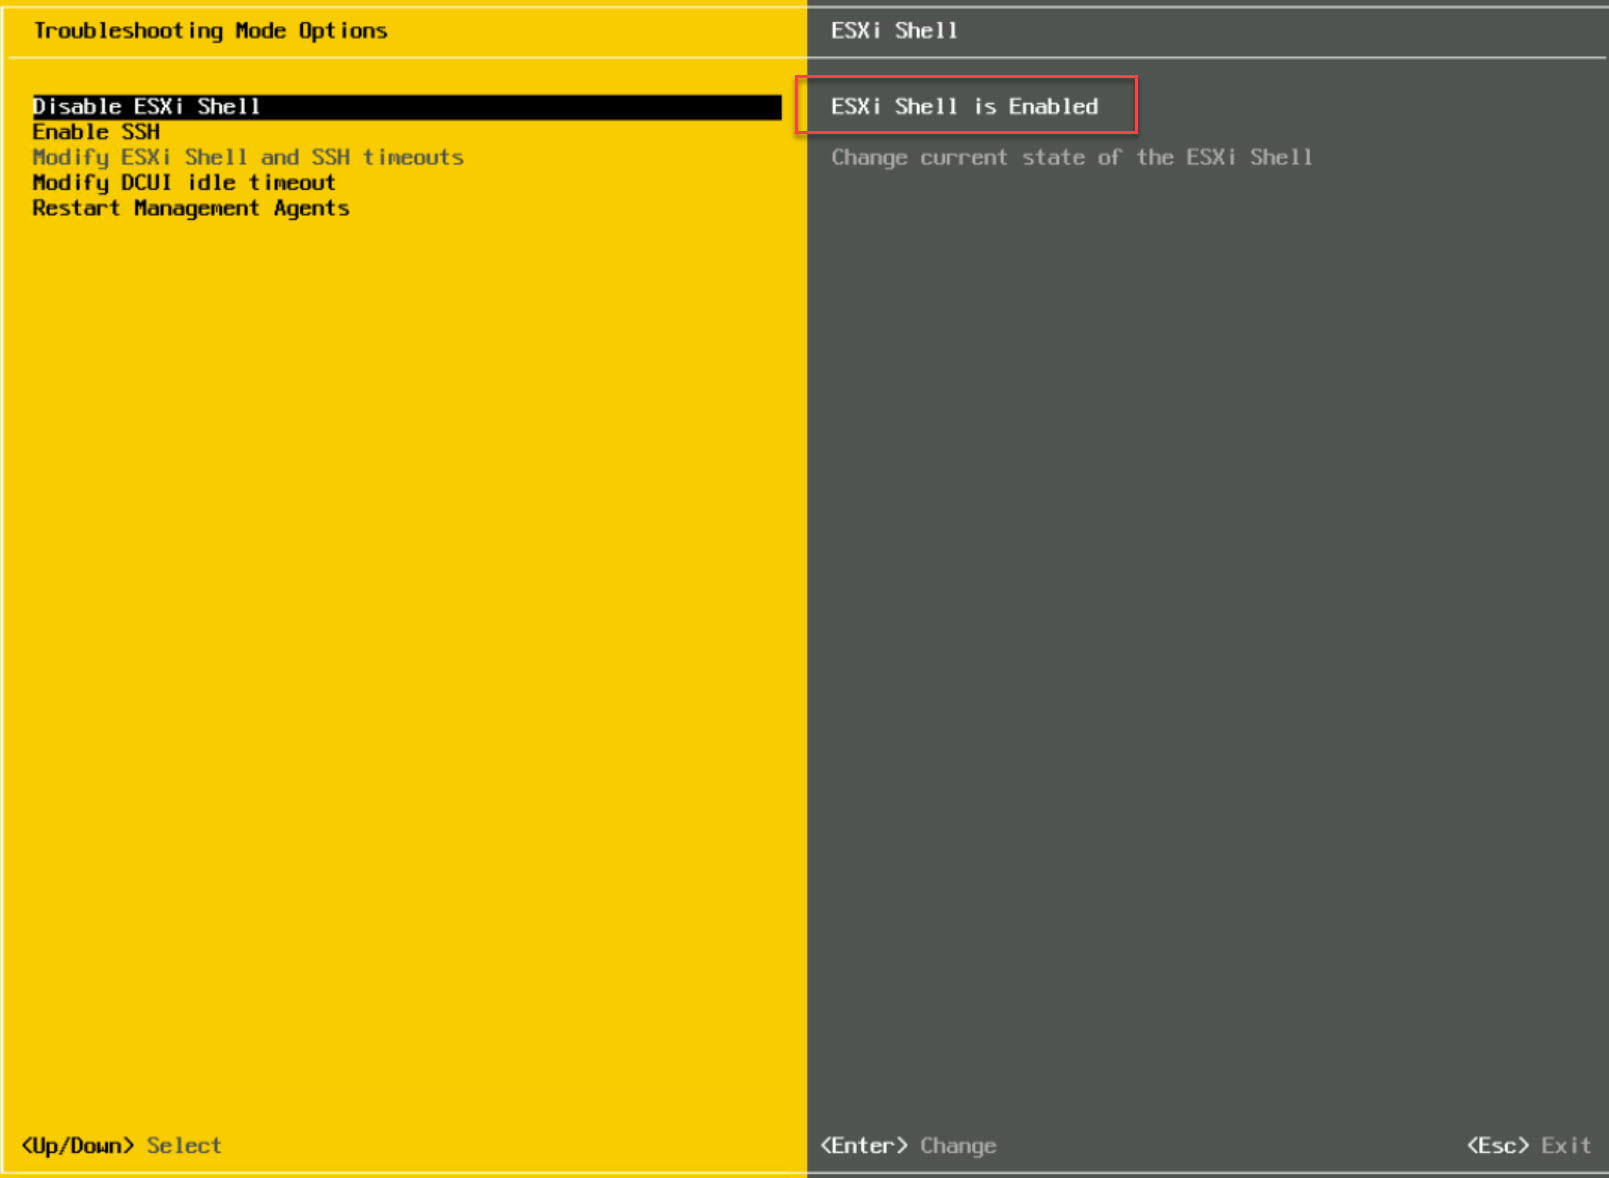
Note: this is an example for reference only please use the VxRail Solve installation procedures provided by Dell.
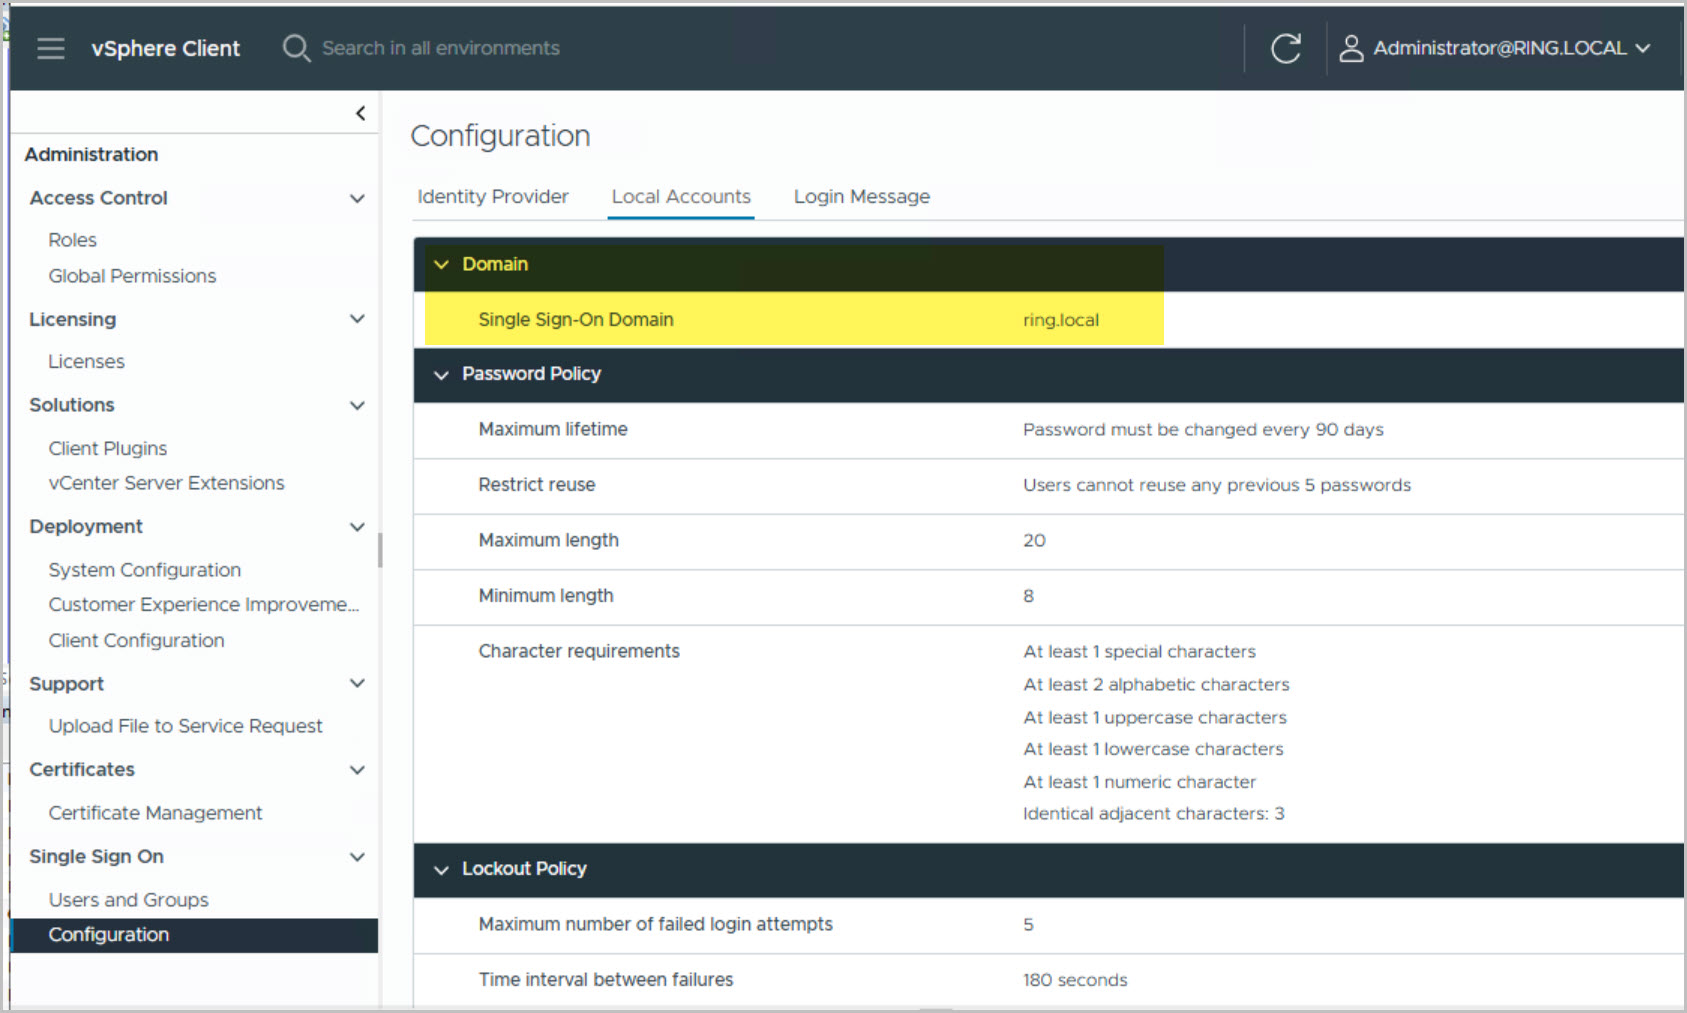
SDDC Manager – Pre-Reqs
Ensure to complete the following from within SDDC Manager UI:
Licensing details entered correctly
Repository logins authenticated successfully
Download NSX Manager bundle
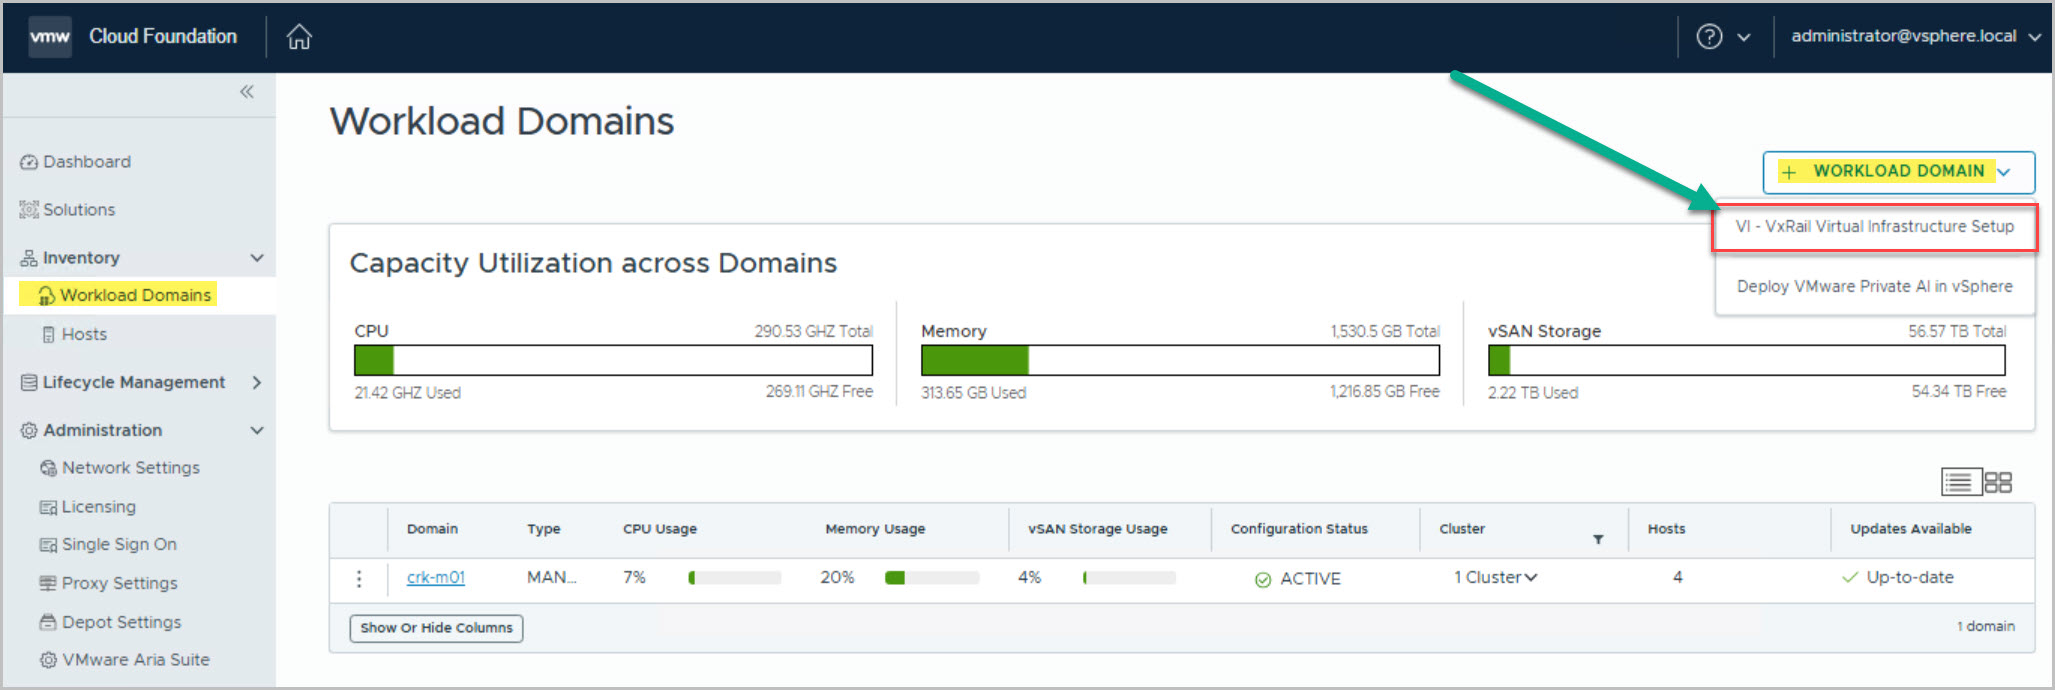
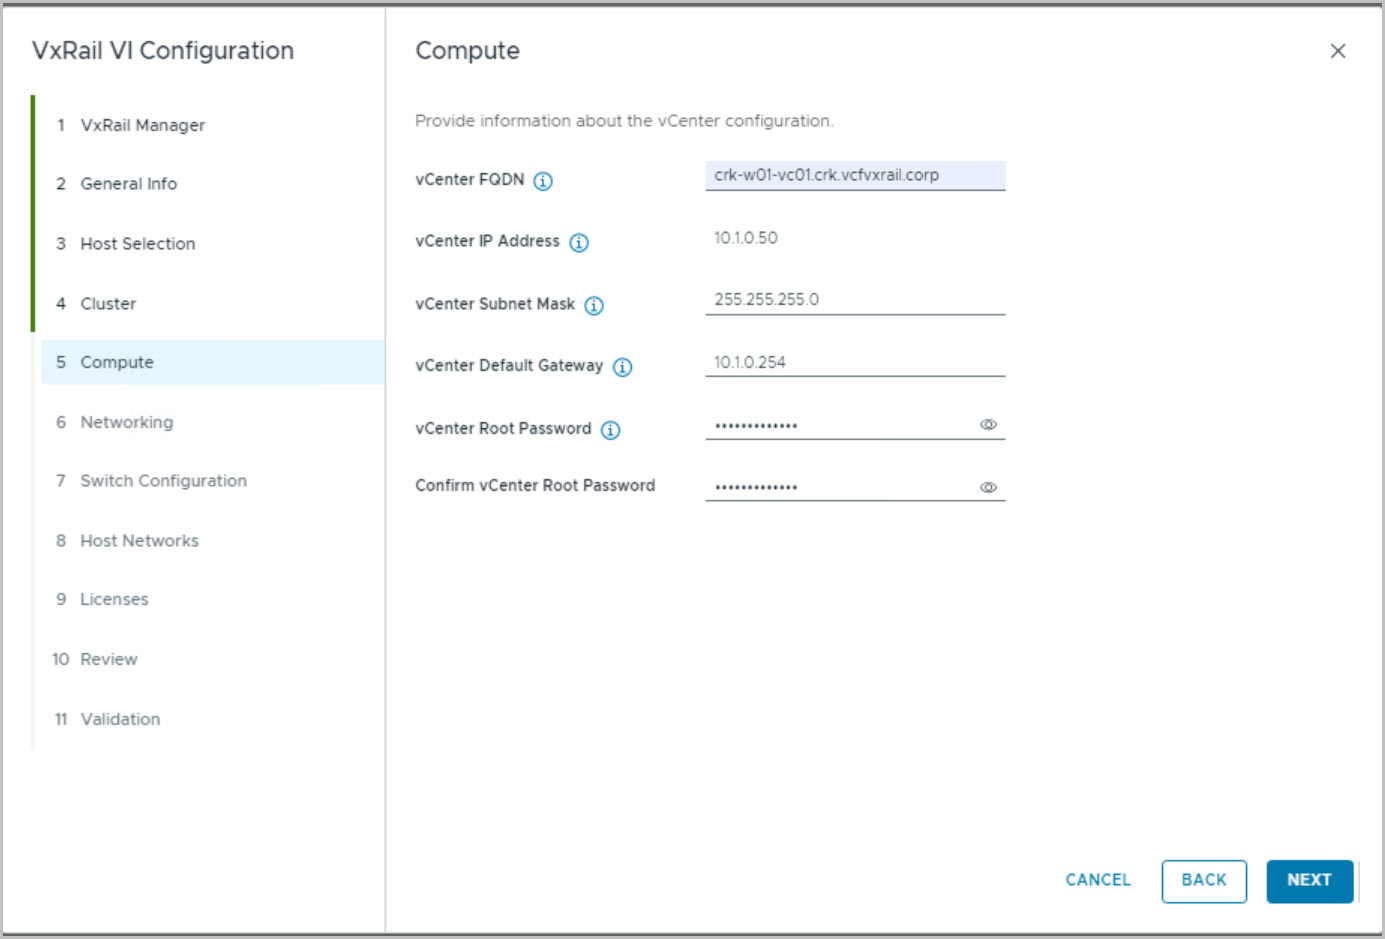
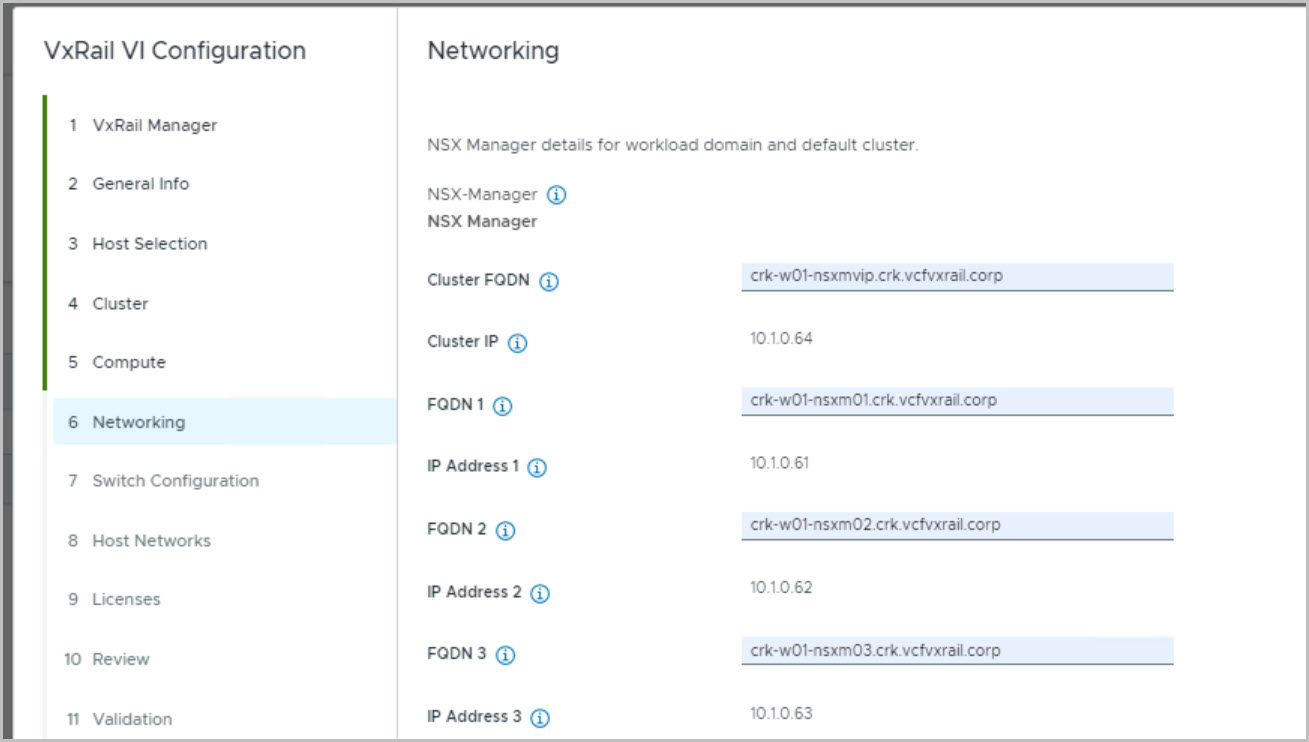
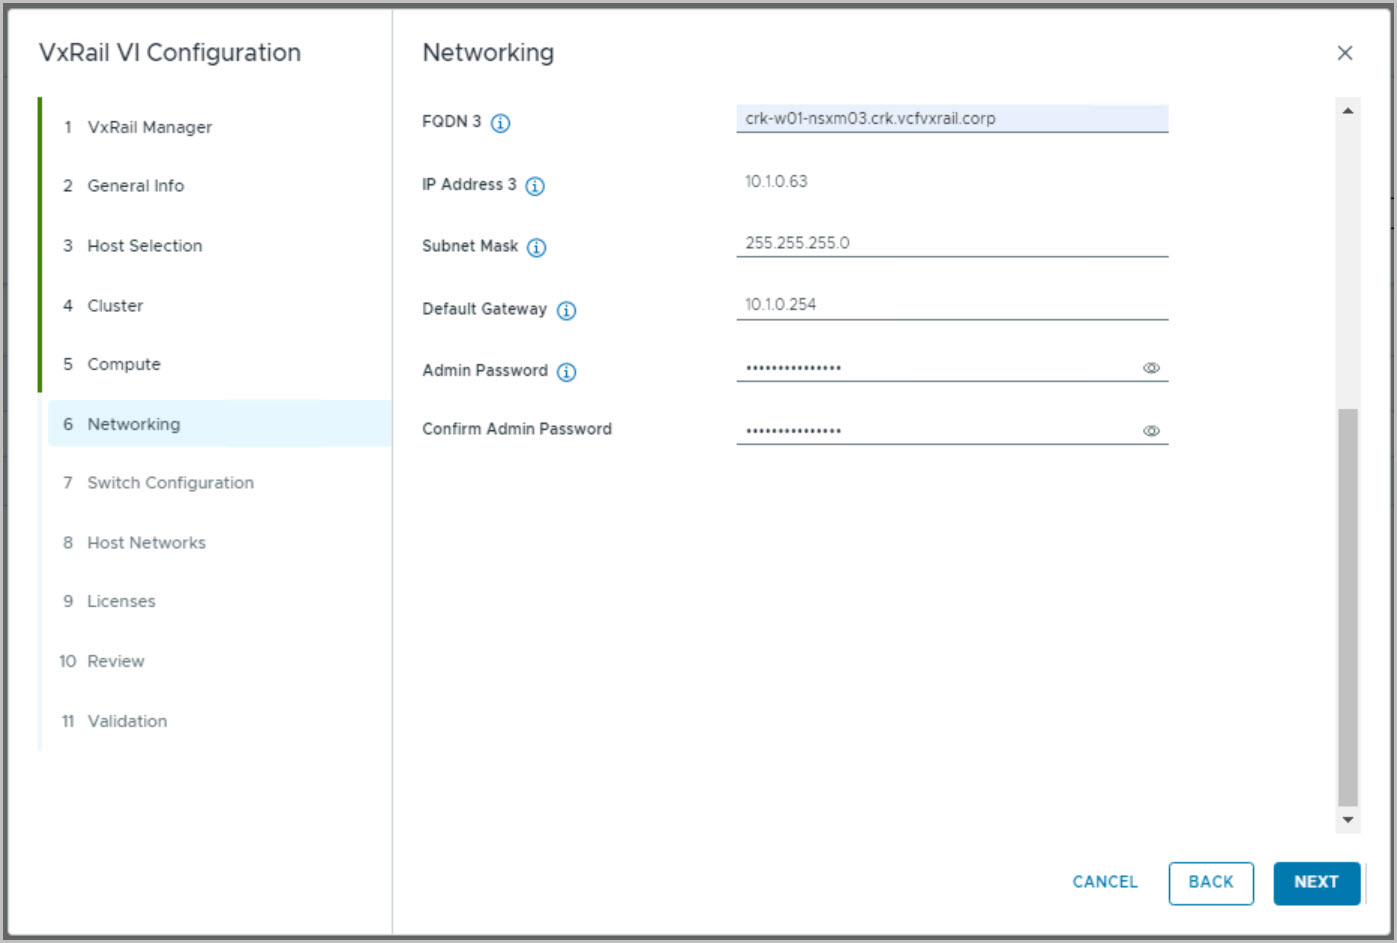
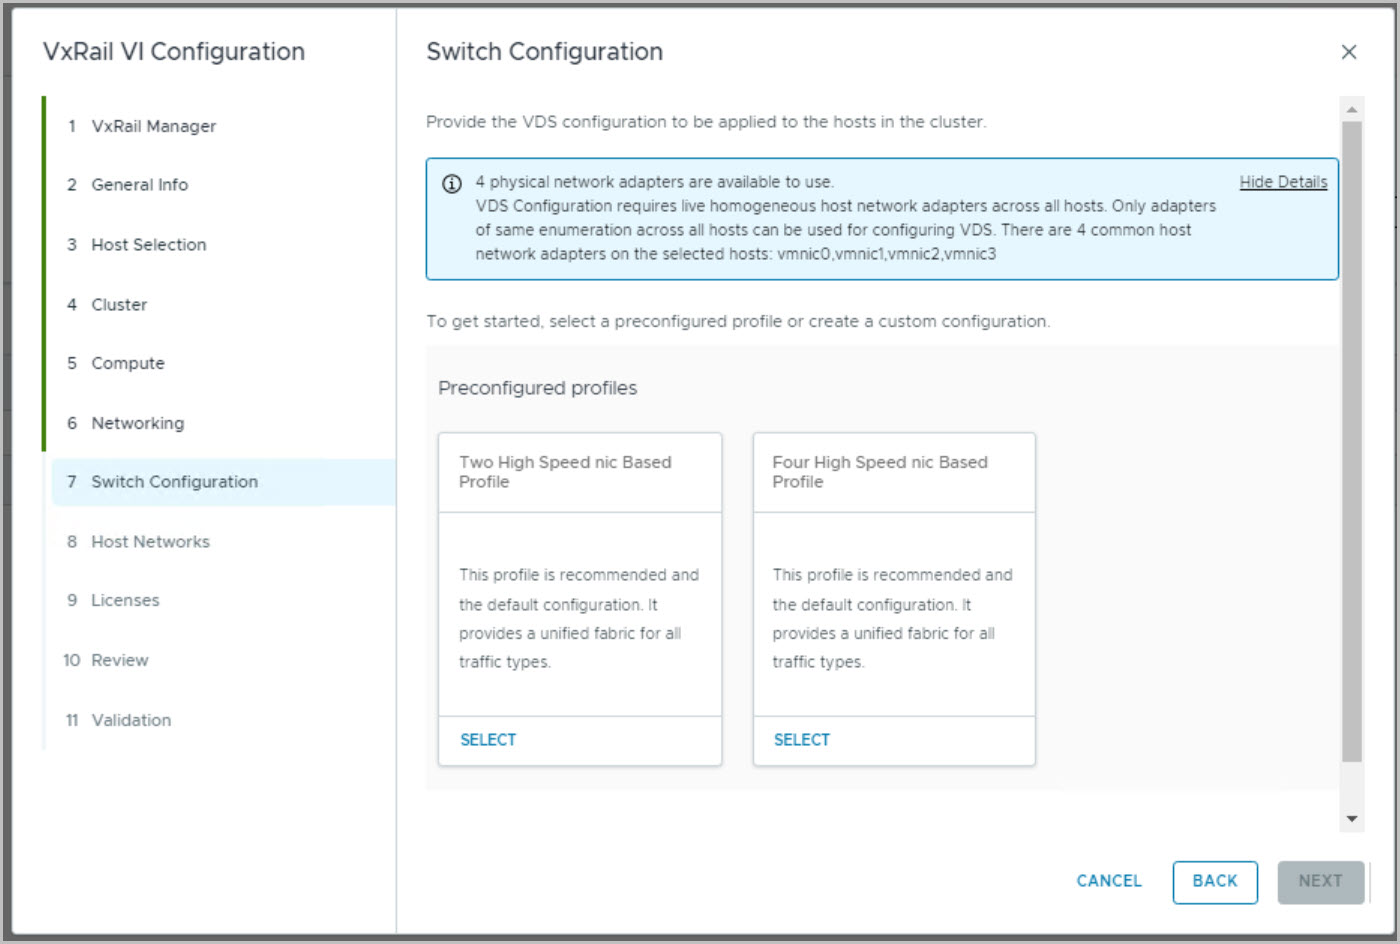
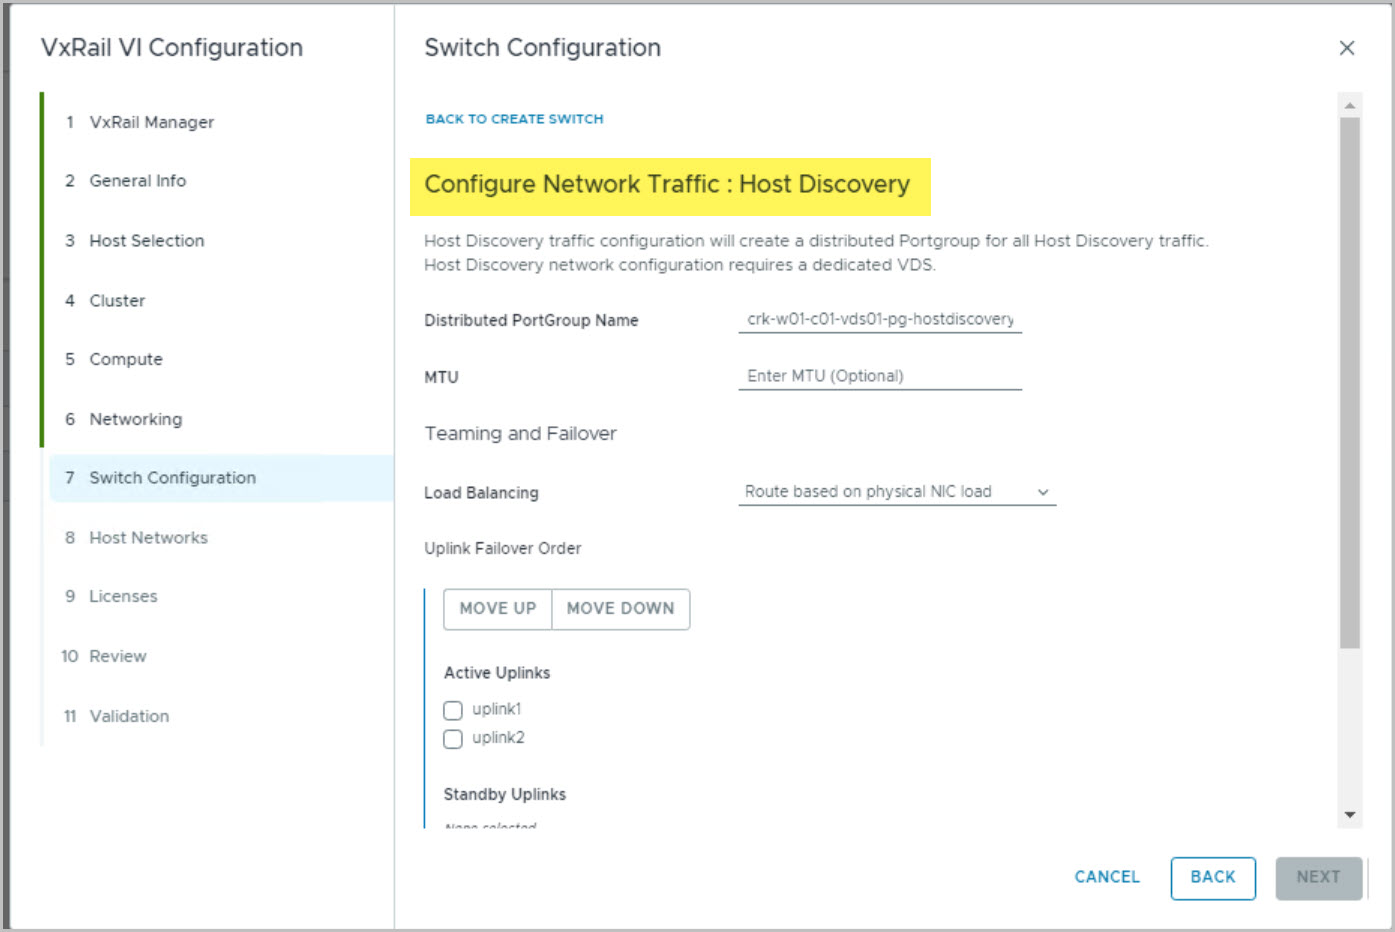
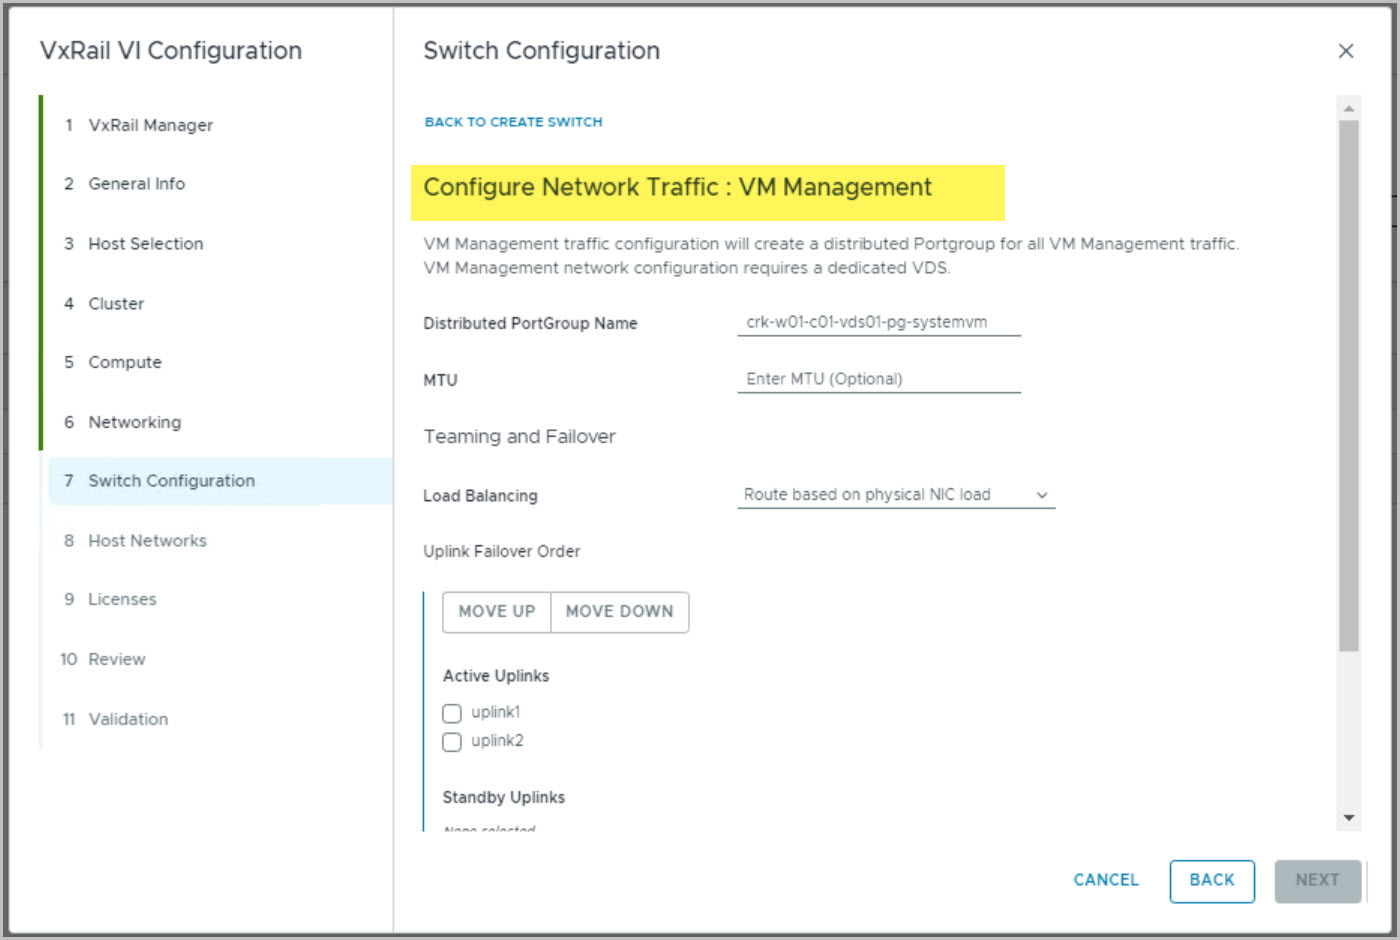
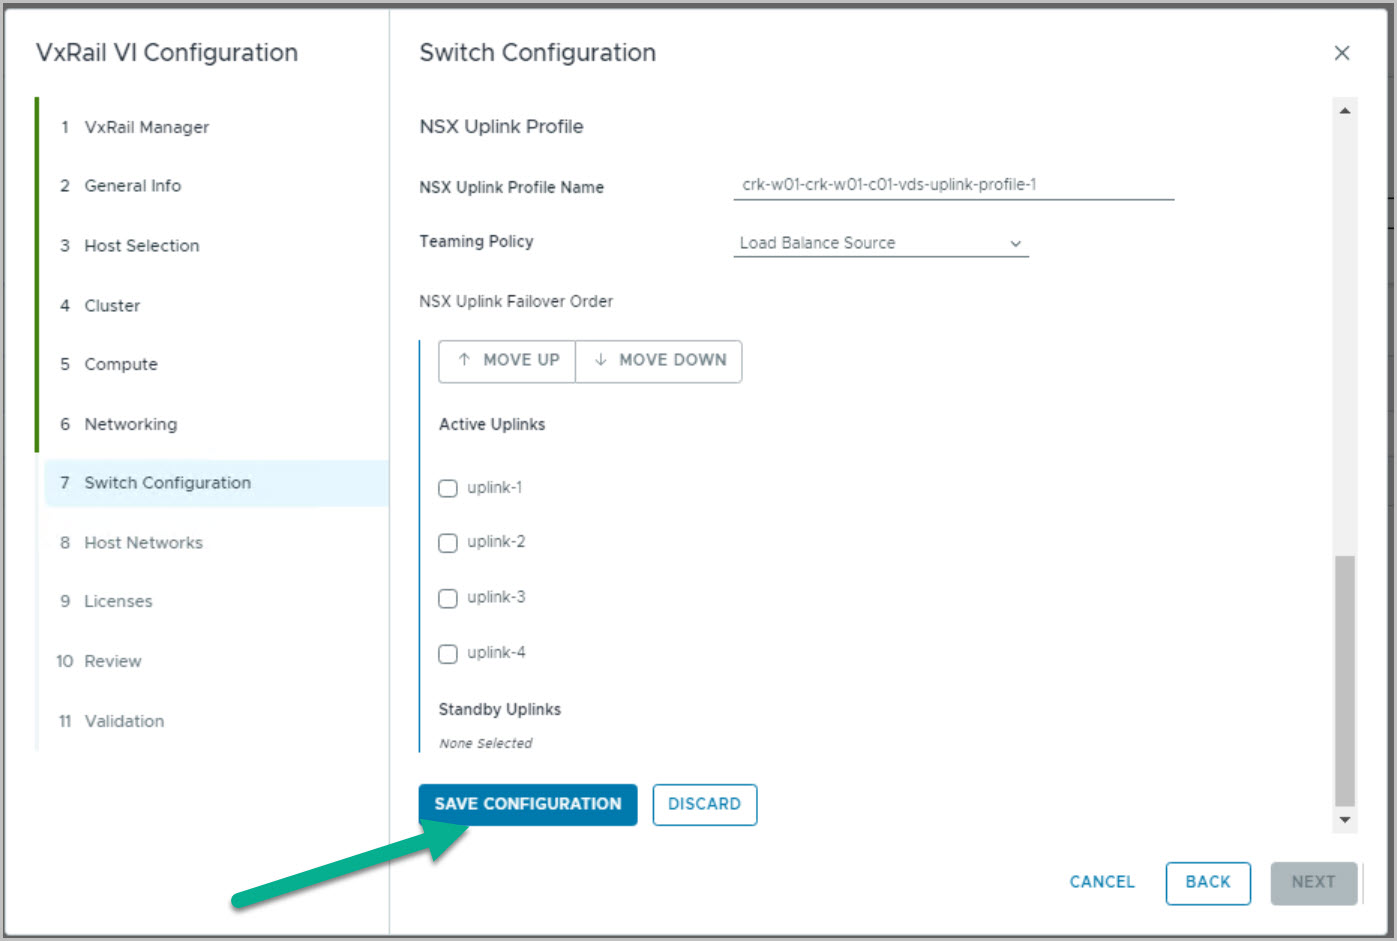
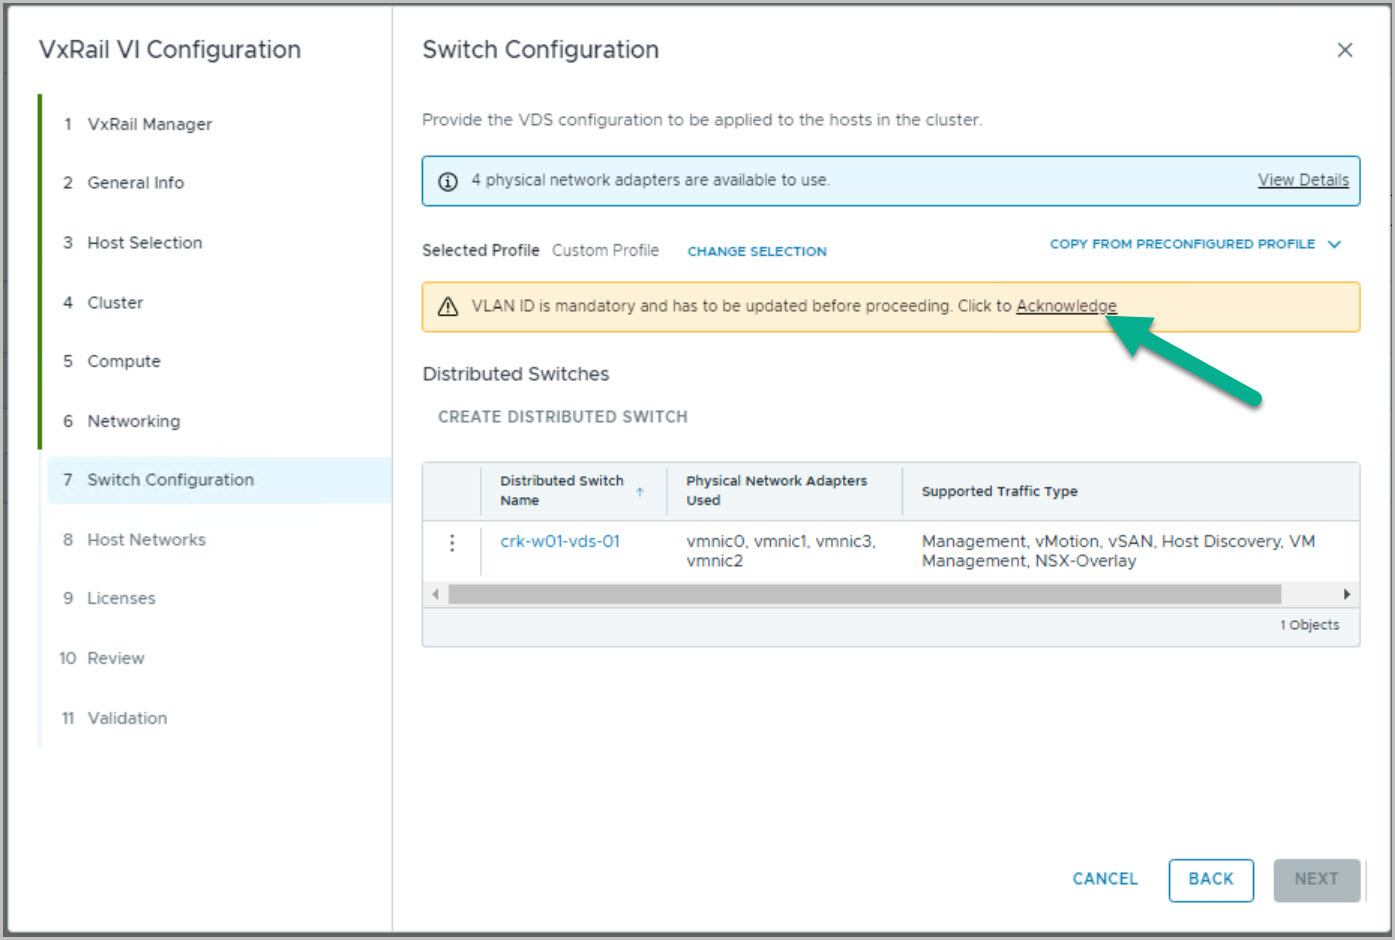
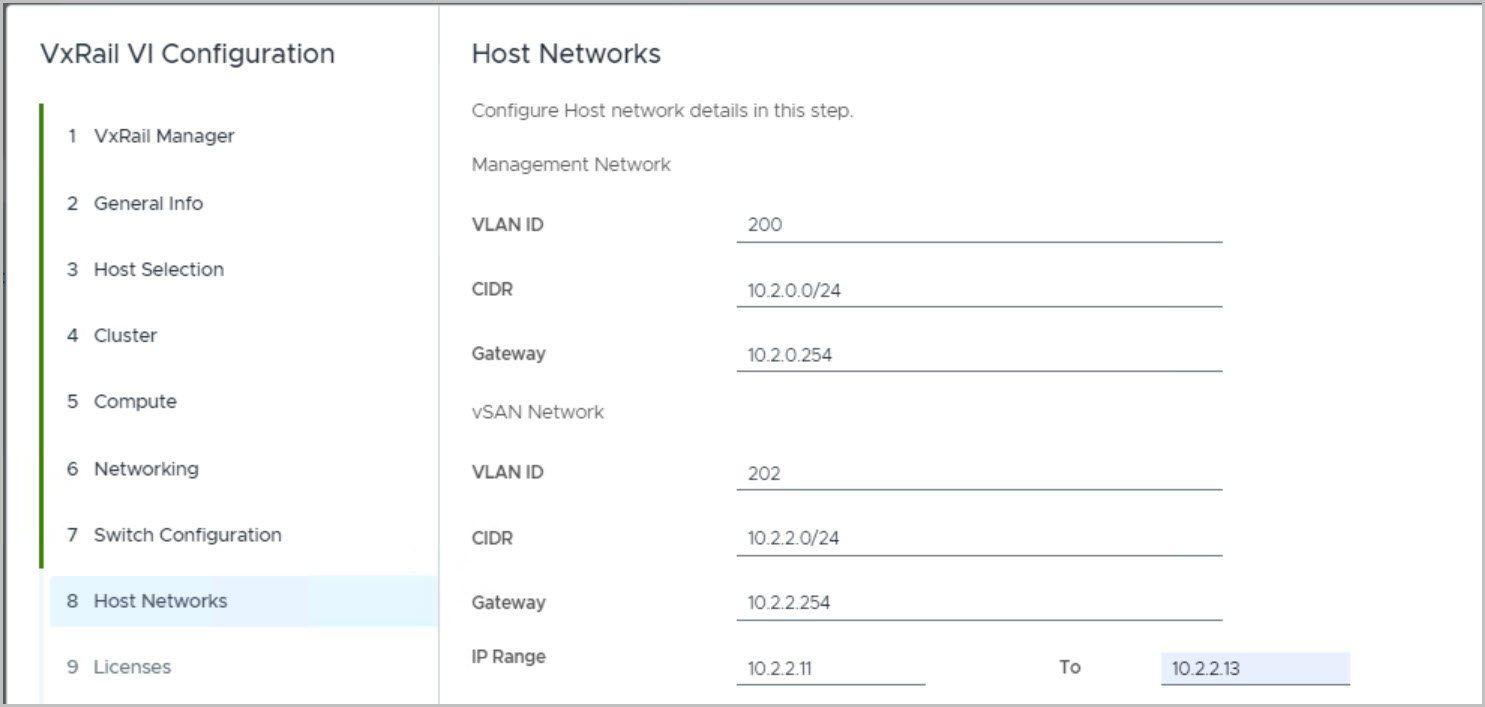
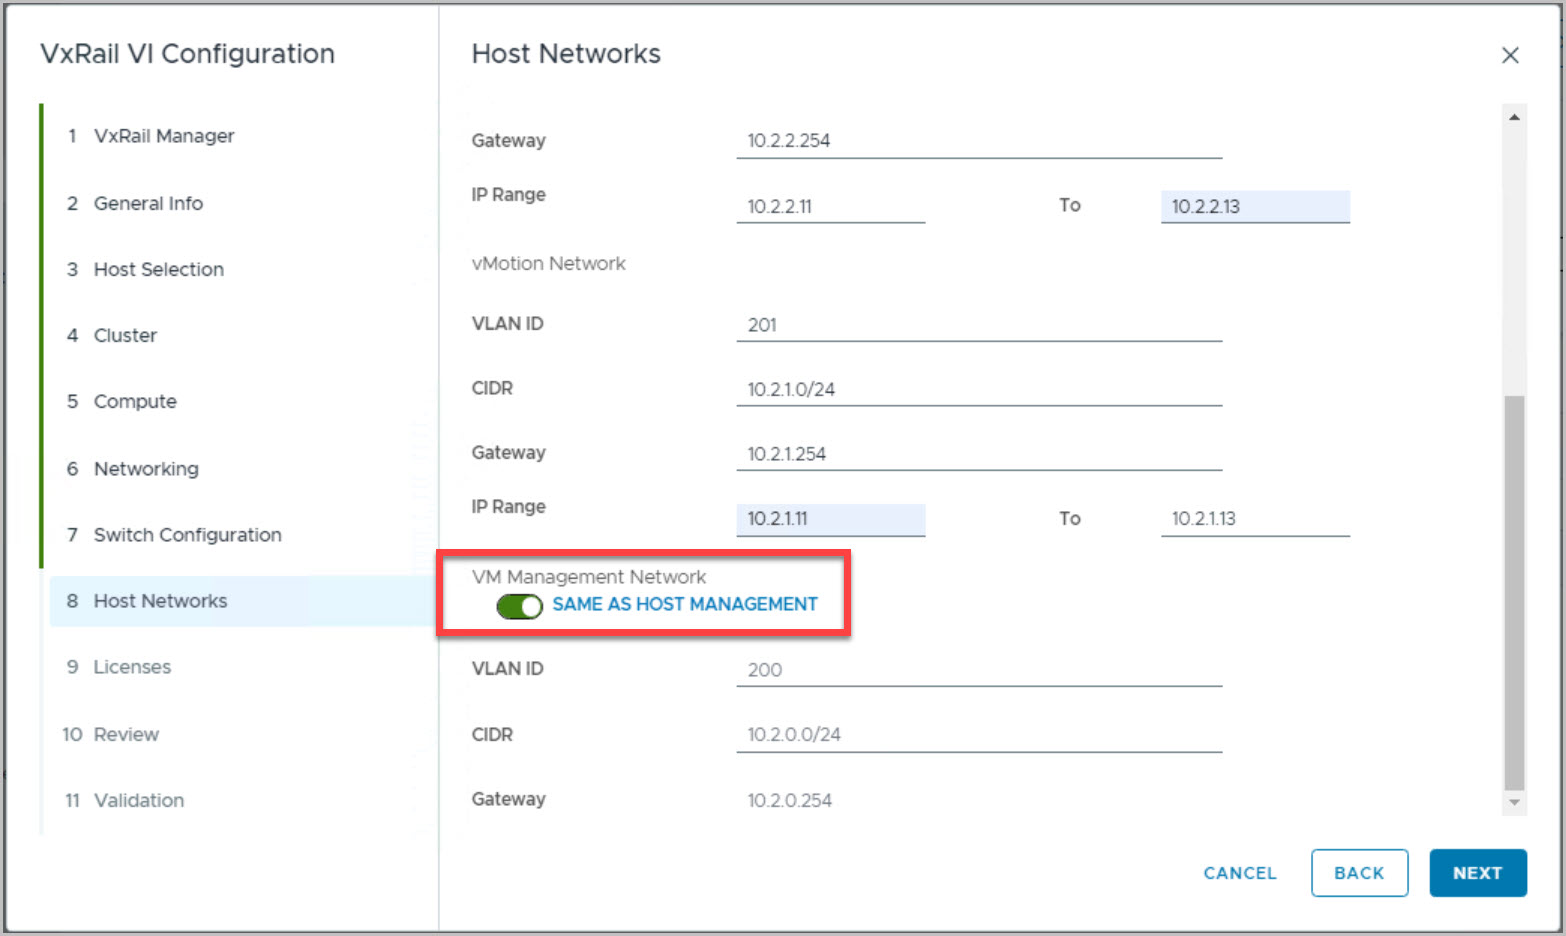
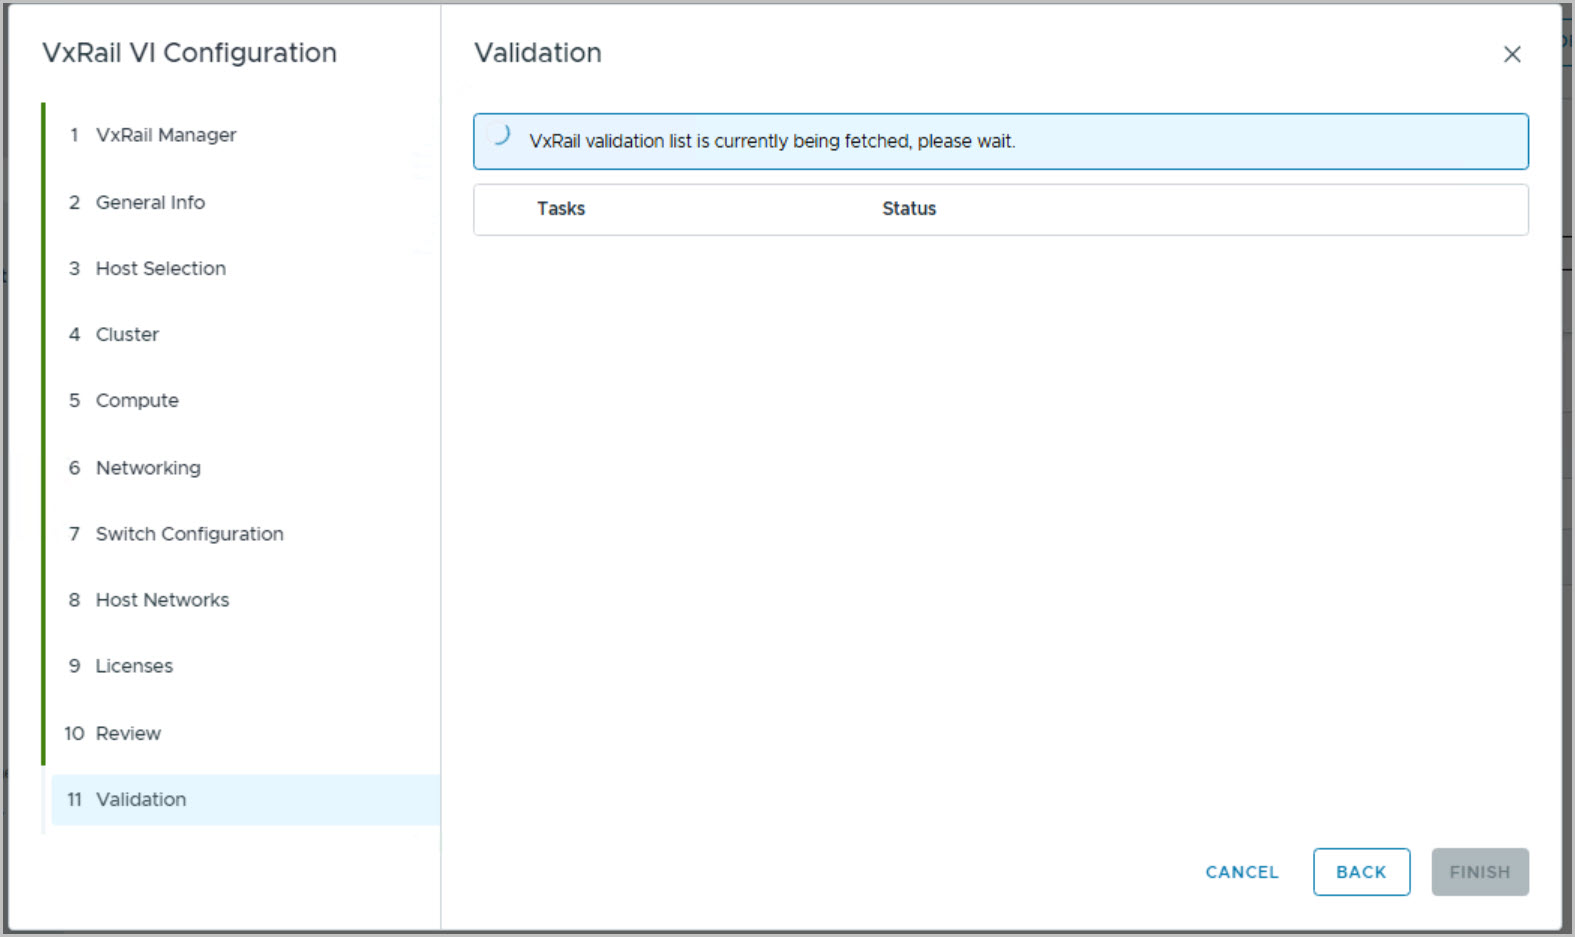
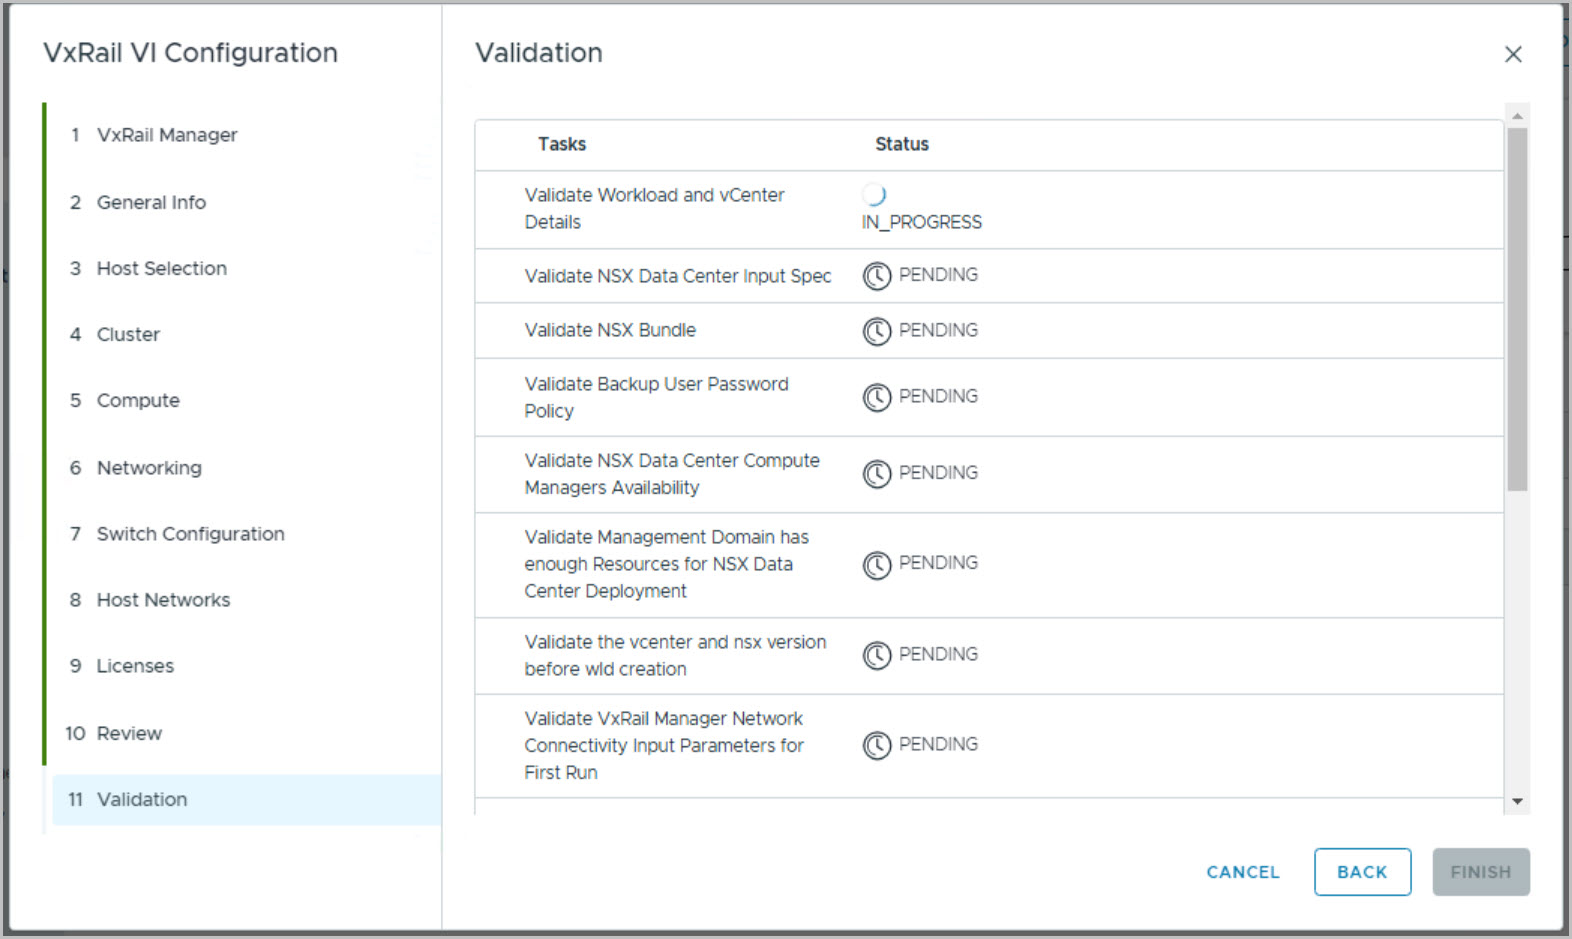
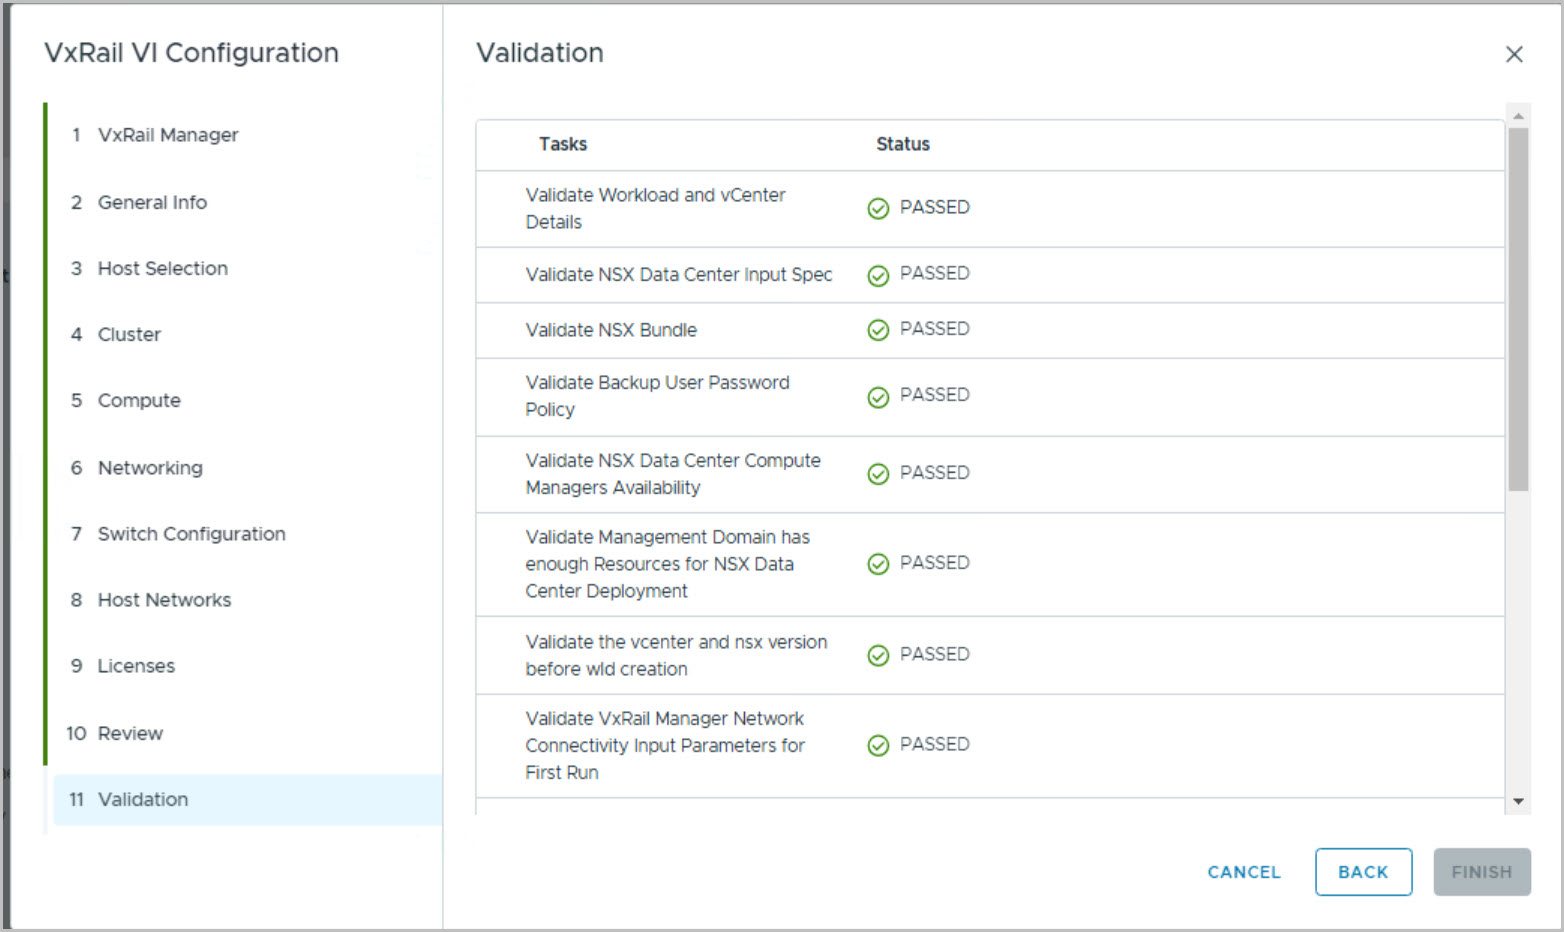
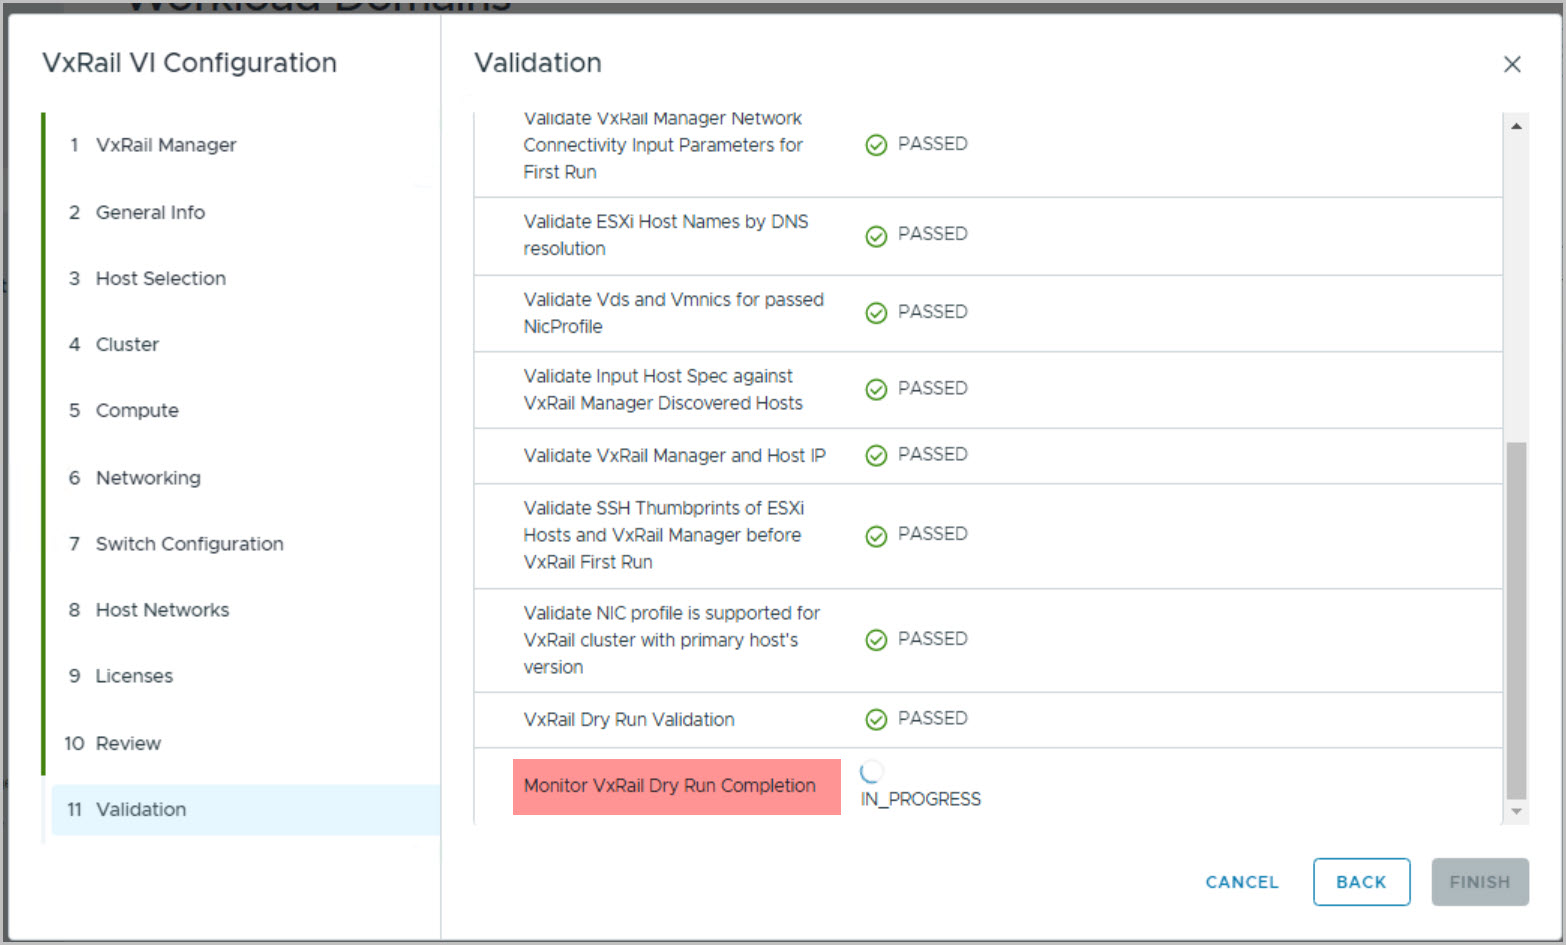
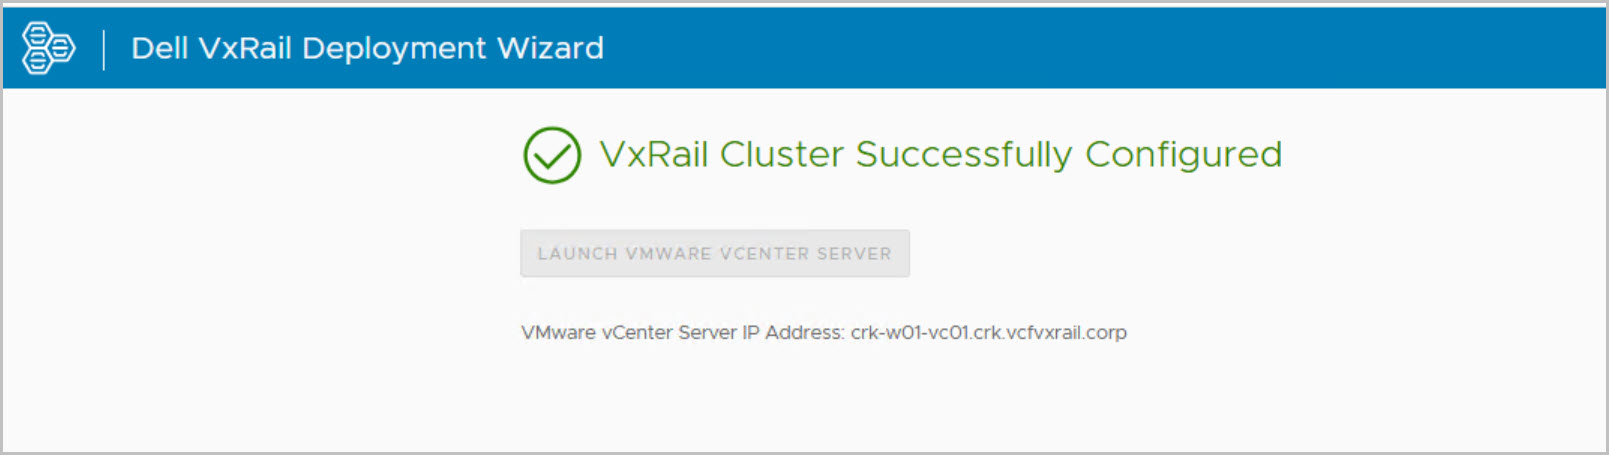
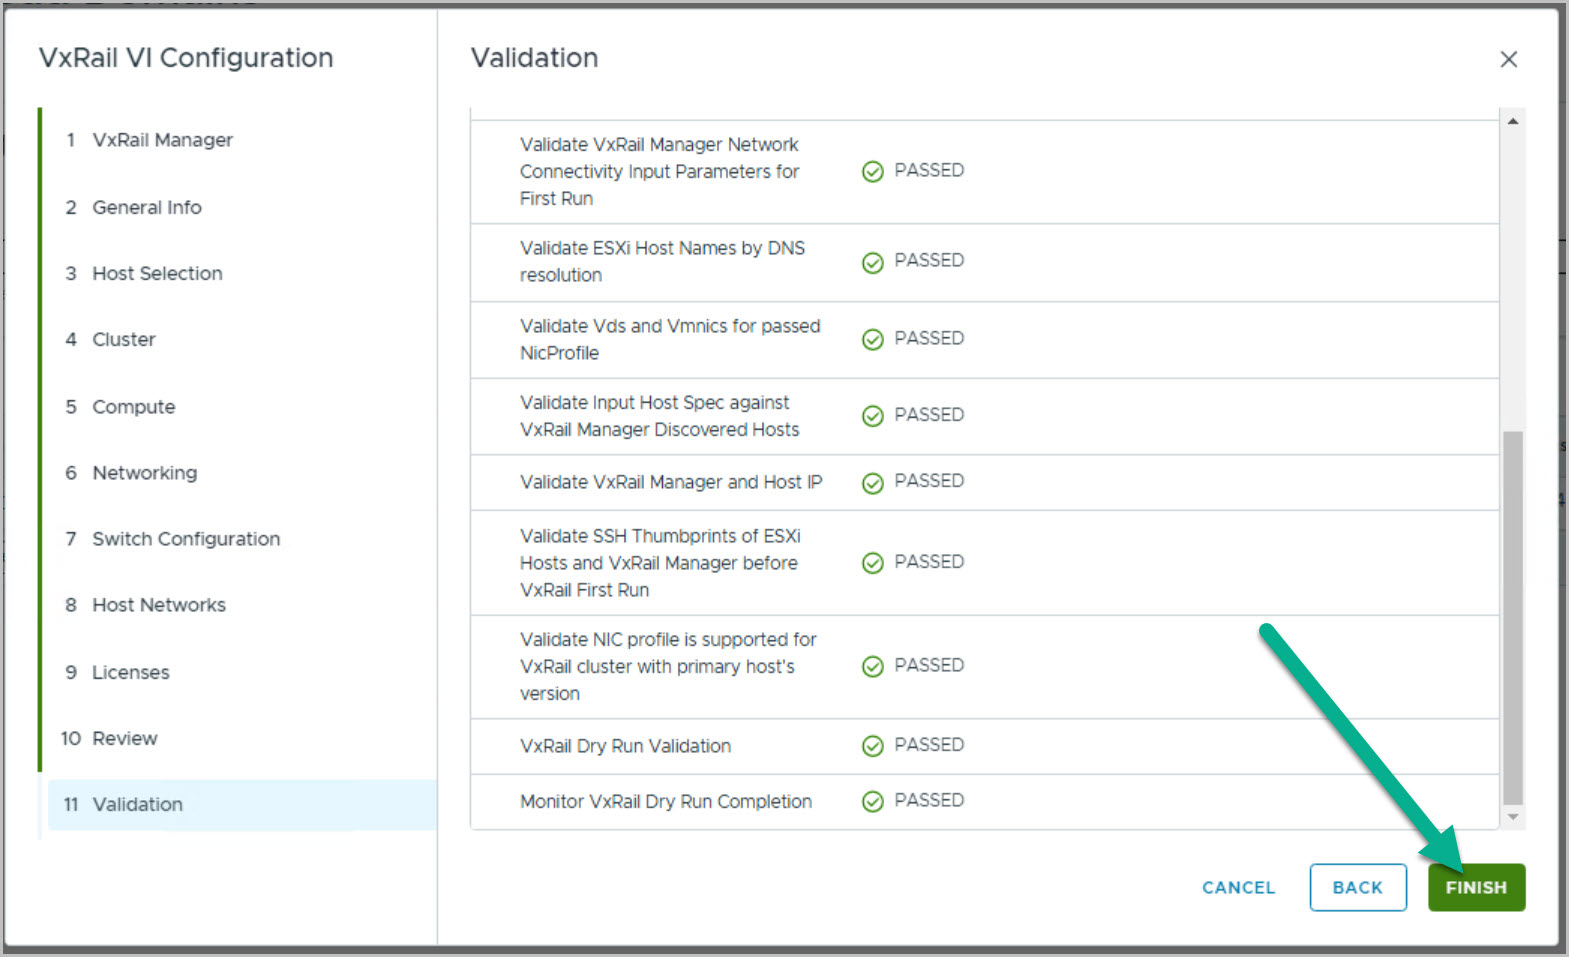
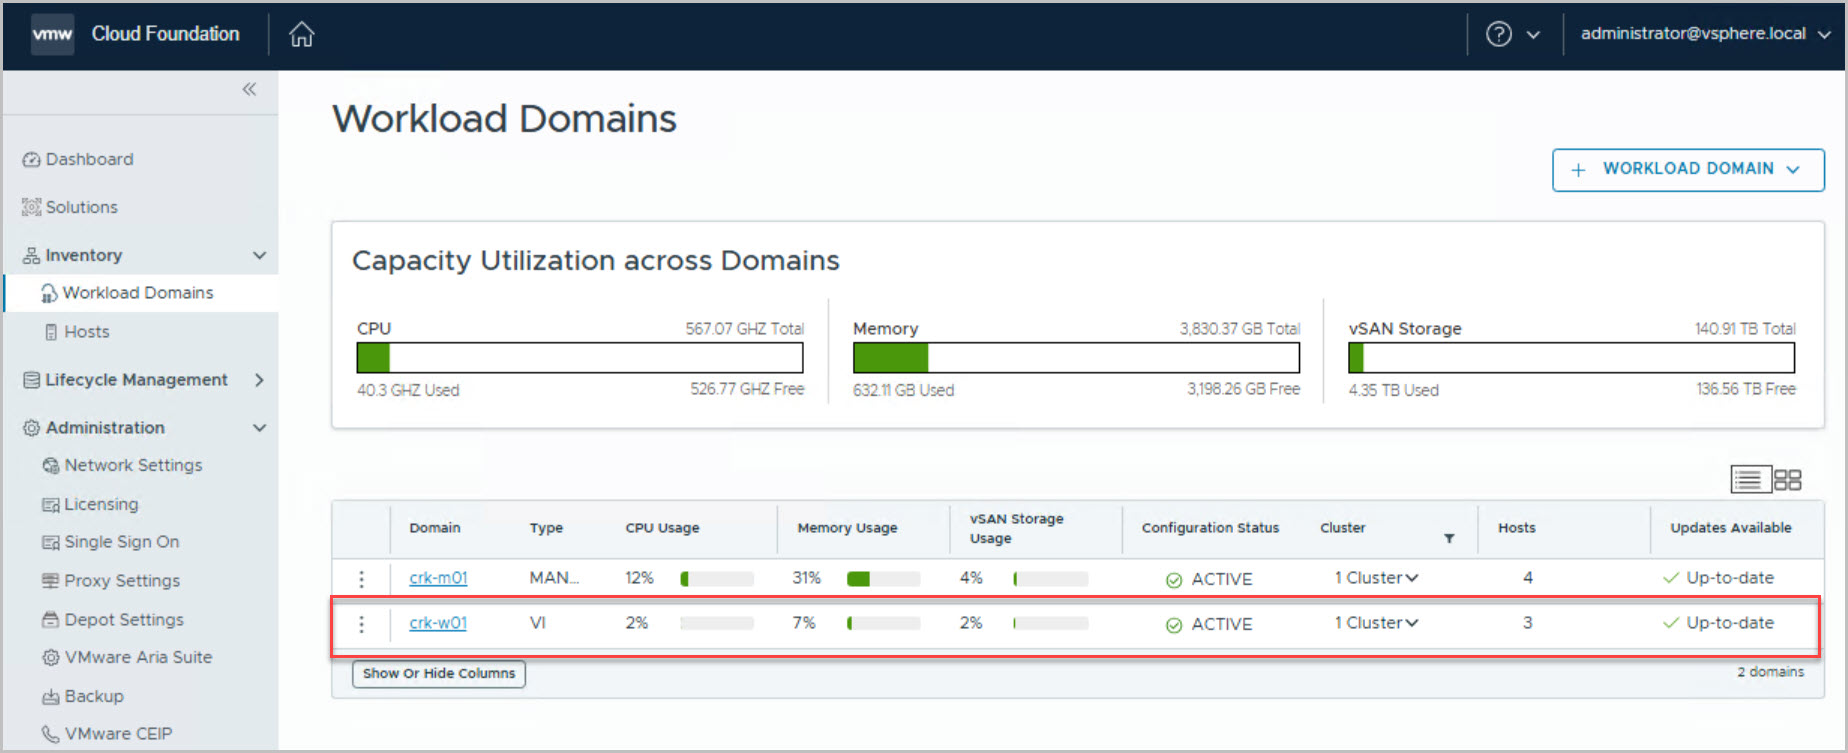
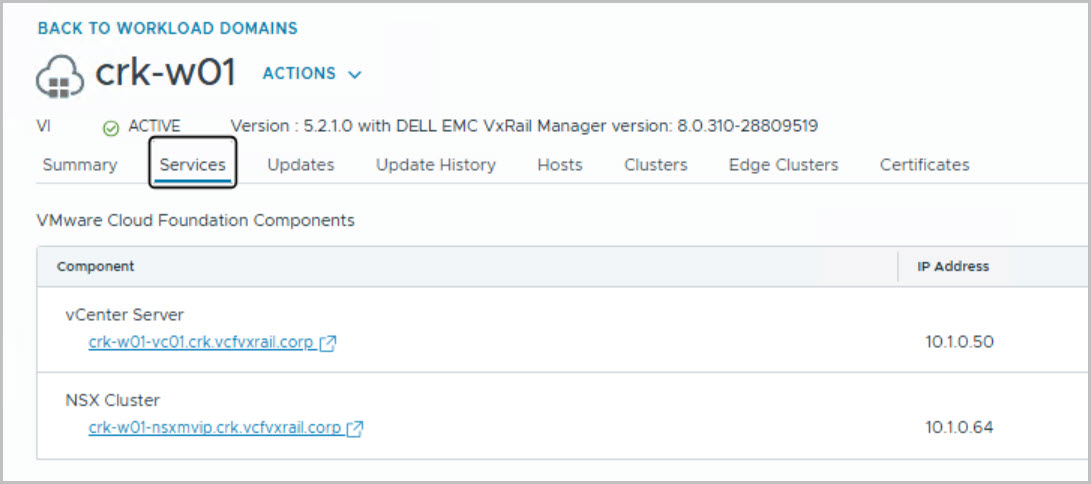
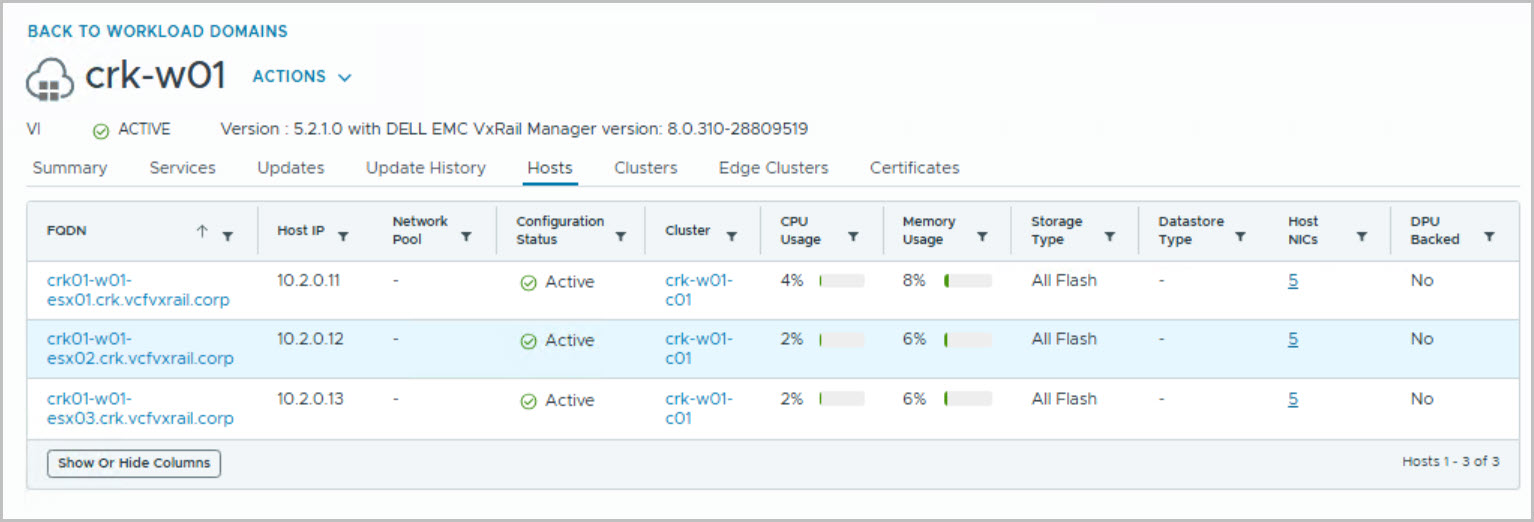
Deploy VI WLD Using WFO UI Method
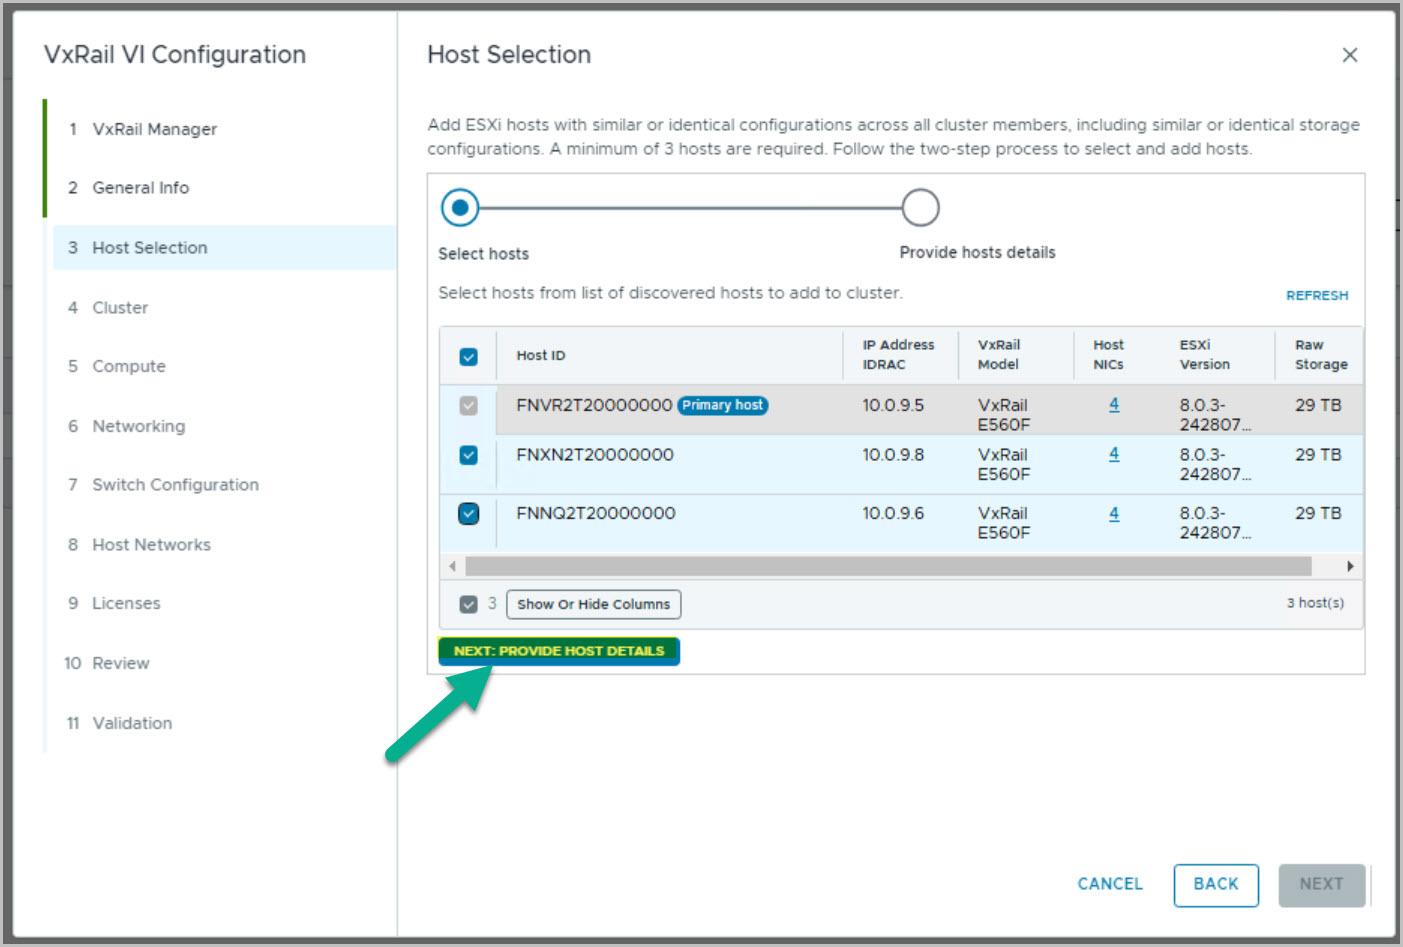
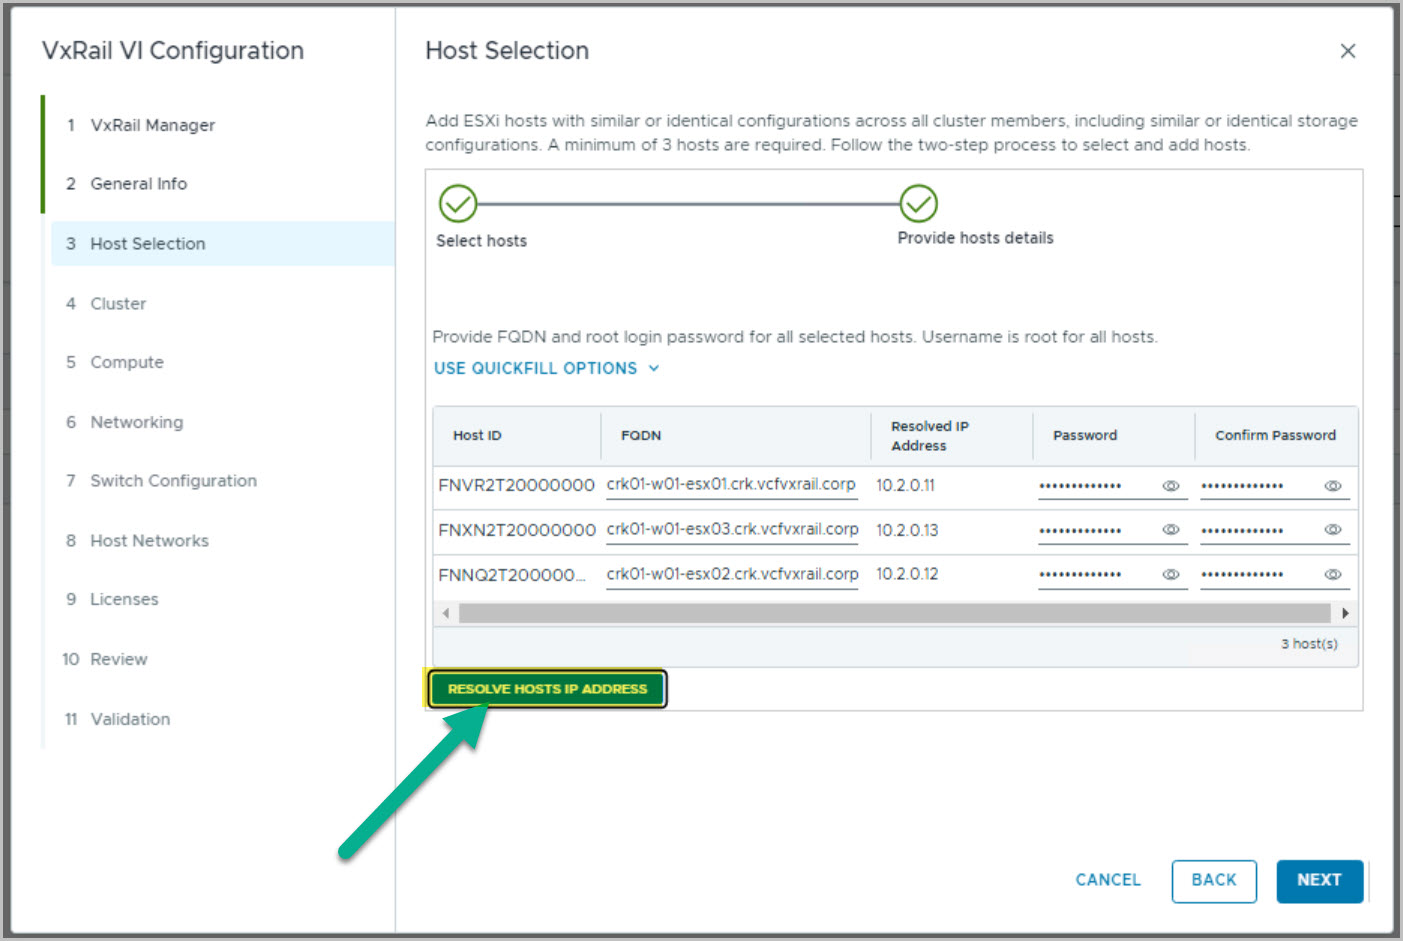
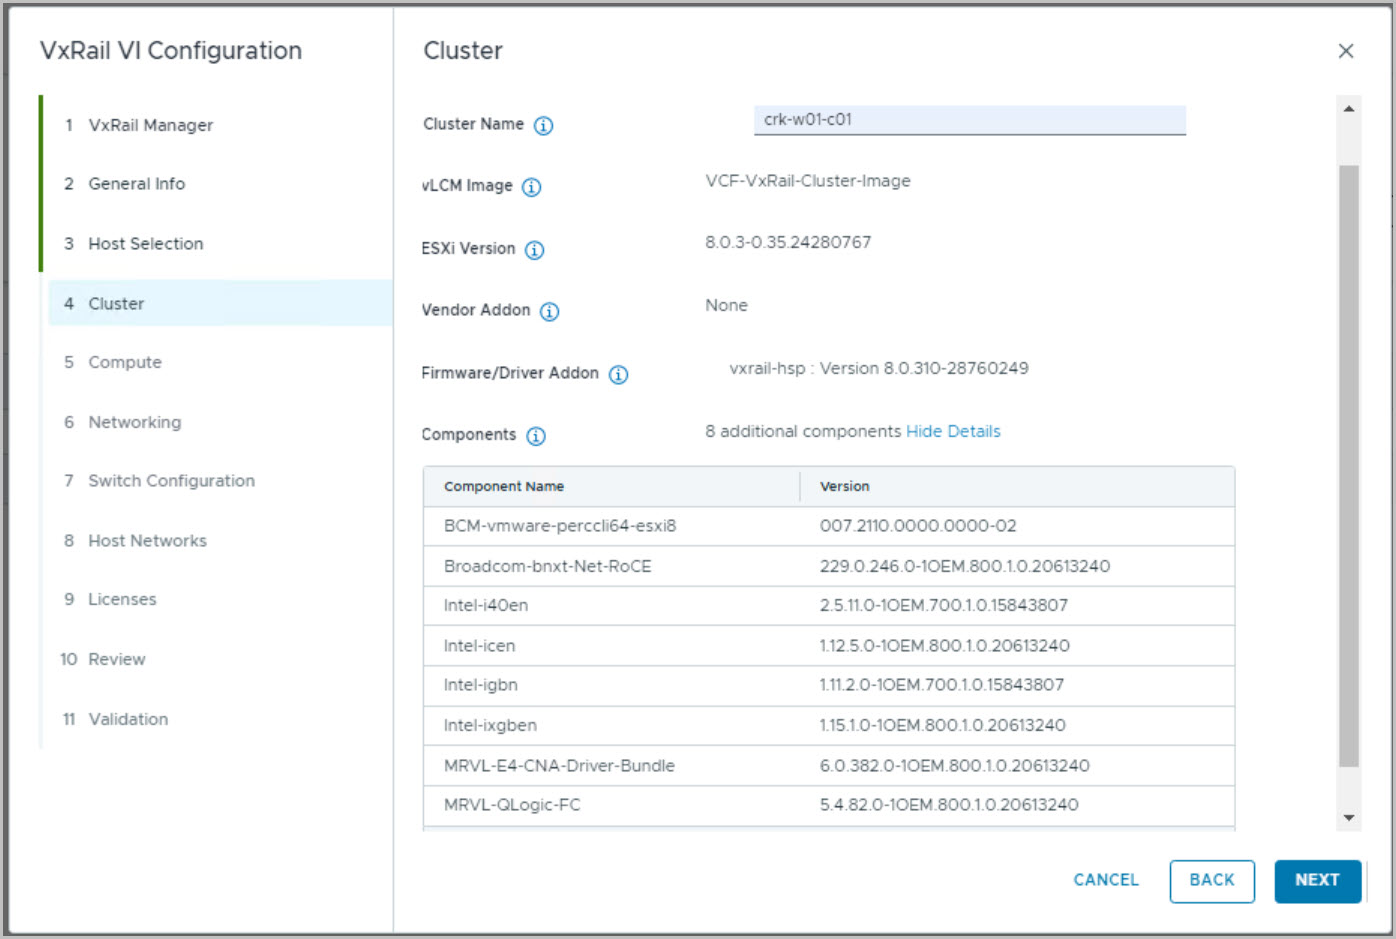
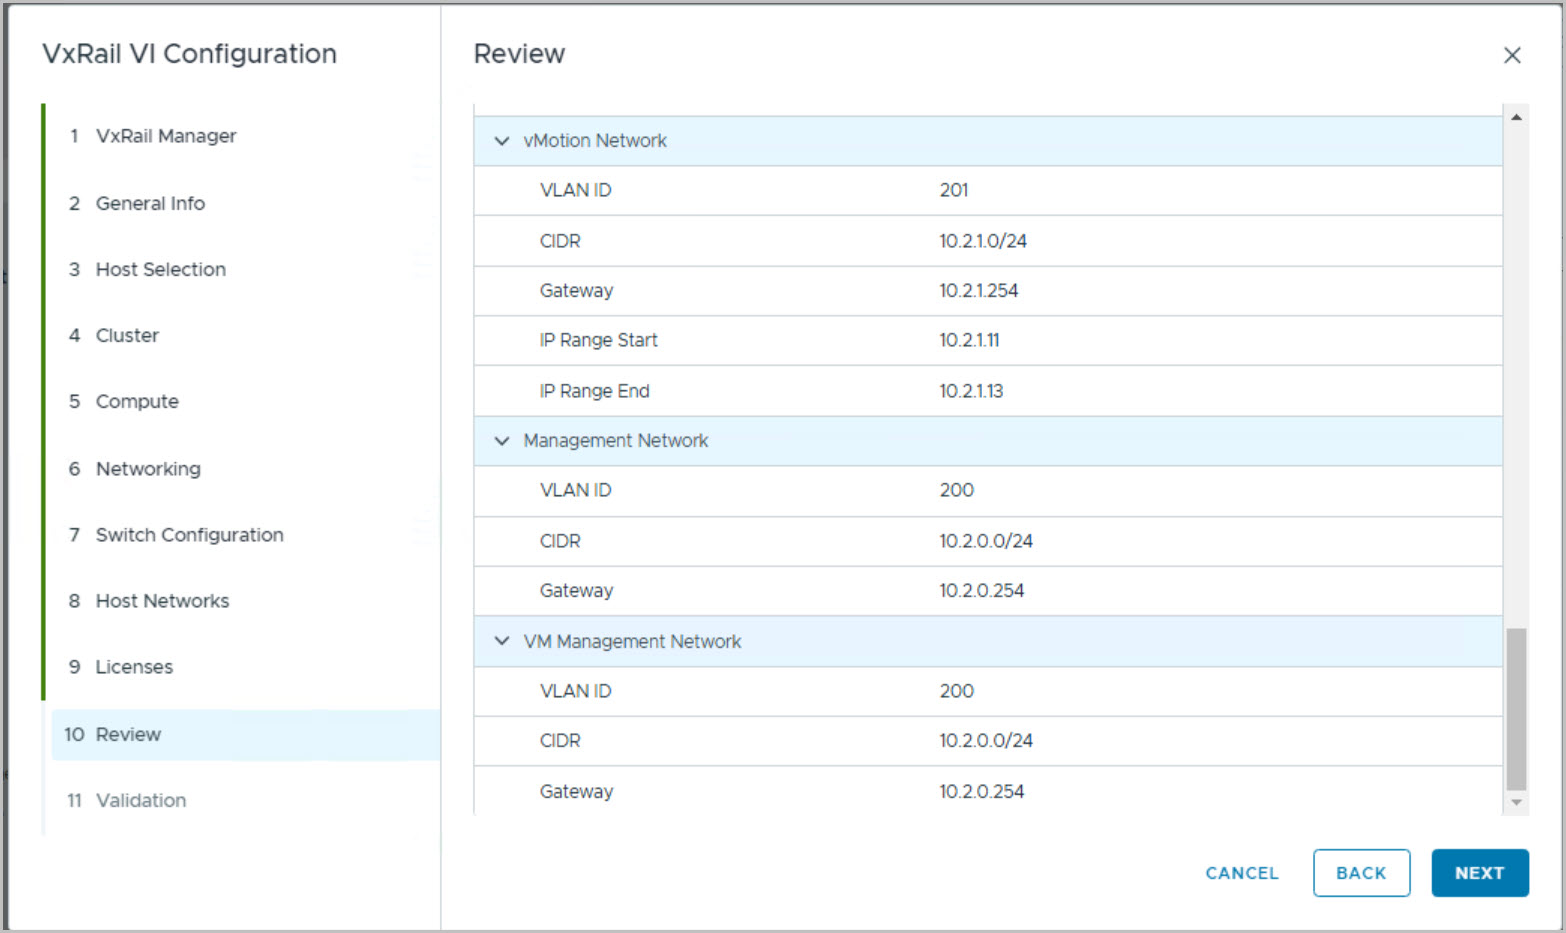
The following input values are required as per the process of creating a VI WLD from the SDDC Manager UI:
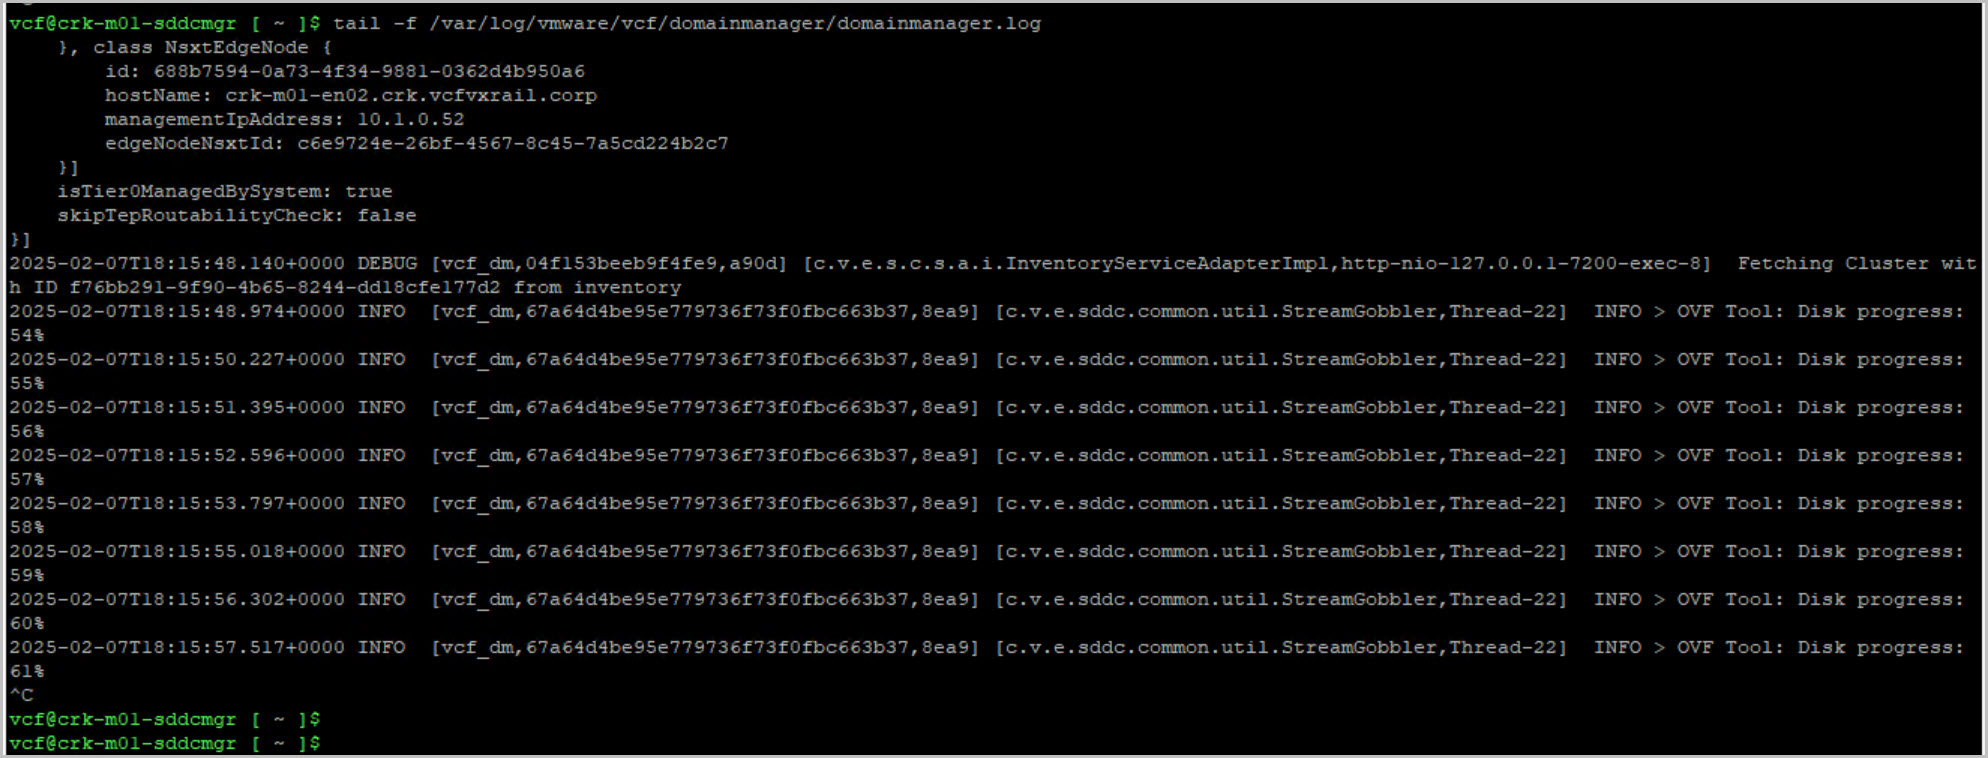
NSX Host Overlay Network (DHCP server if using). When VMware NSX creates TEPs for the VI workload domain, they are assigned IP addresses from the DHCP server.
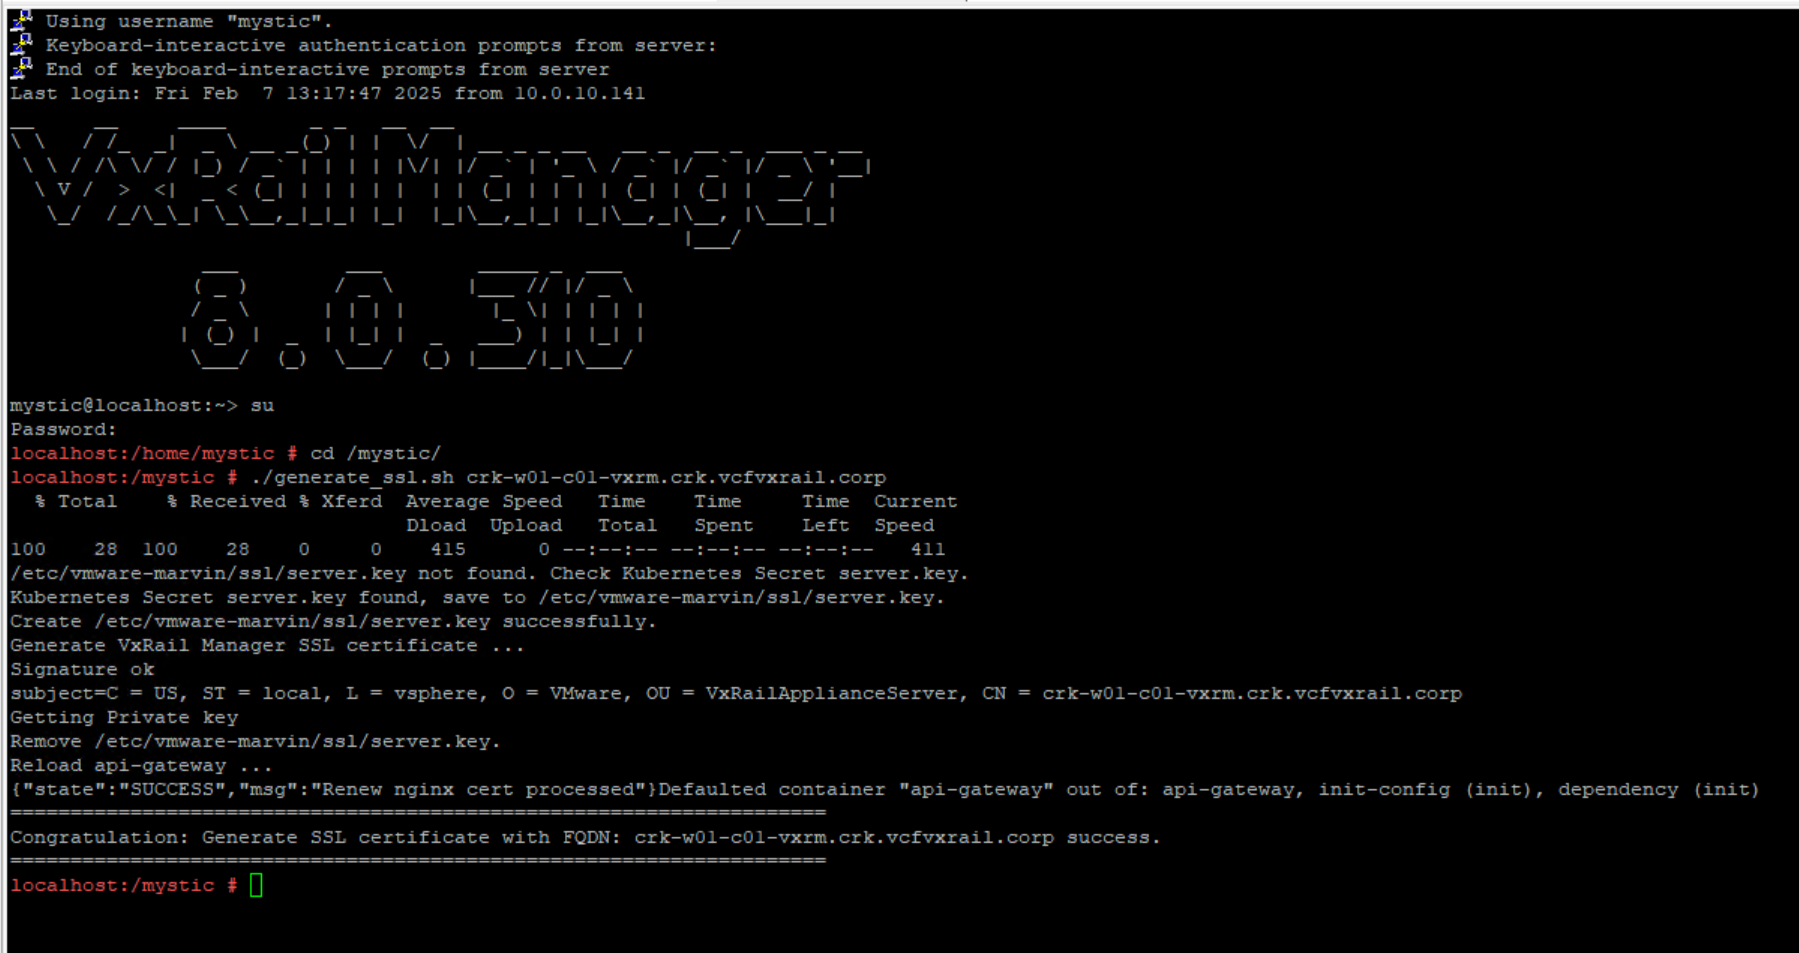
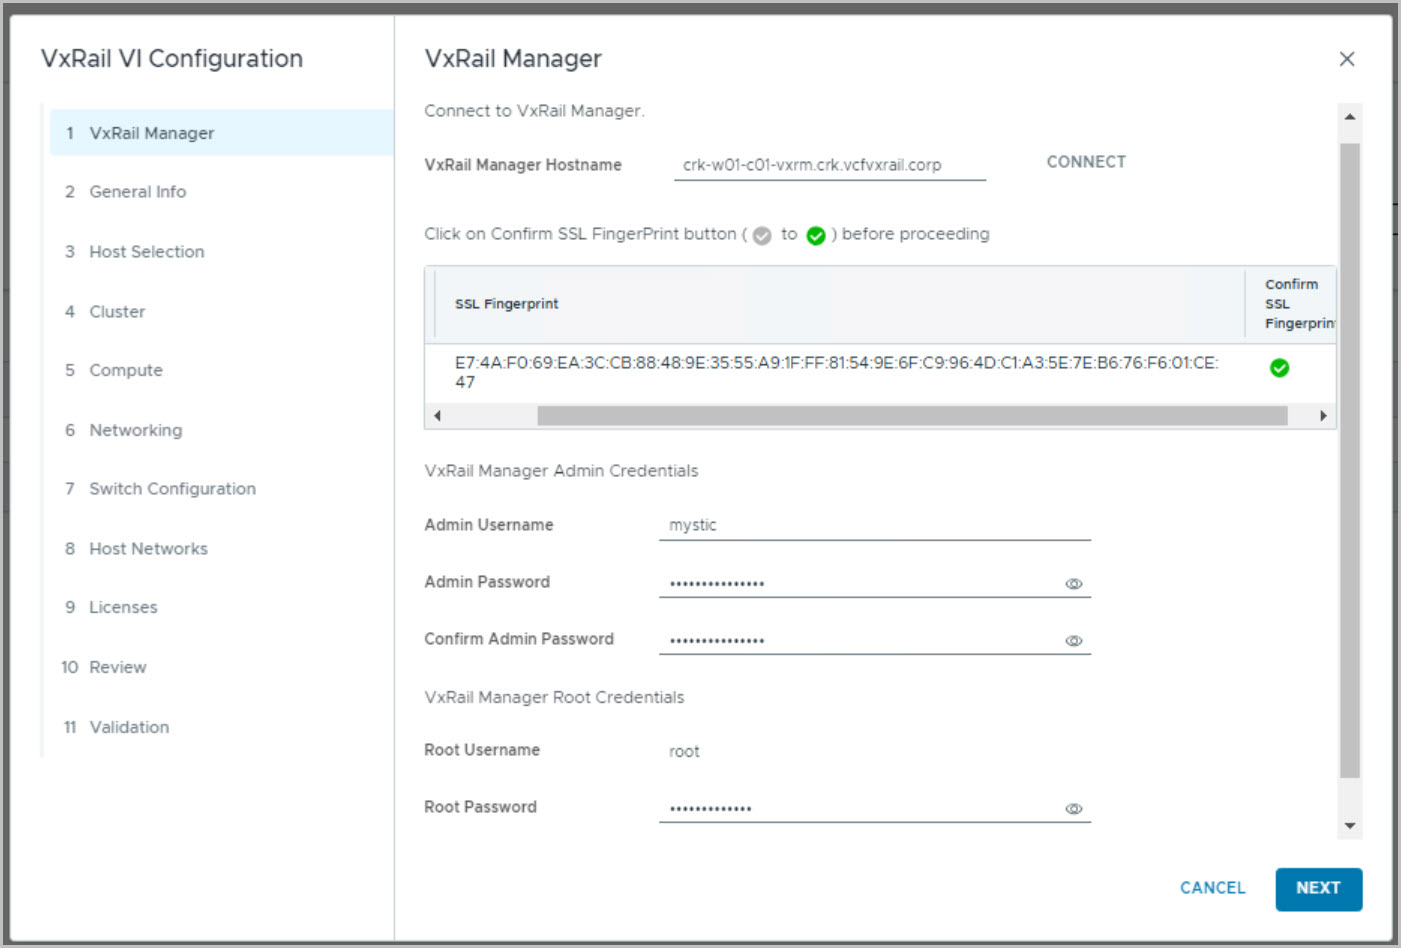
Update VxRail Manager Certificate with the correct Hostname.
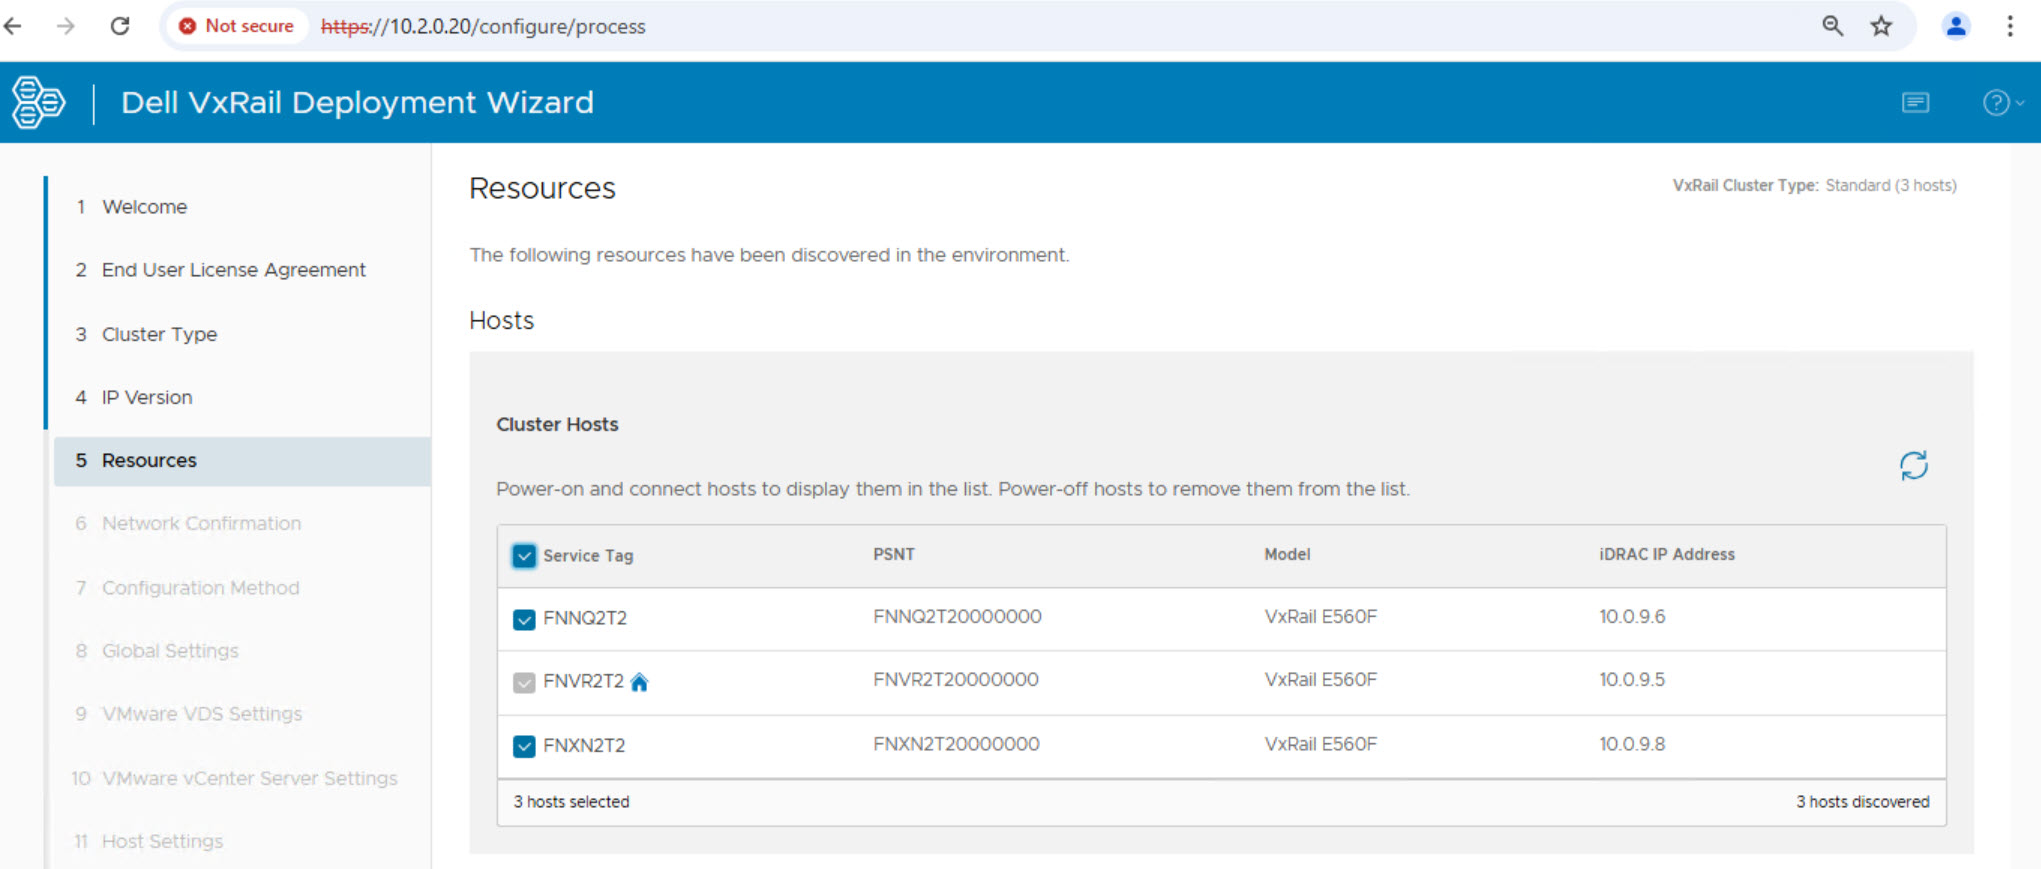
Change the VxRail Manger IP address & confirm discovery of hosts:
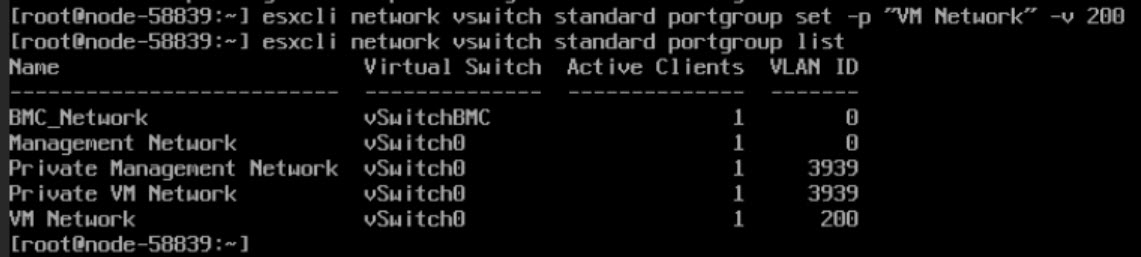
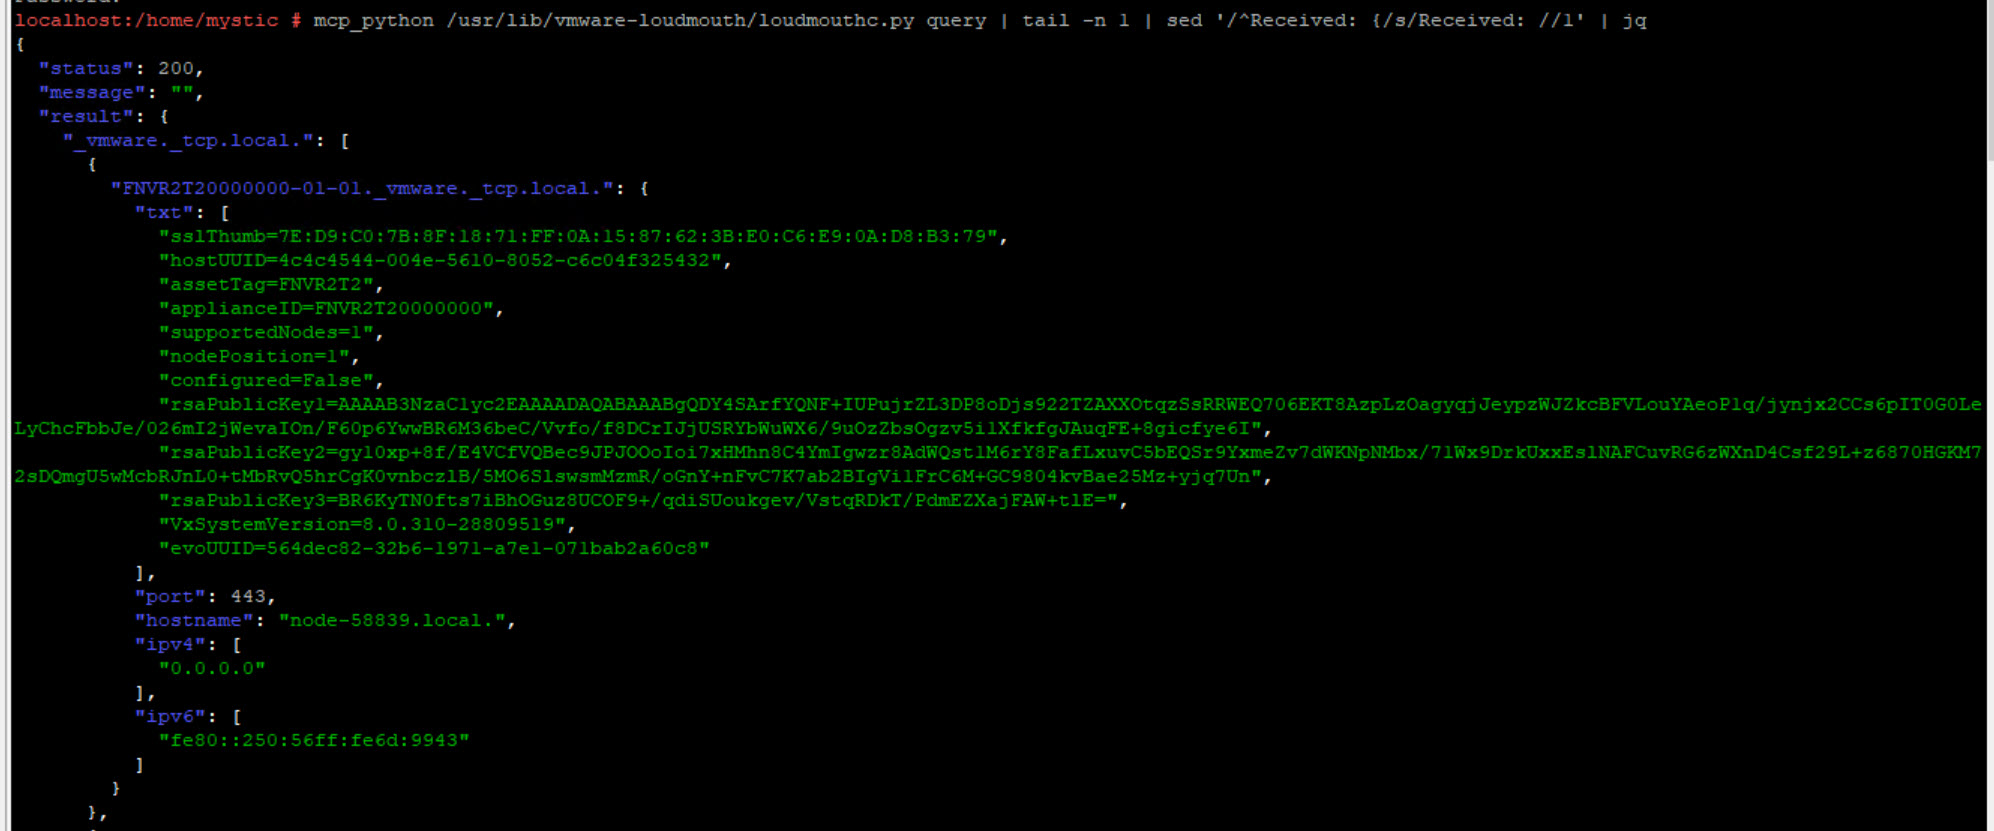
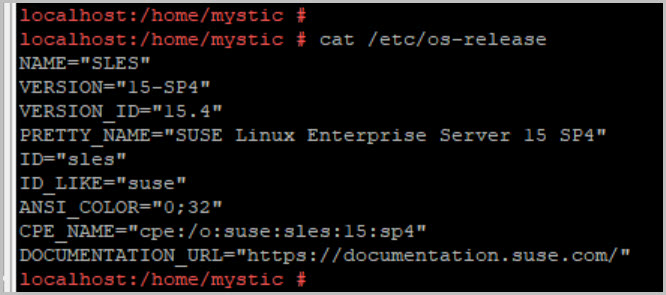
Update VxRail Manager Certificate with the correct Hostname by logging into VxRail Manager via ssh with mystic followed by su. cd /mystic dir and run the following script:


7 Comments »